Deck Panels Done

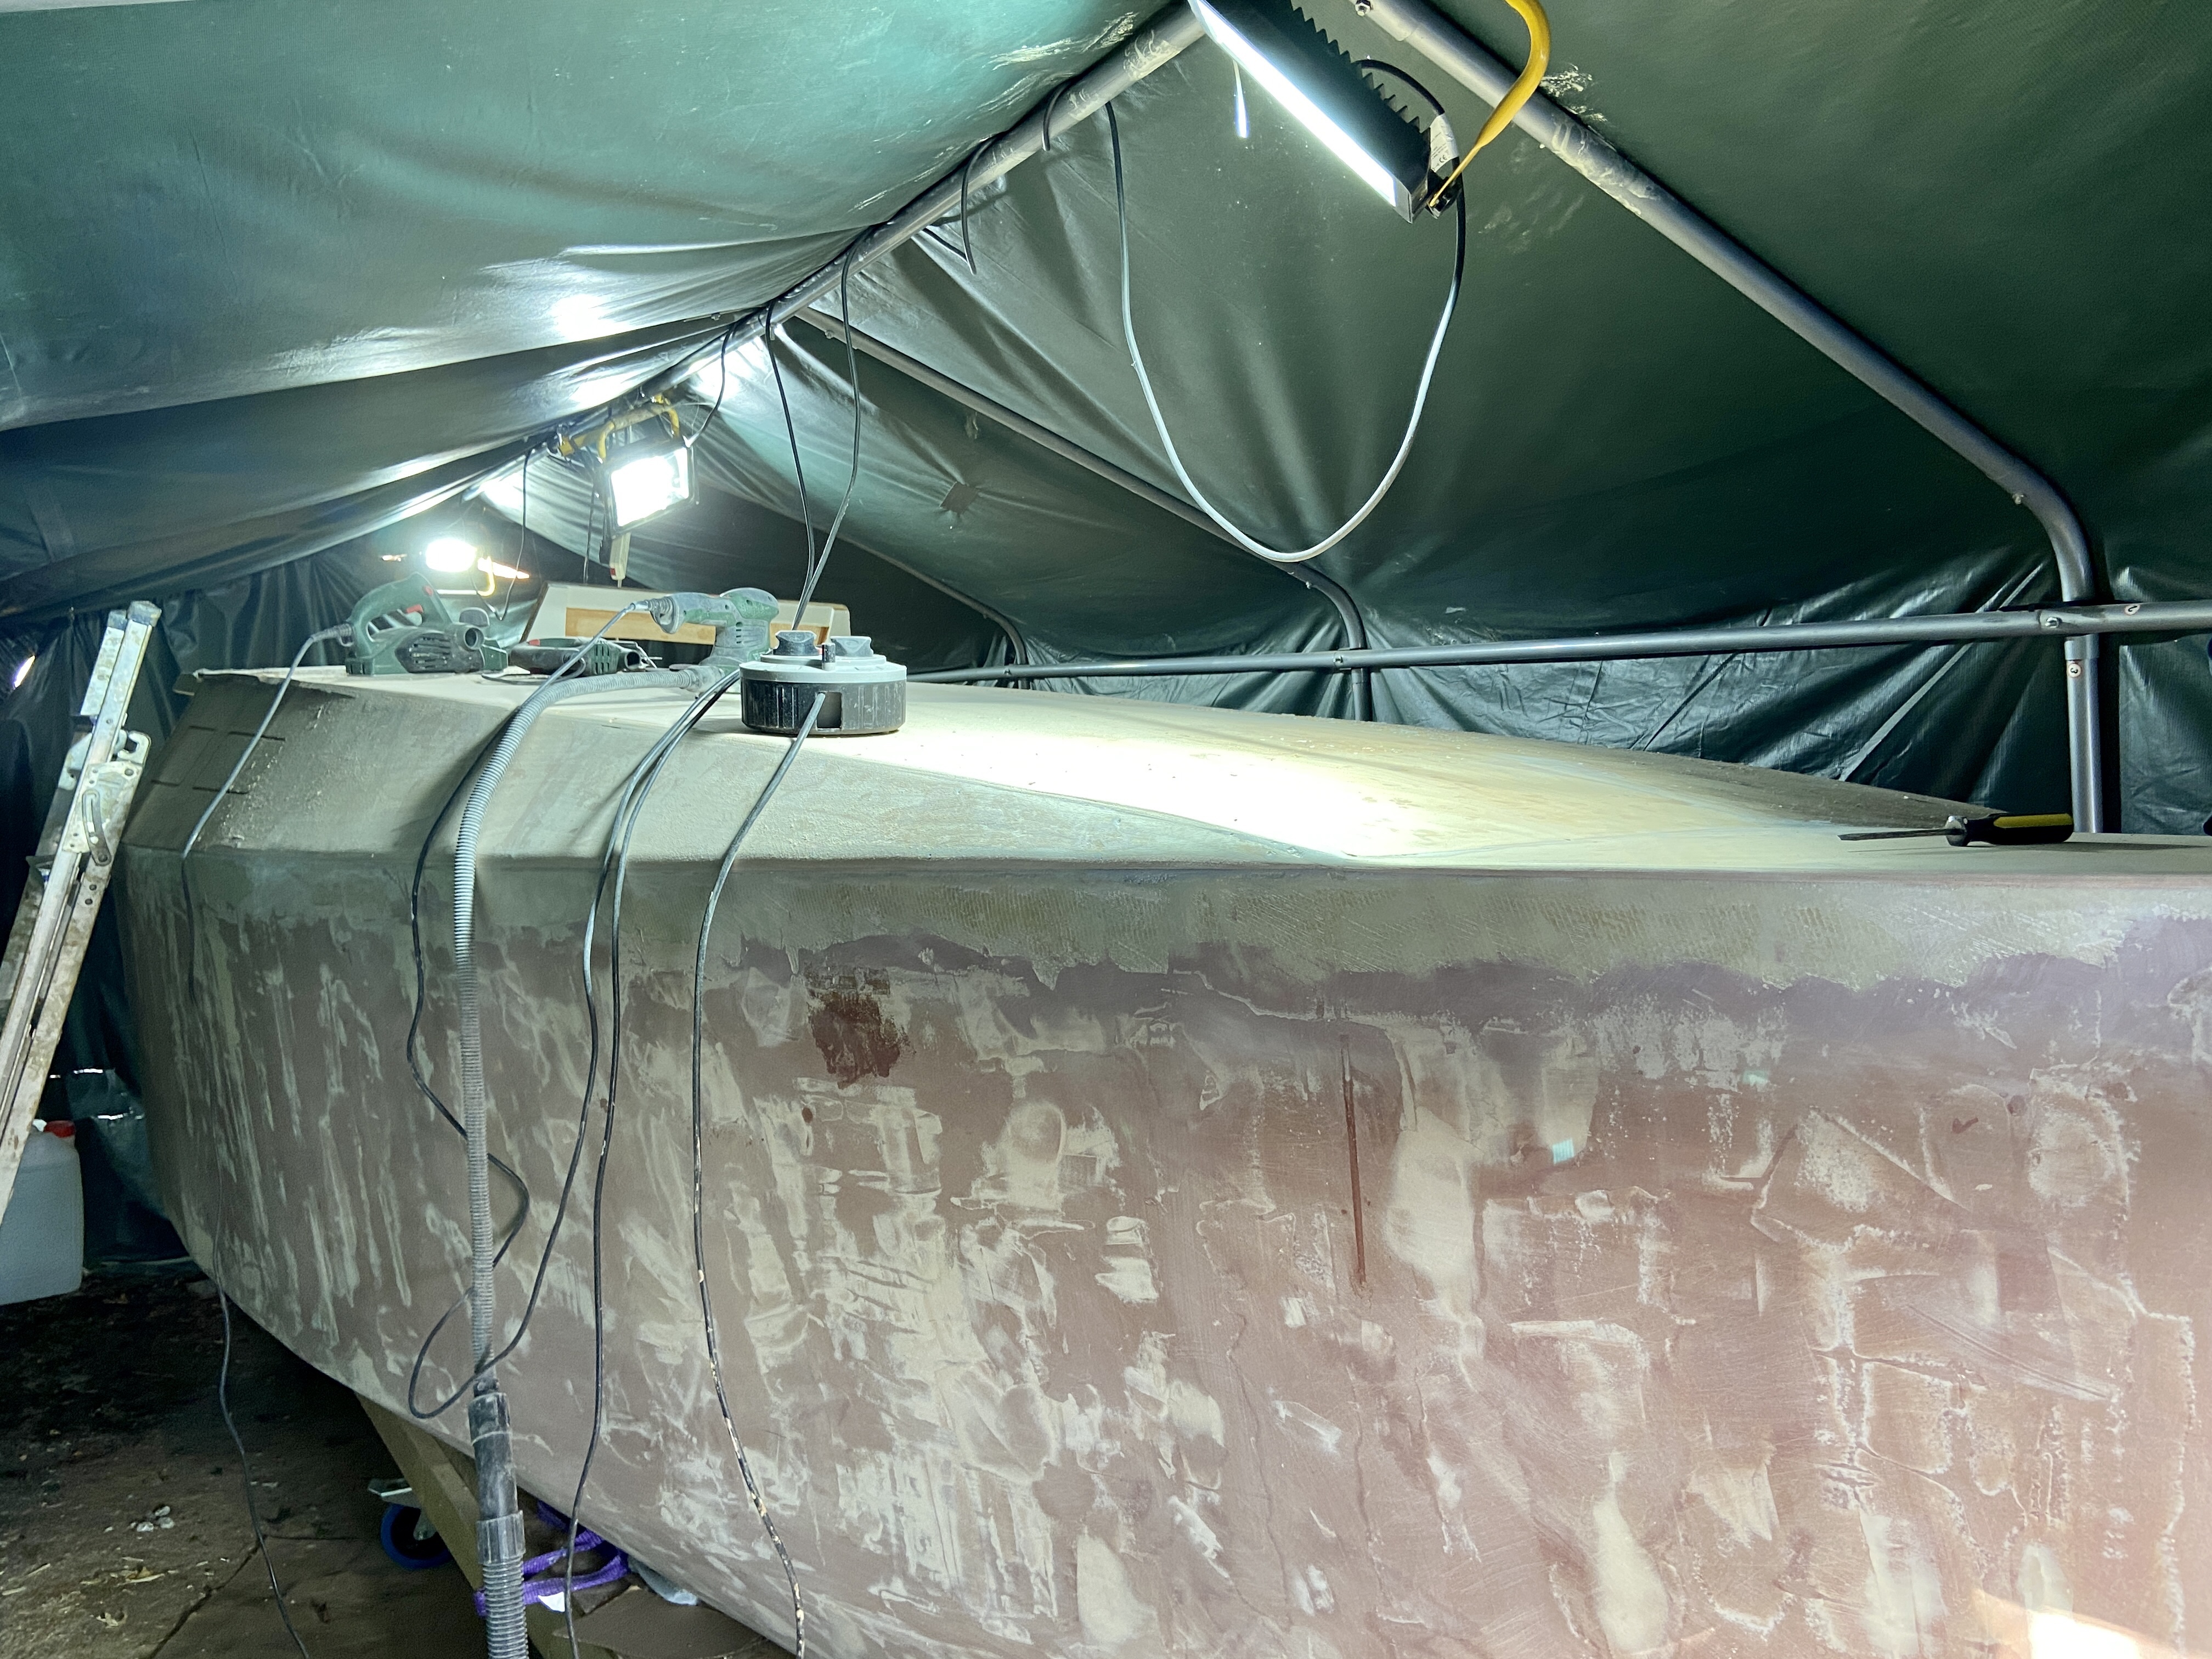
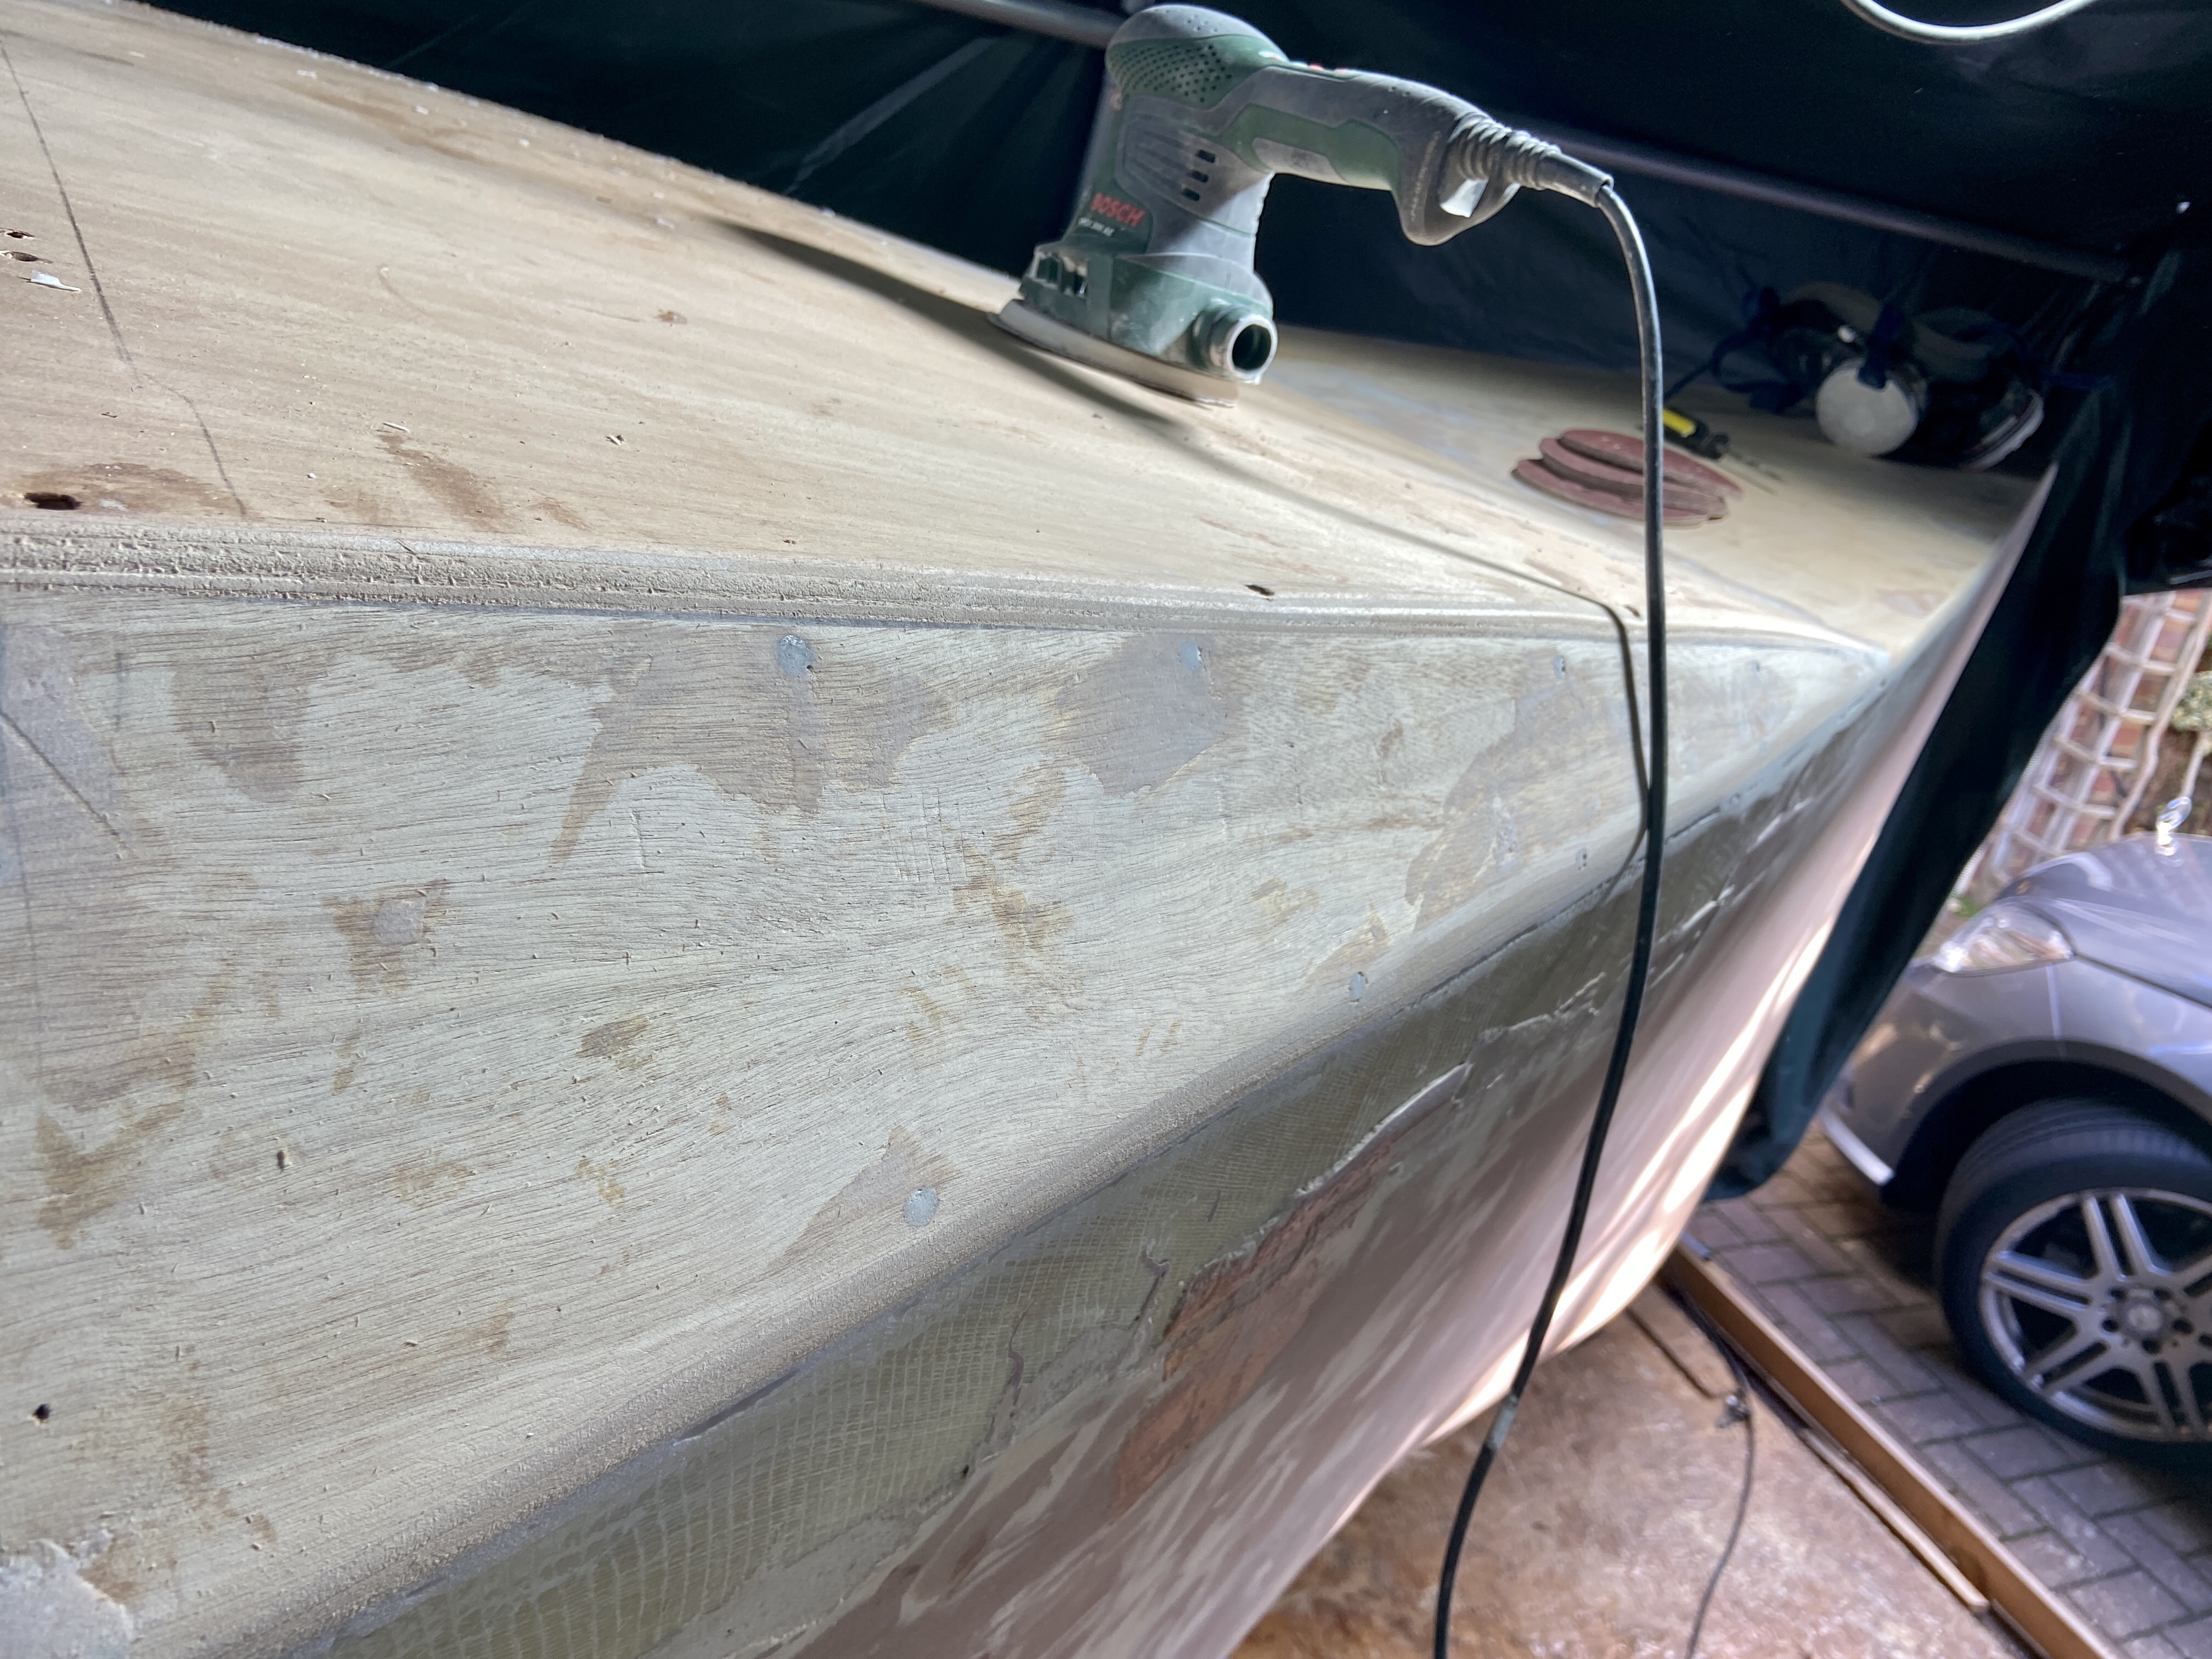
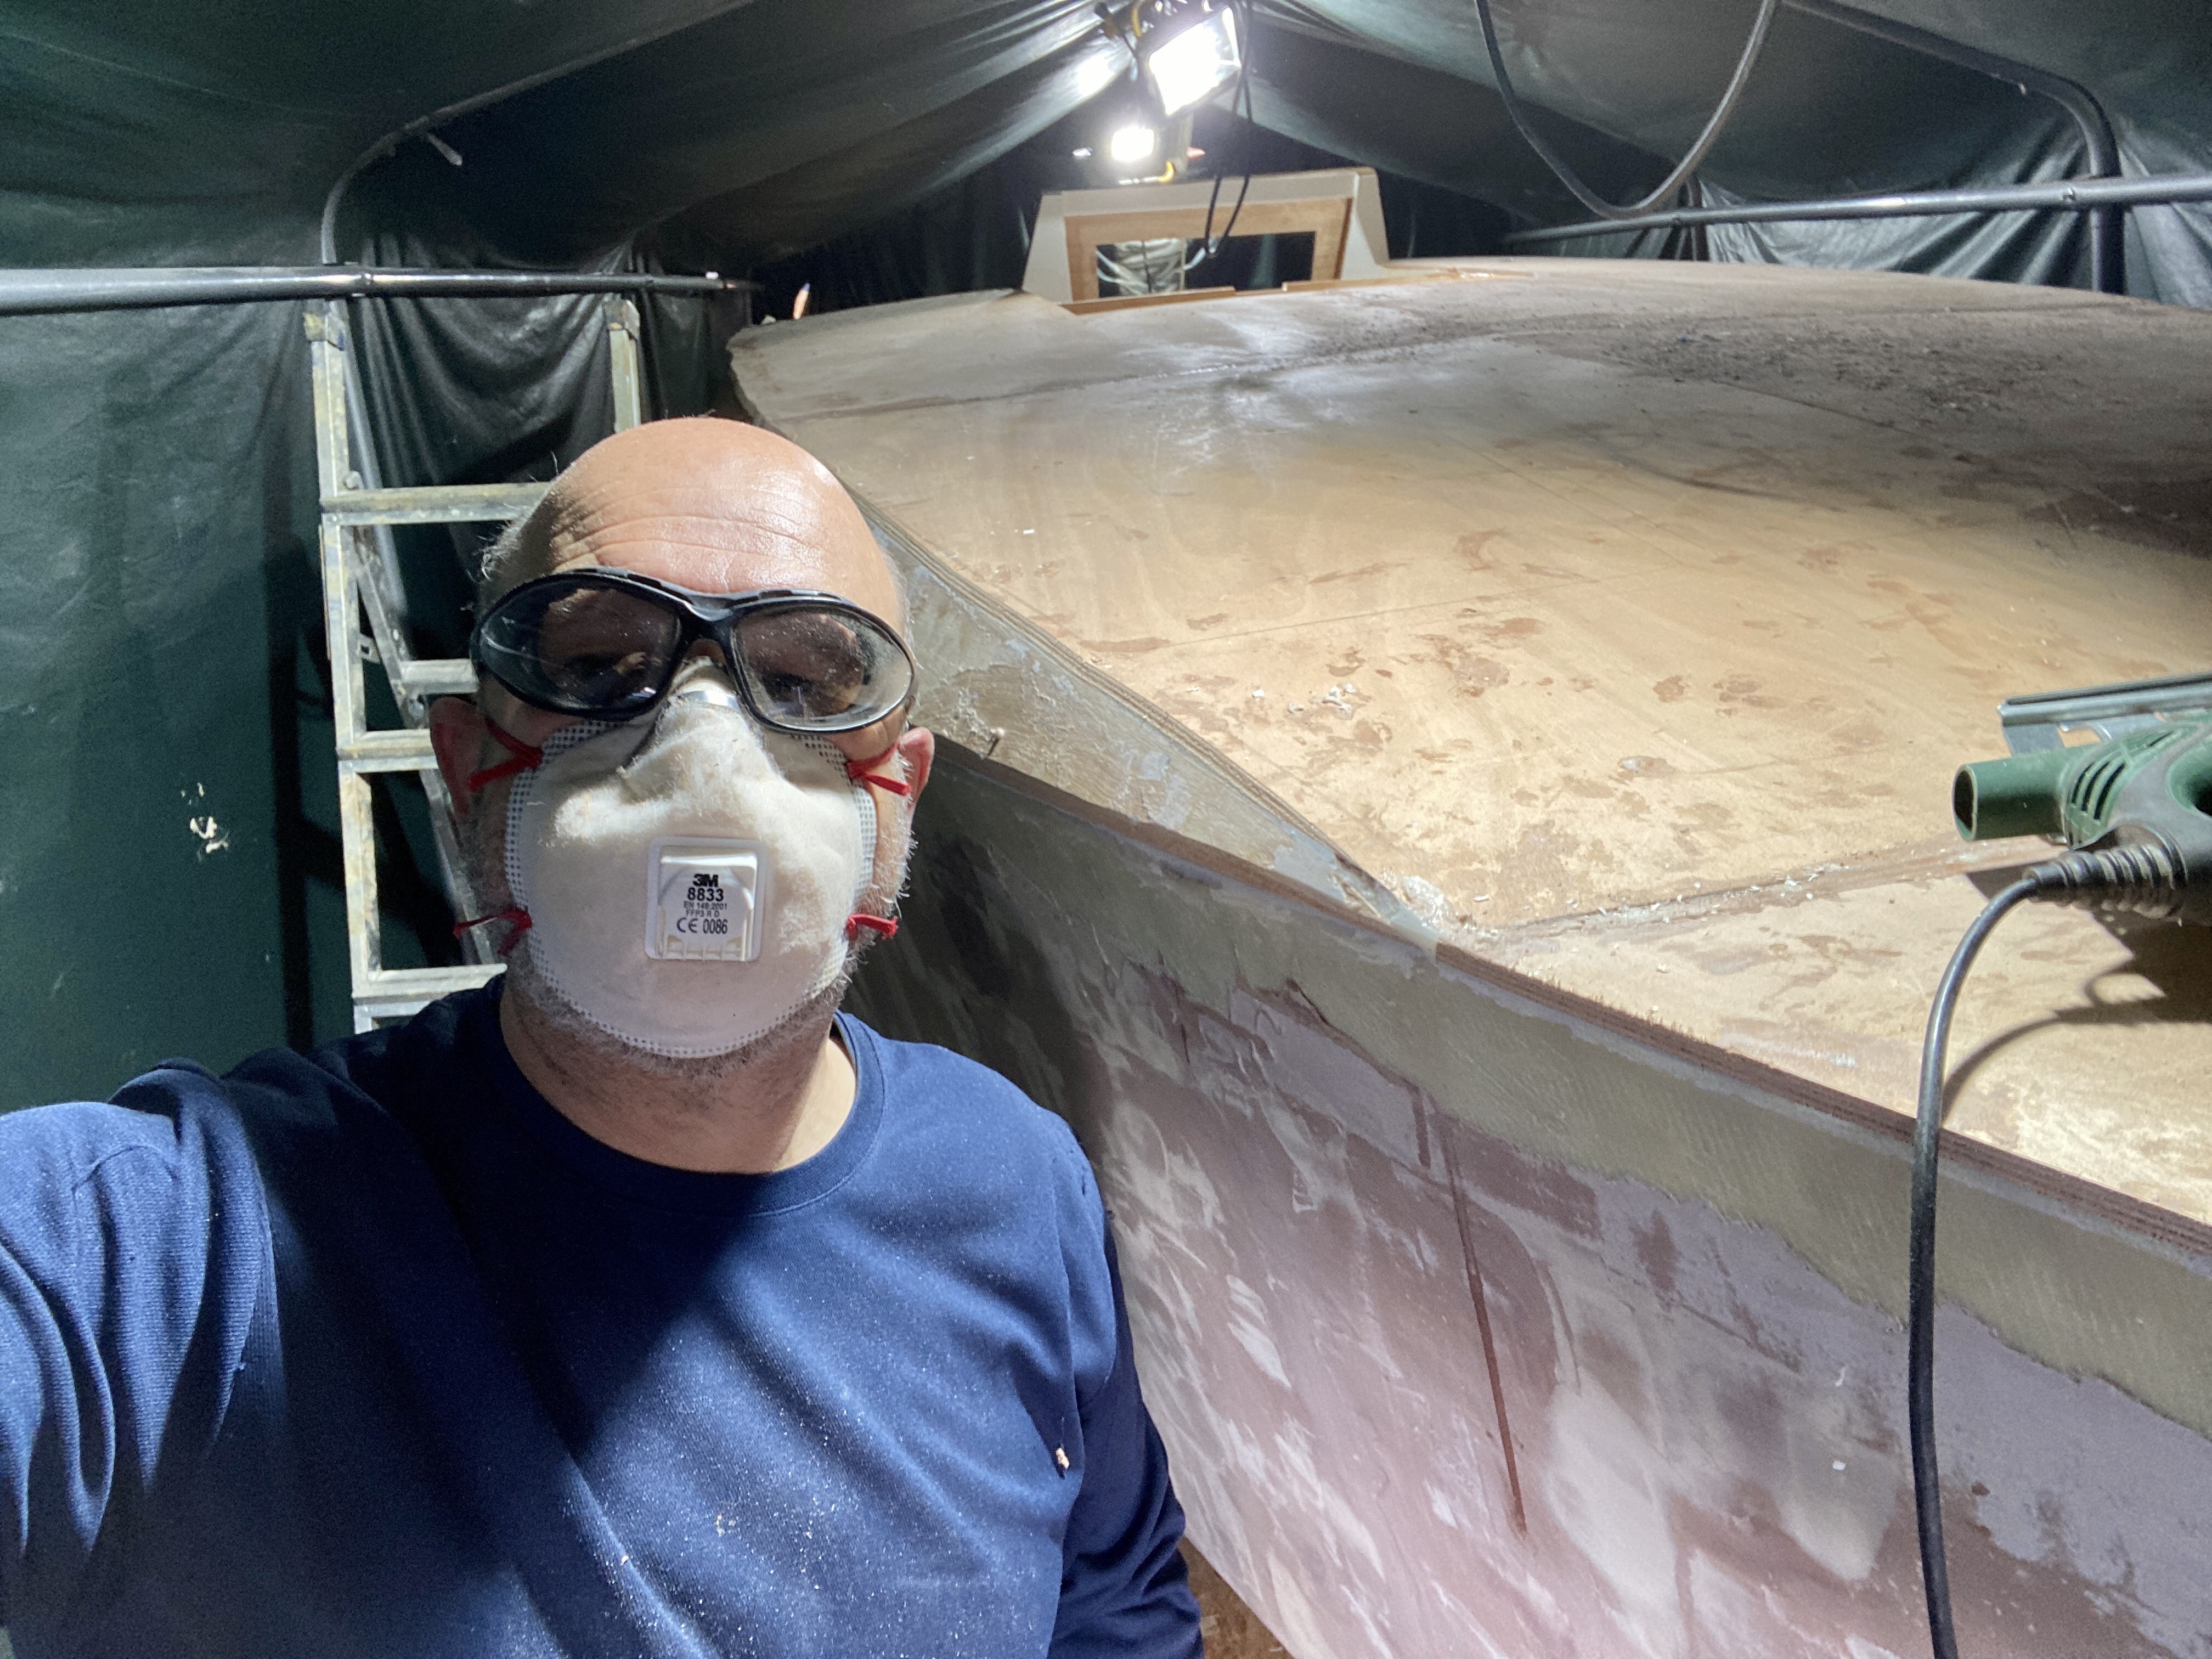
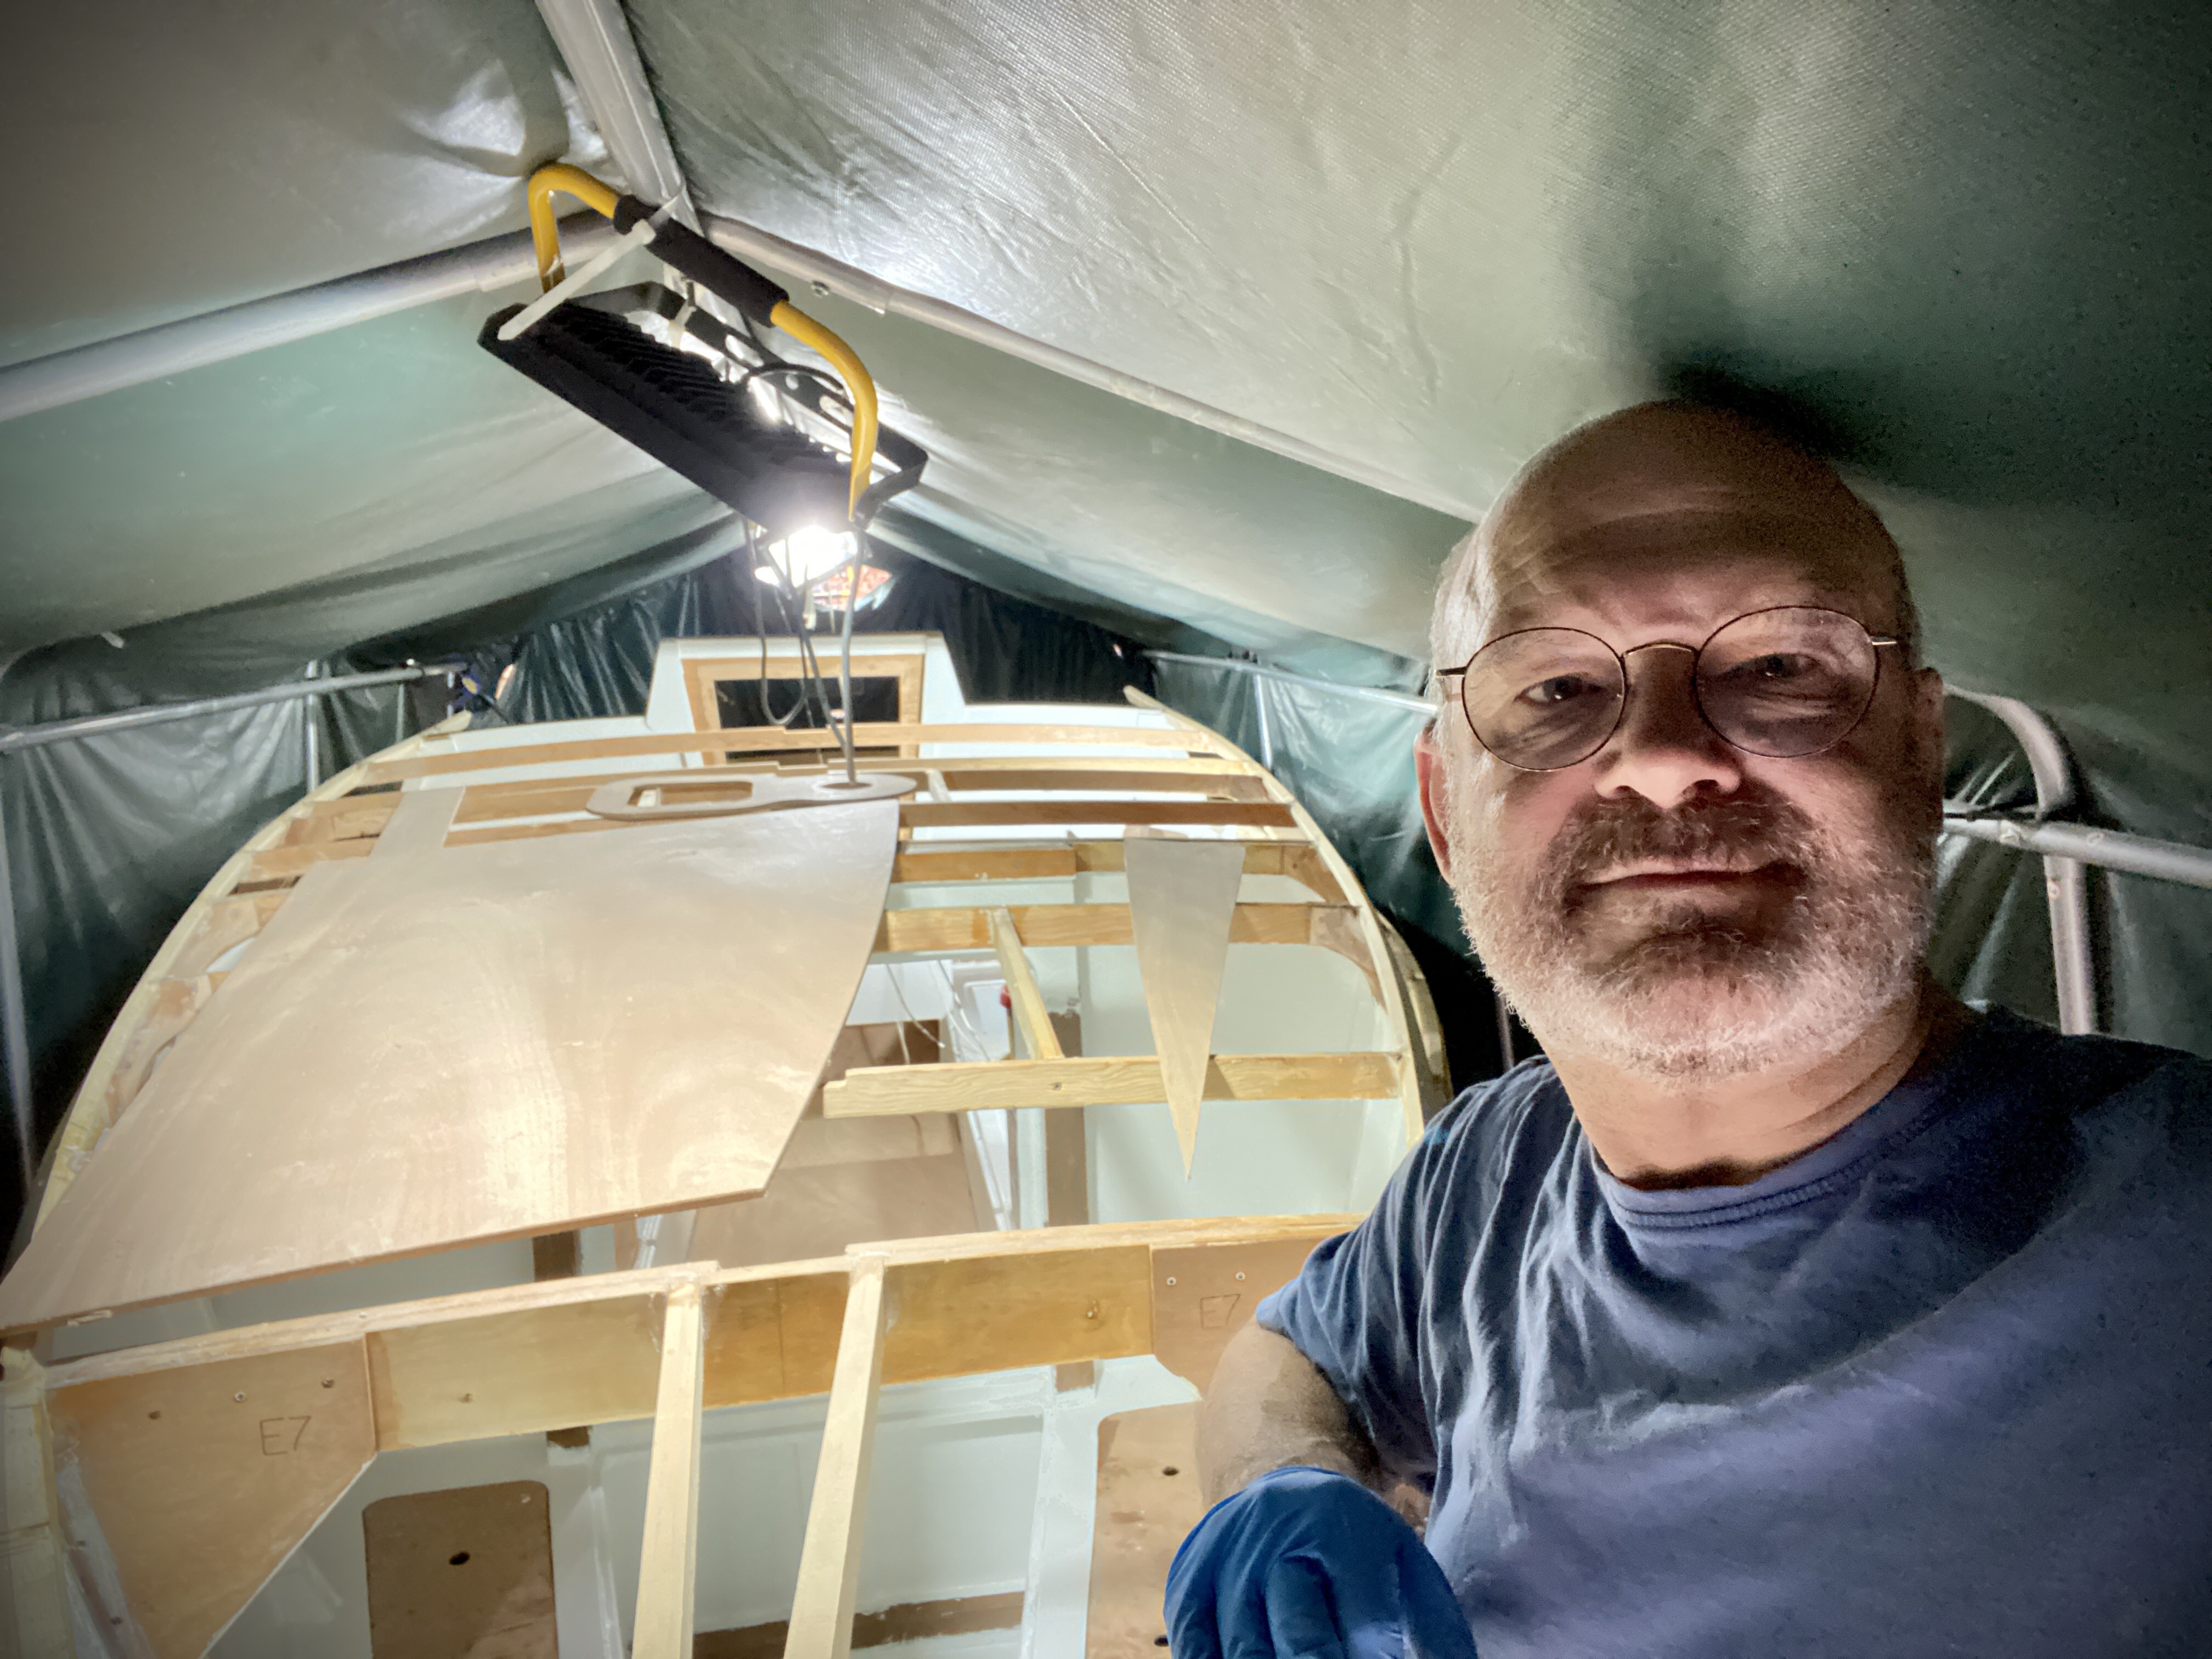
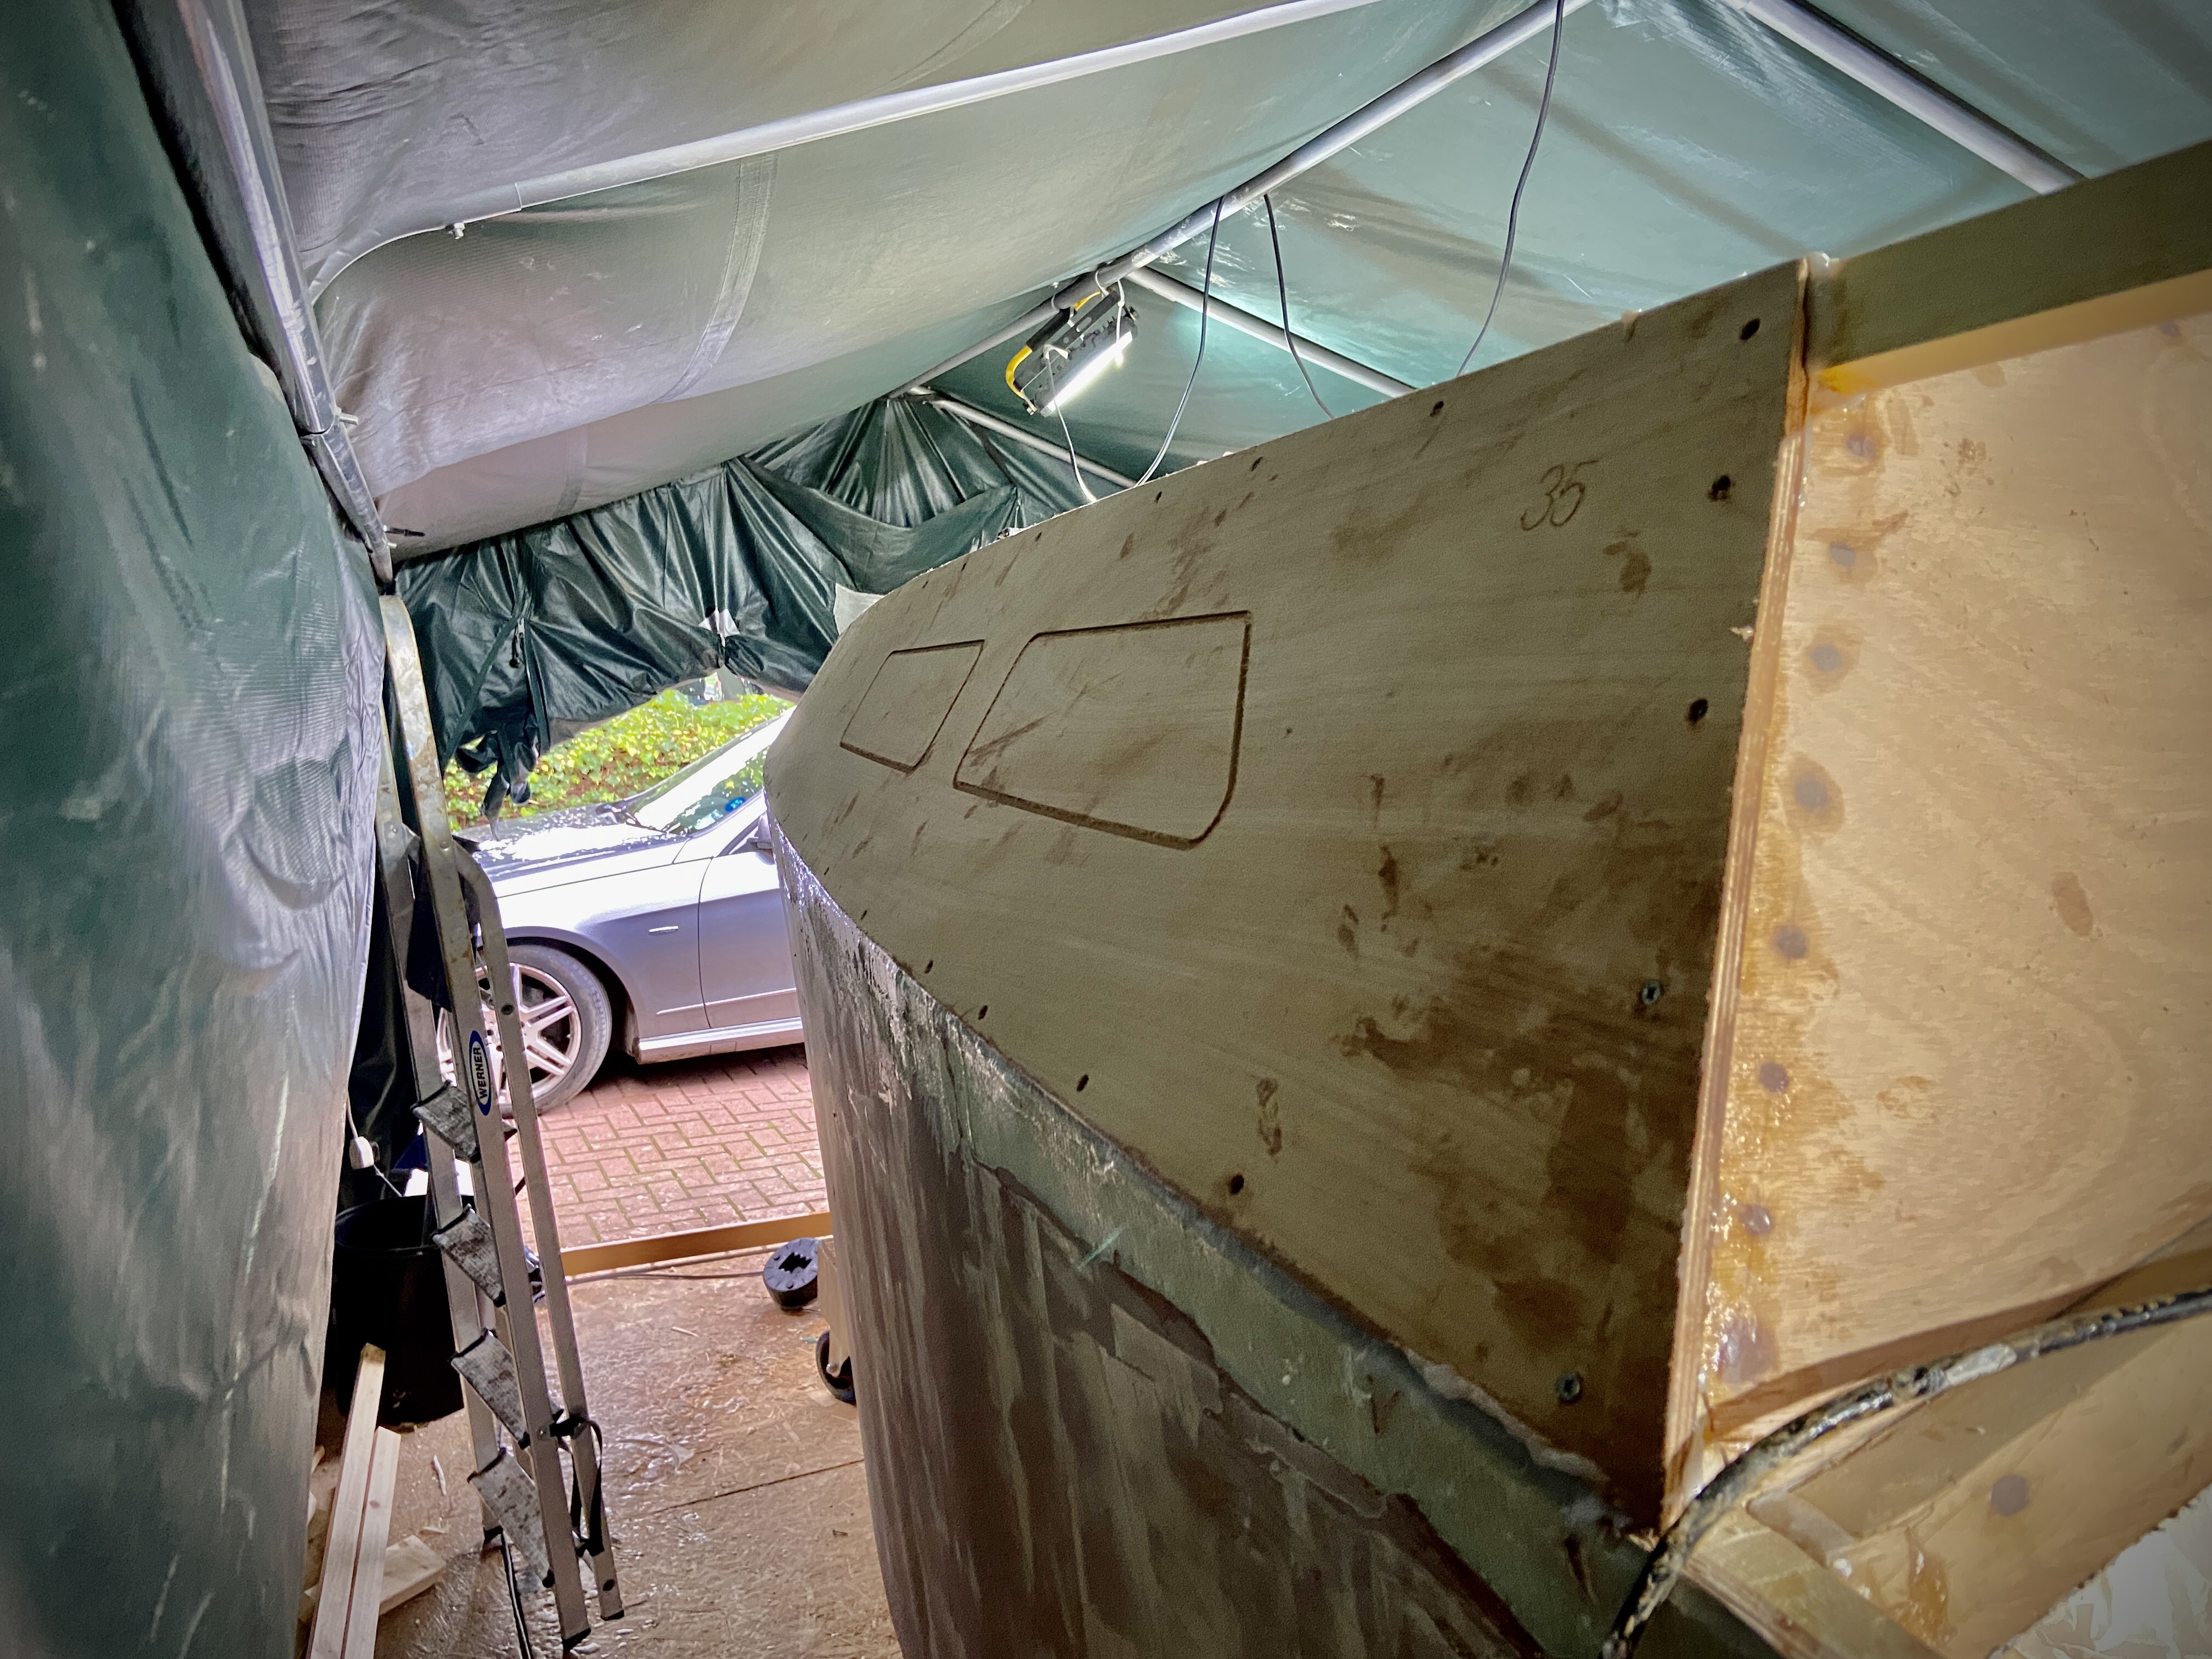
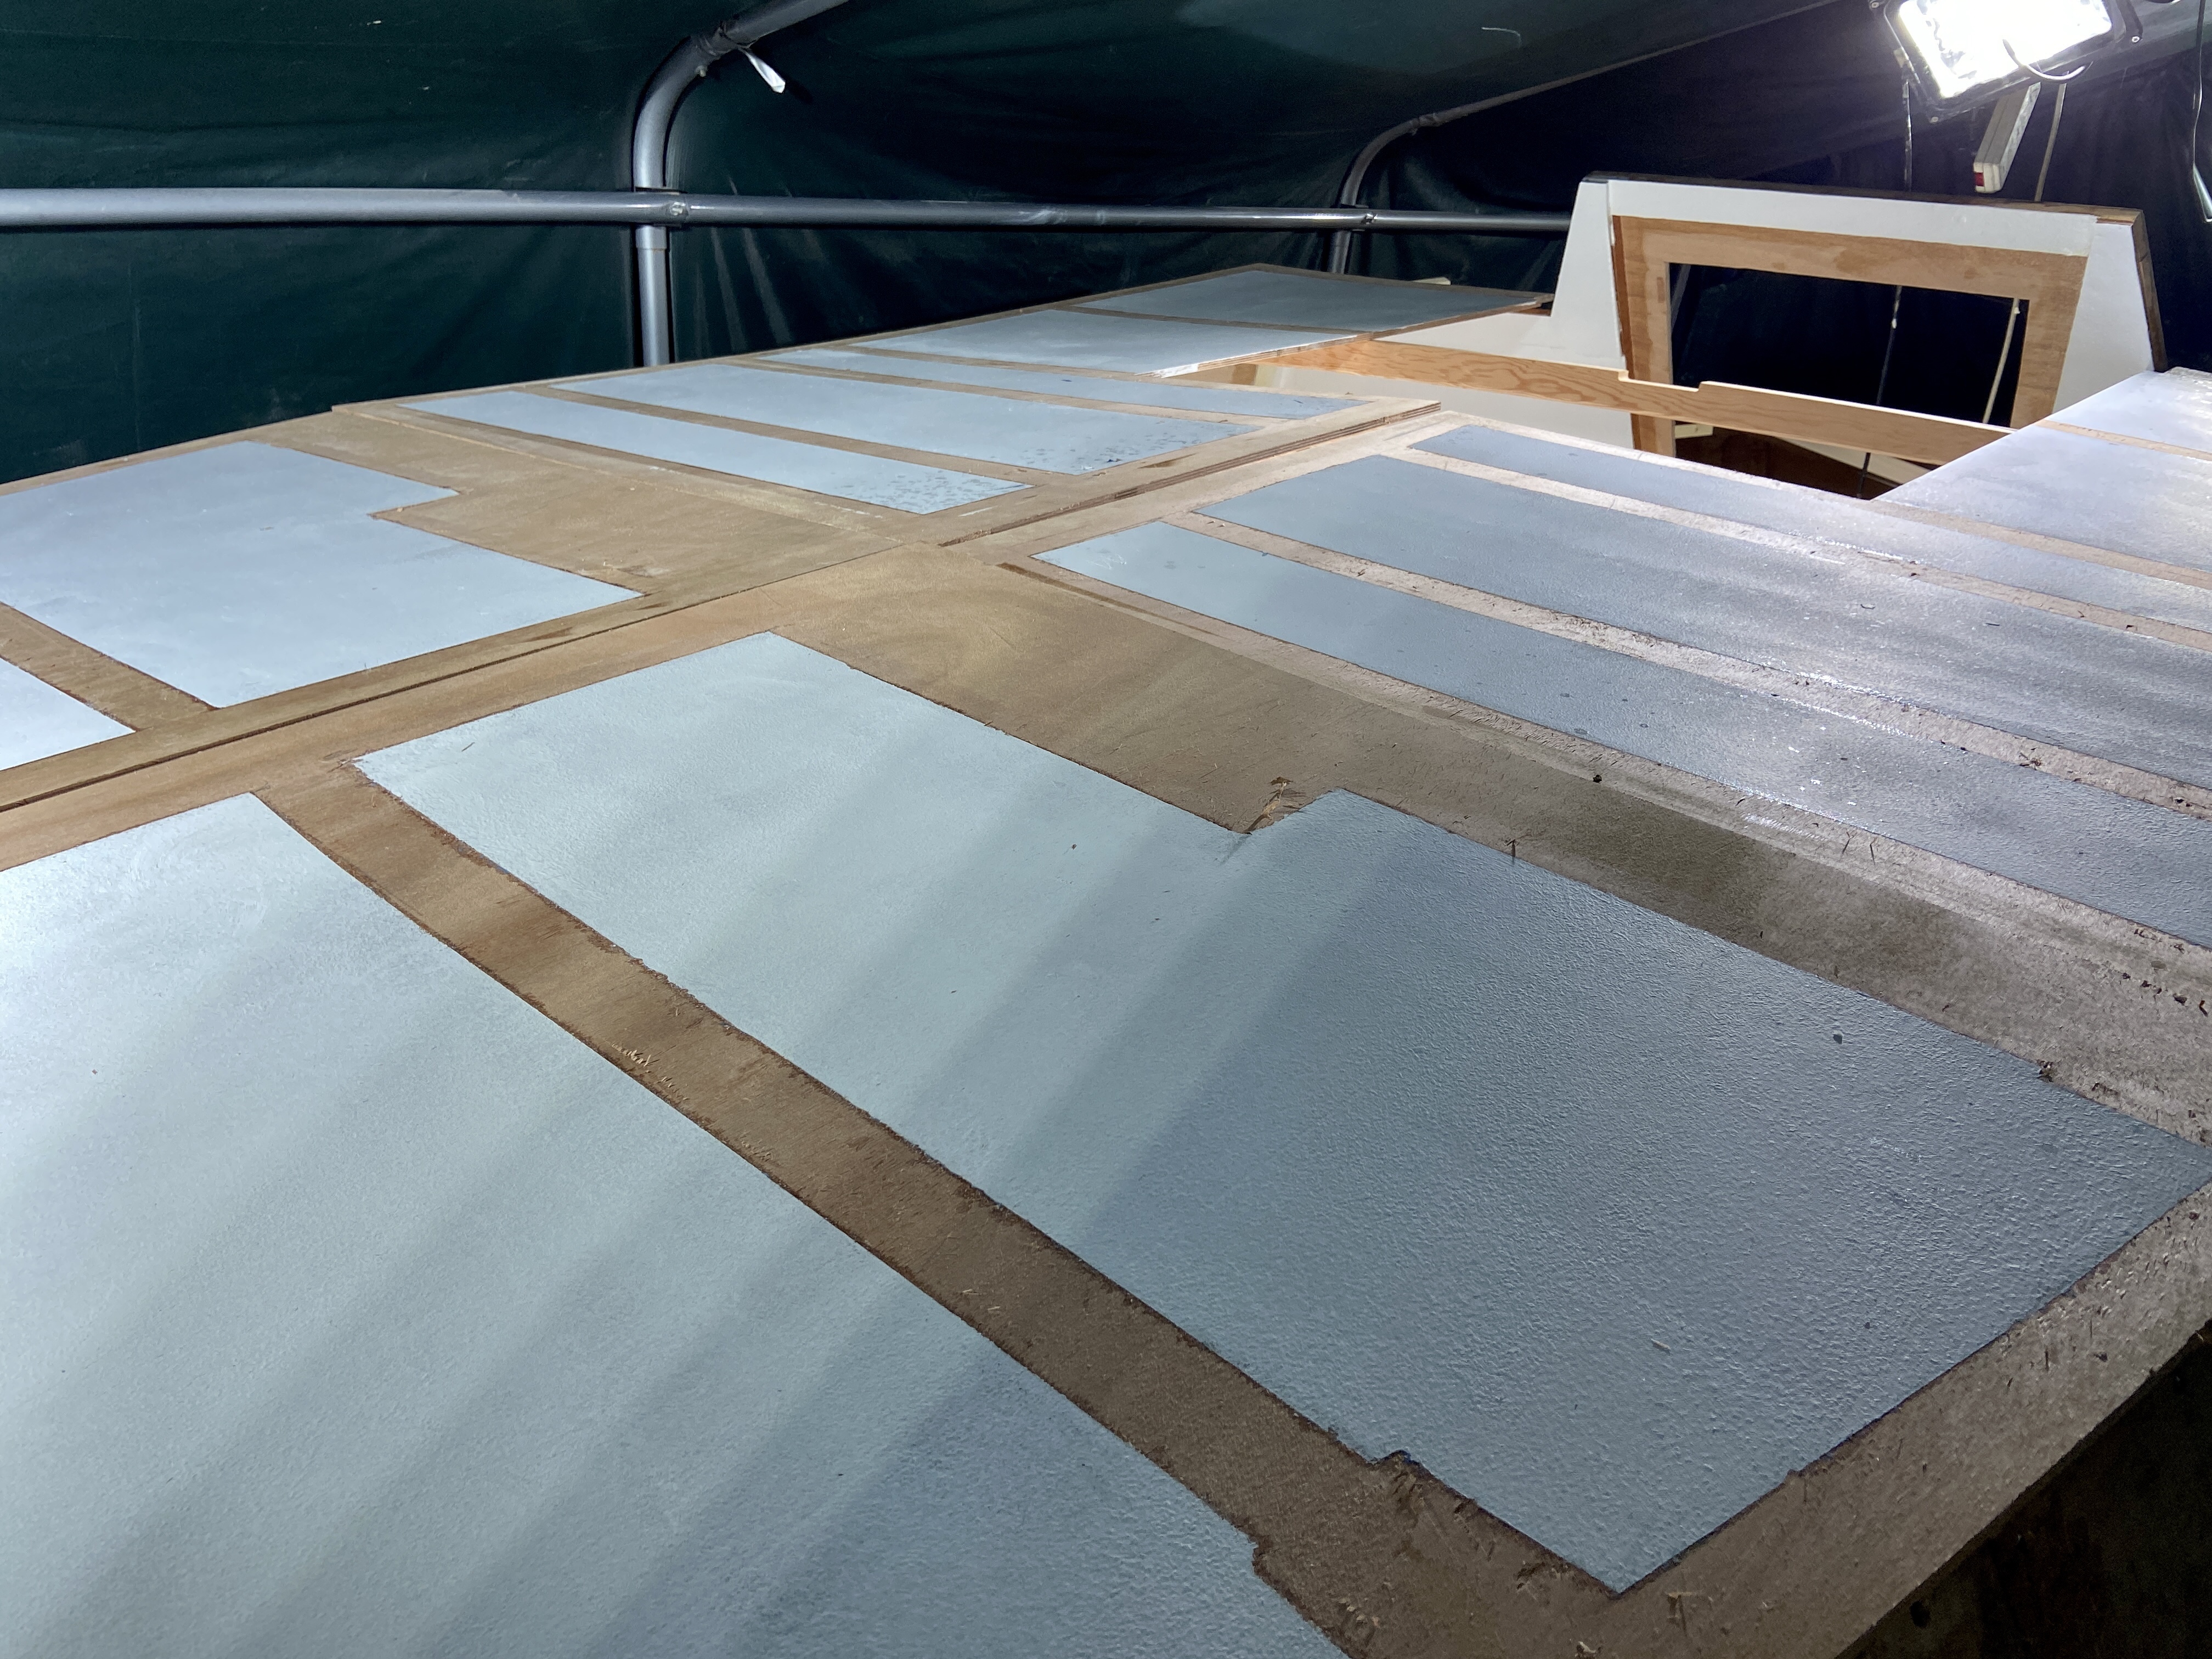
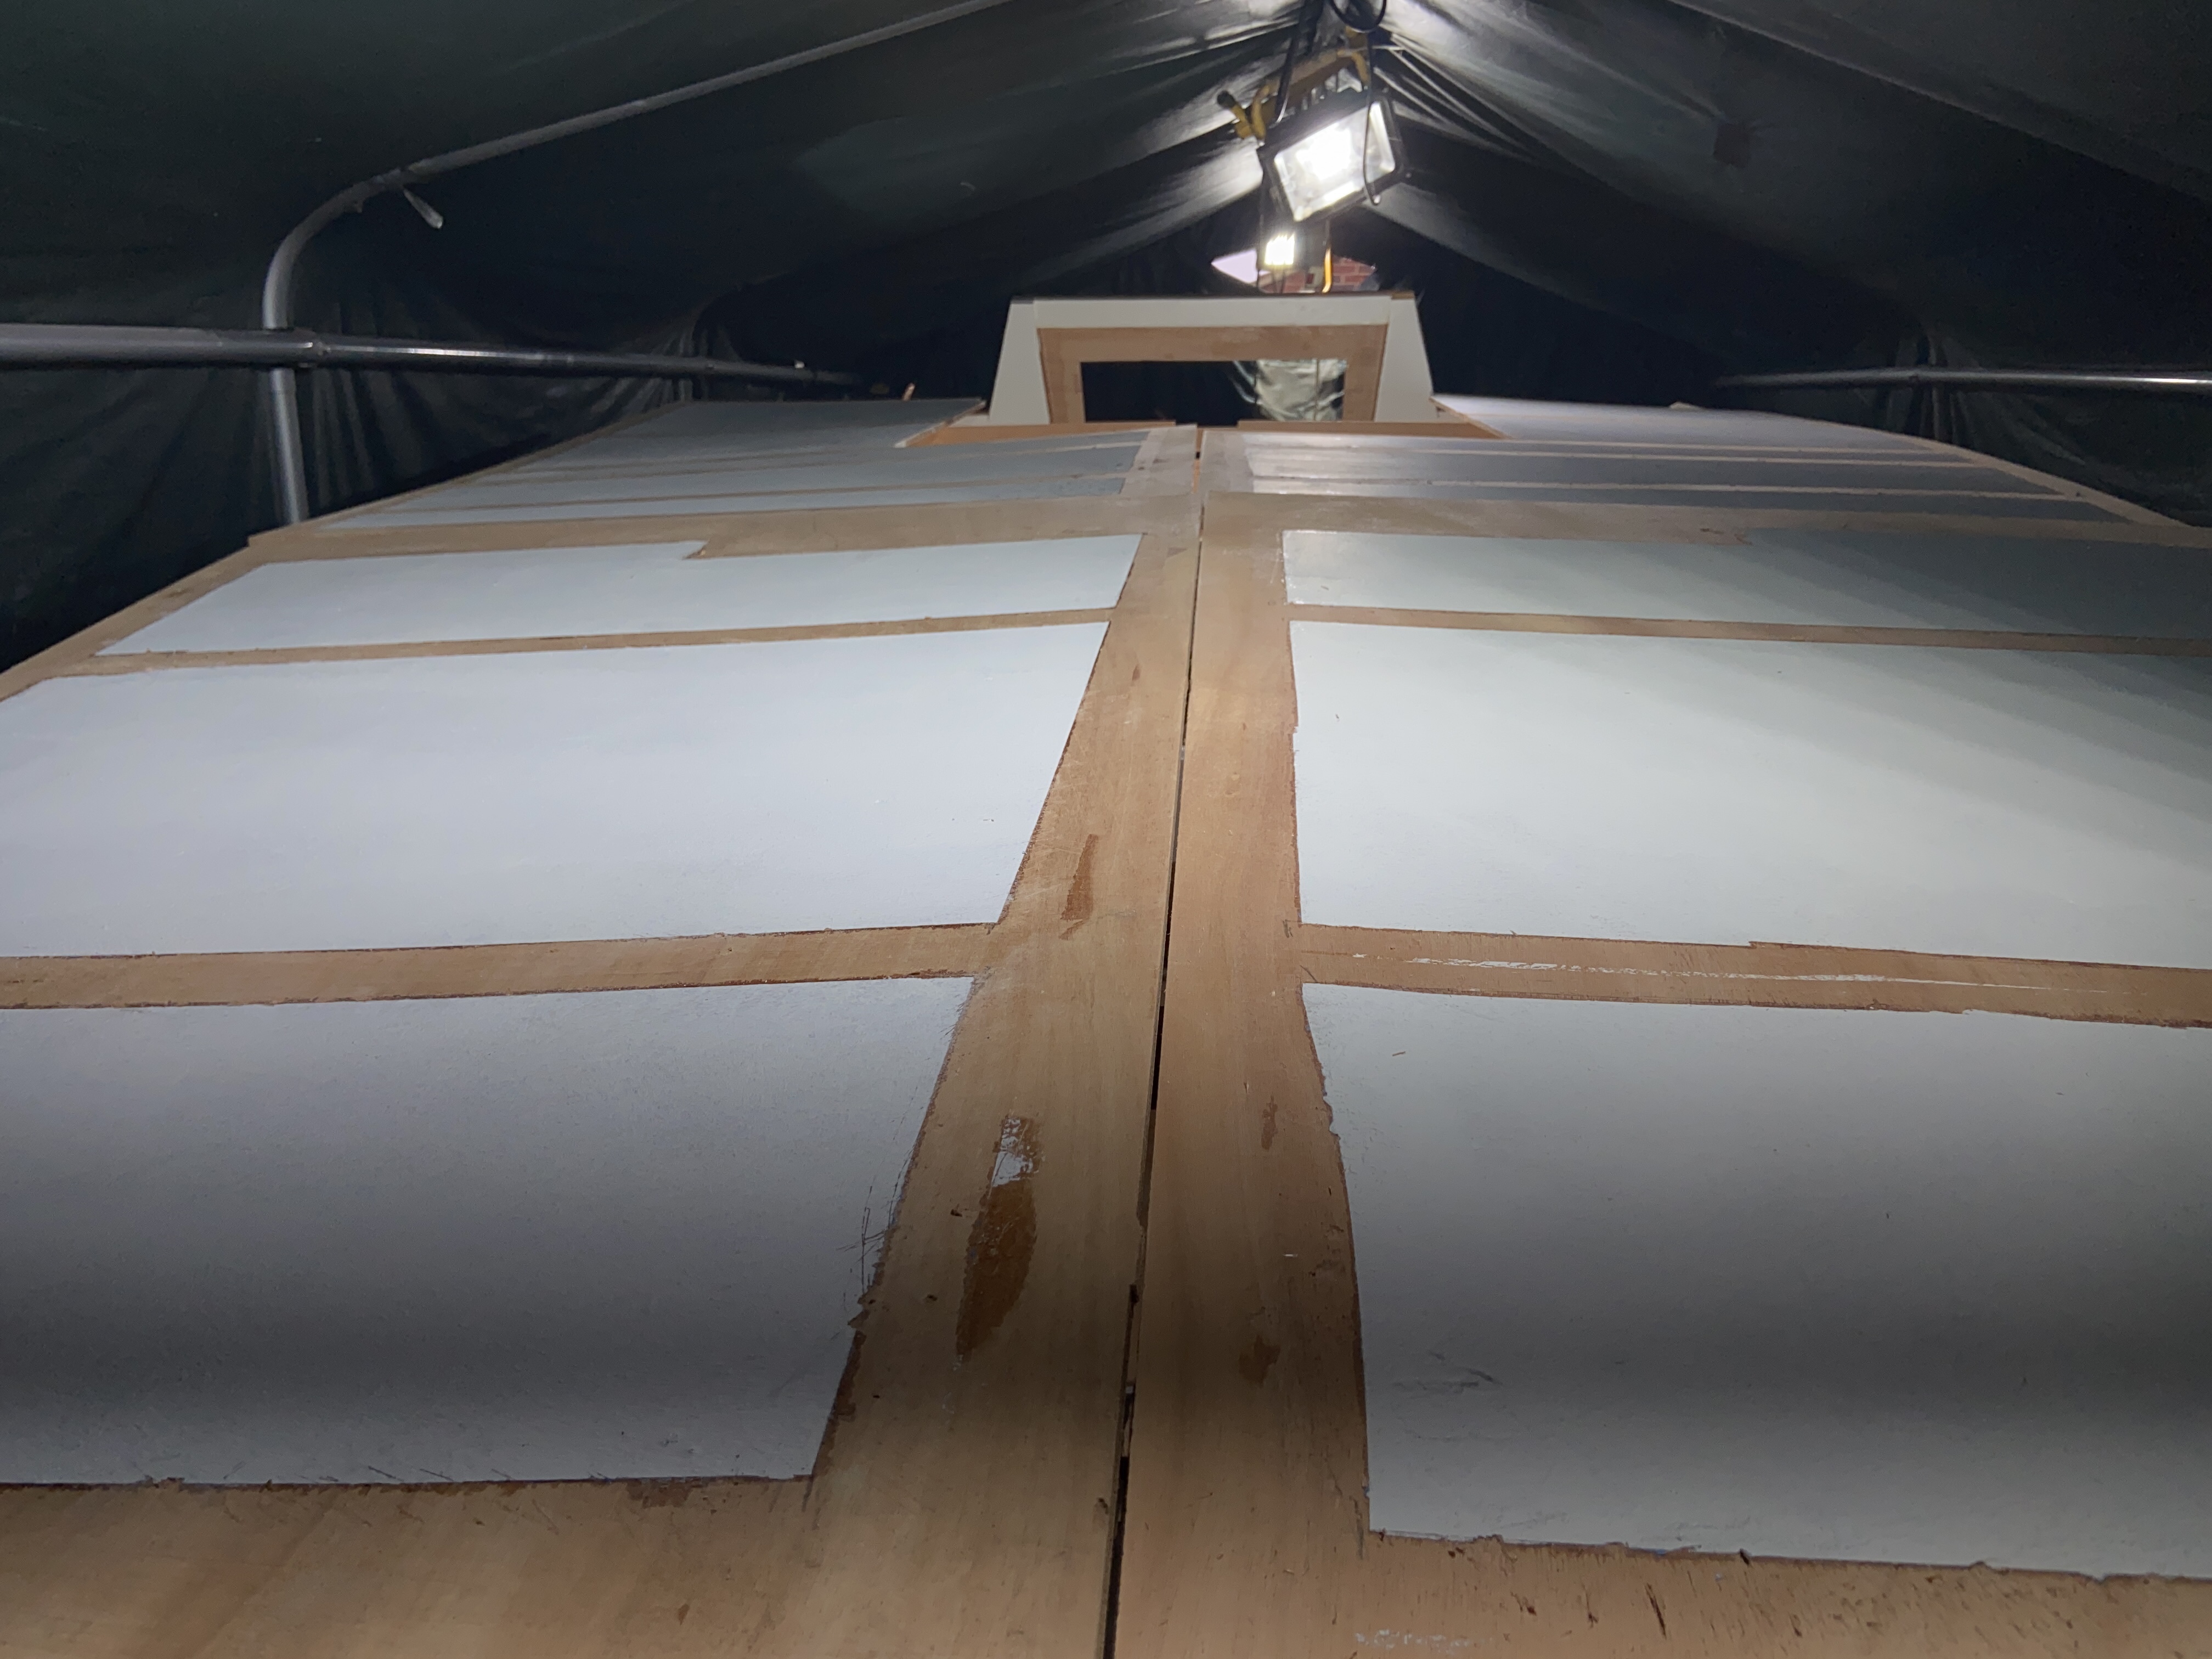
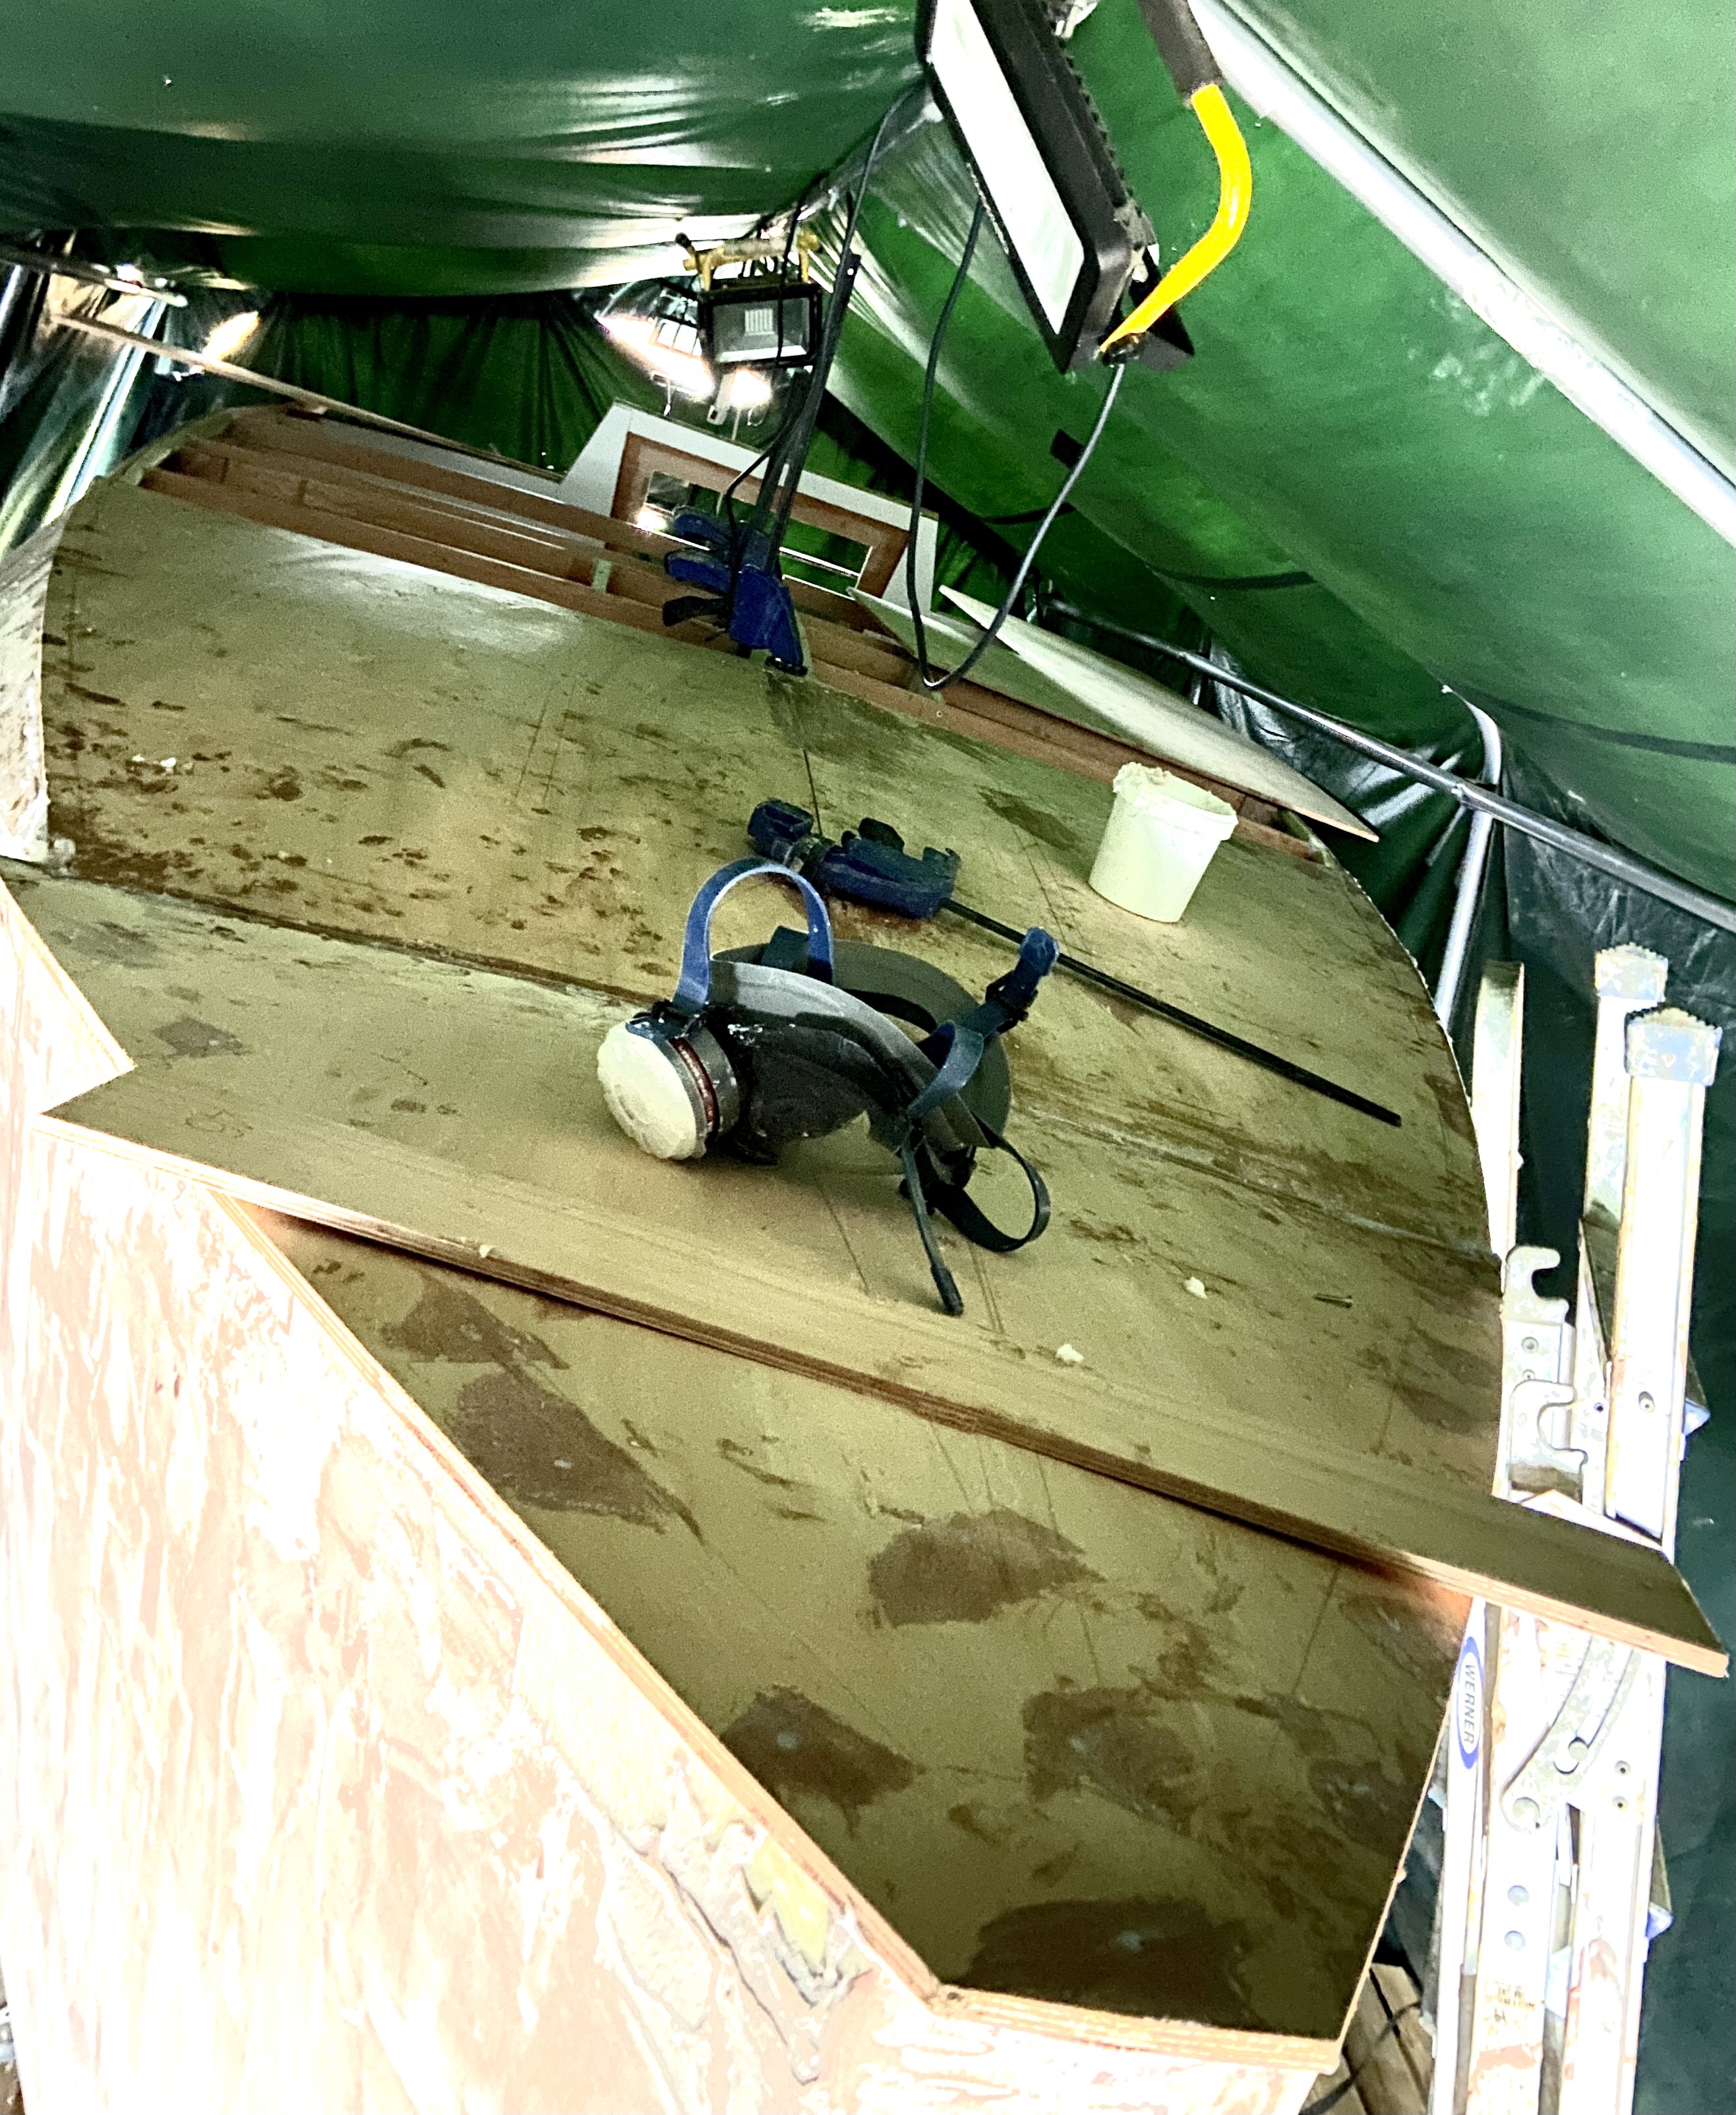
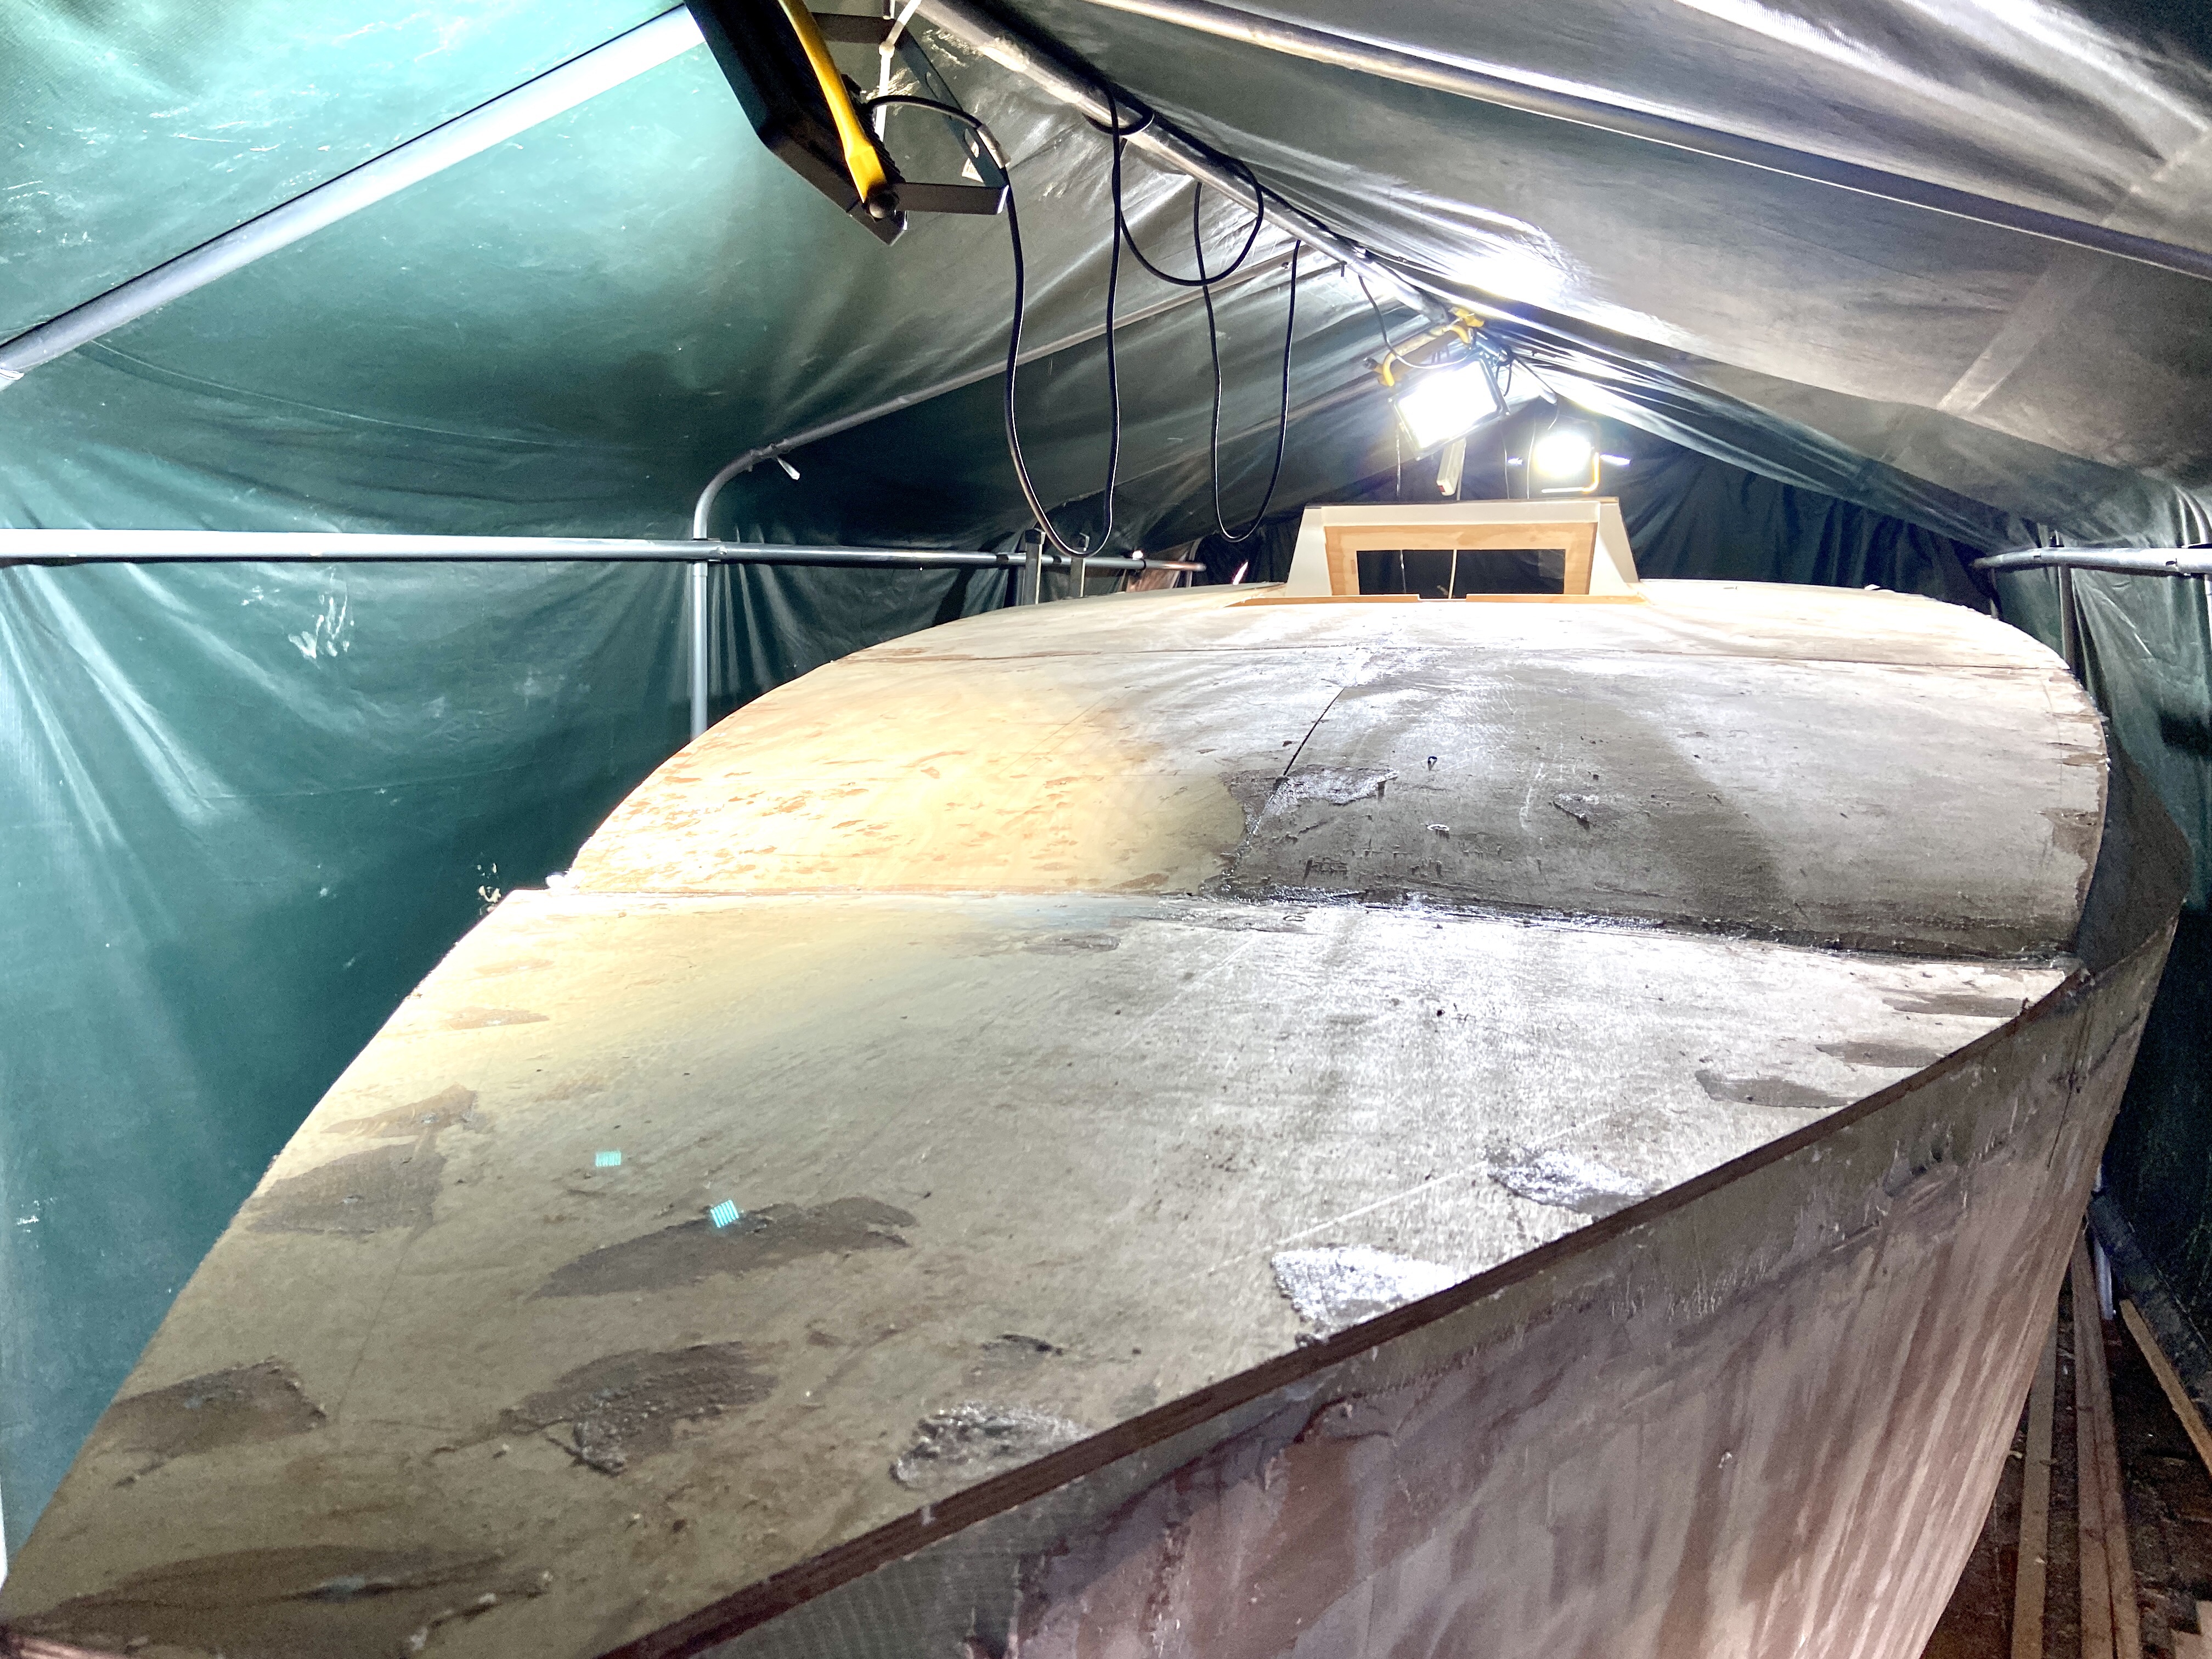
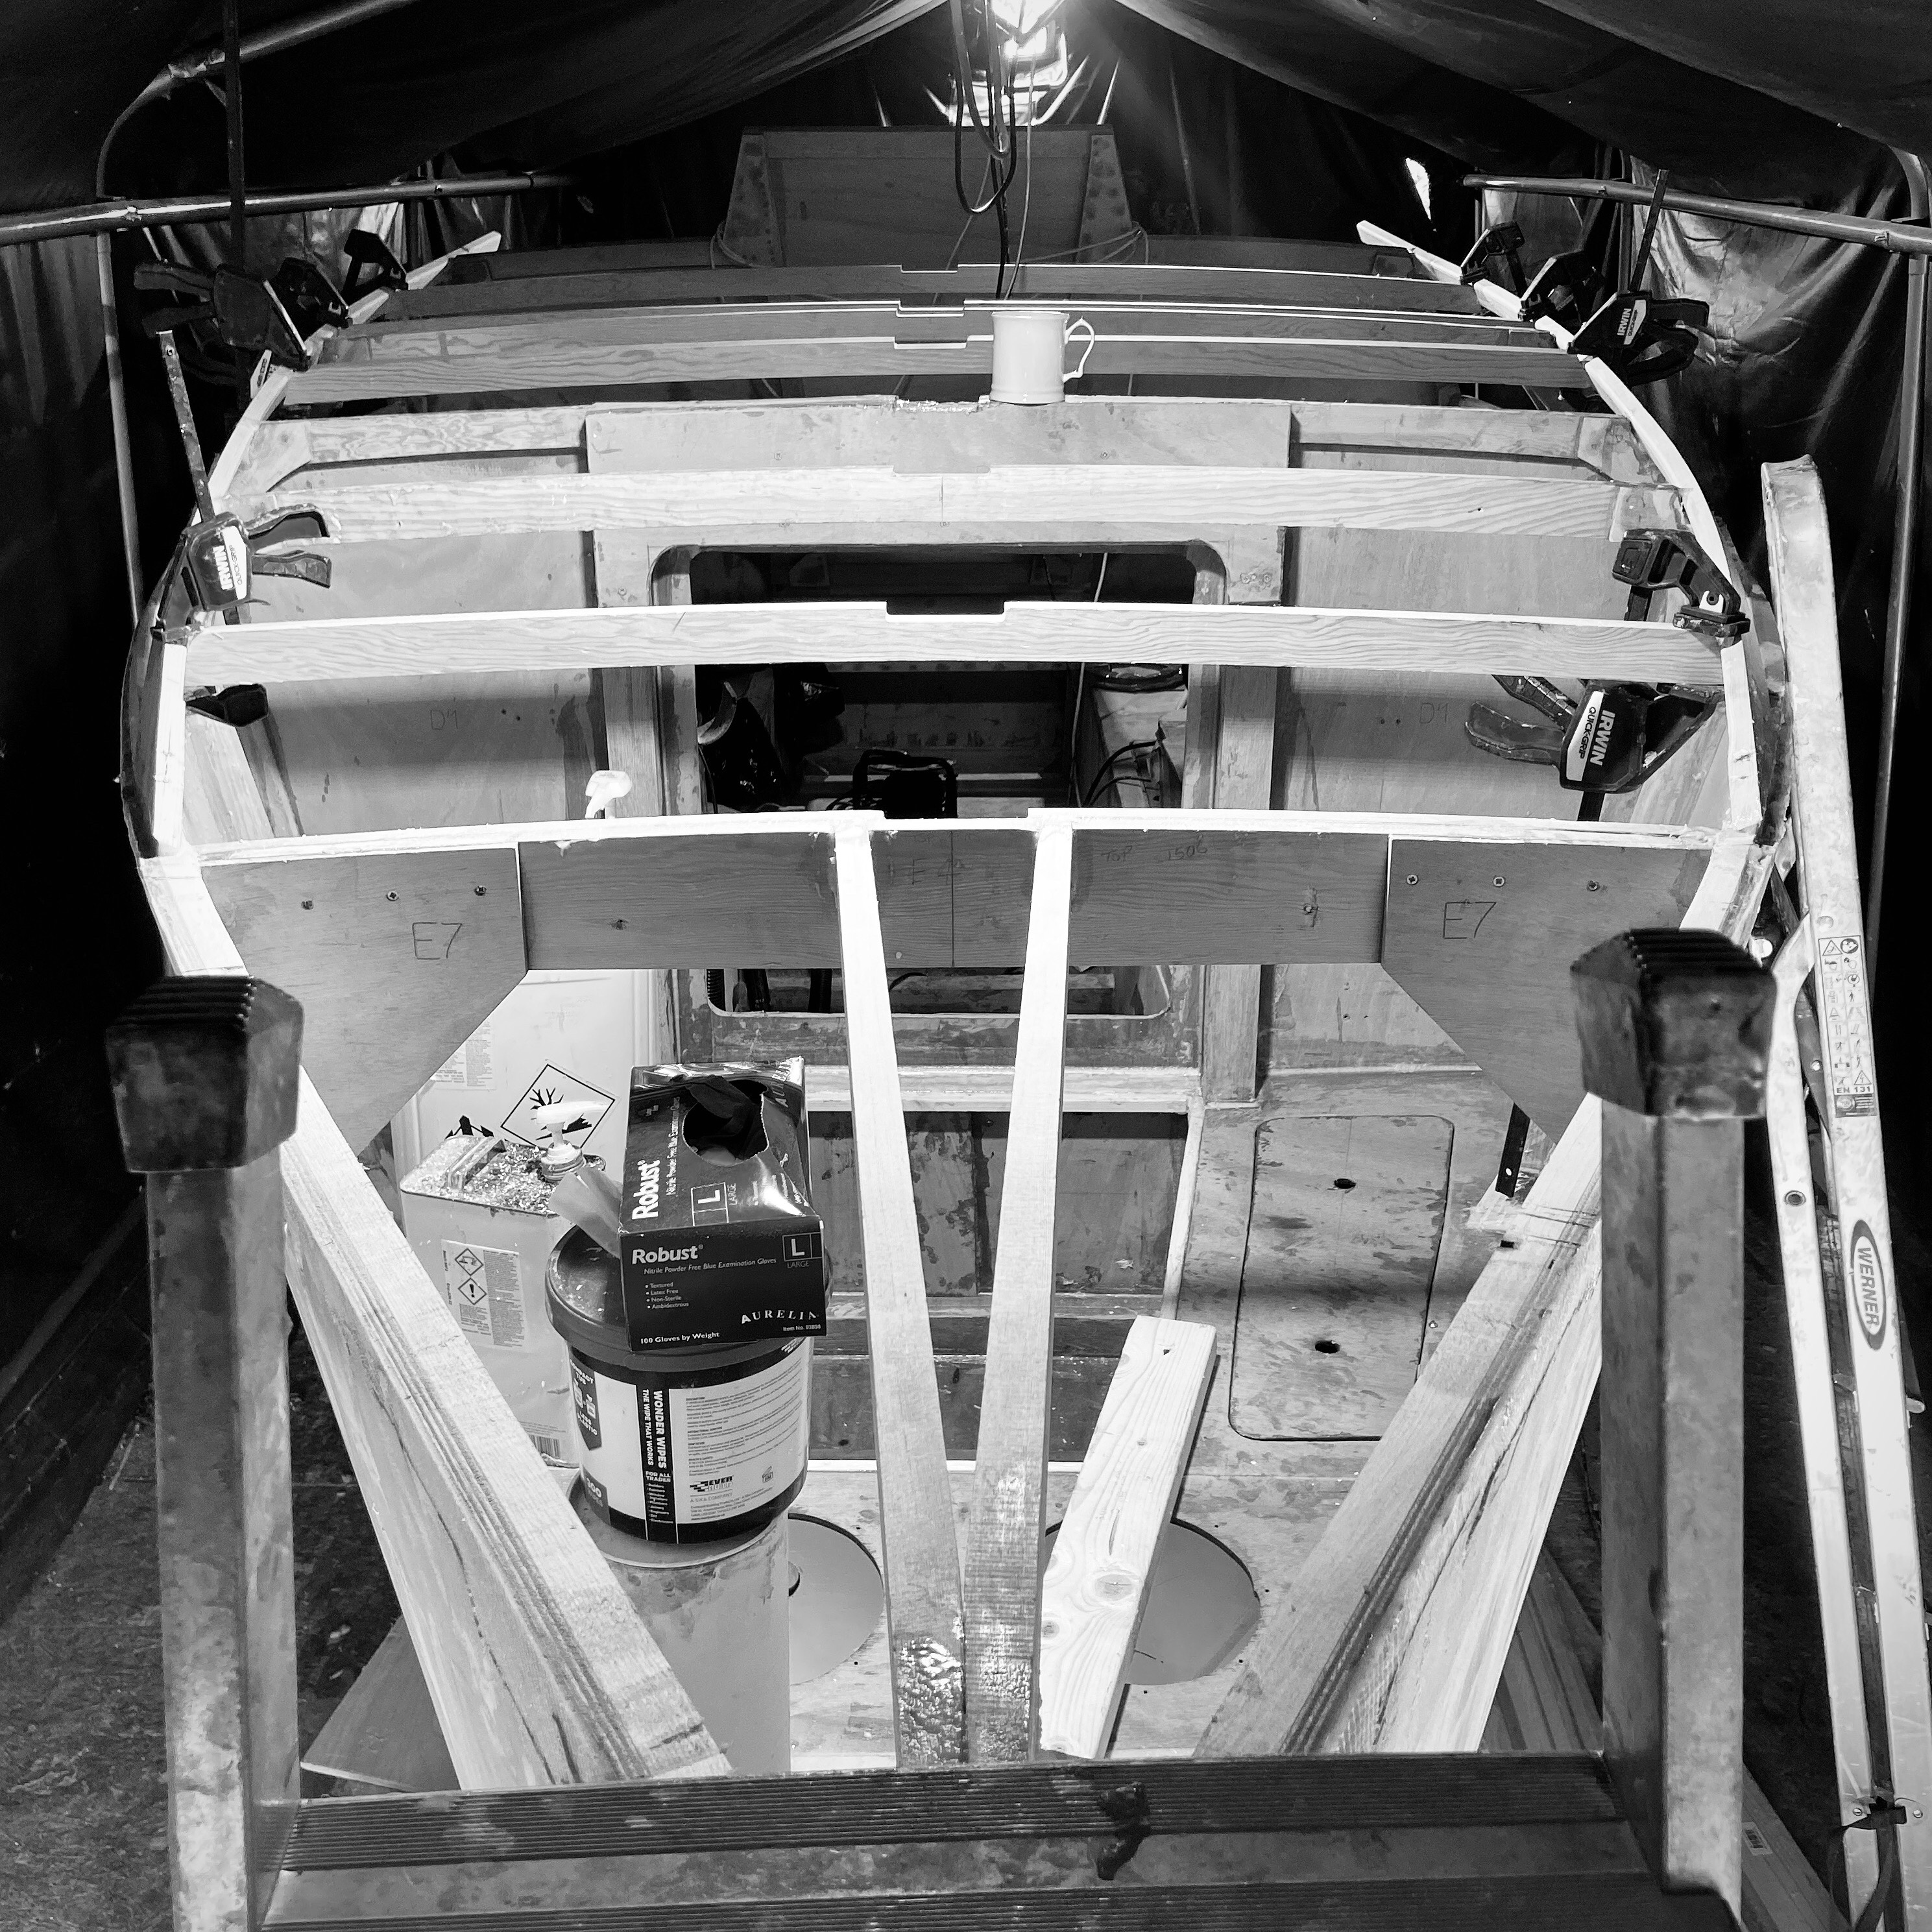
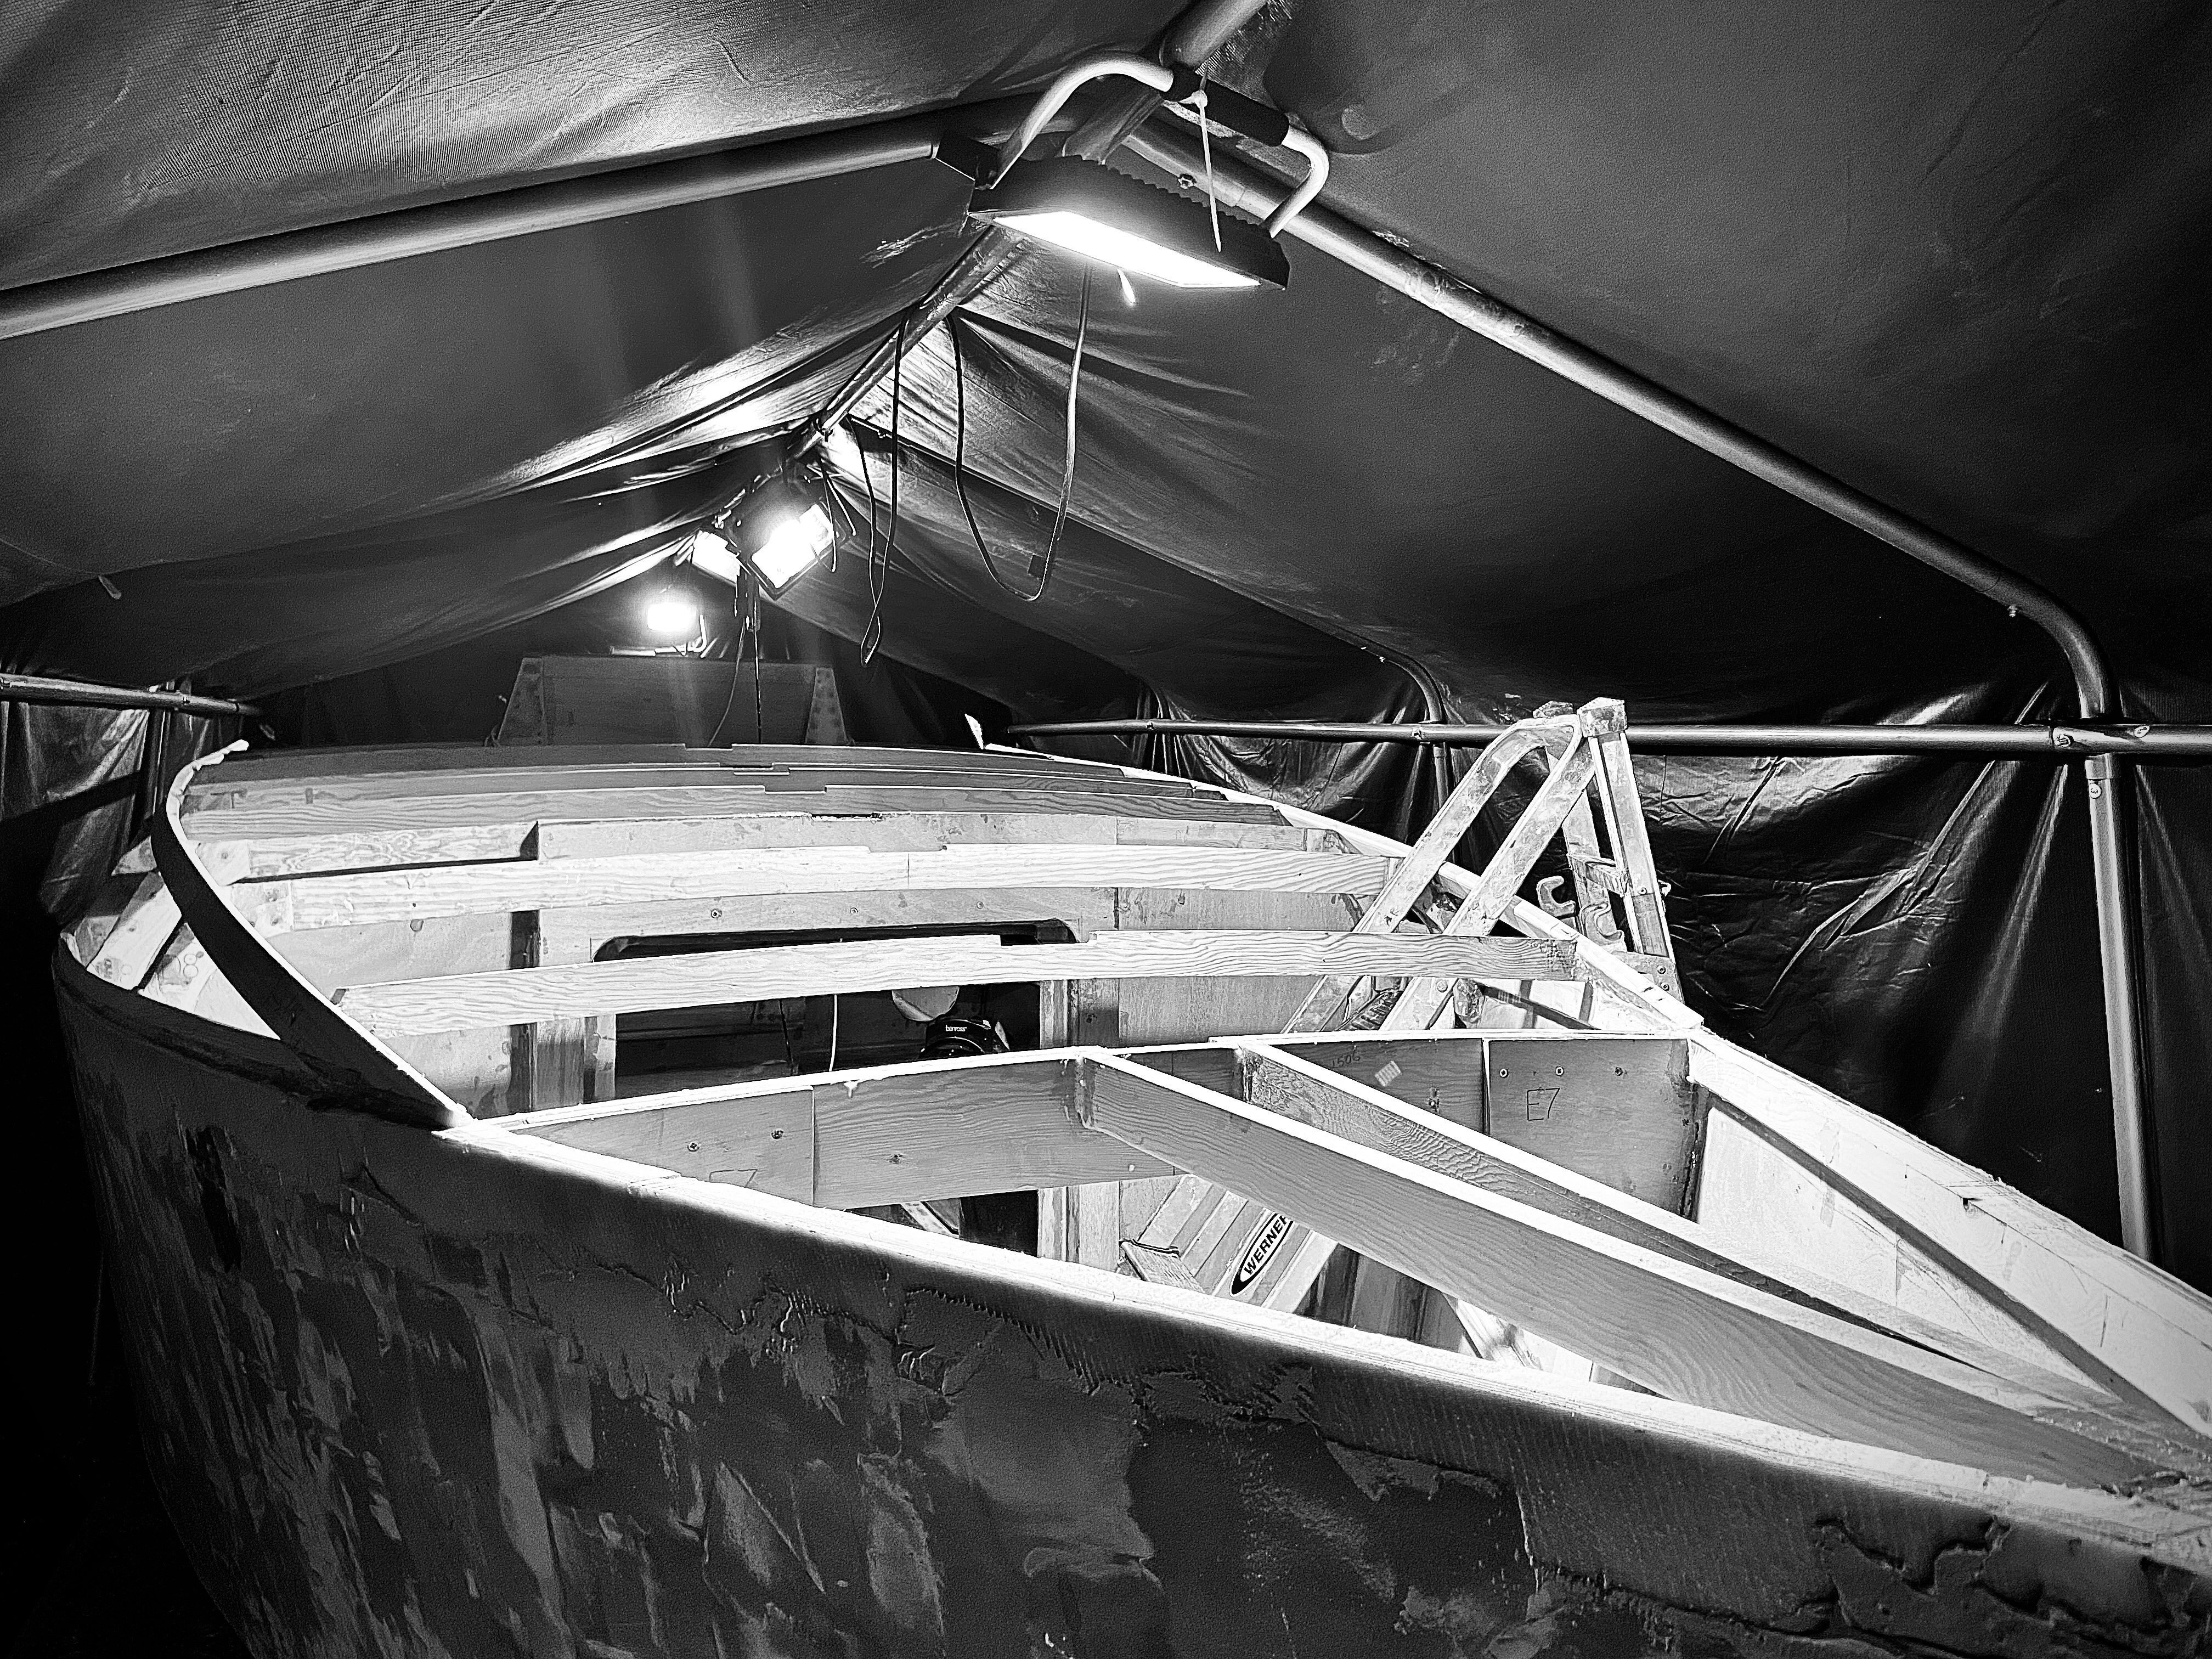
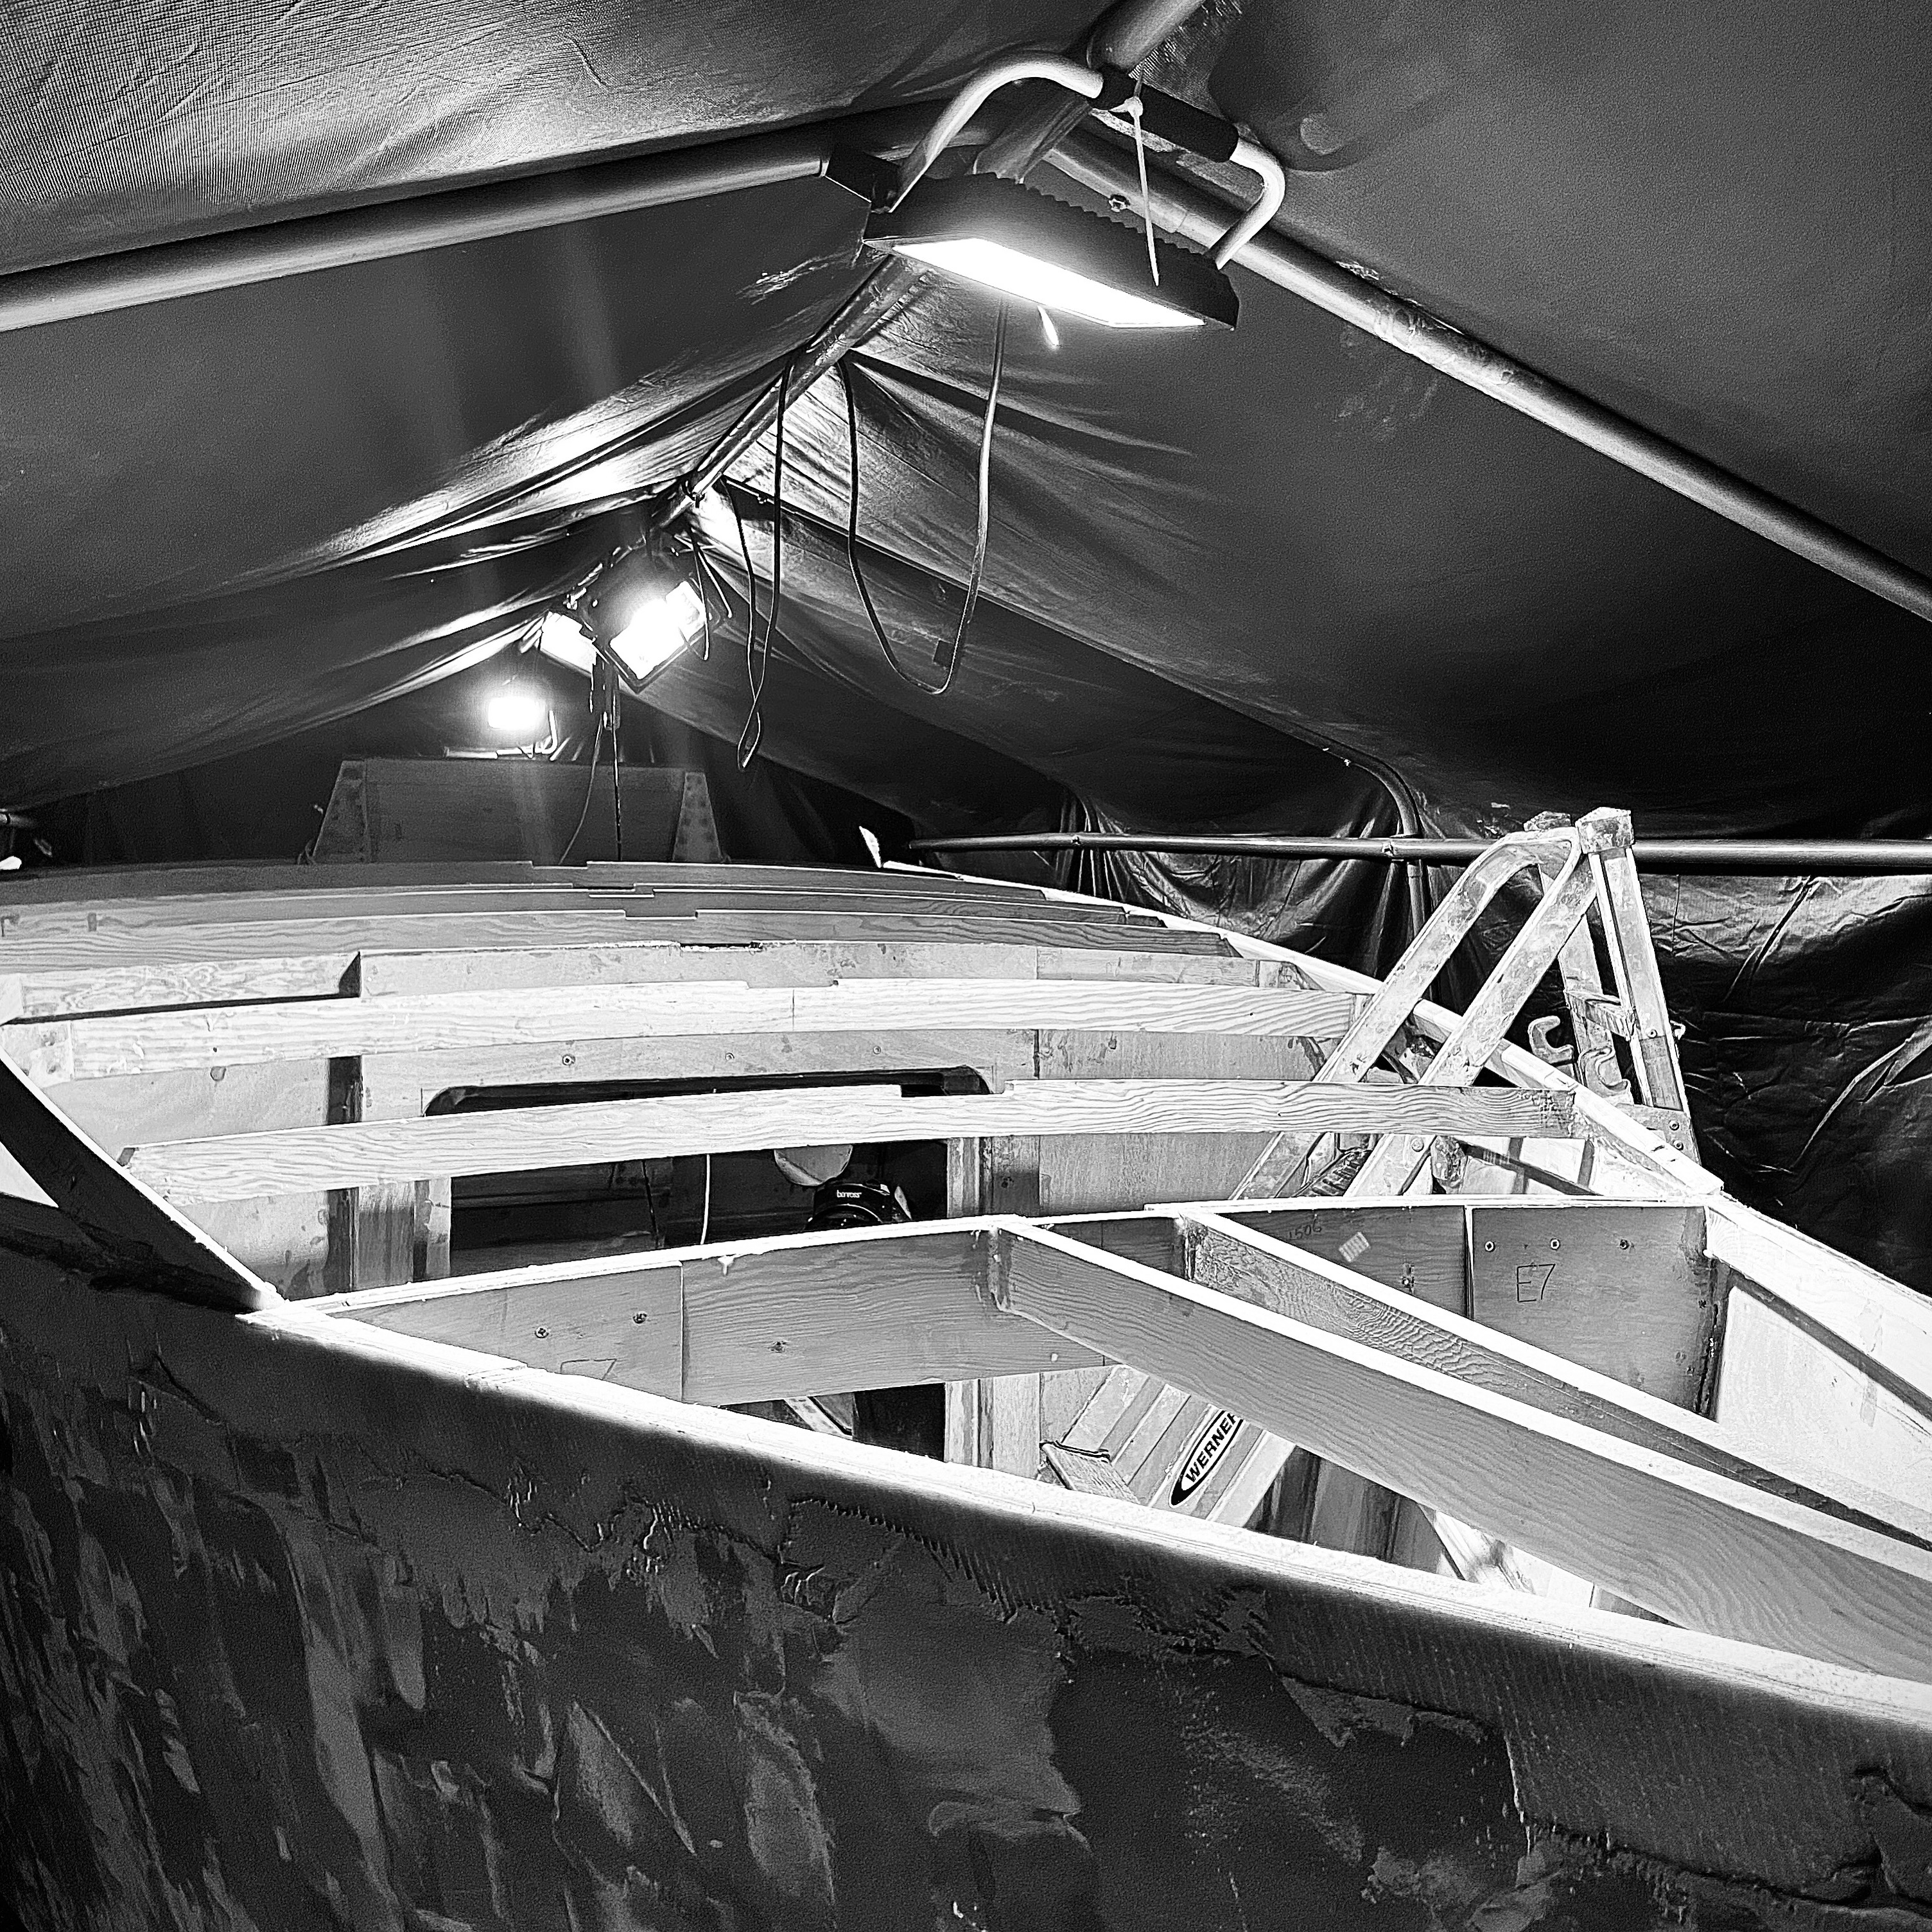
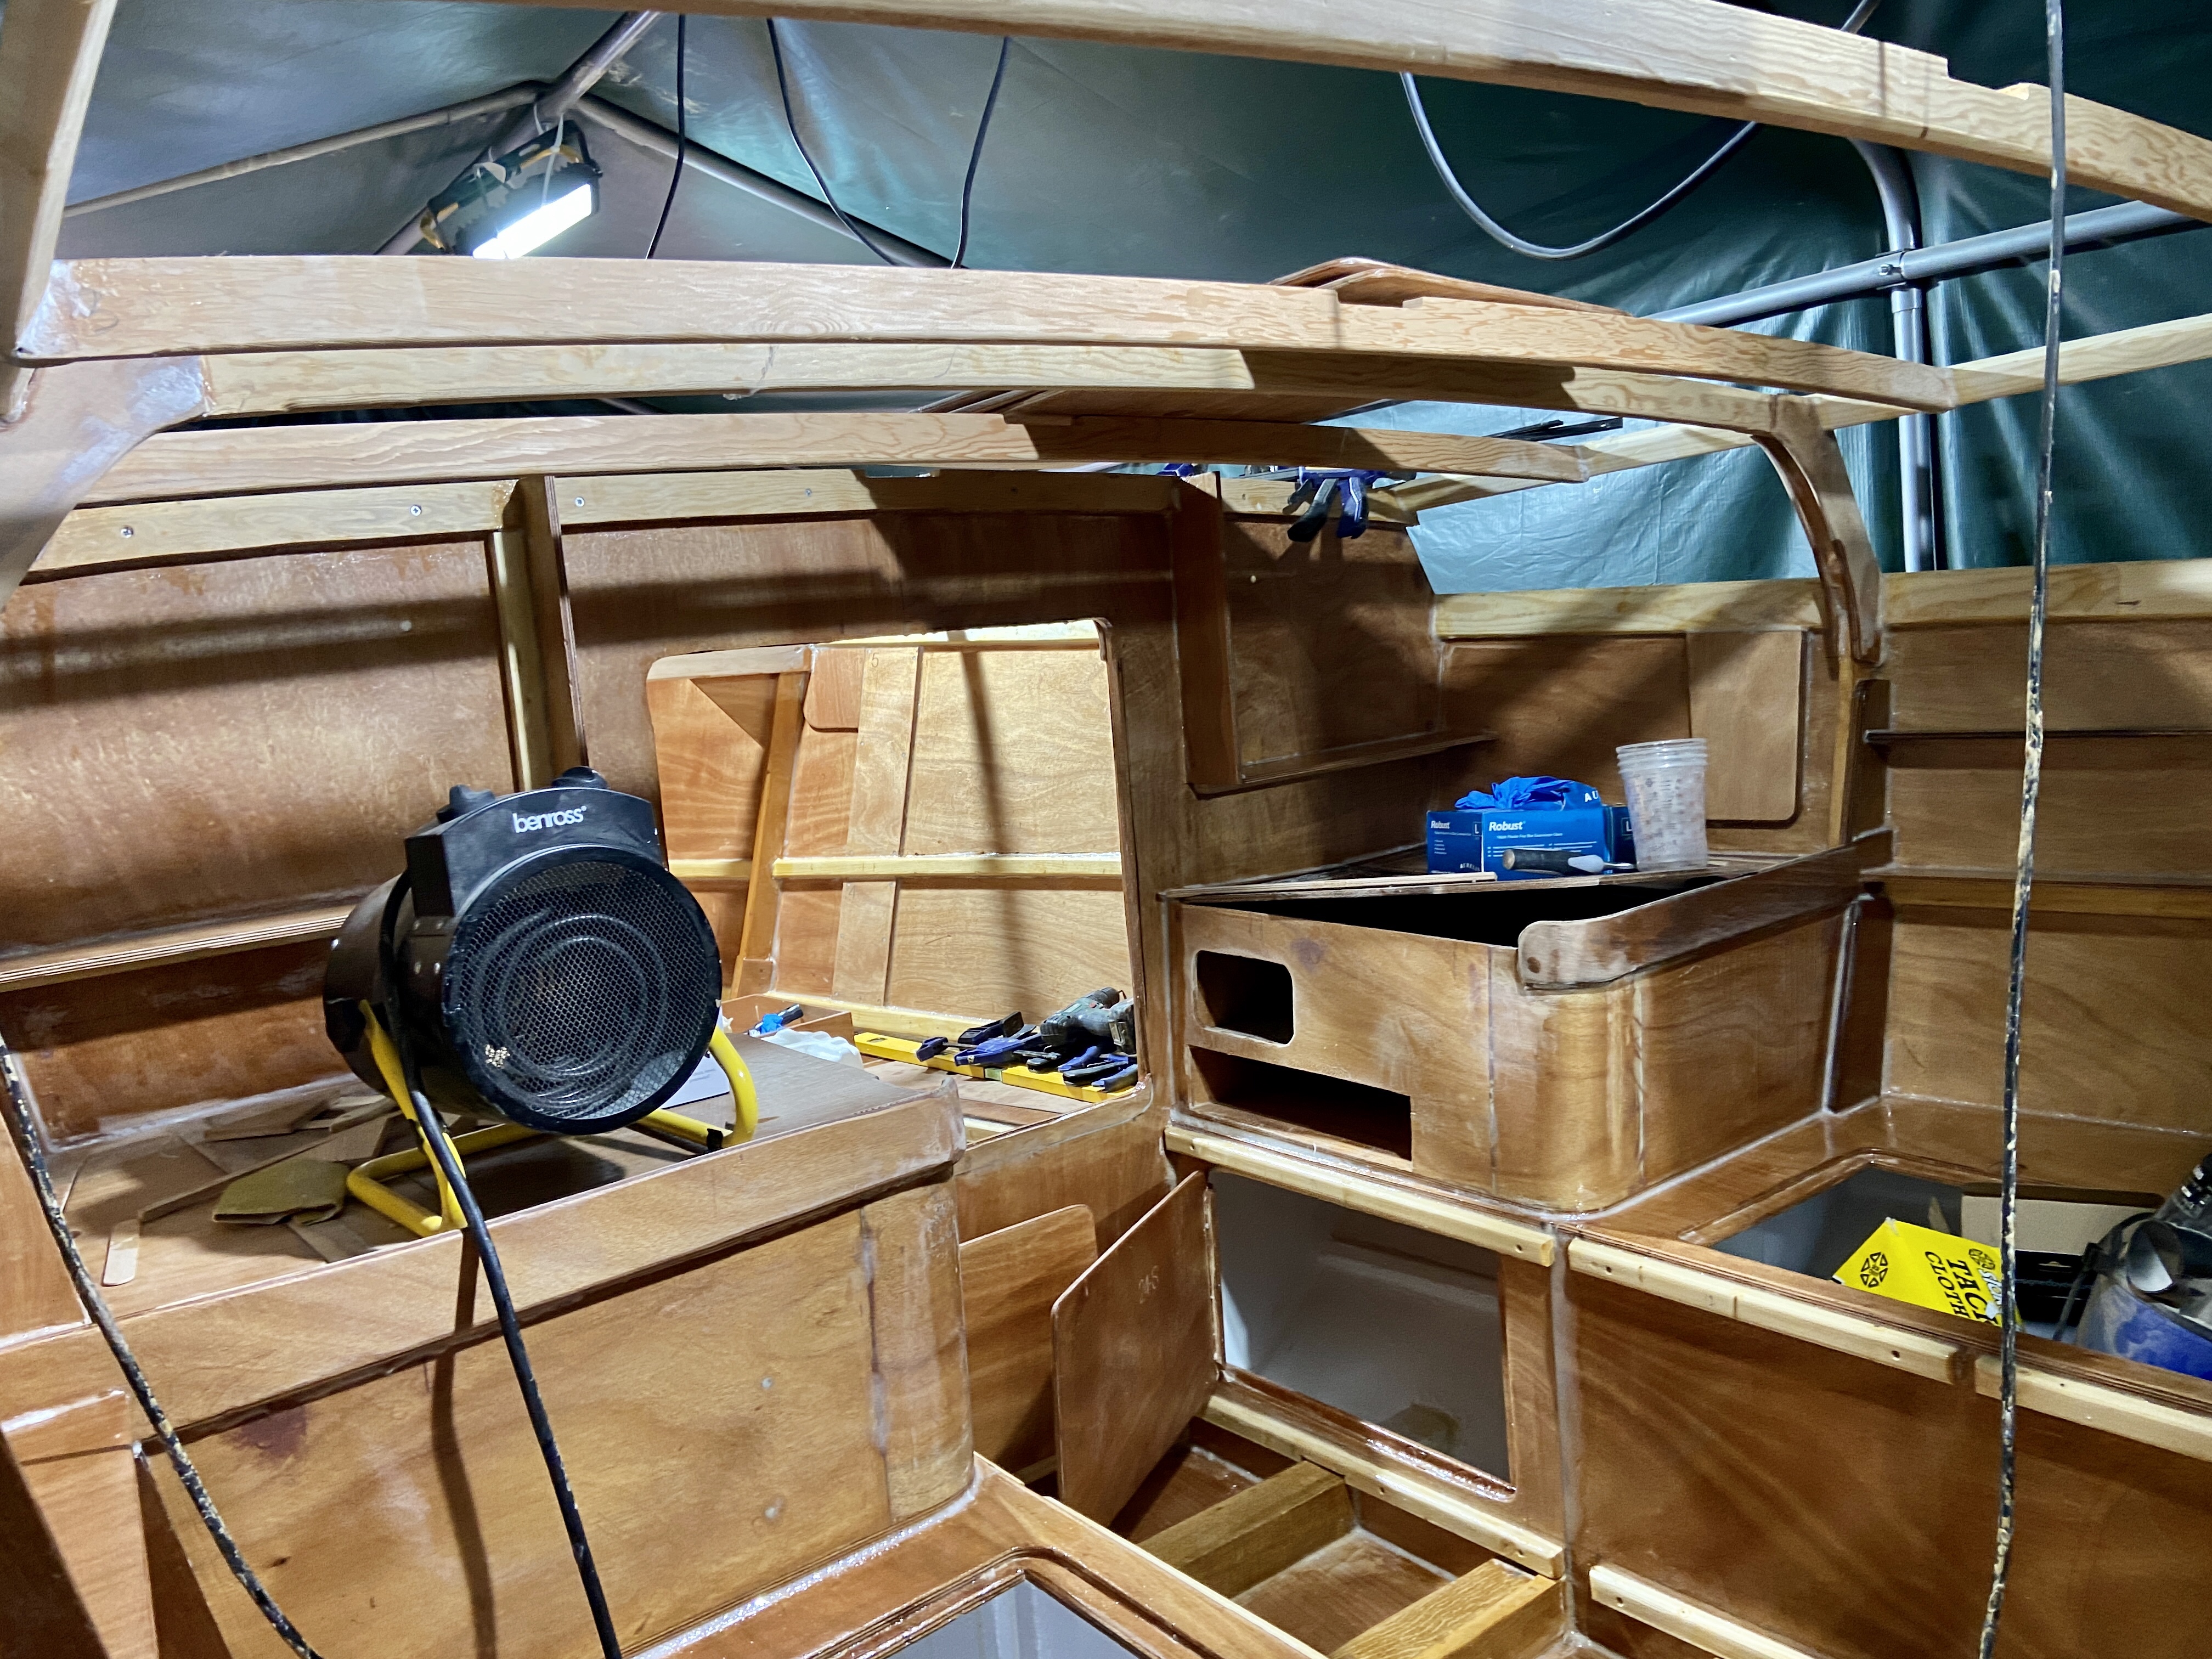
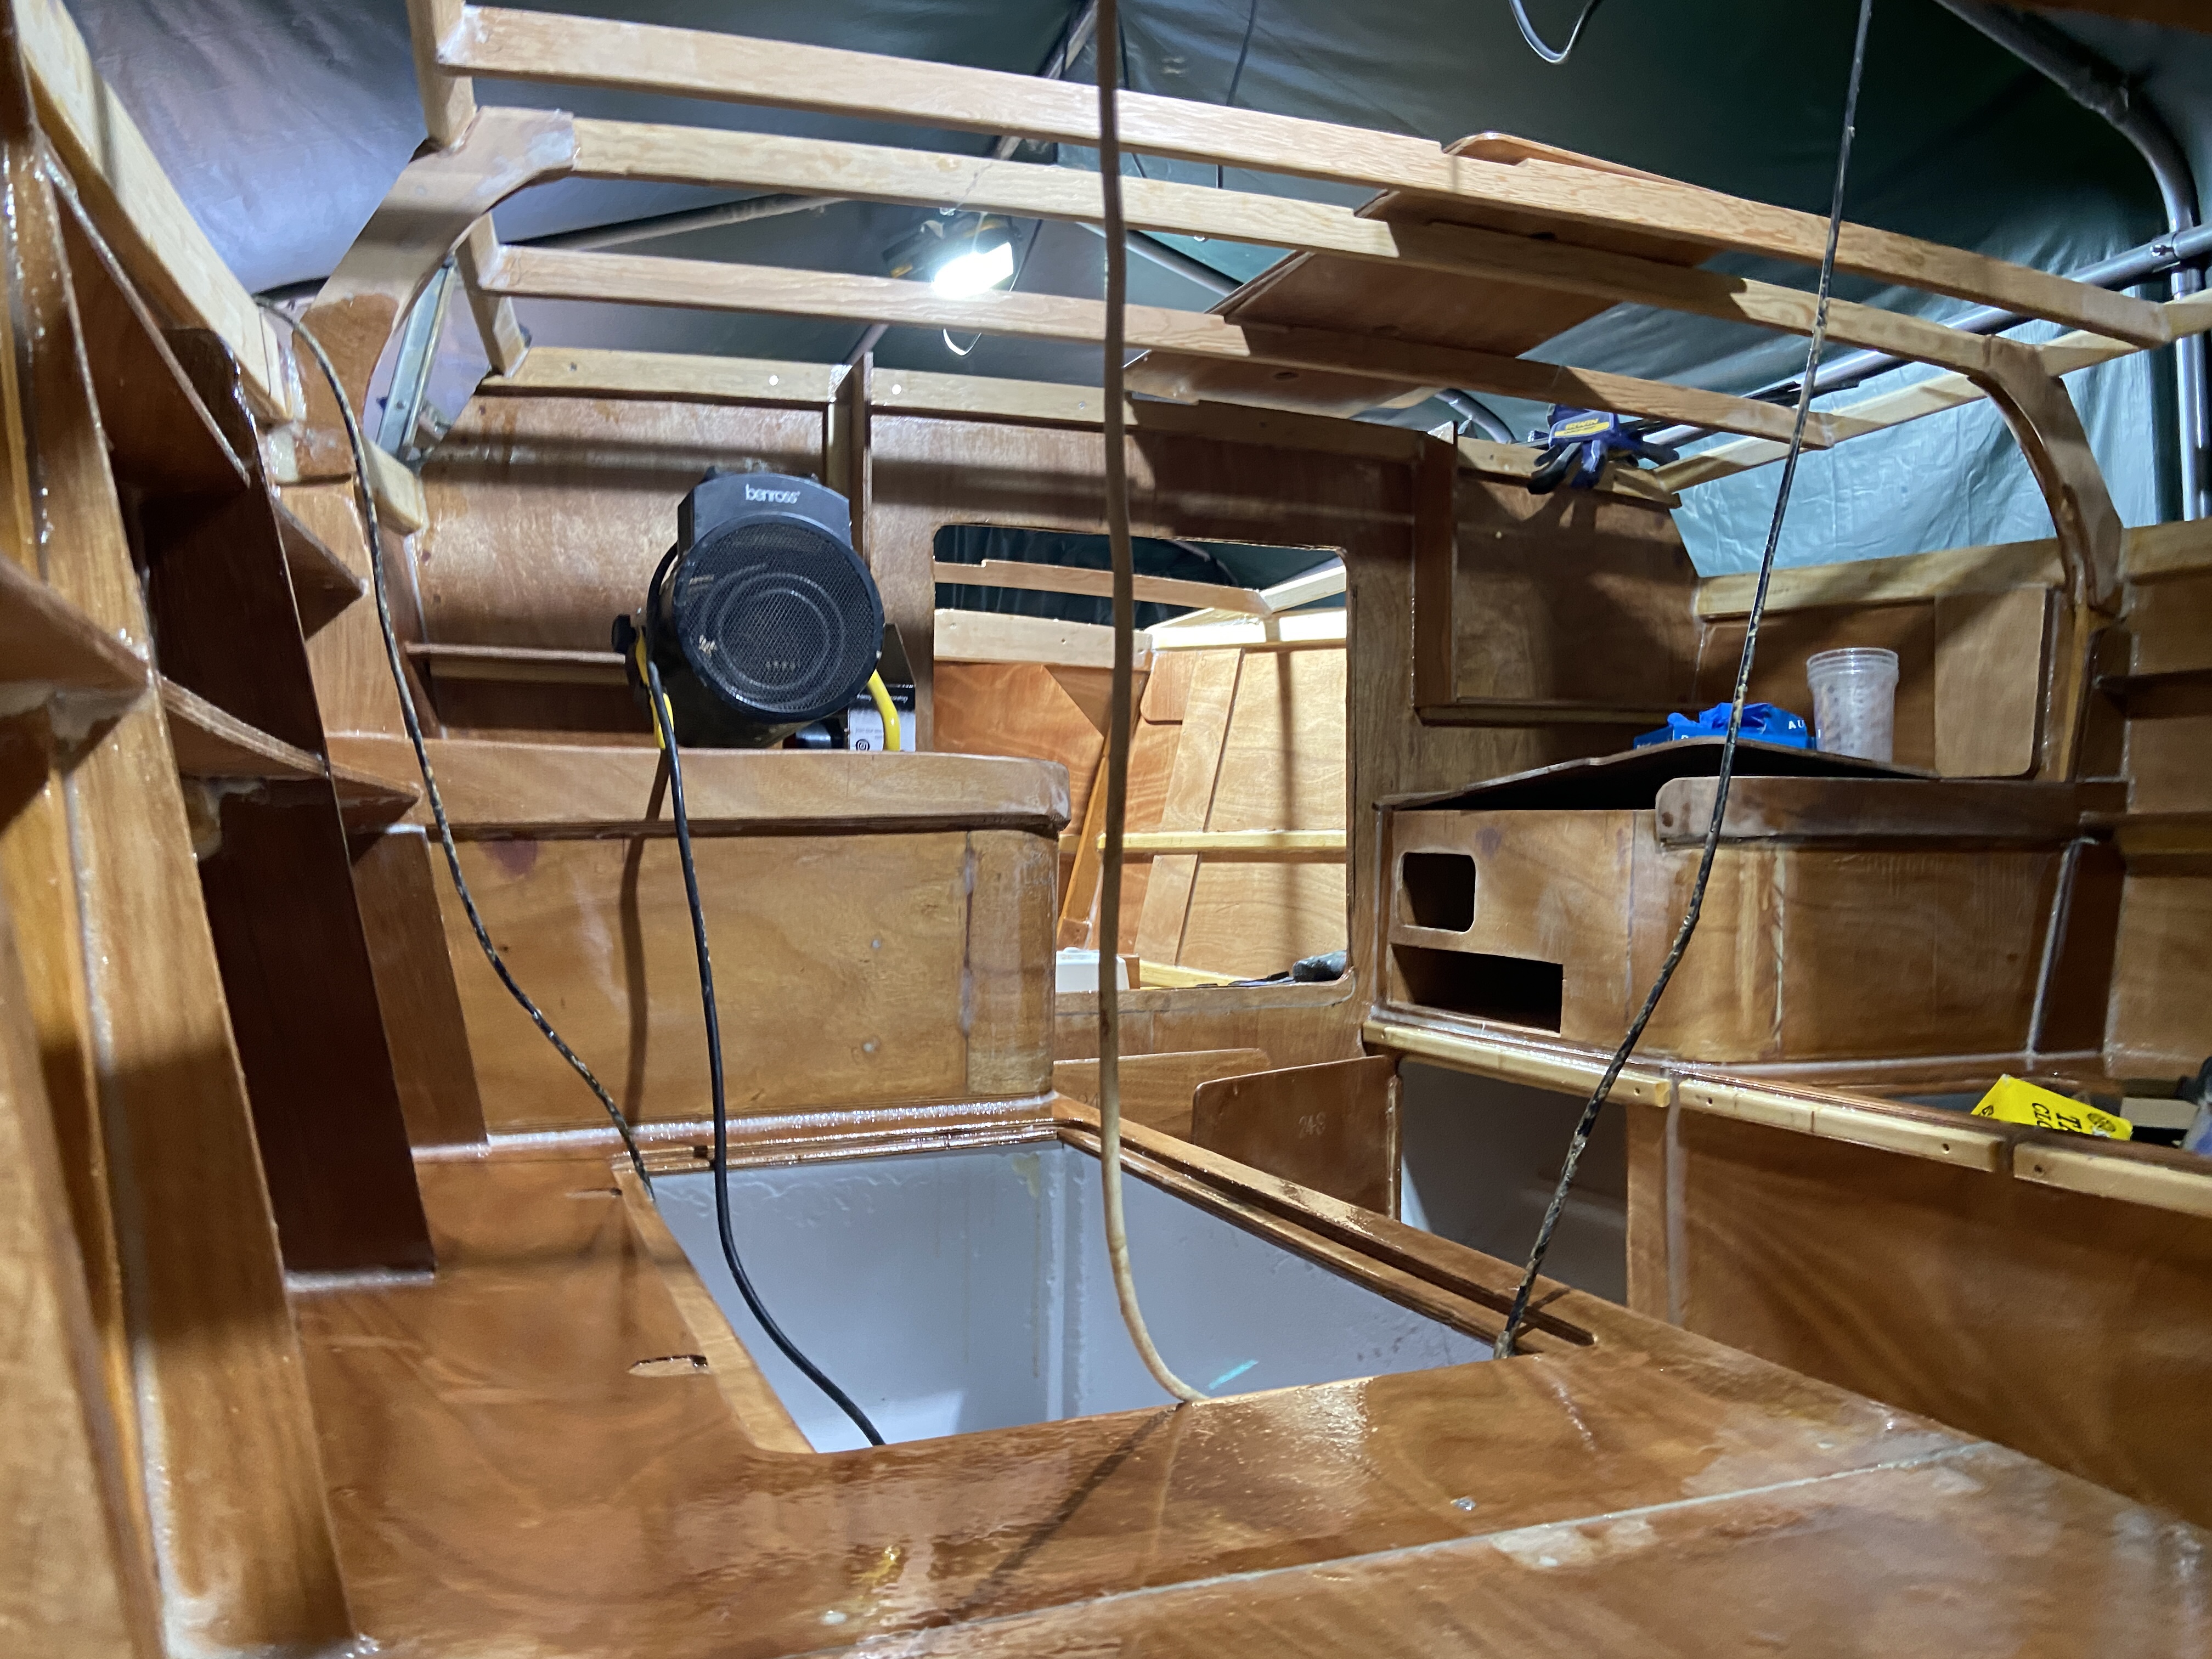
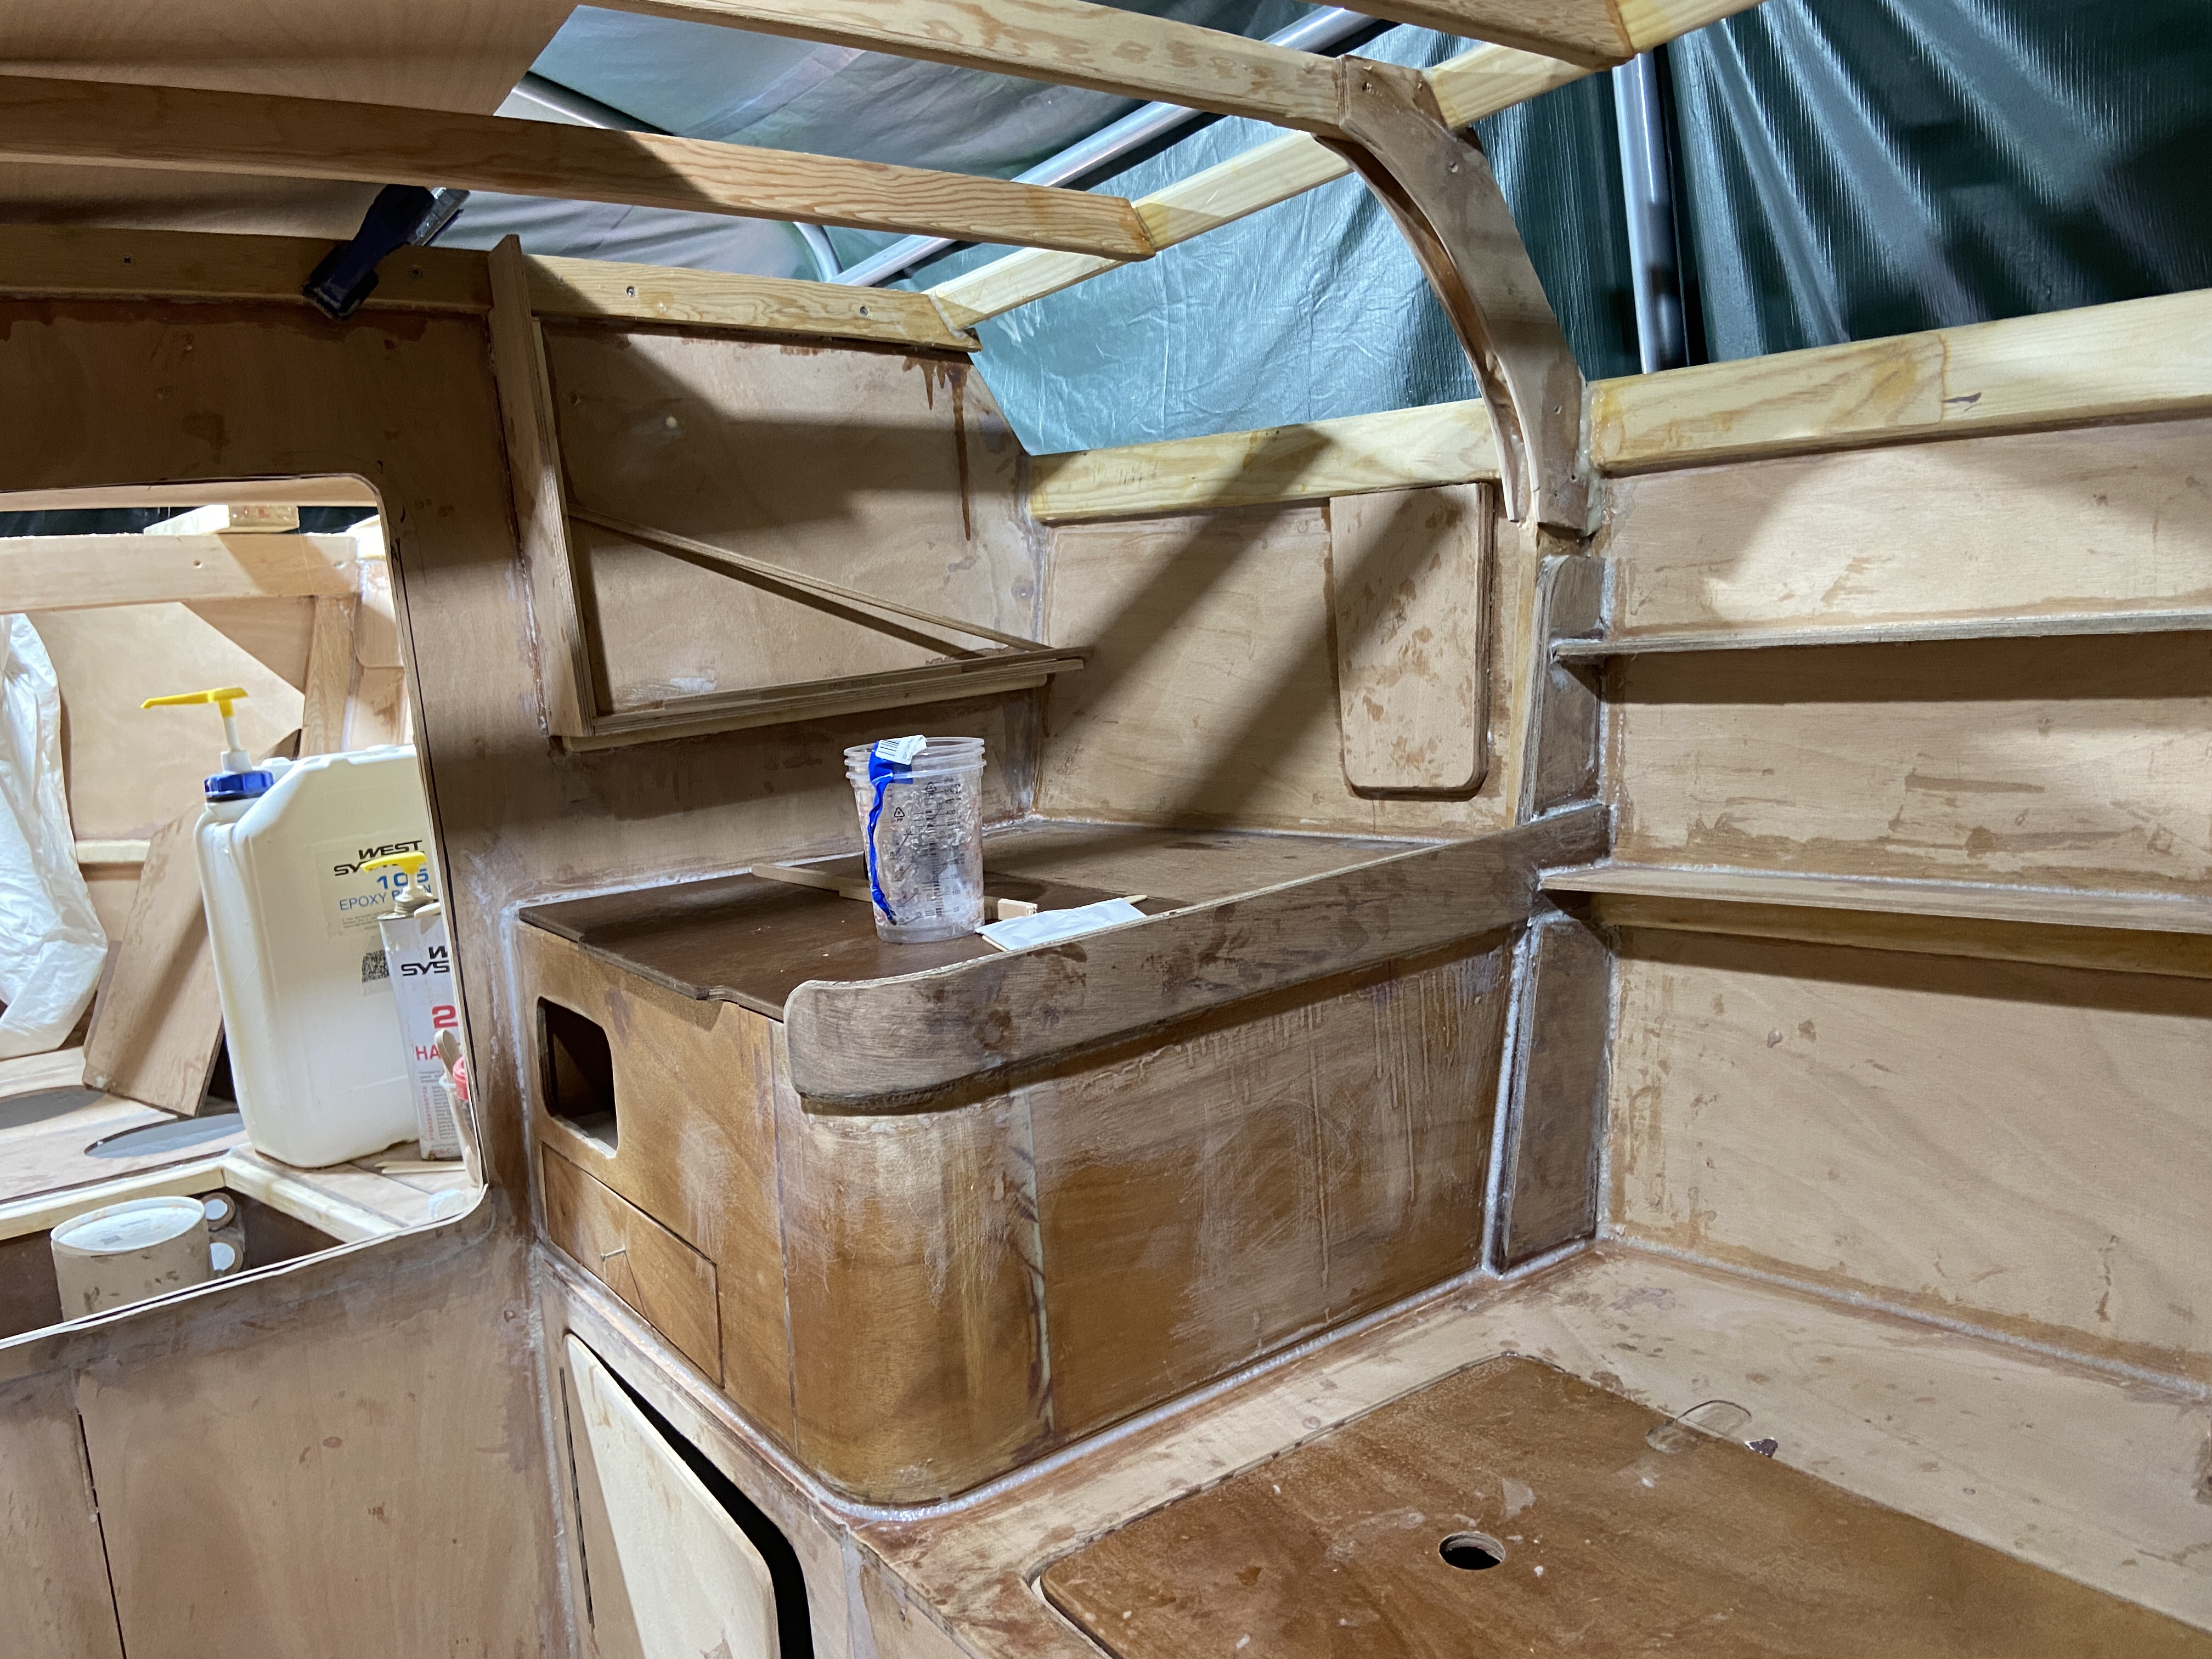
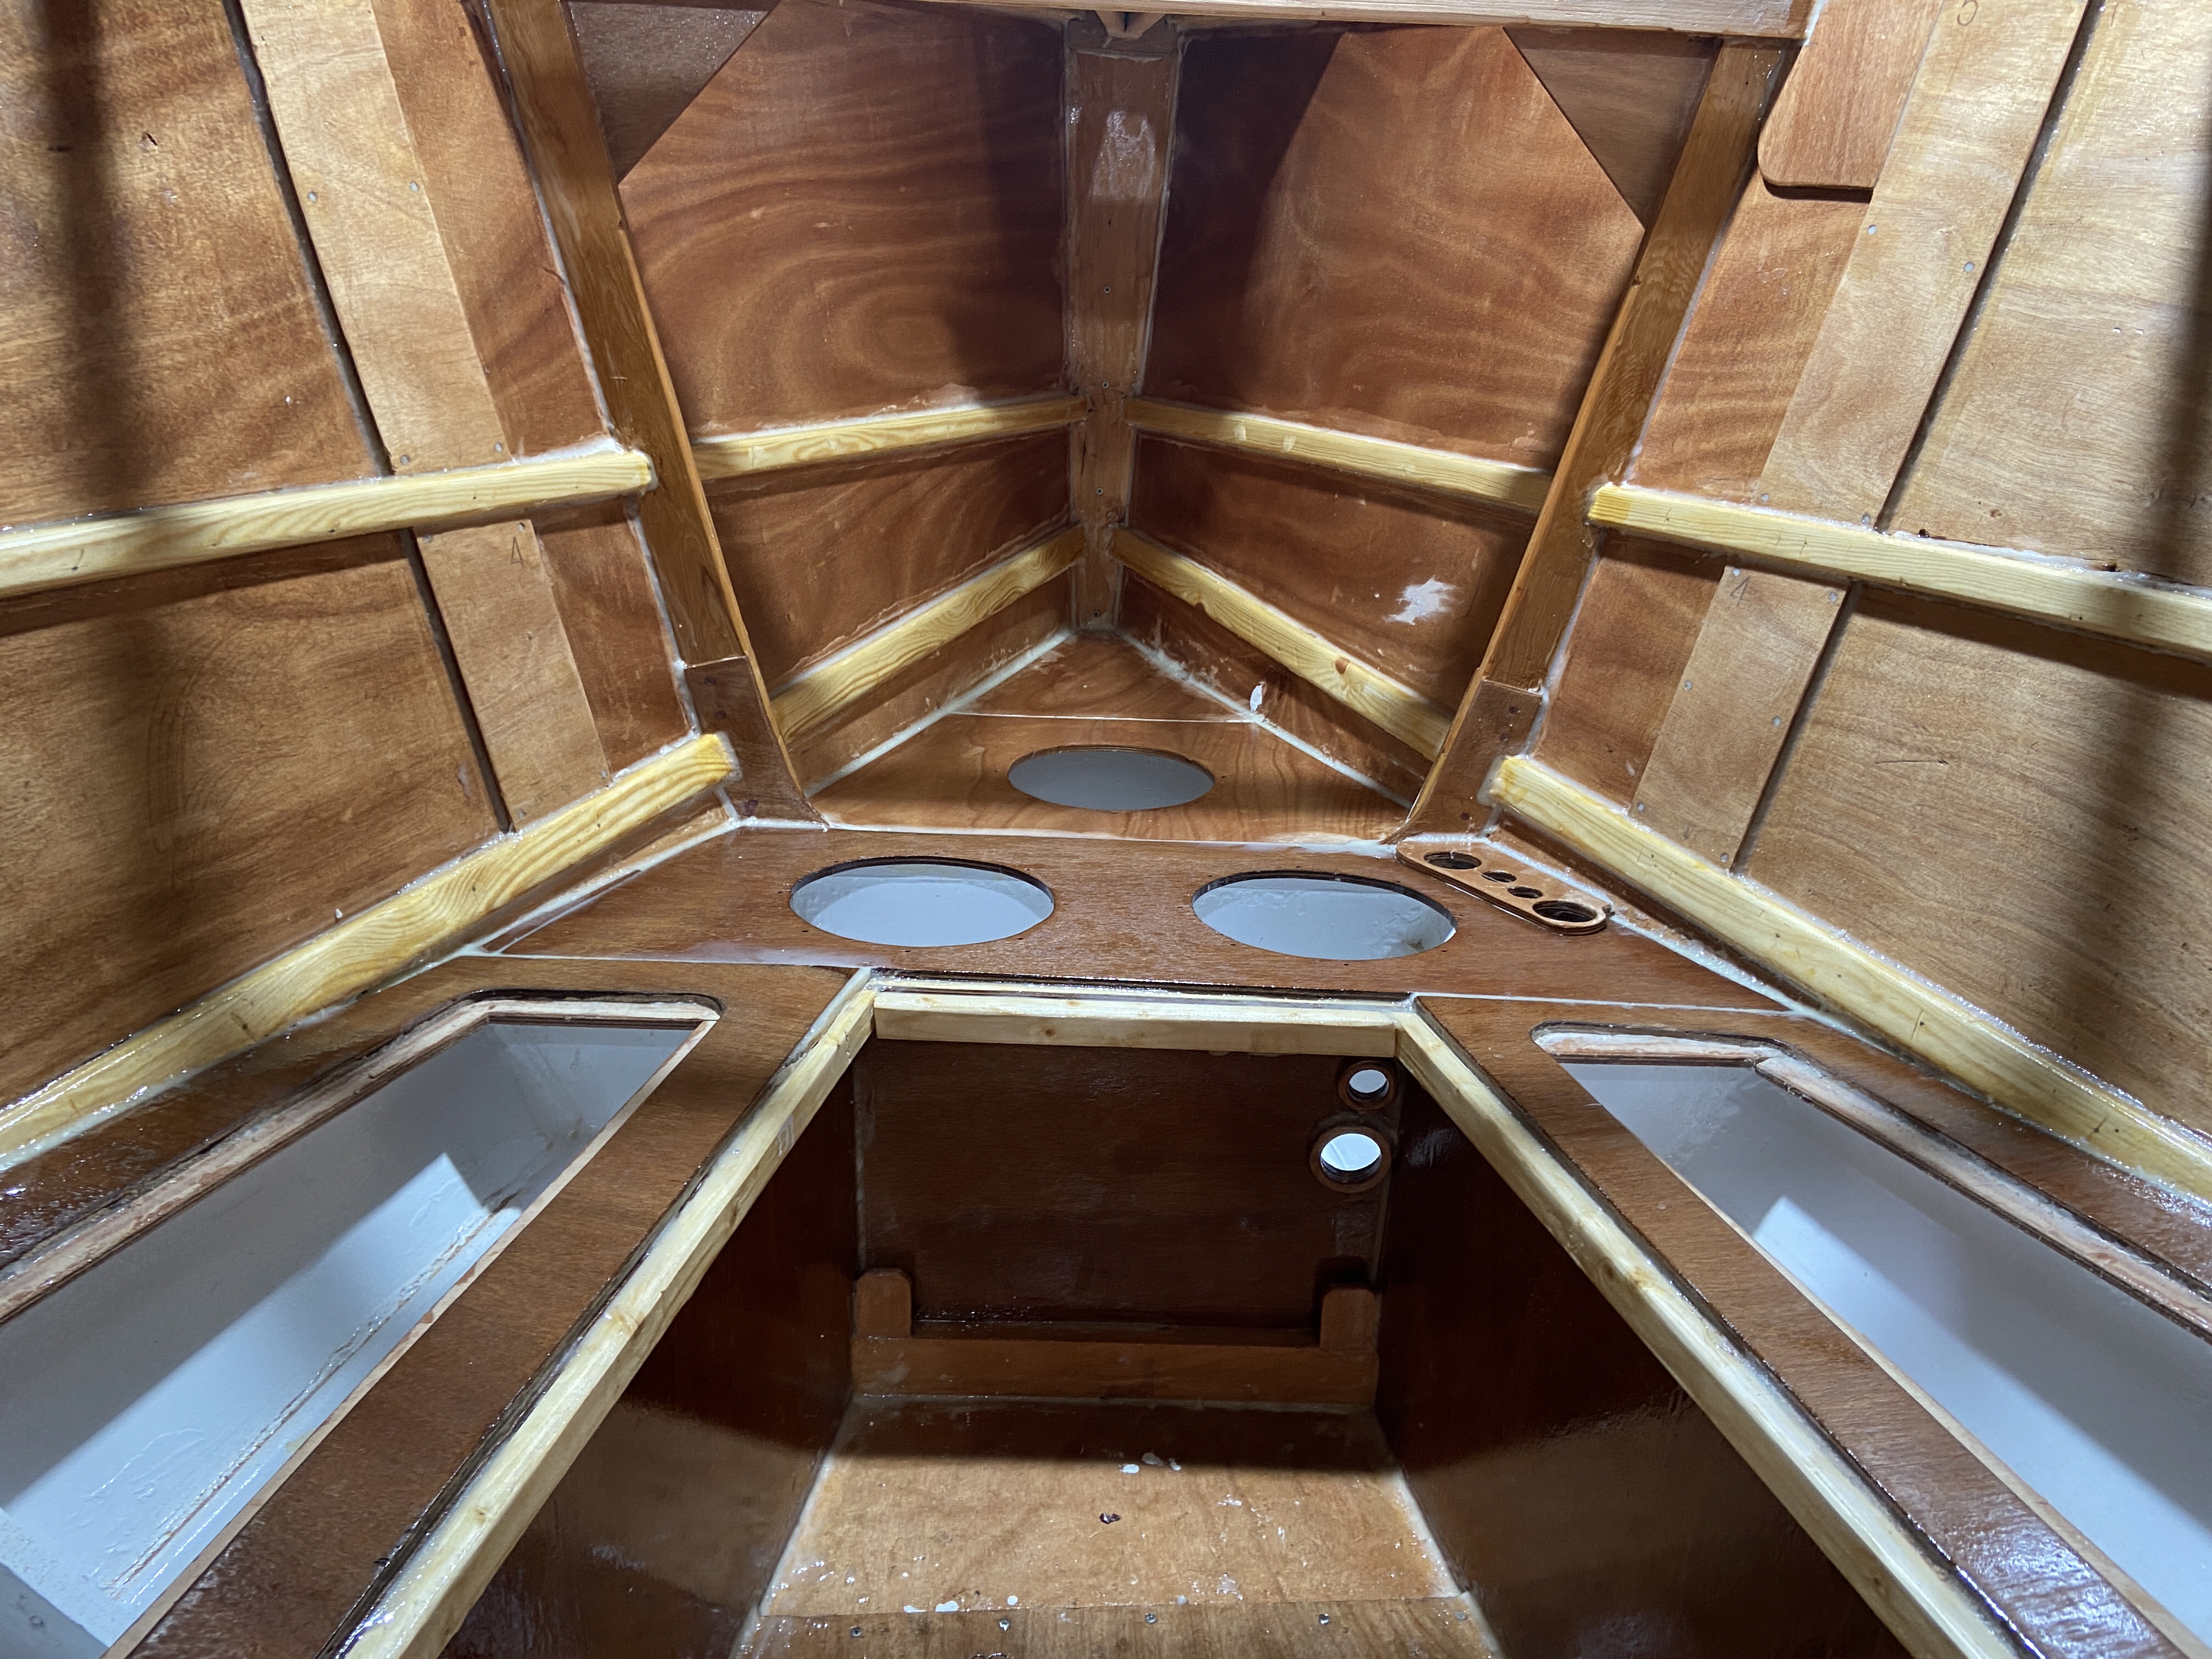
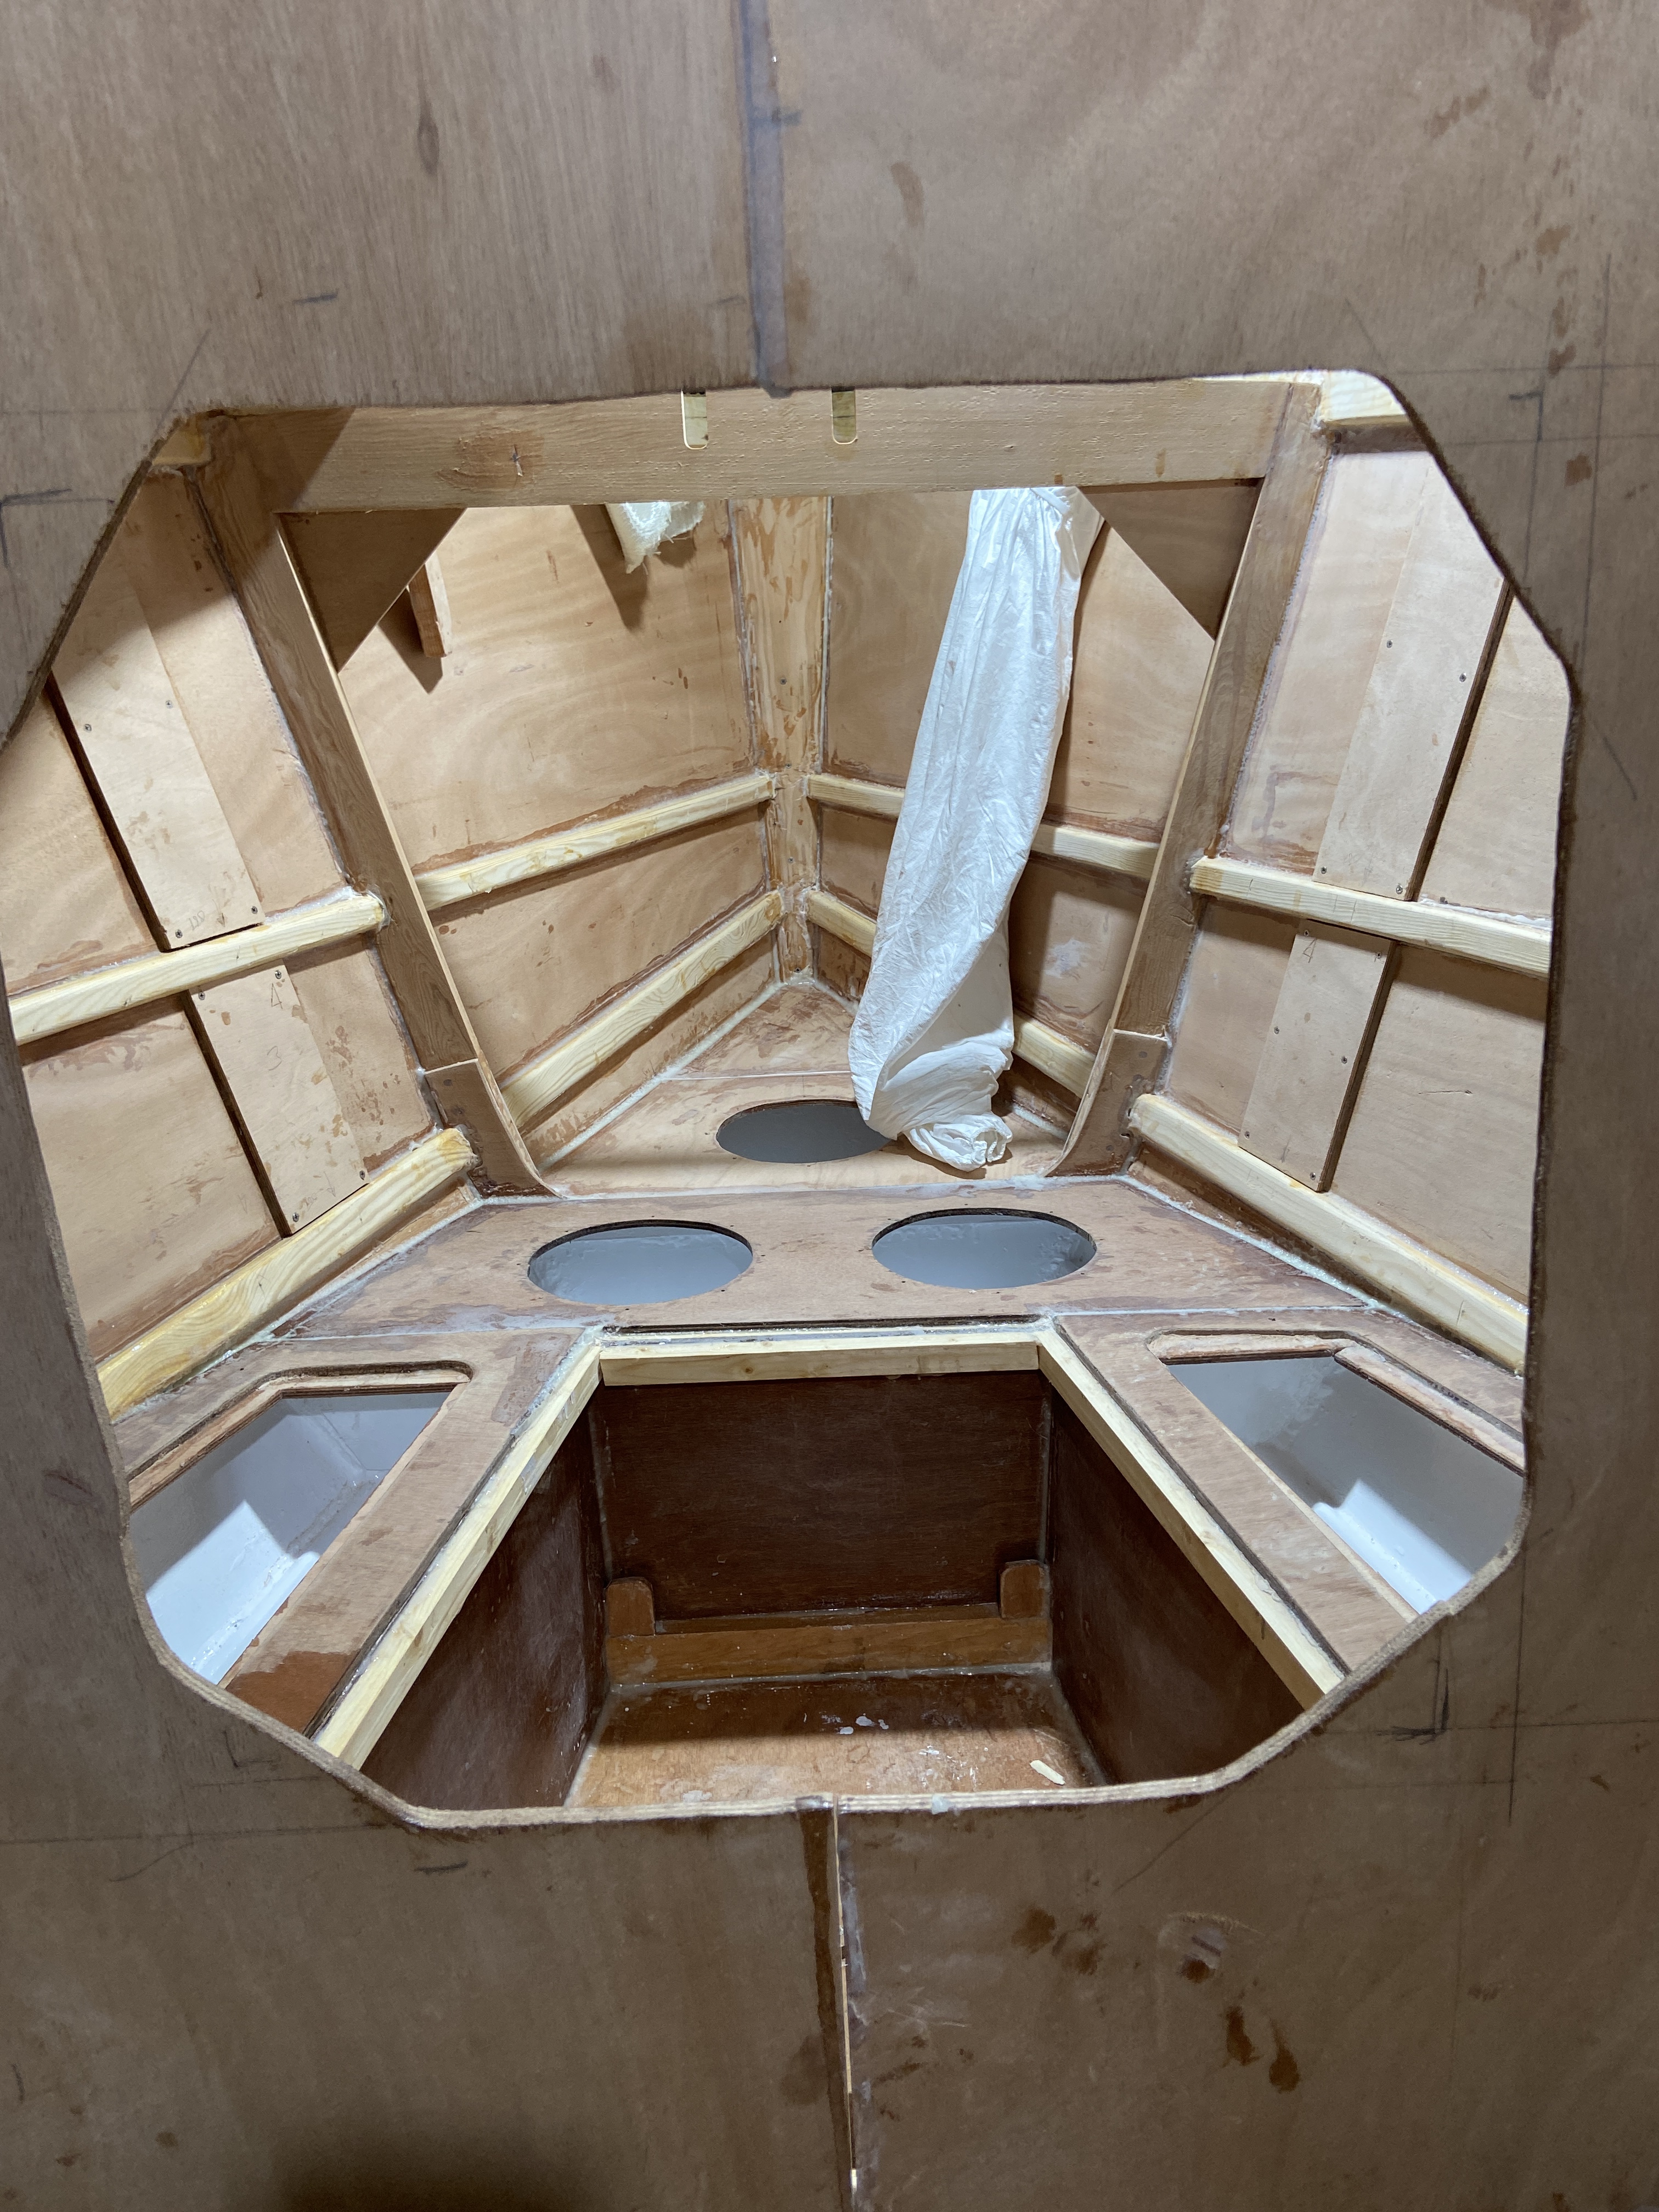
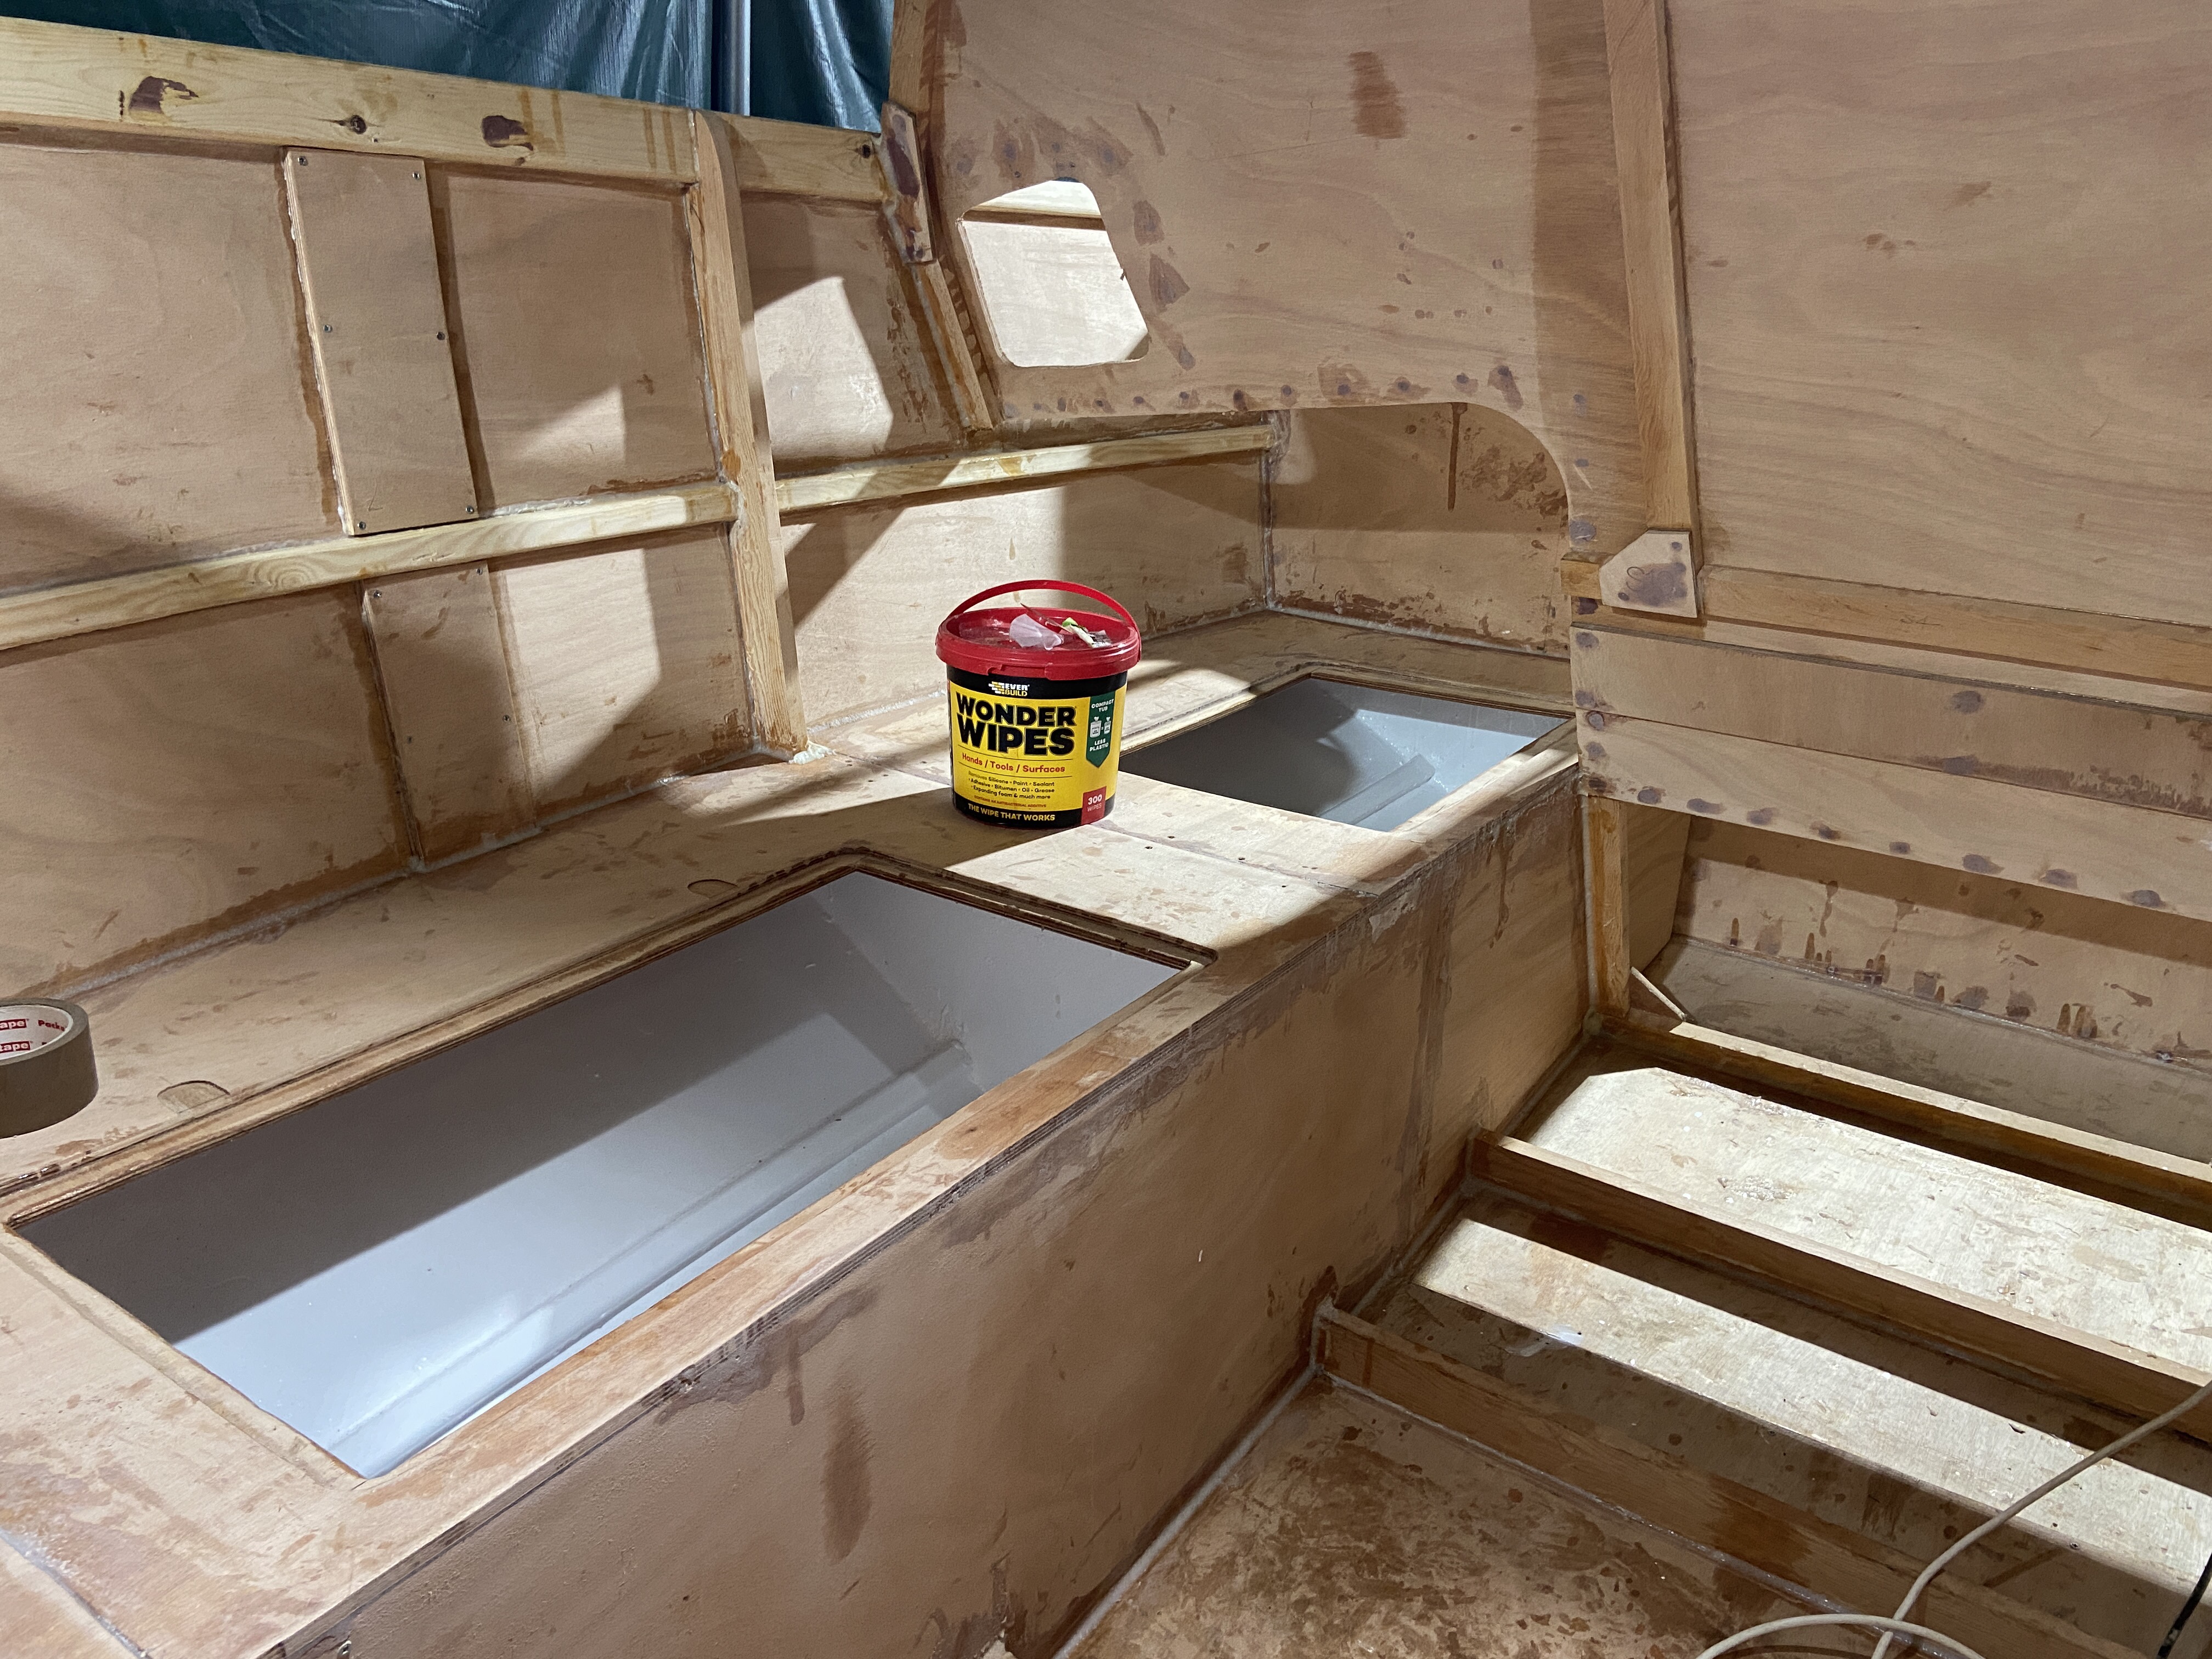
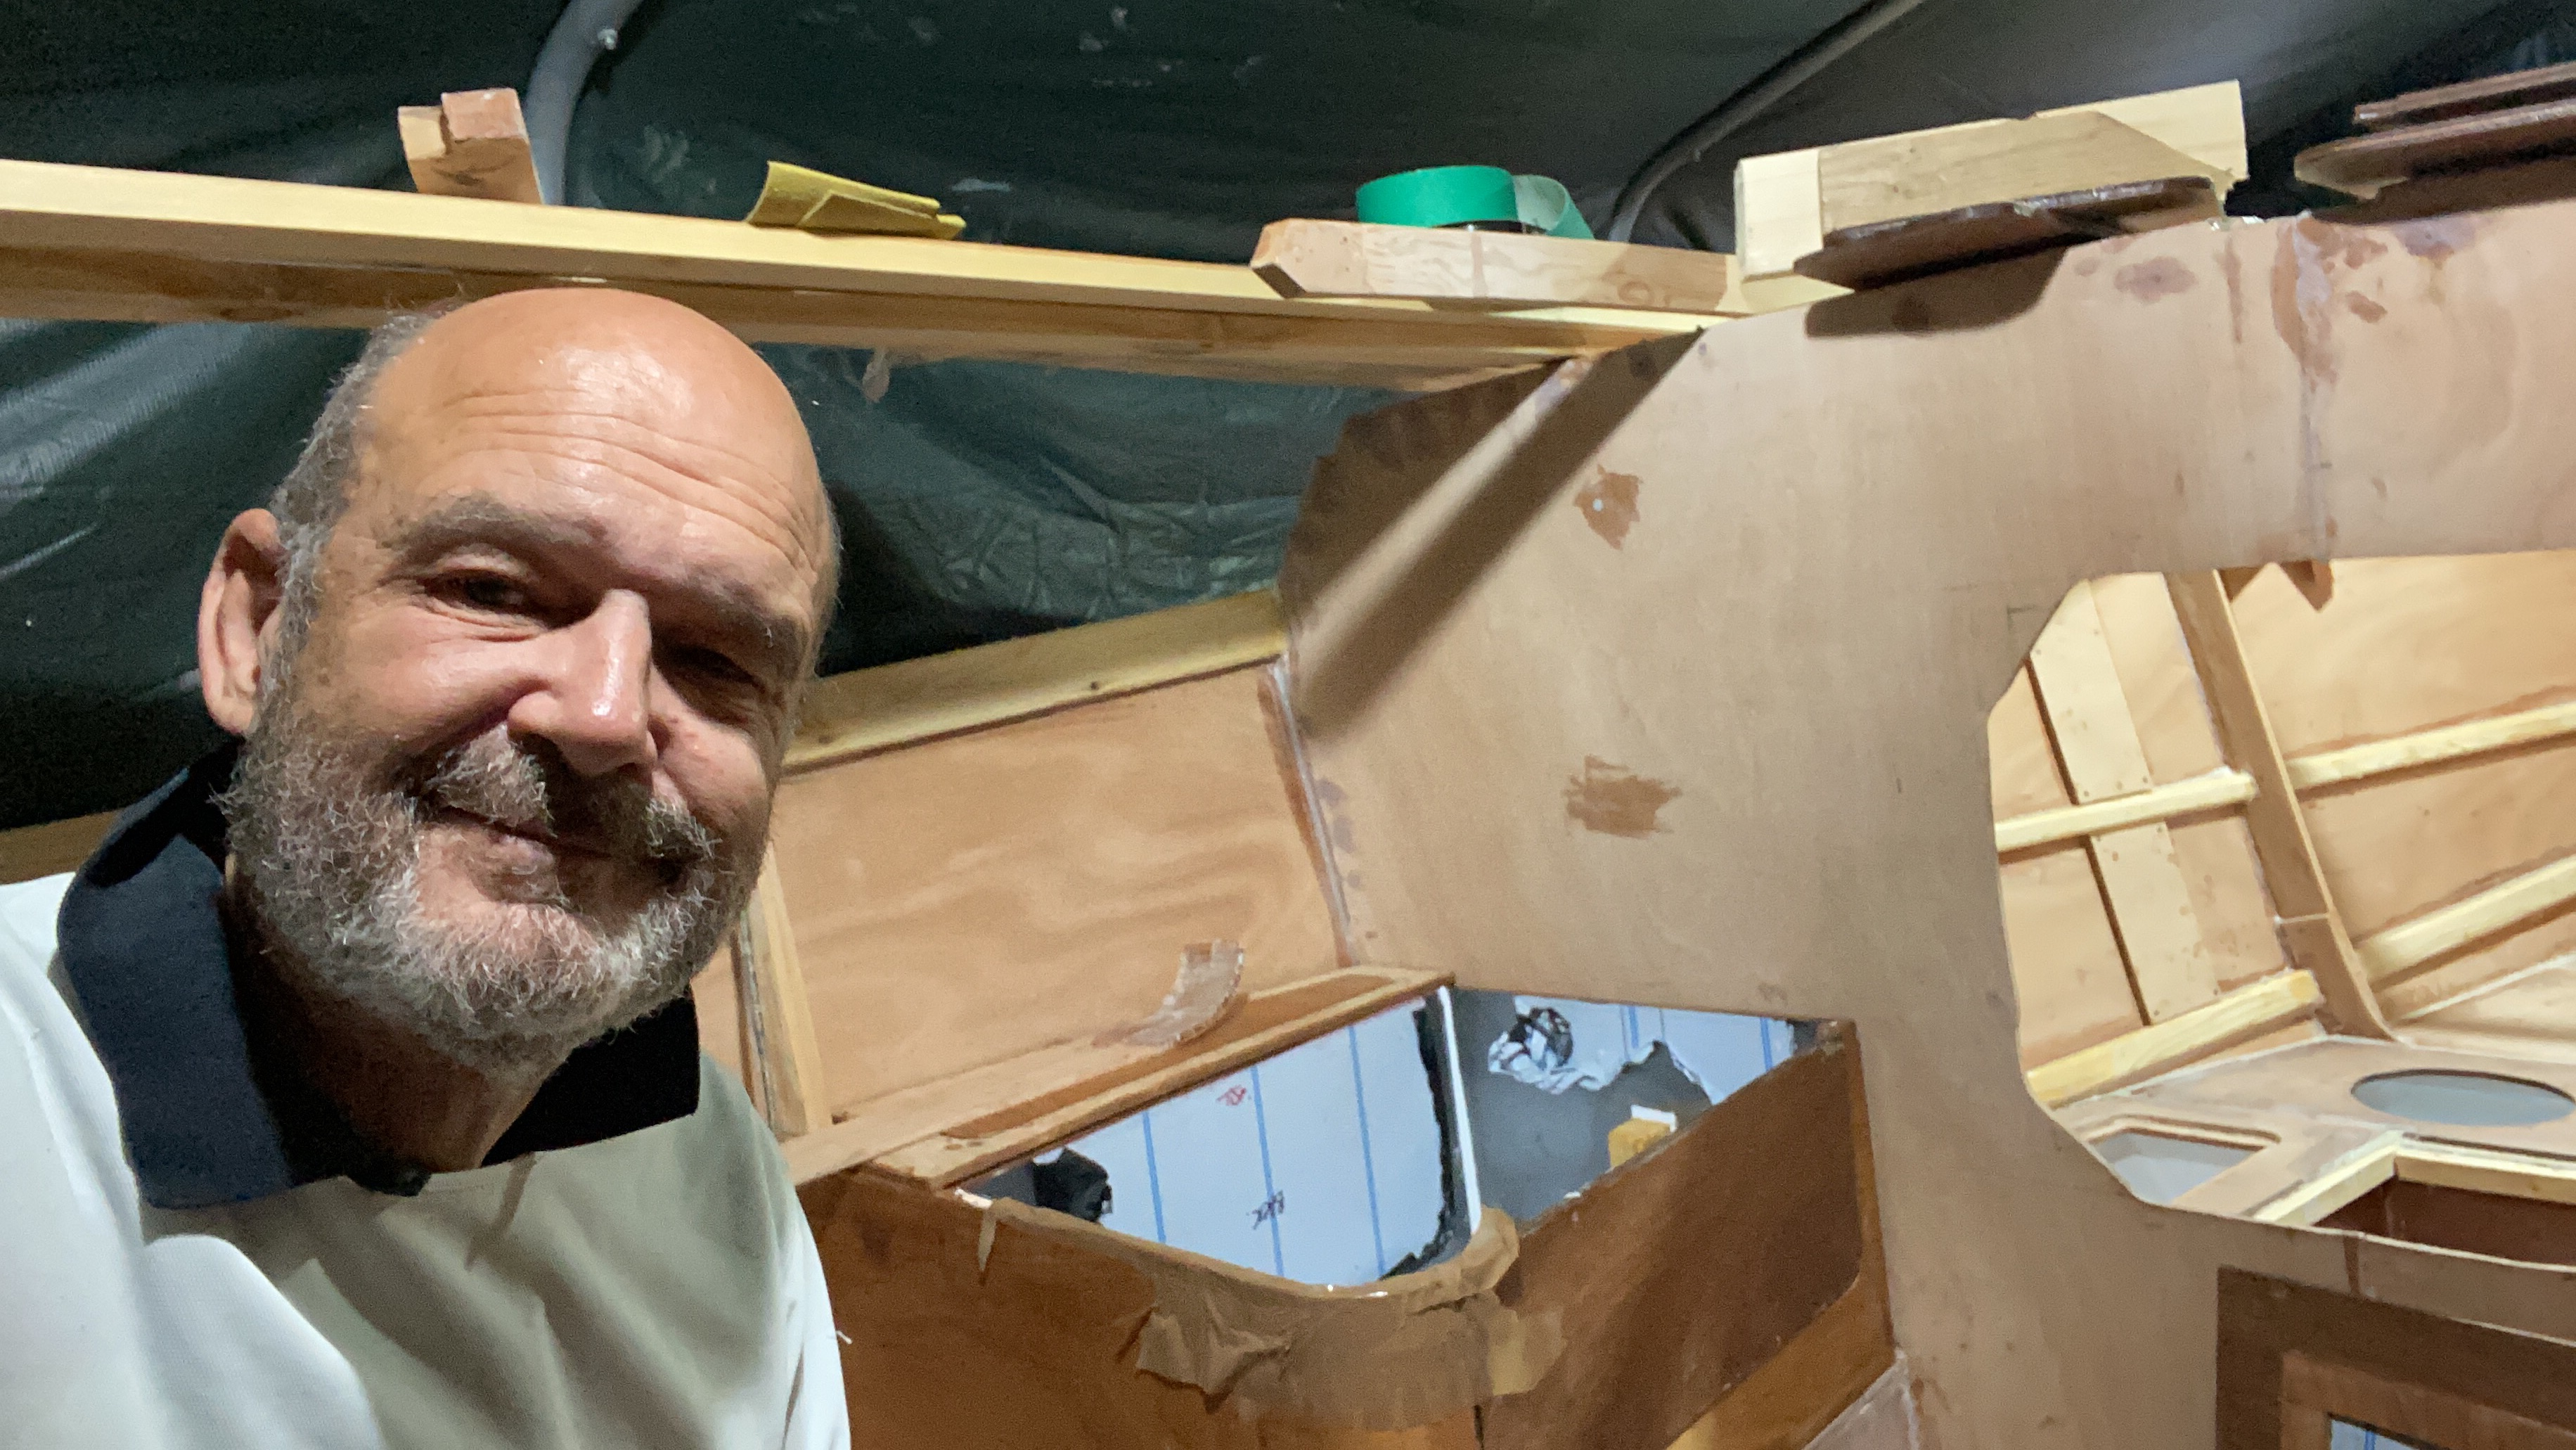
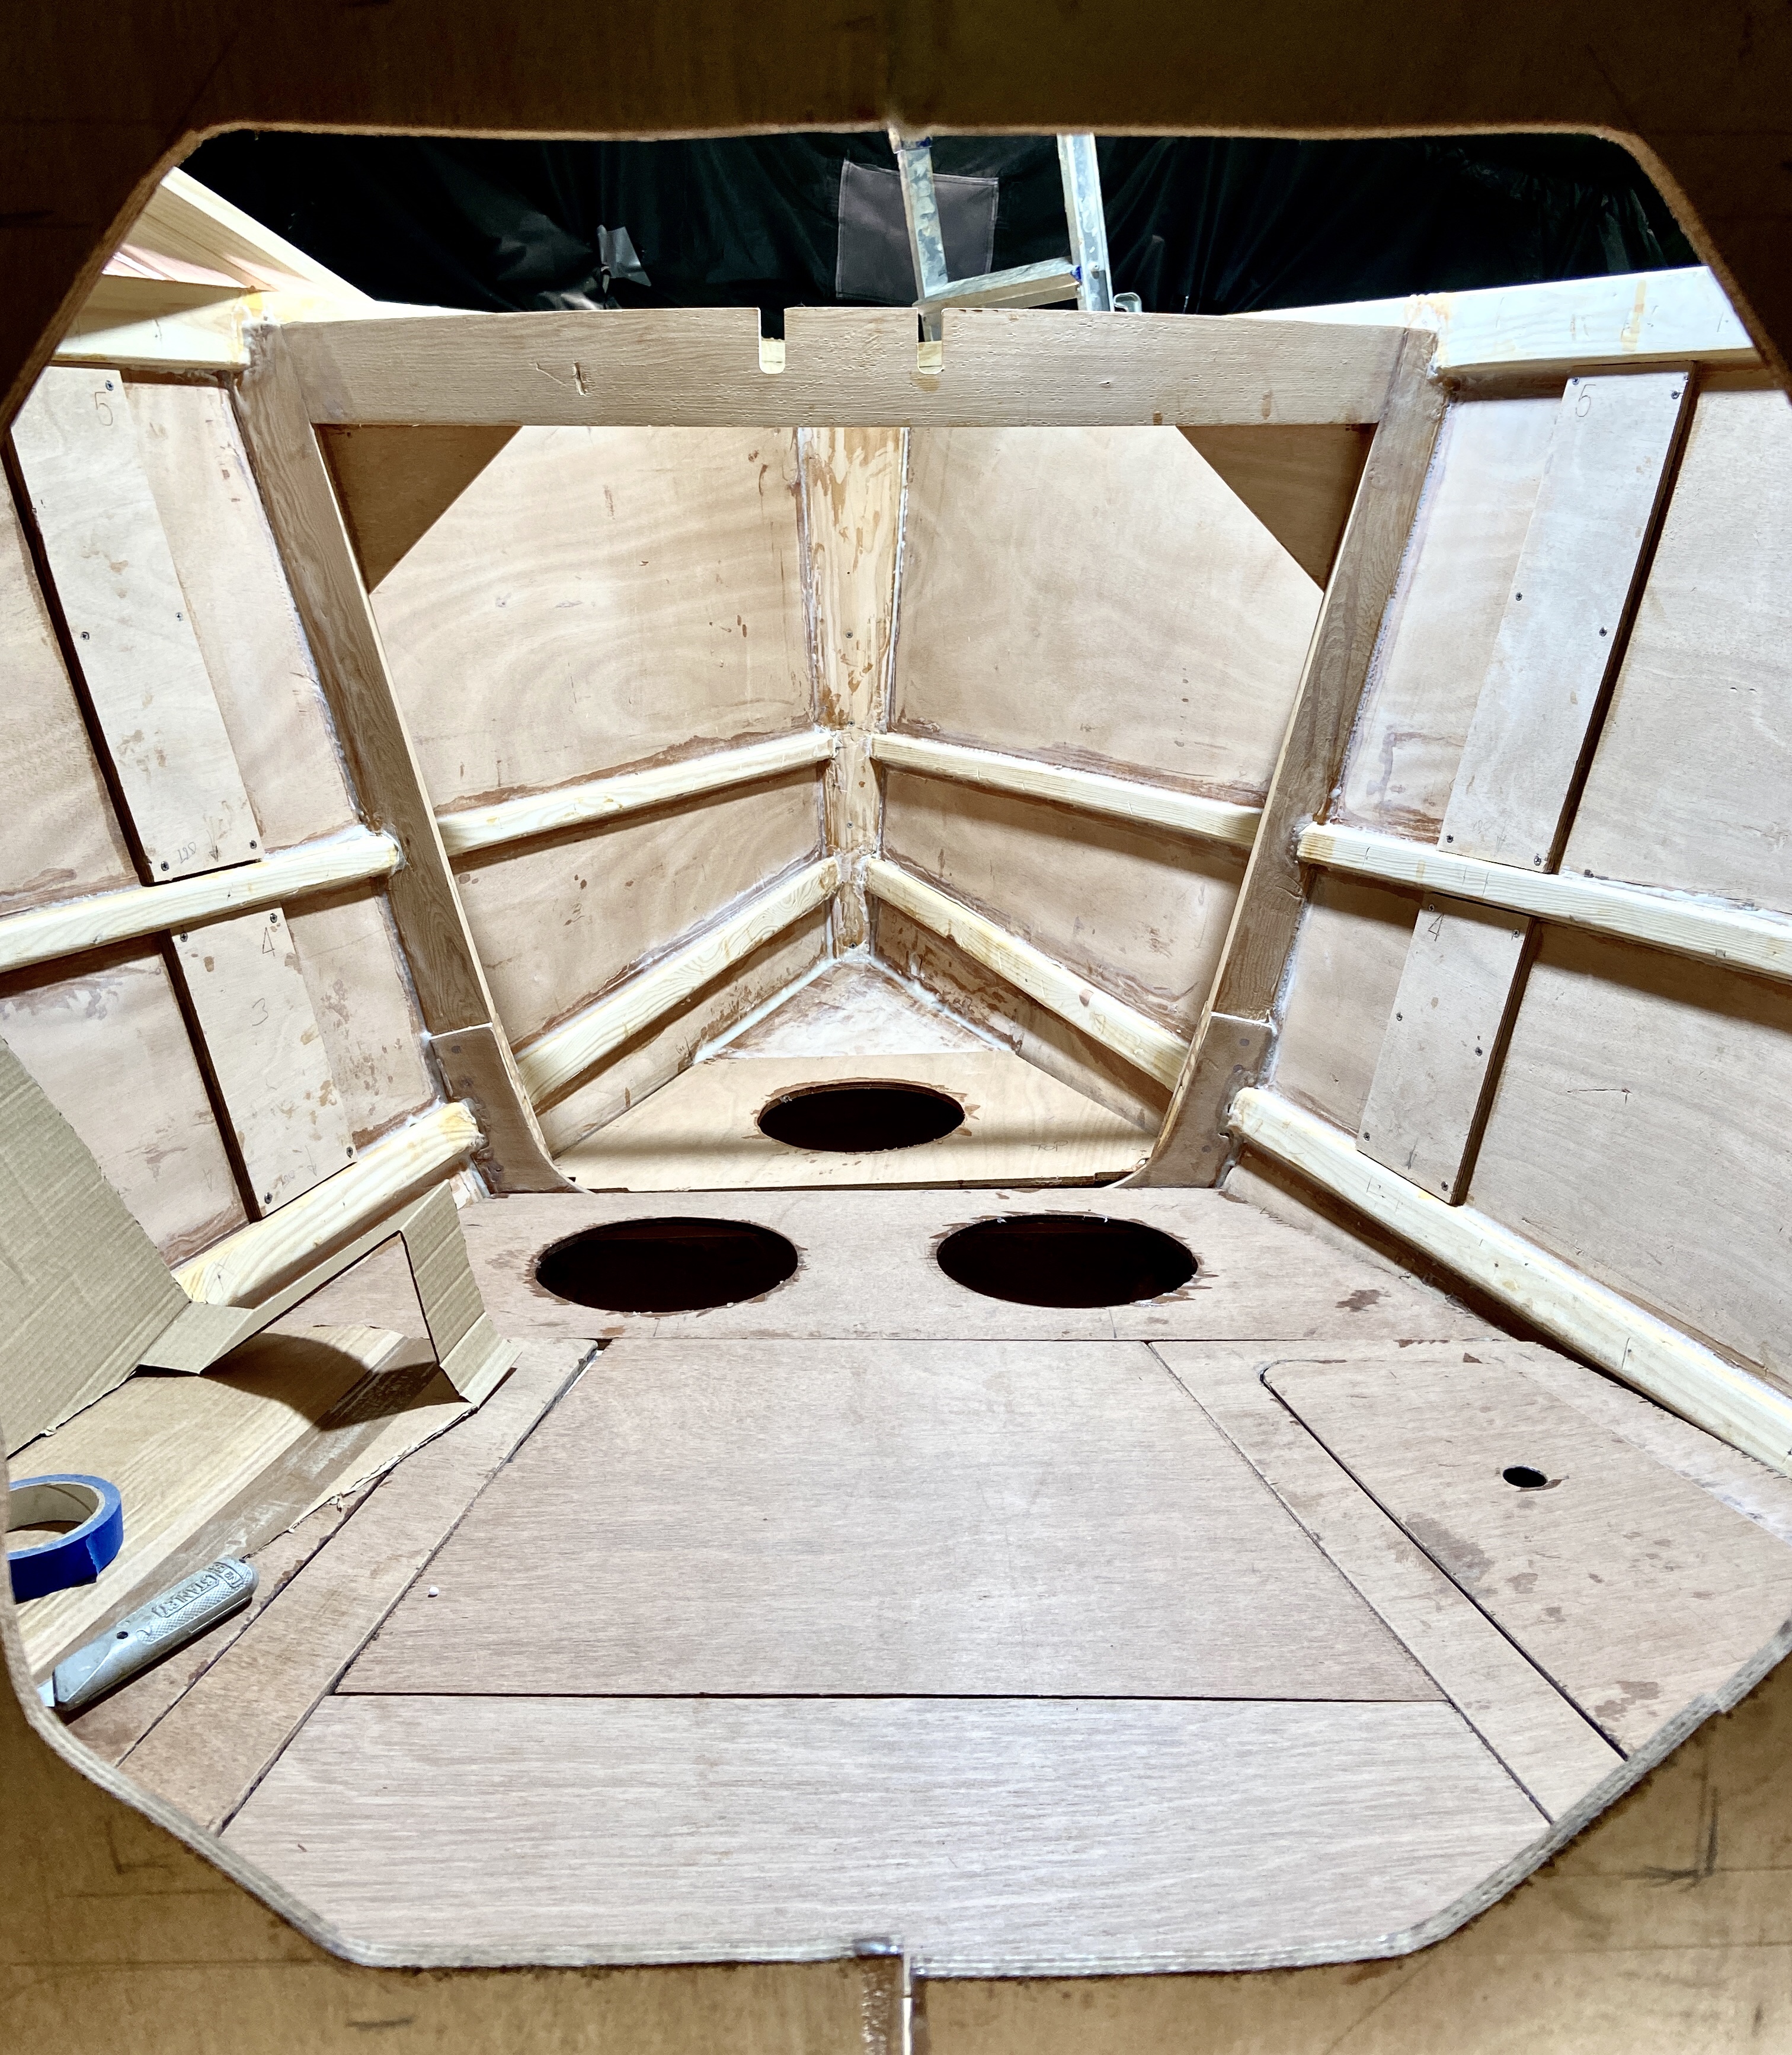
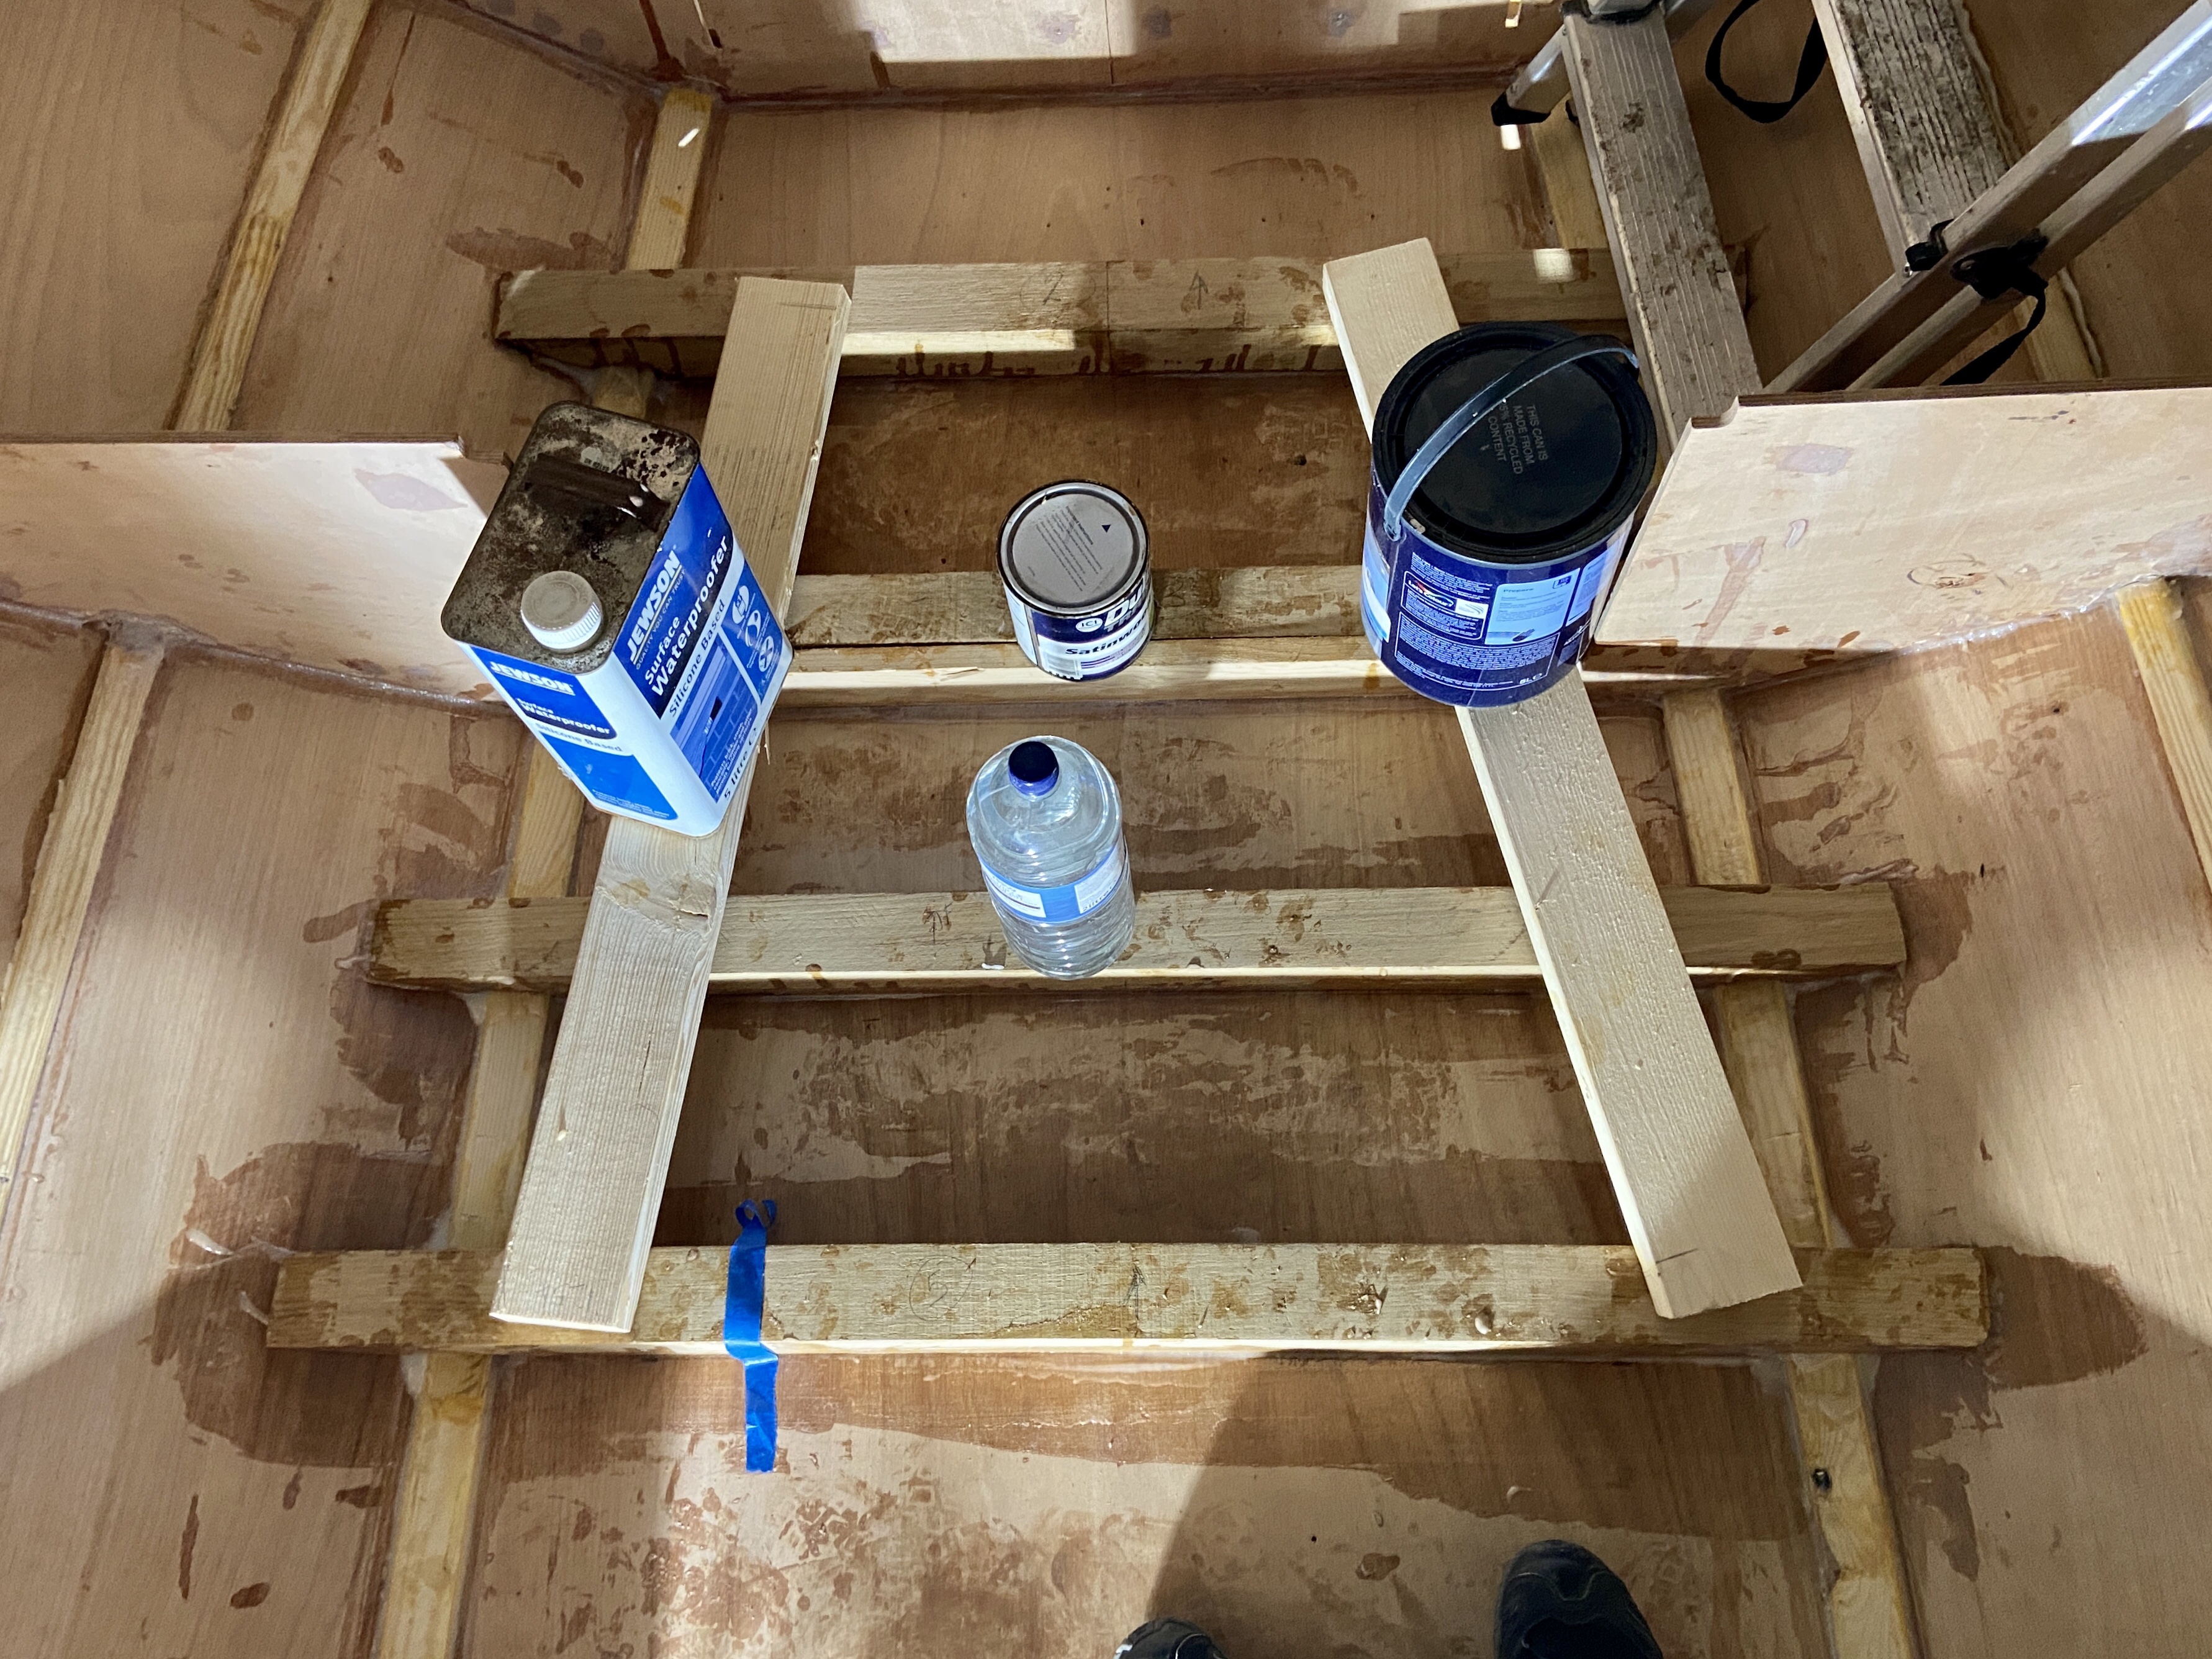
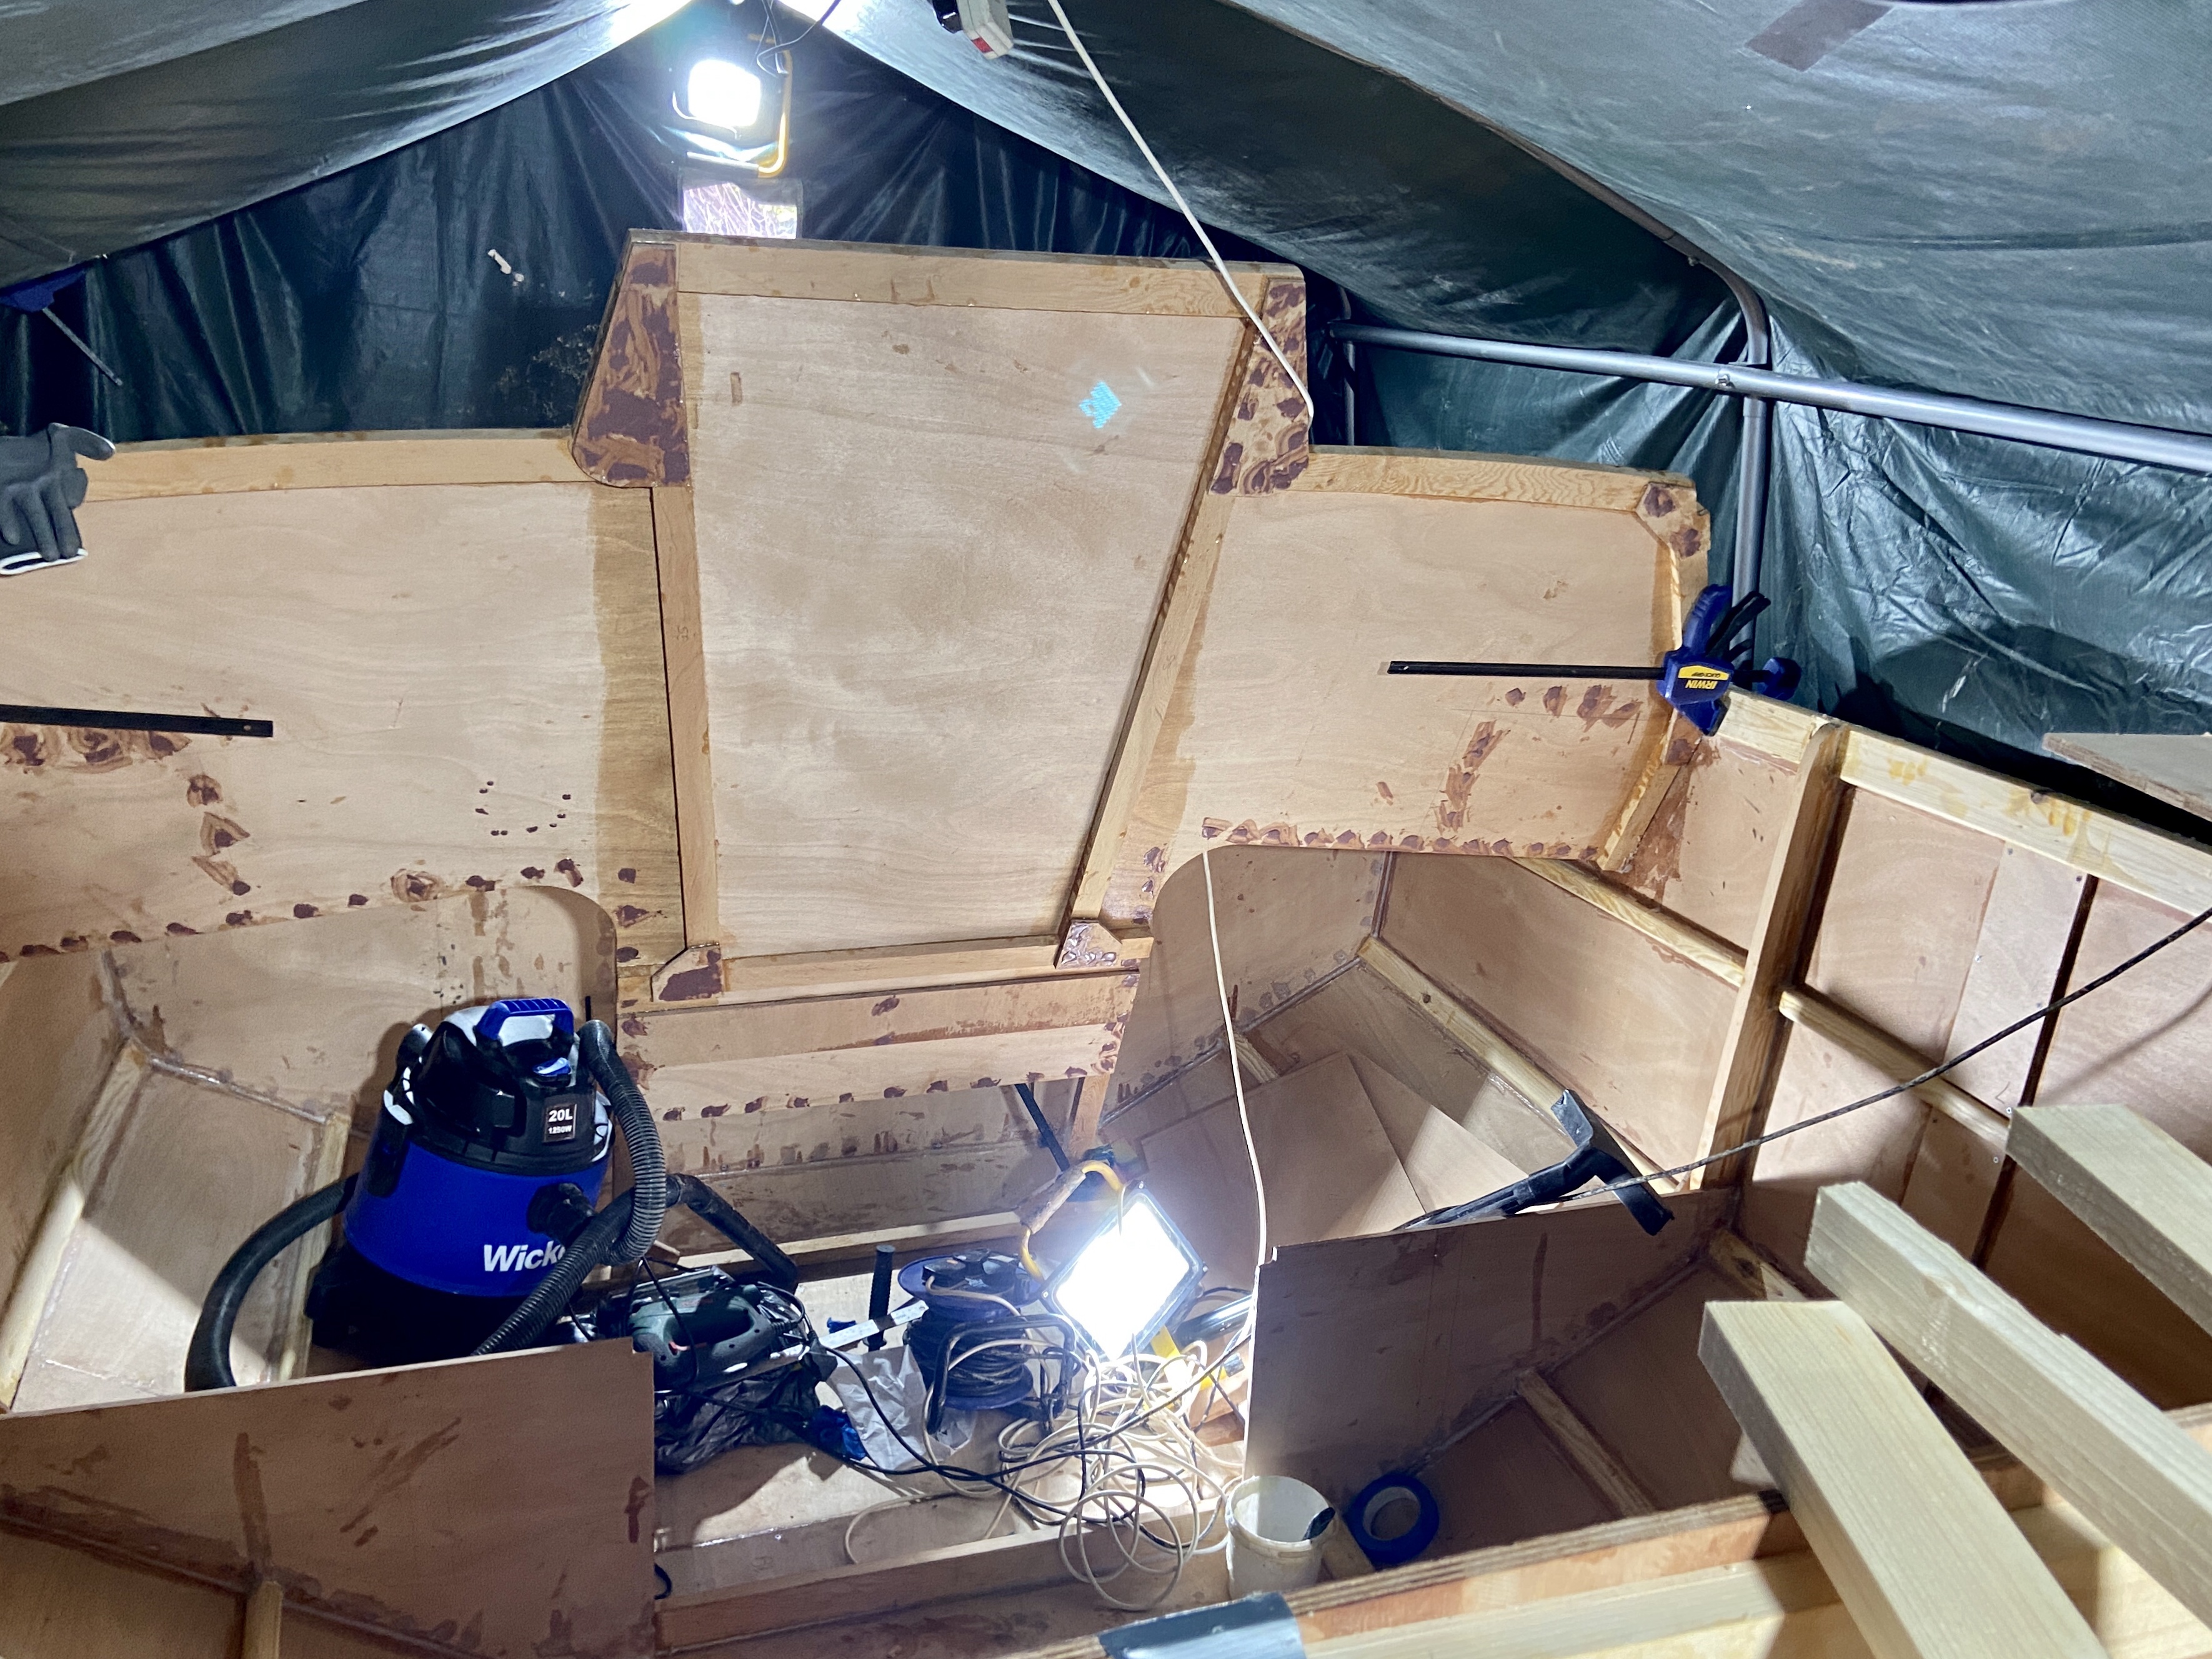
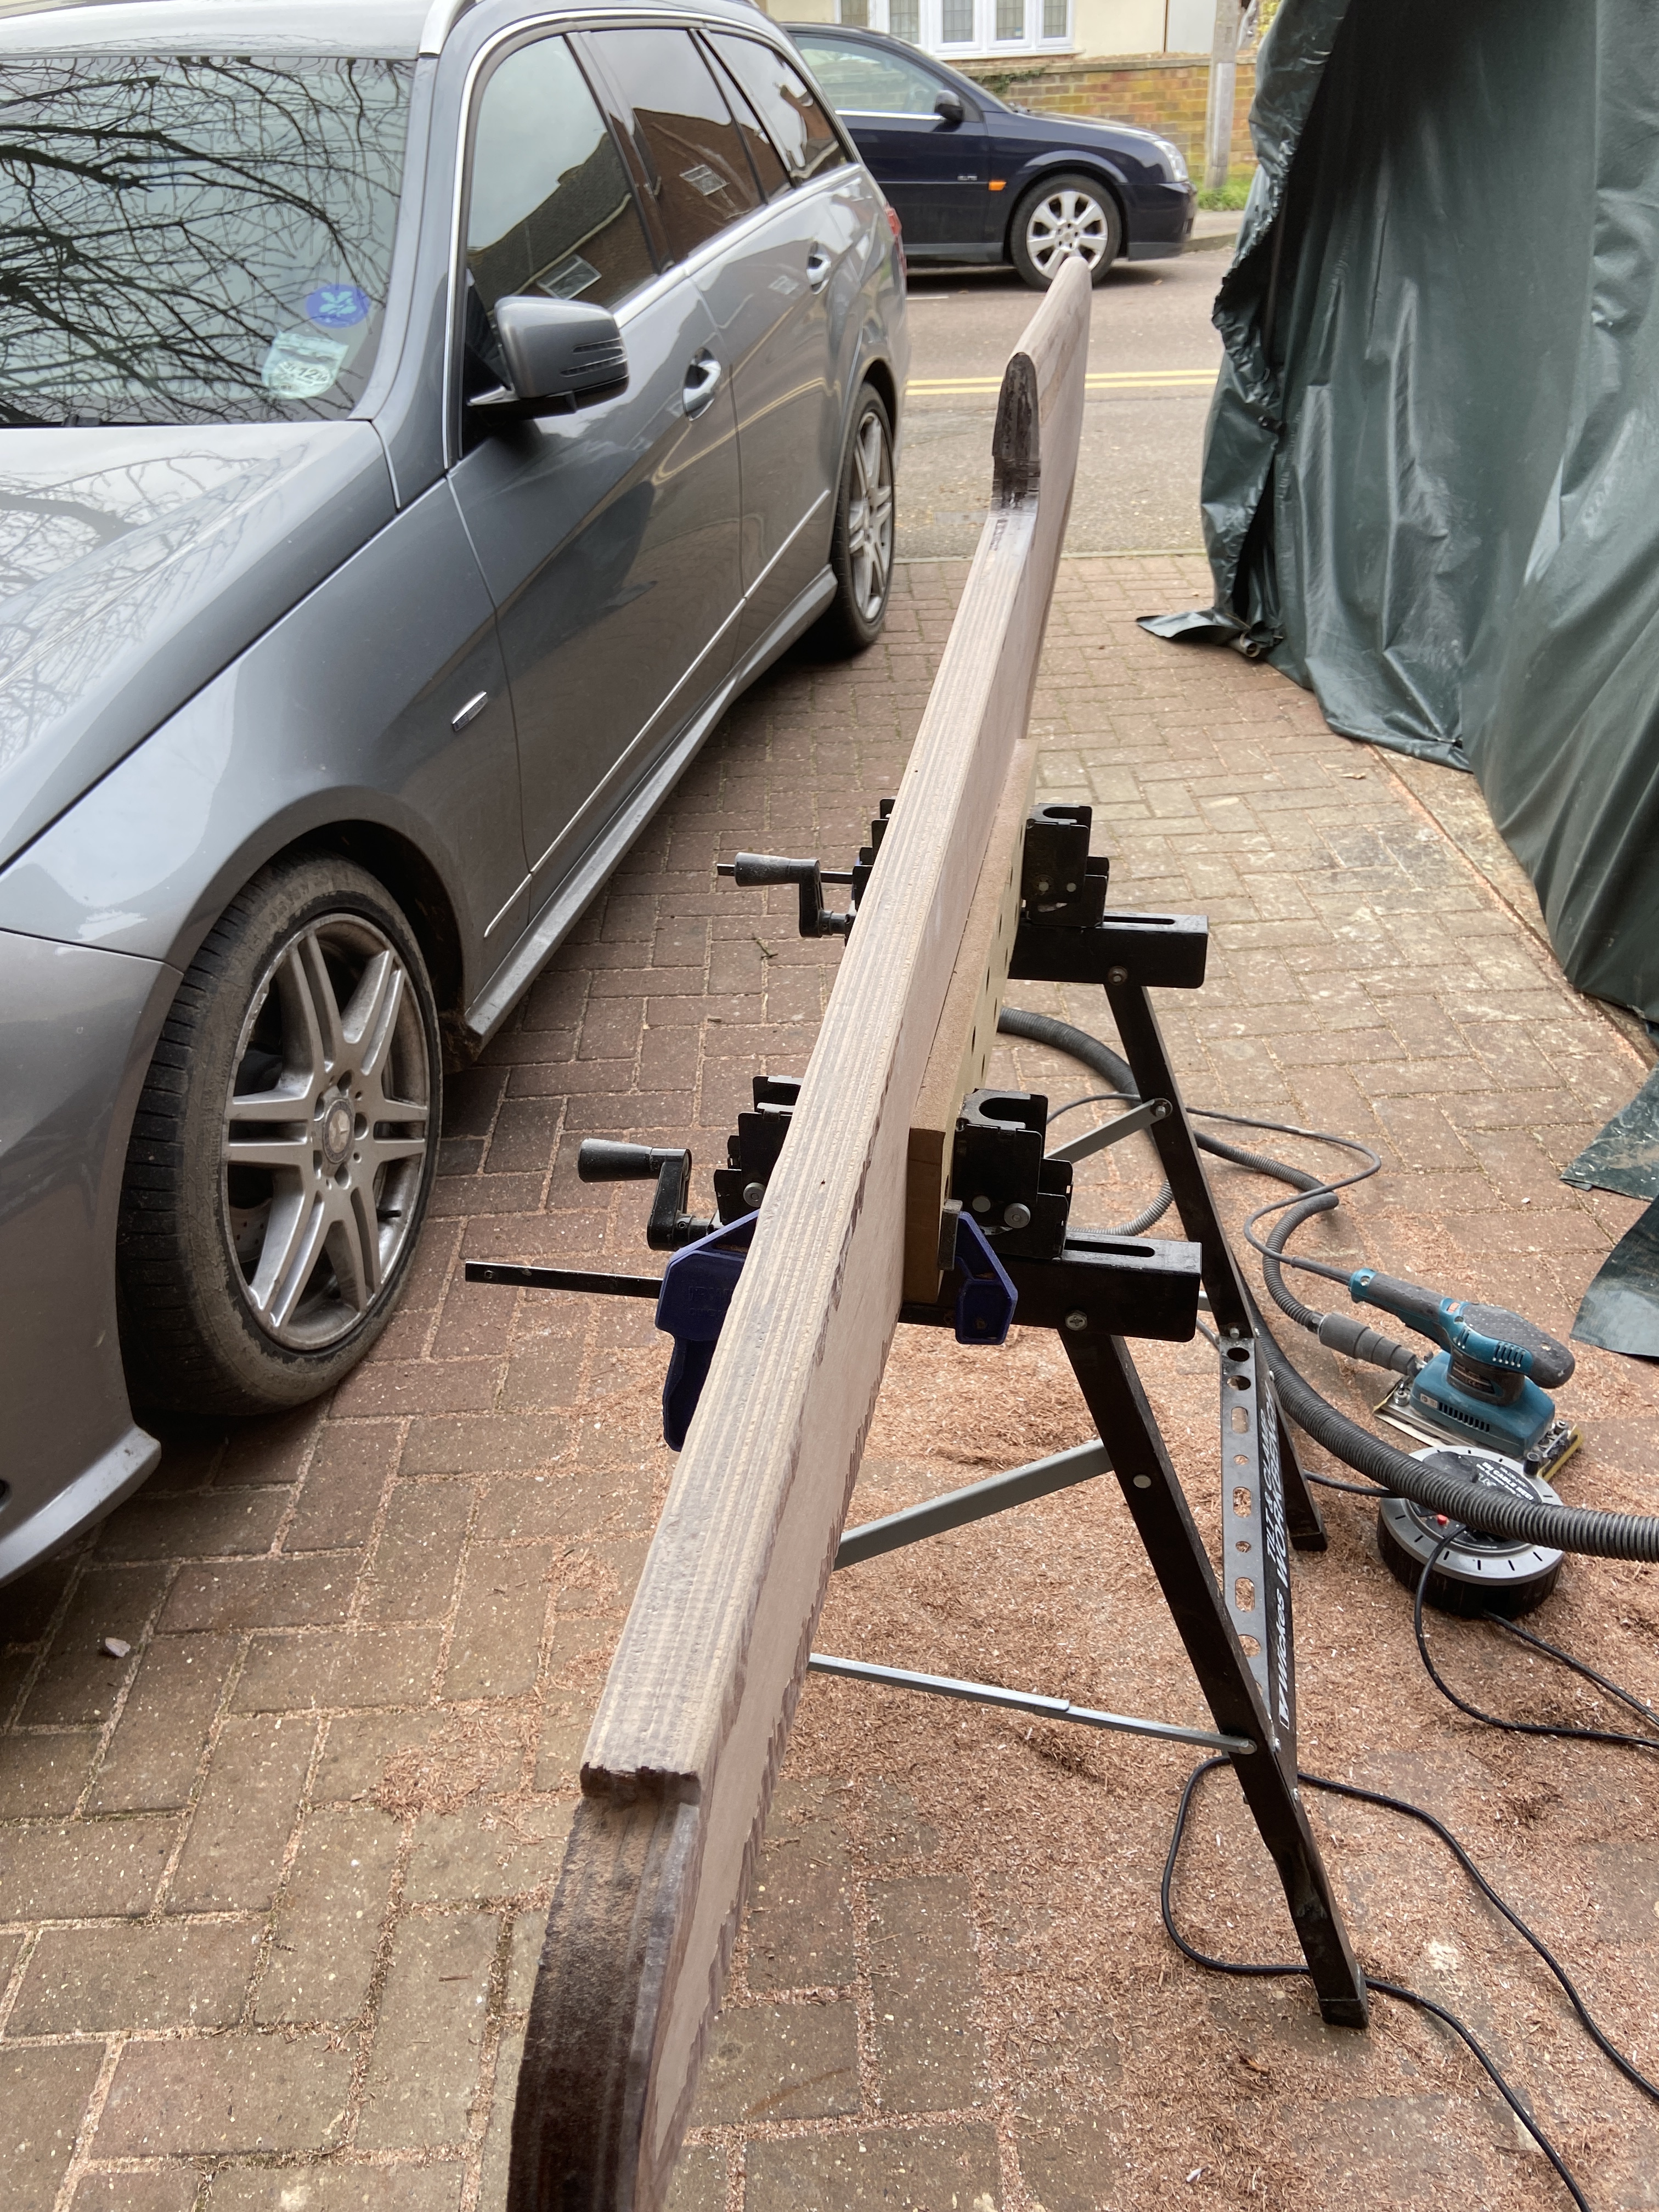
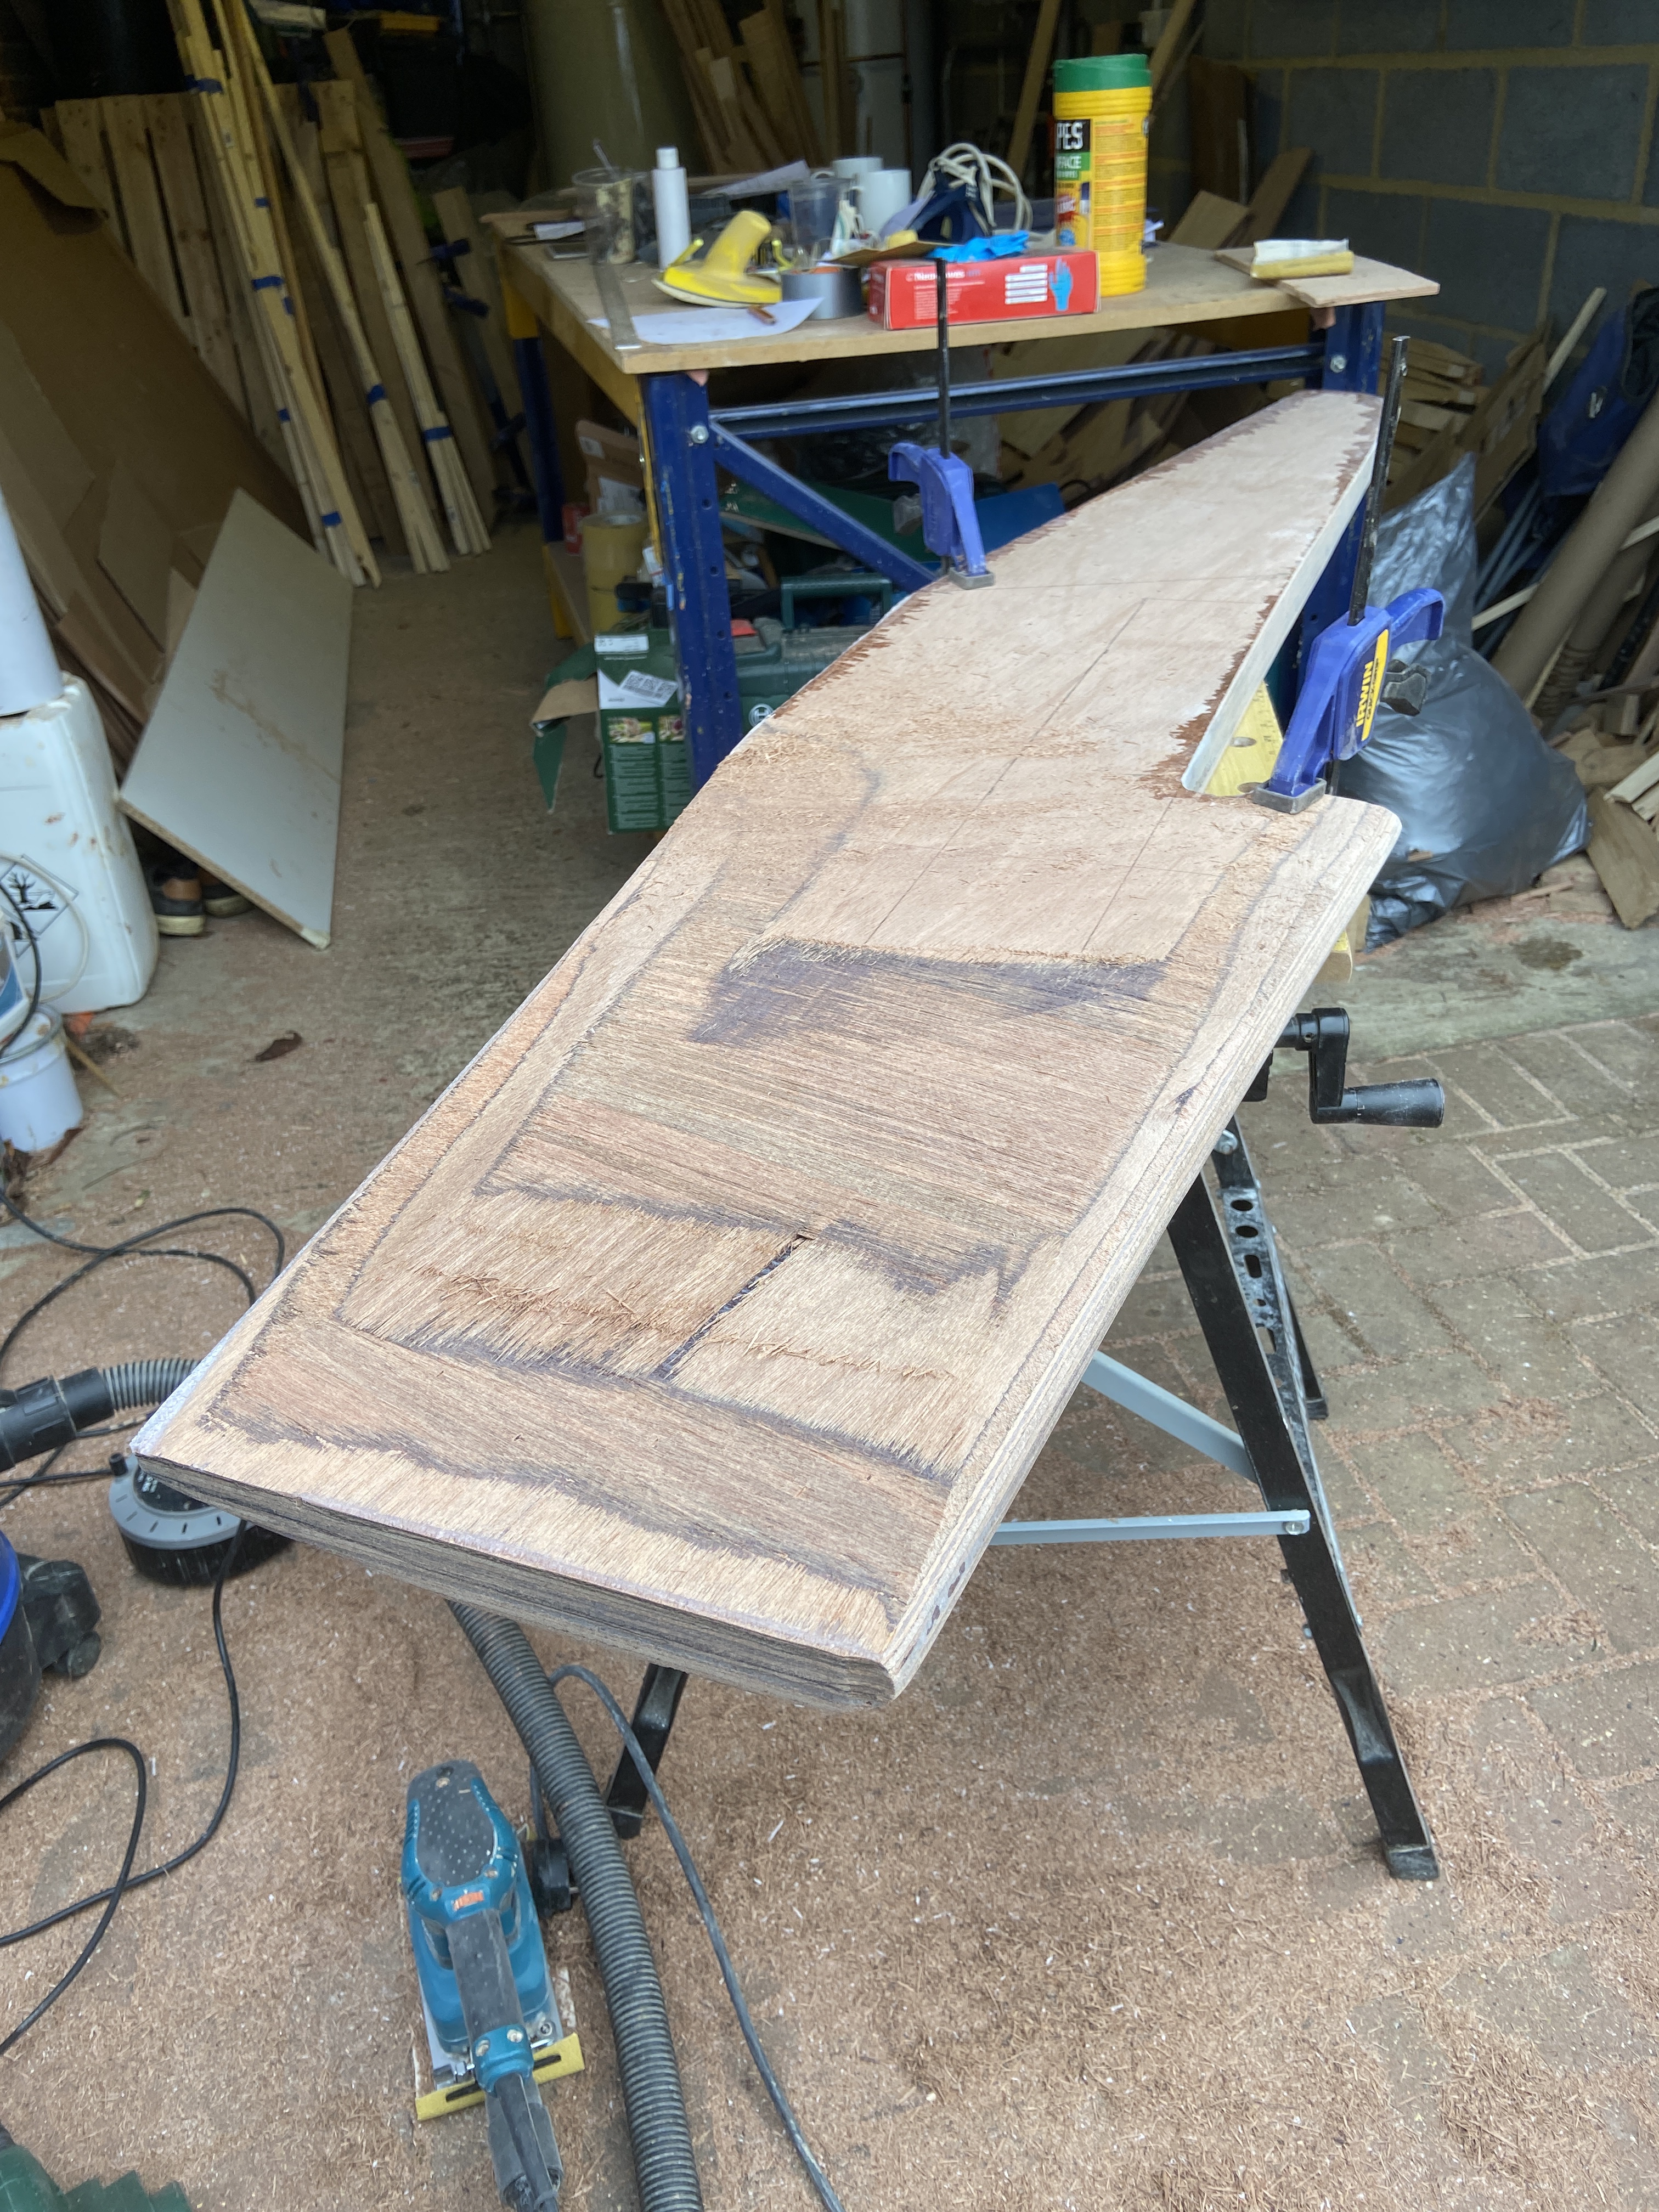
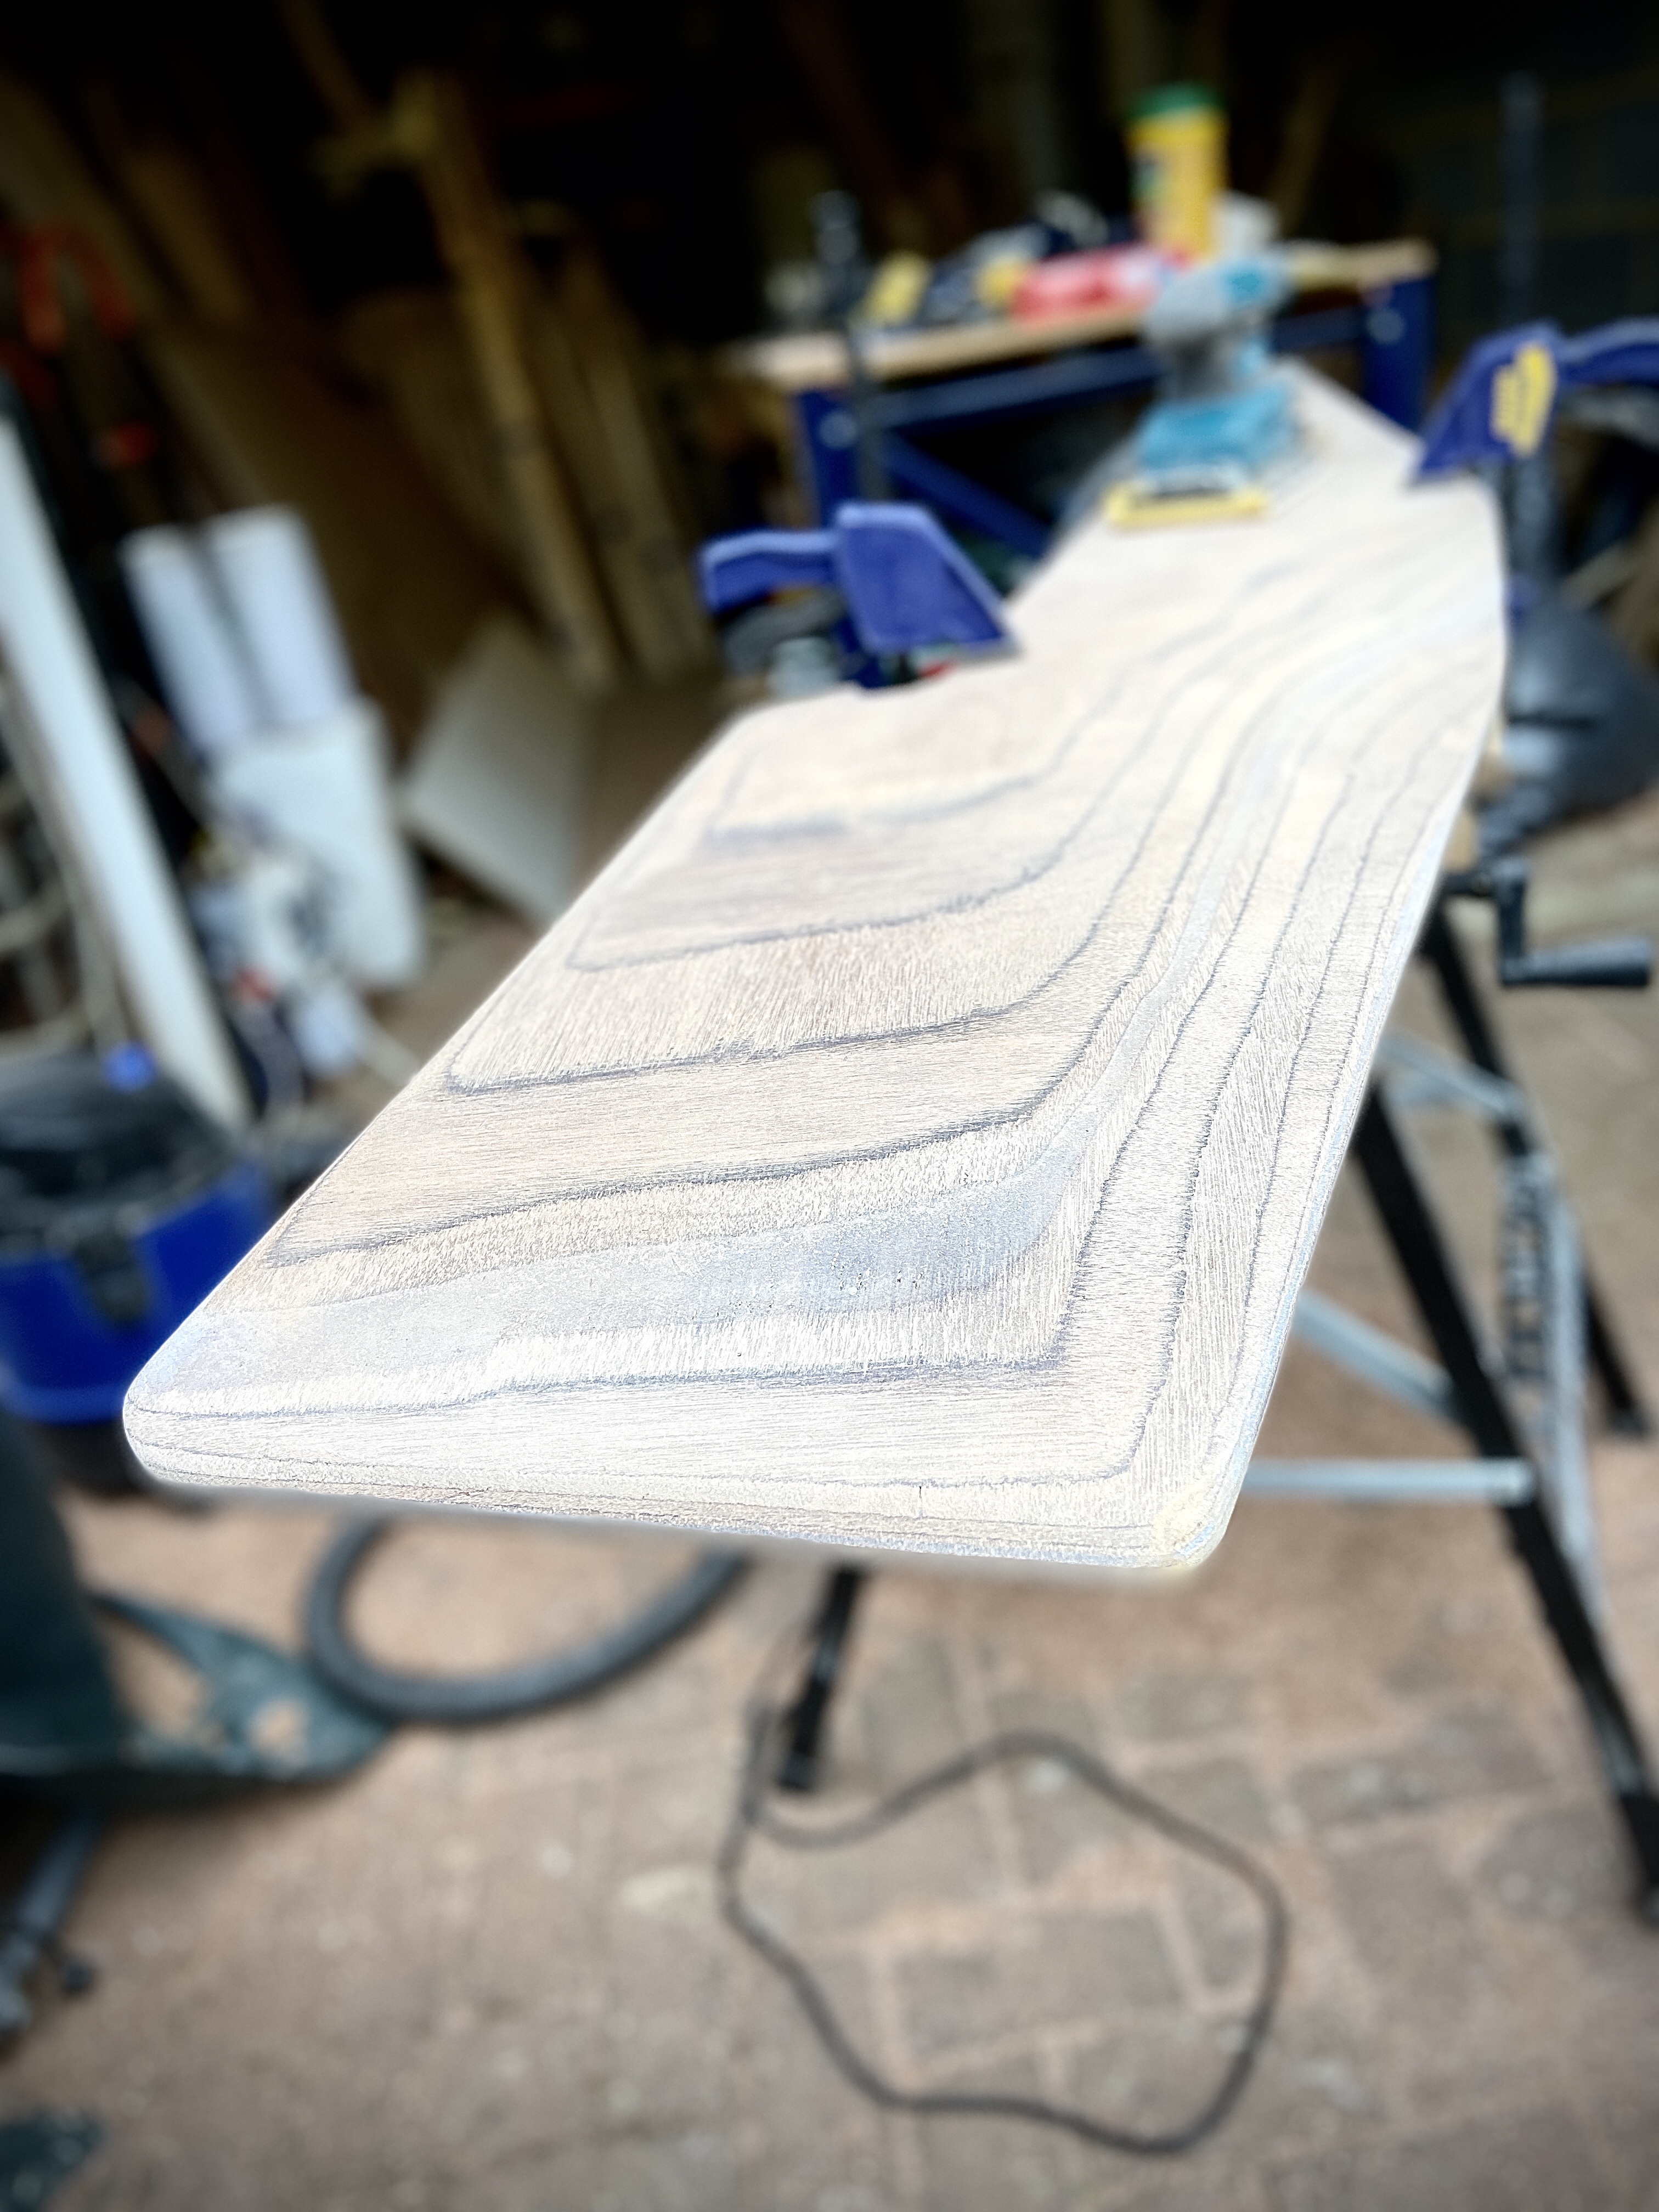
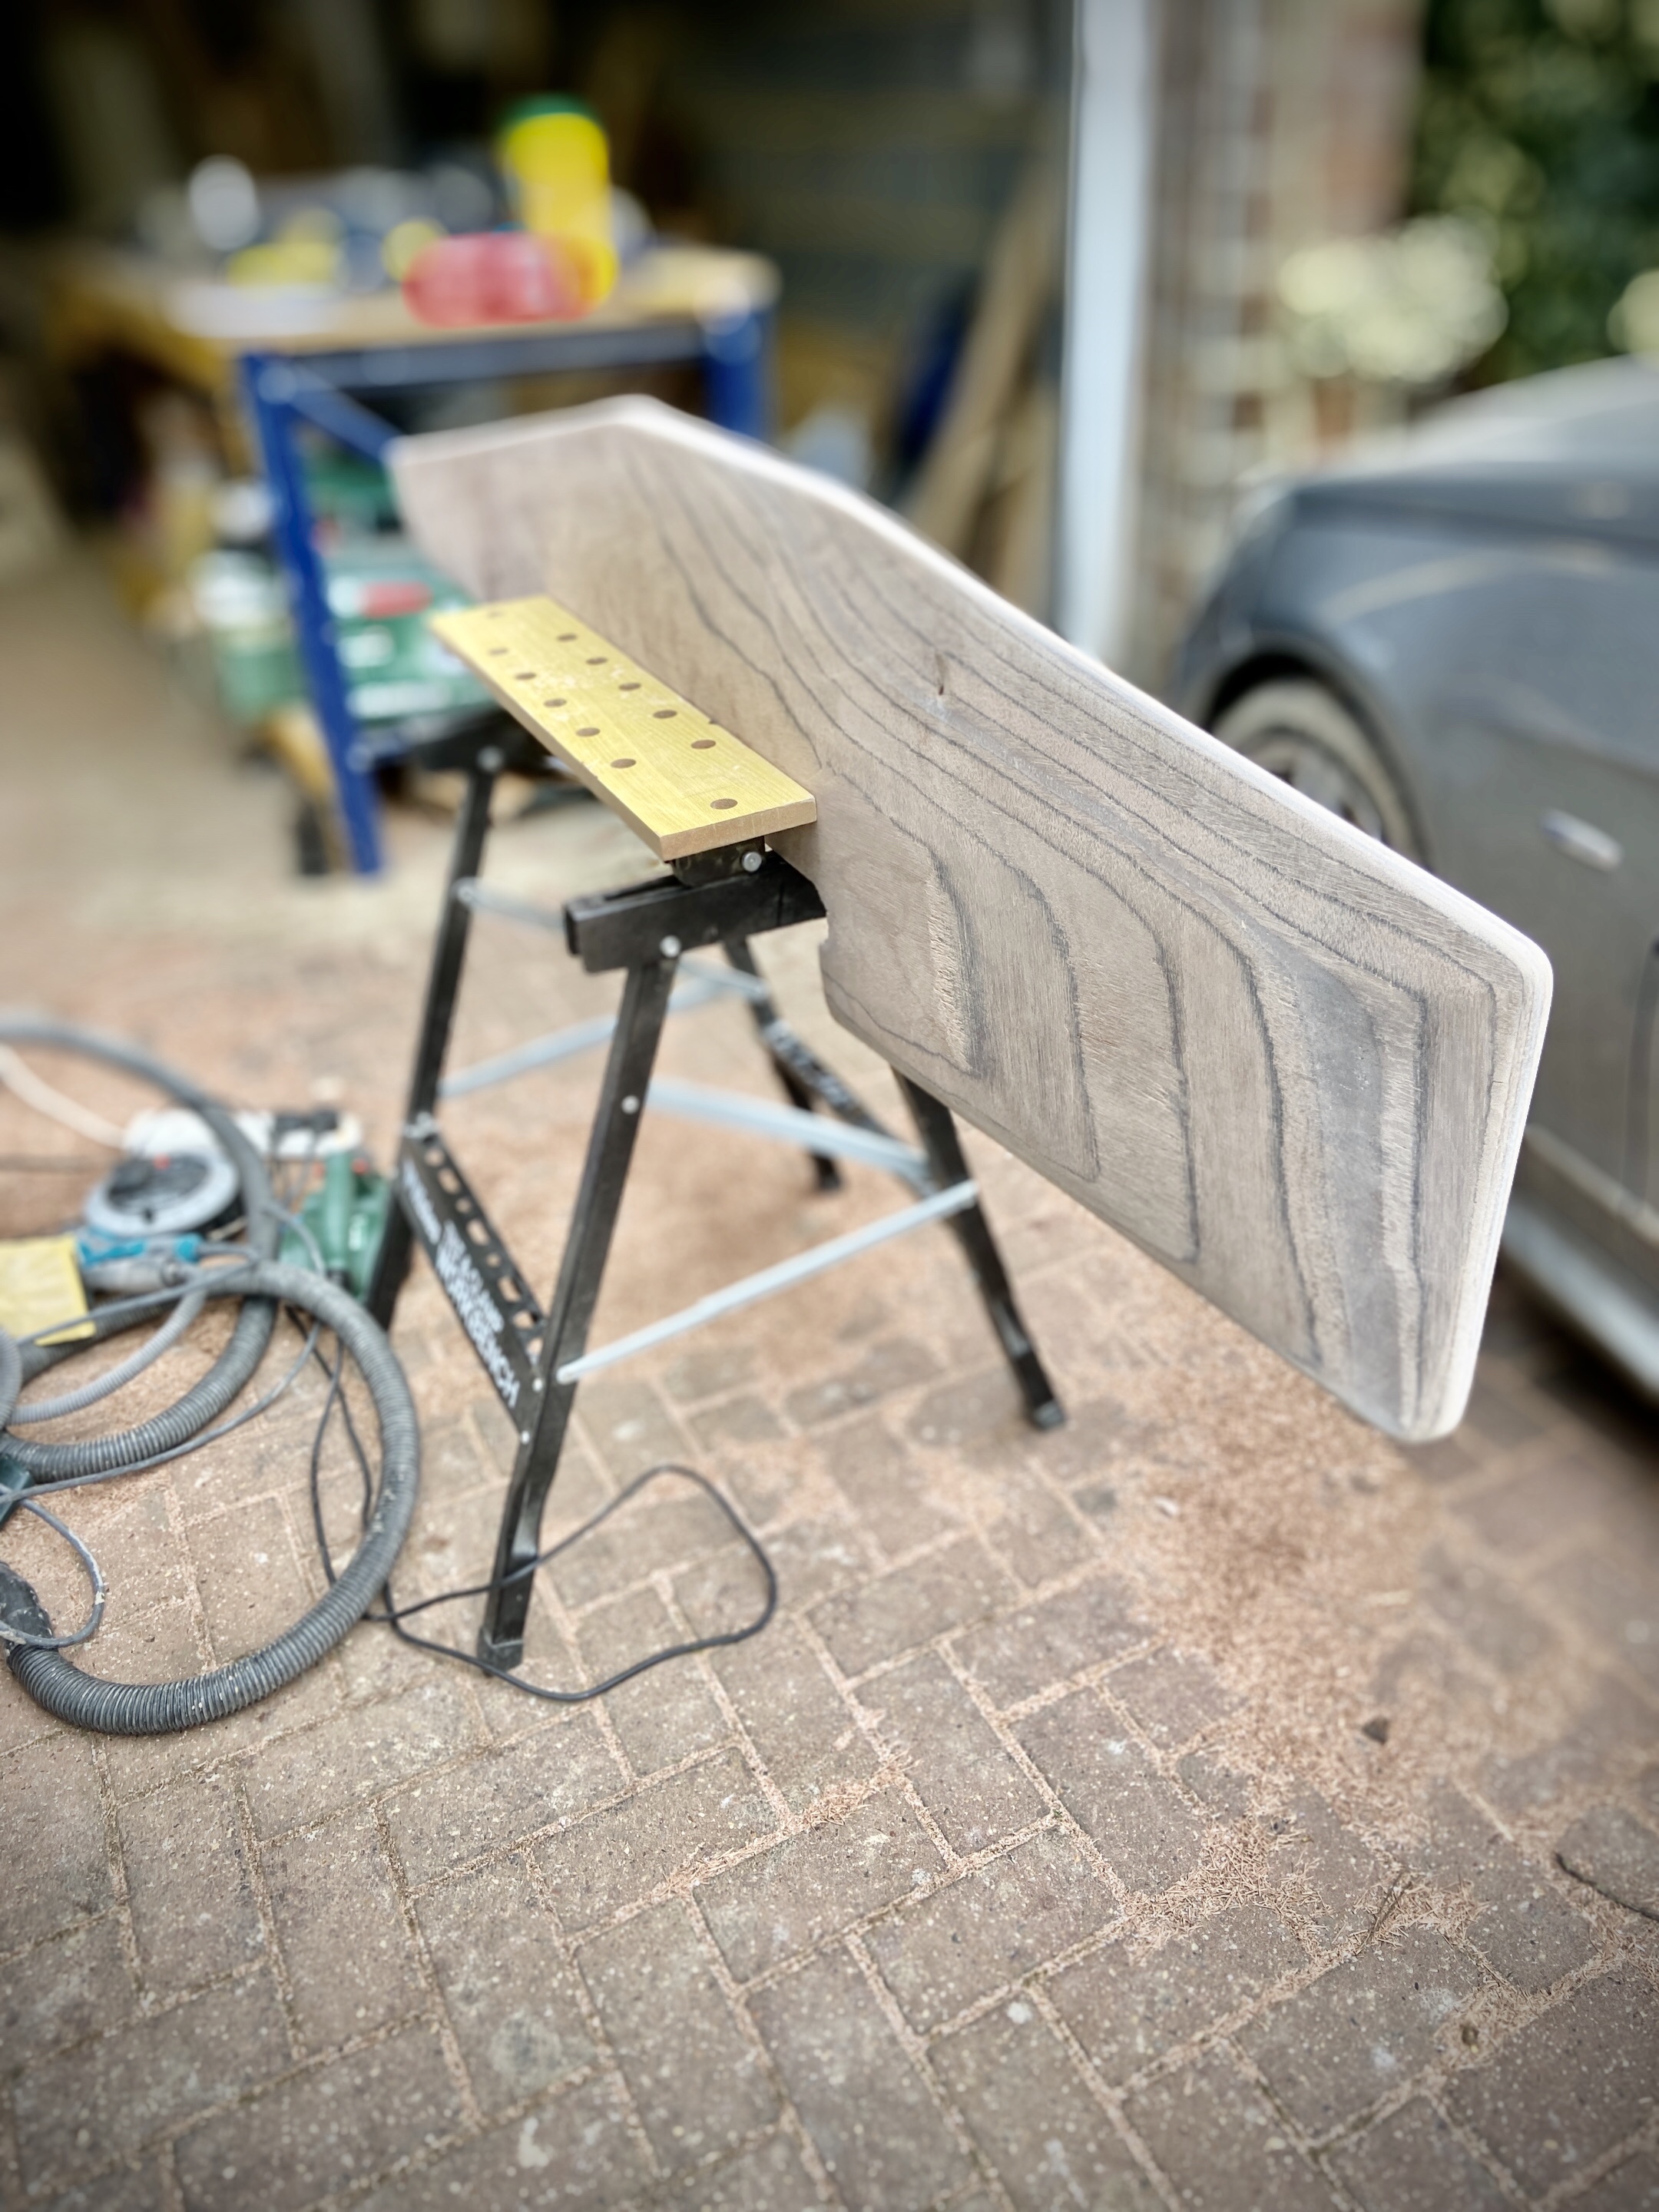
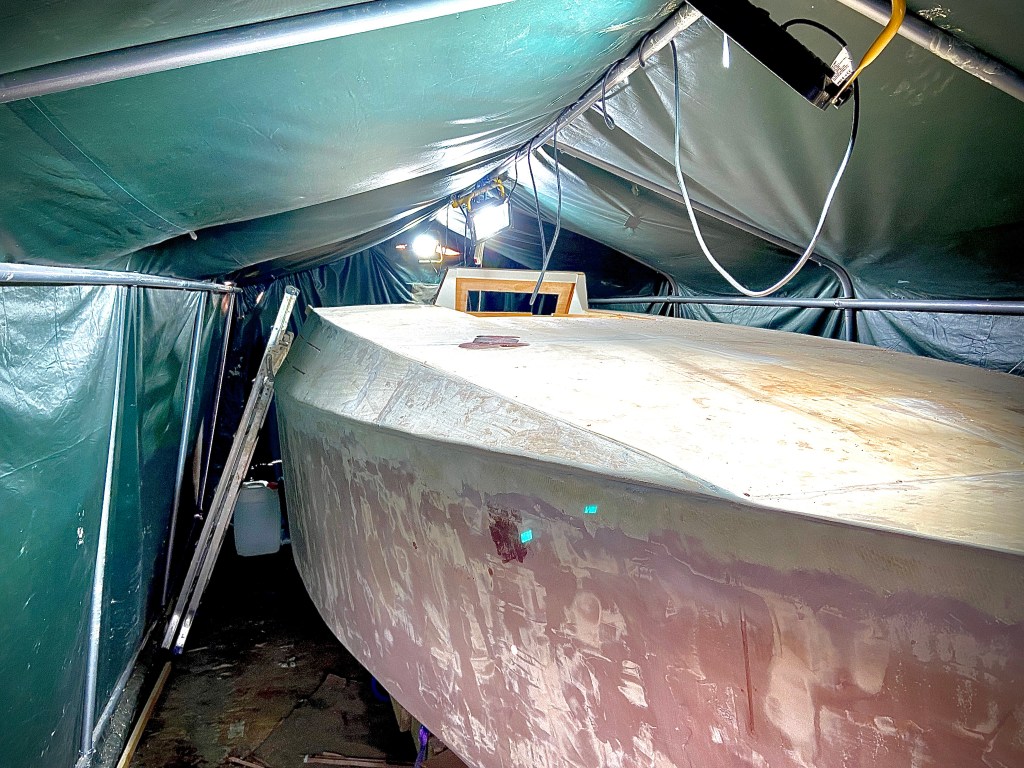
We managed to get all the deck panels glued on and sanded down a weekend or so ago. A few bits of tidying up but generally looks very smart. Happy builder.

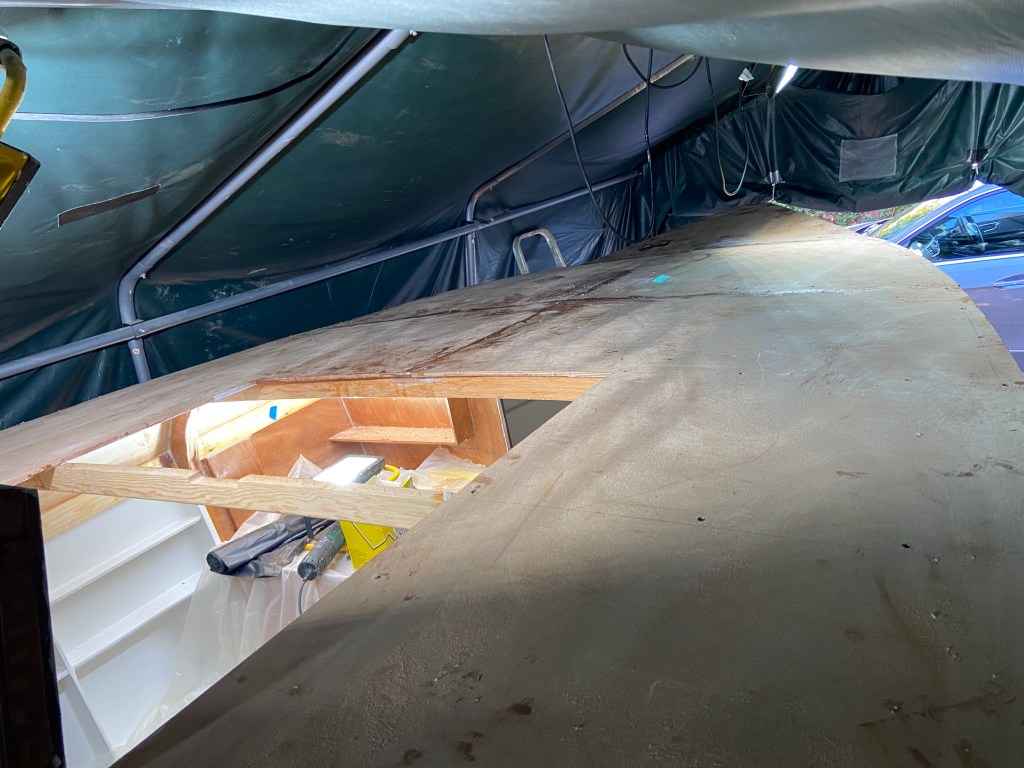
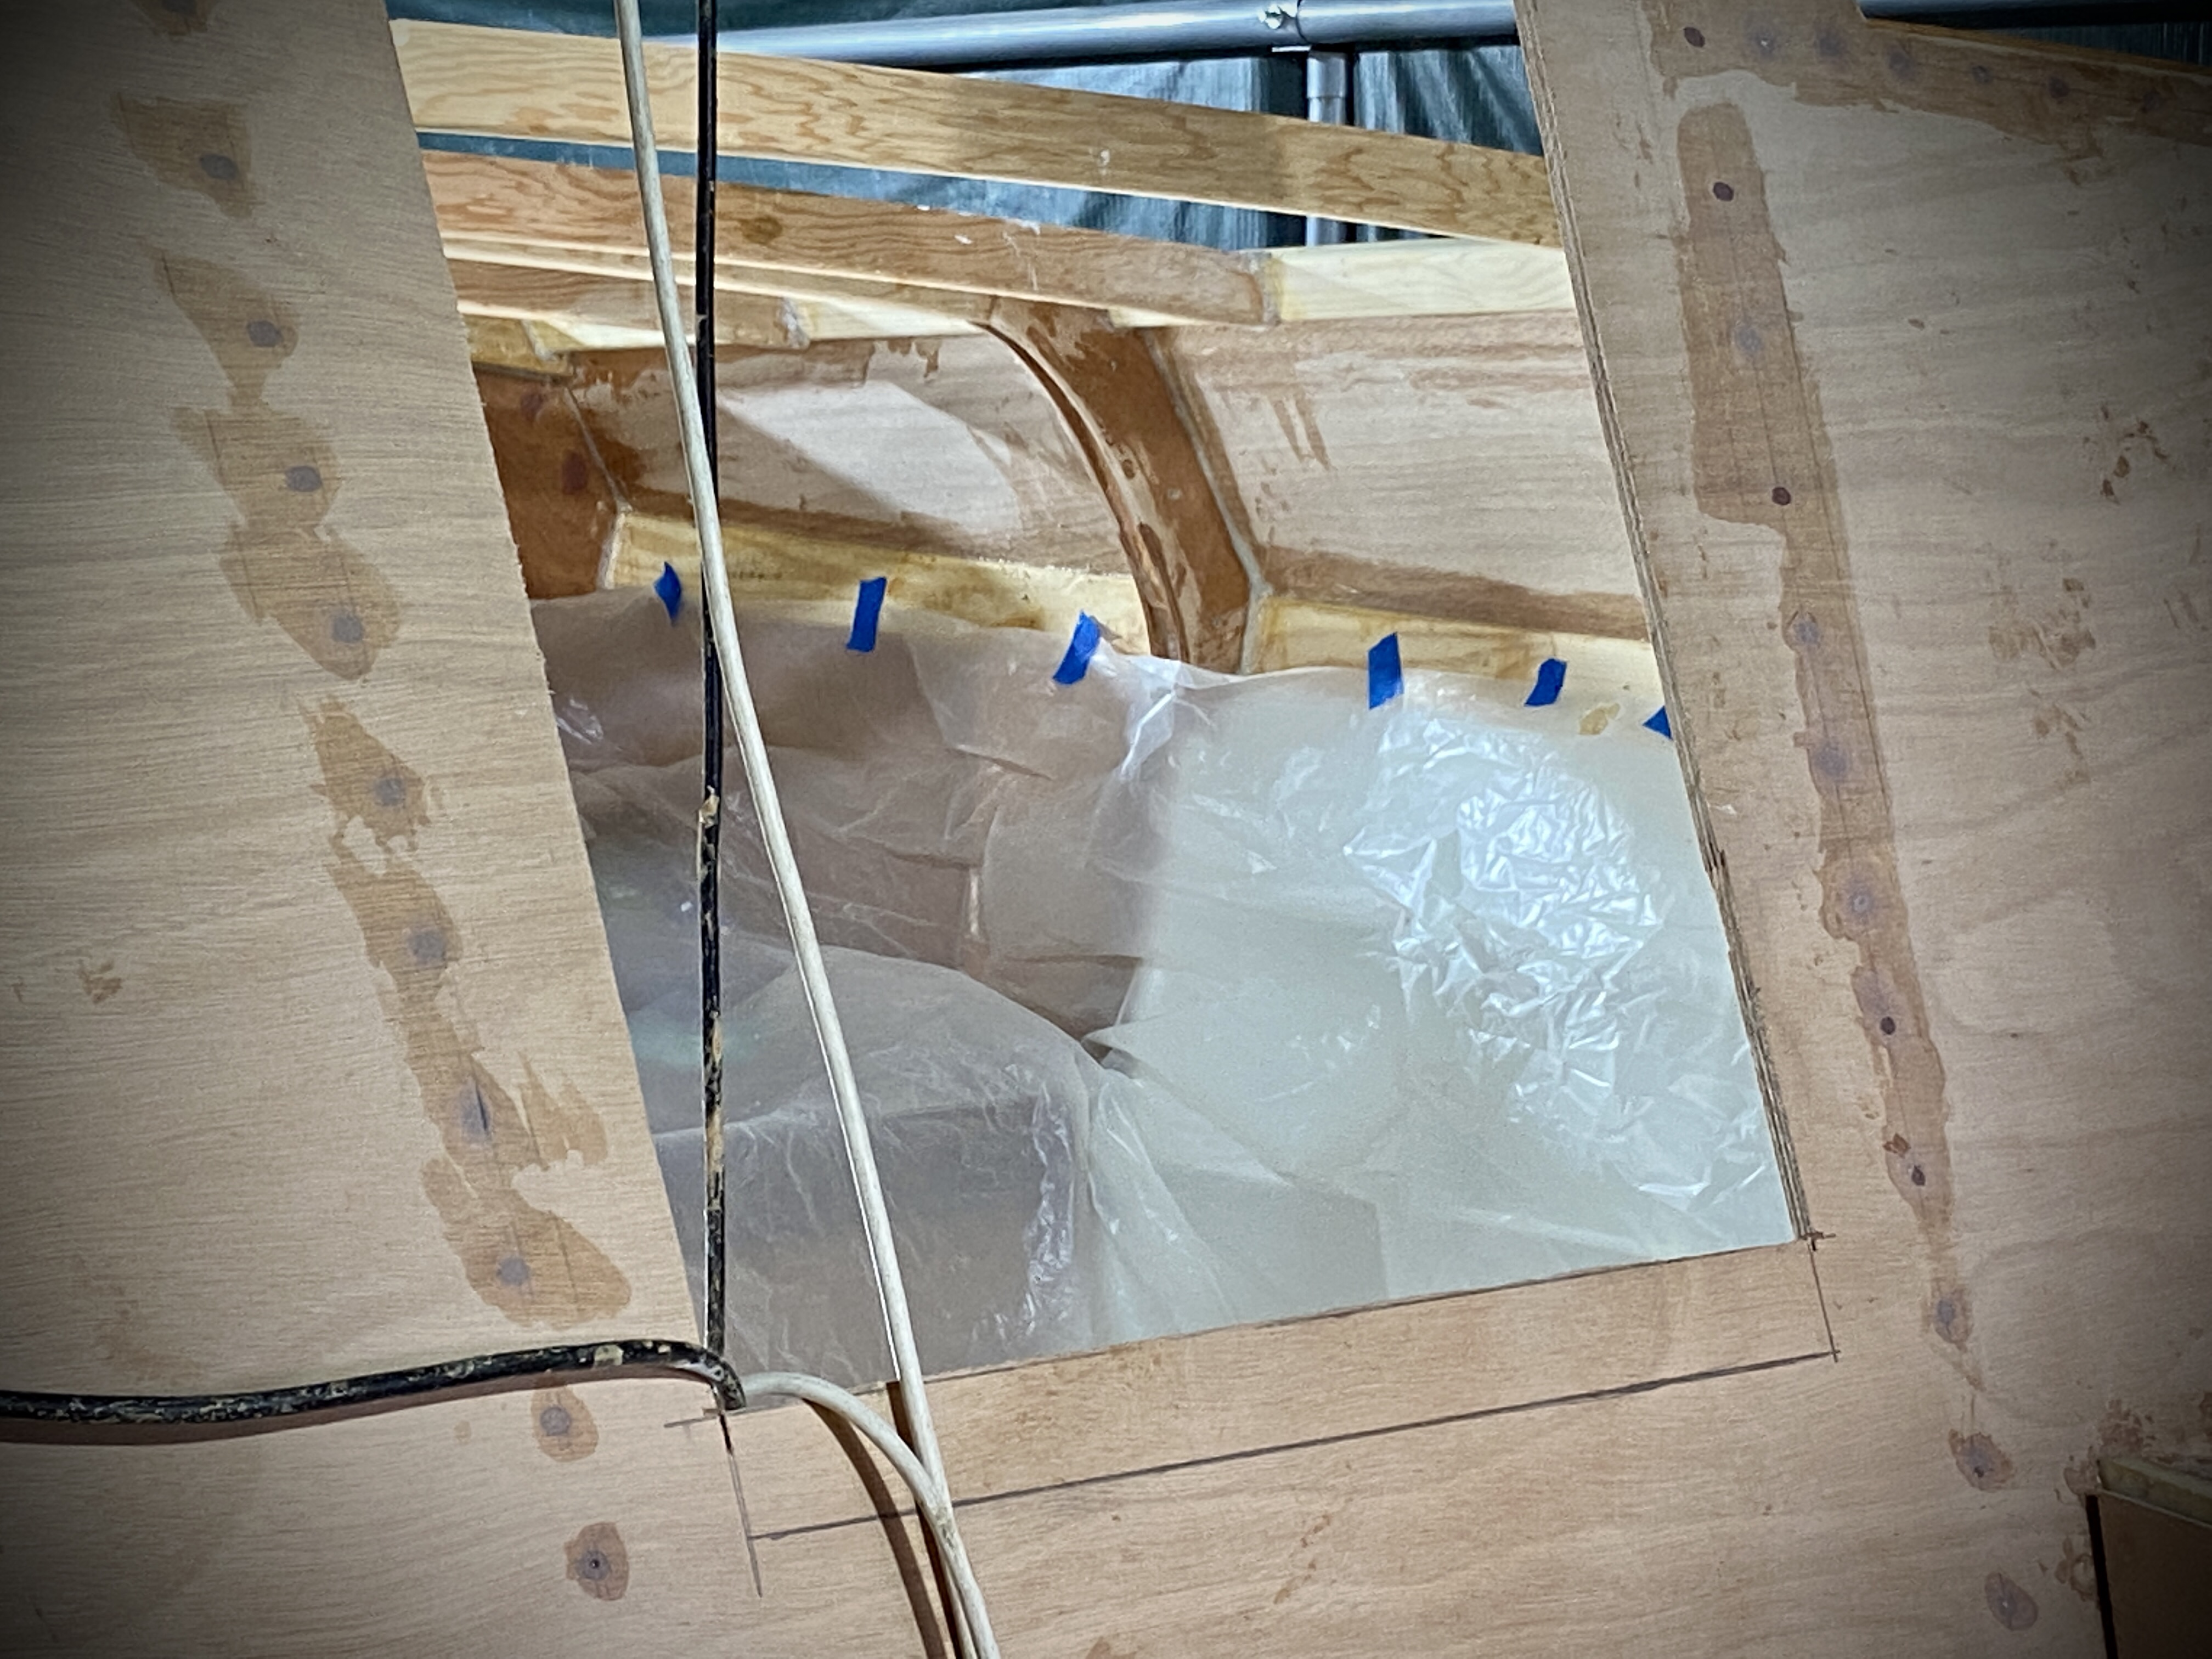
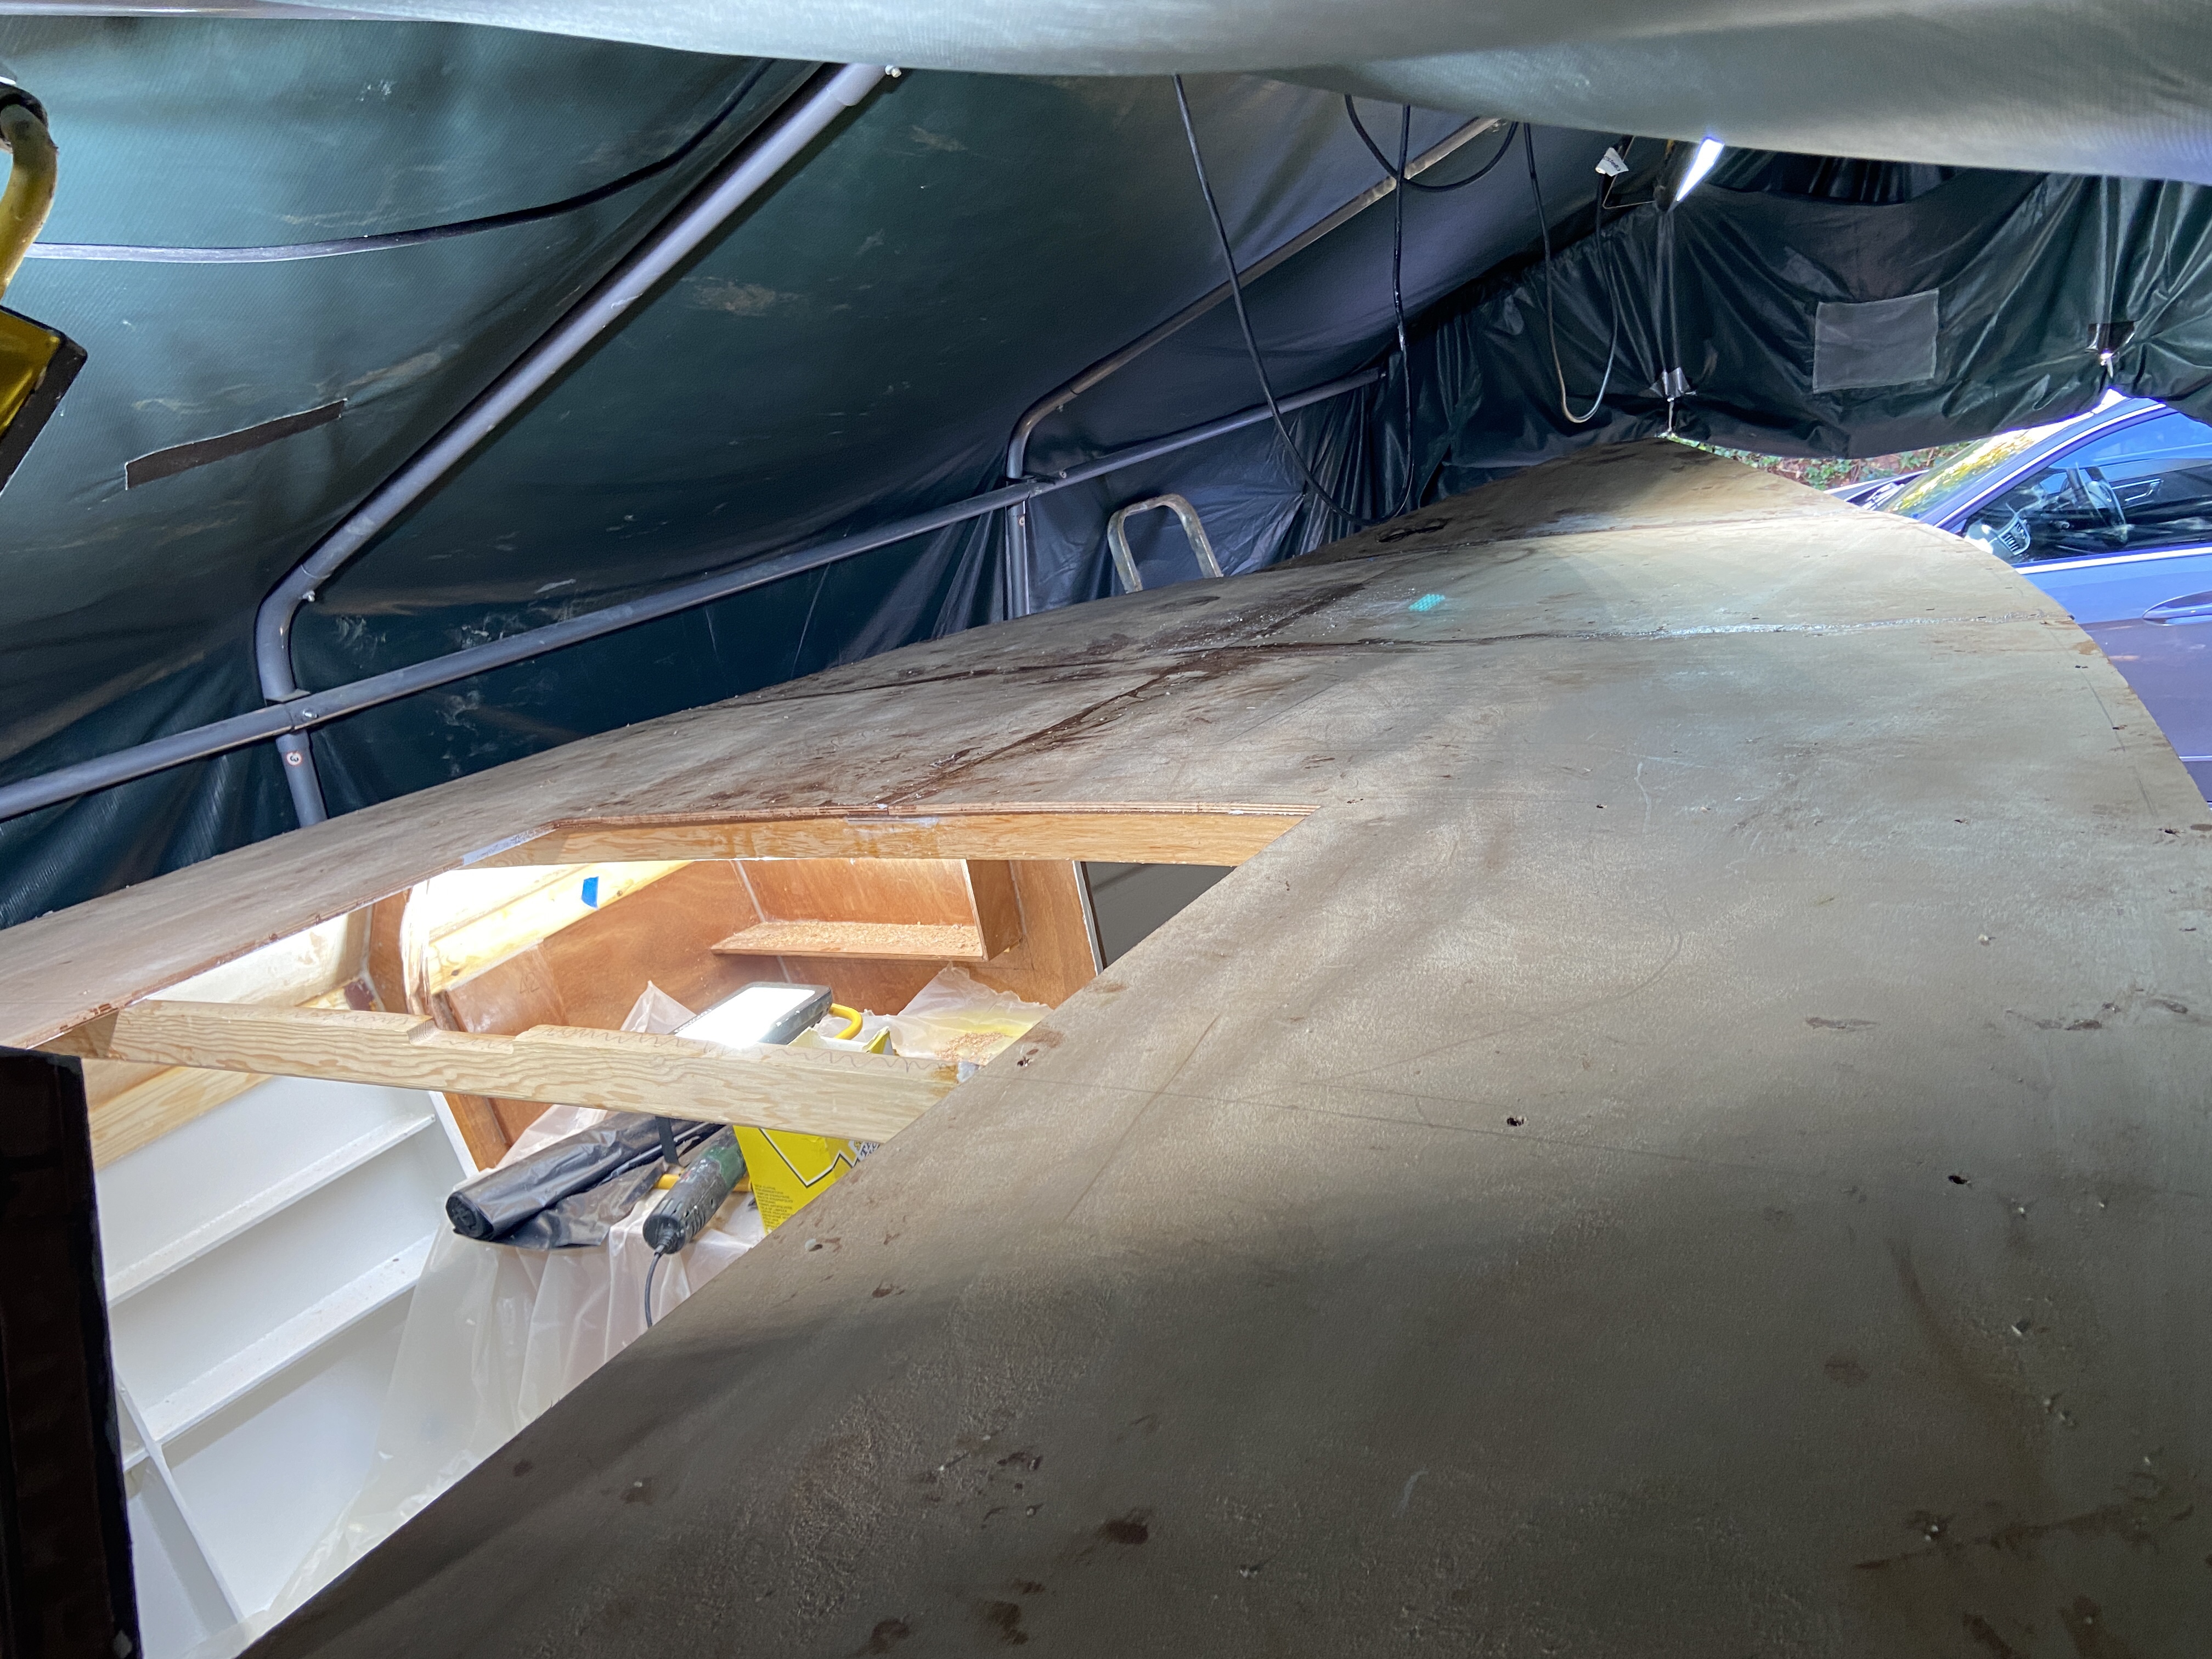
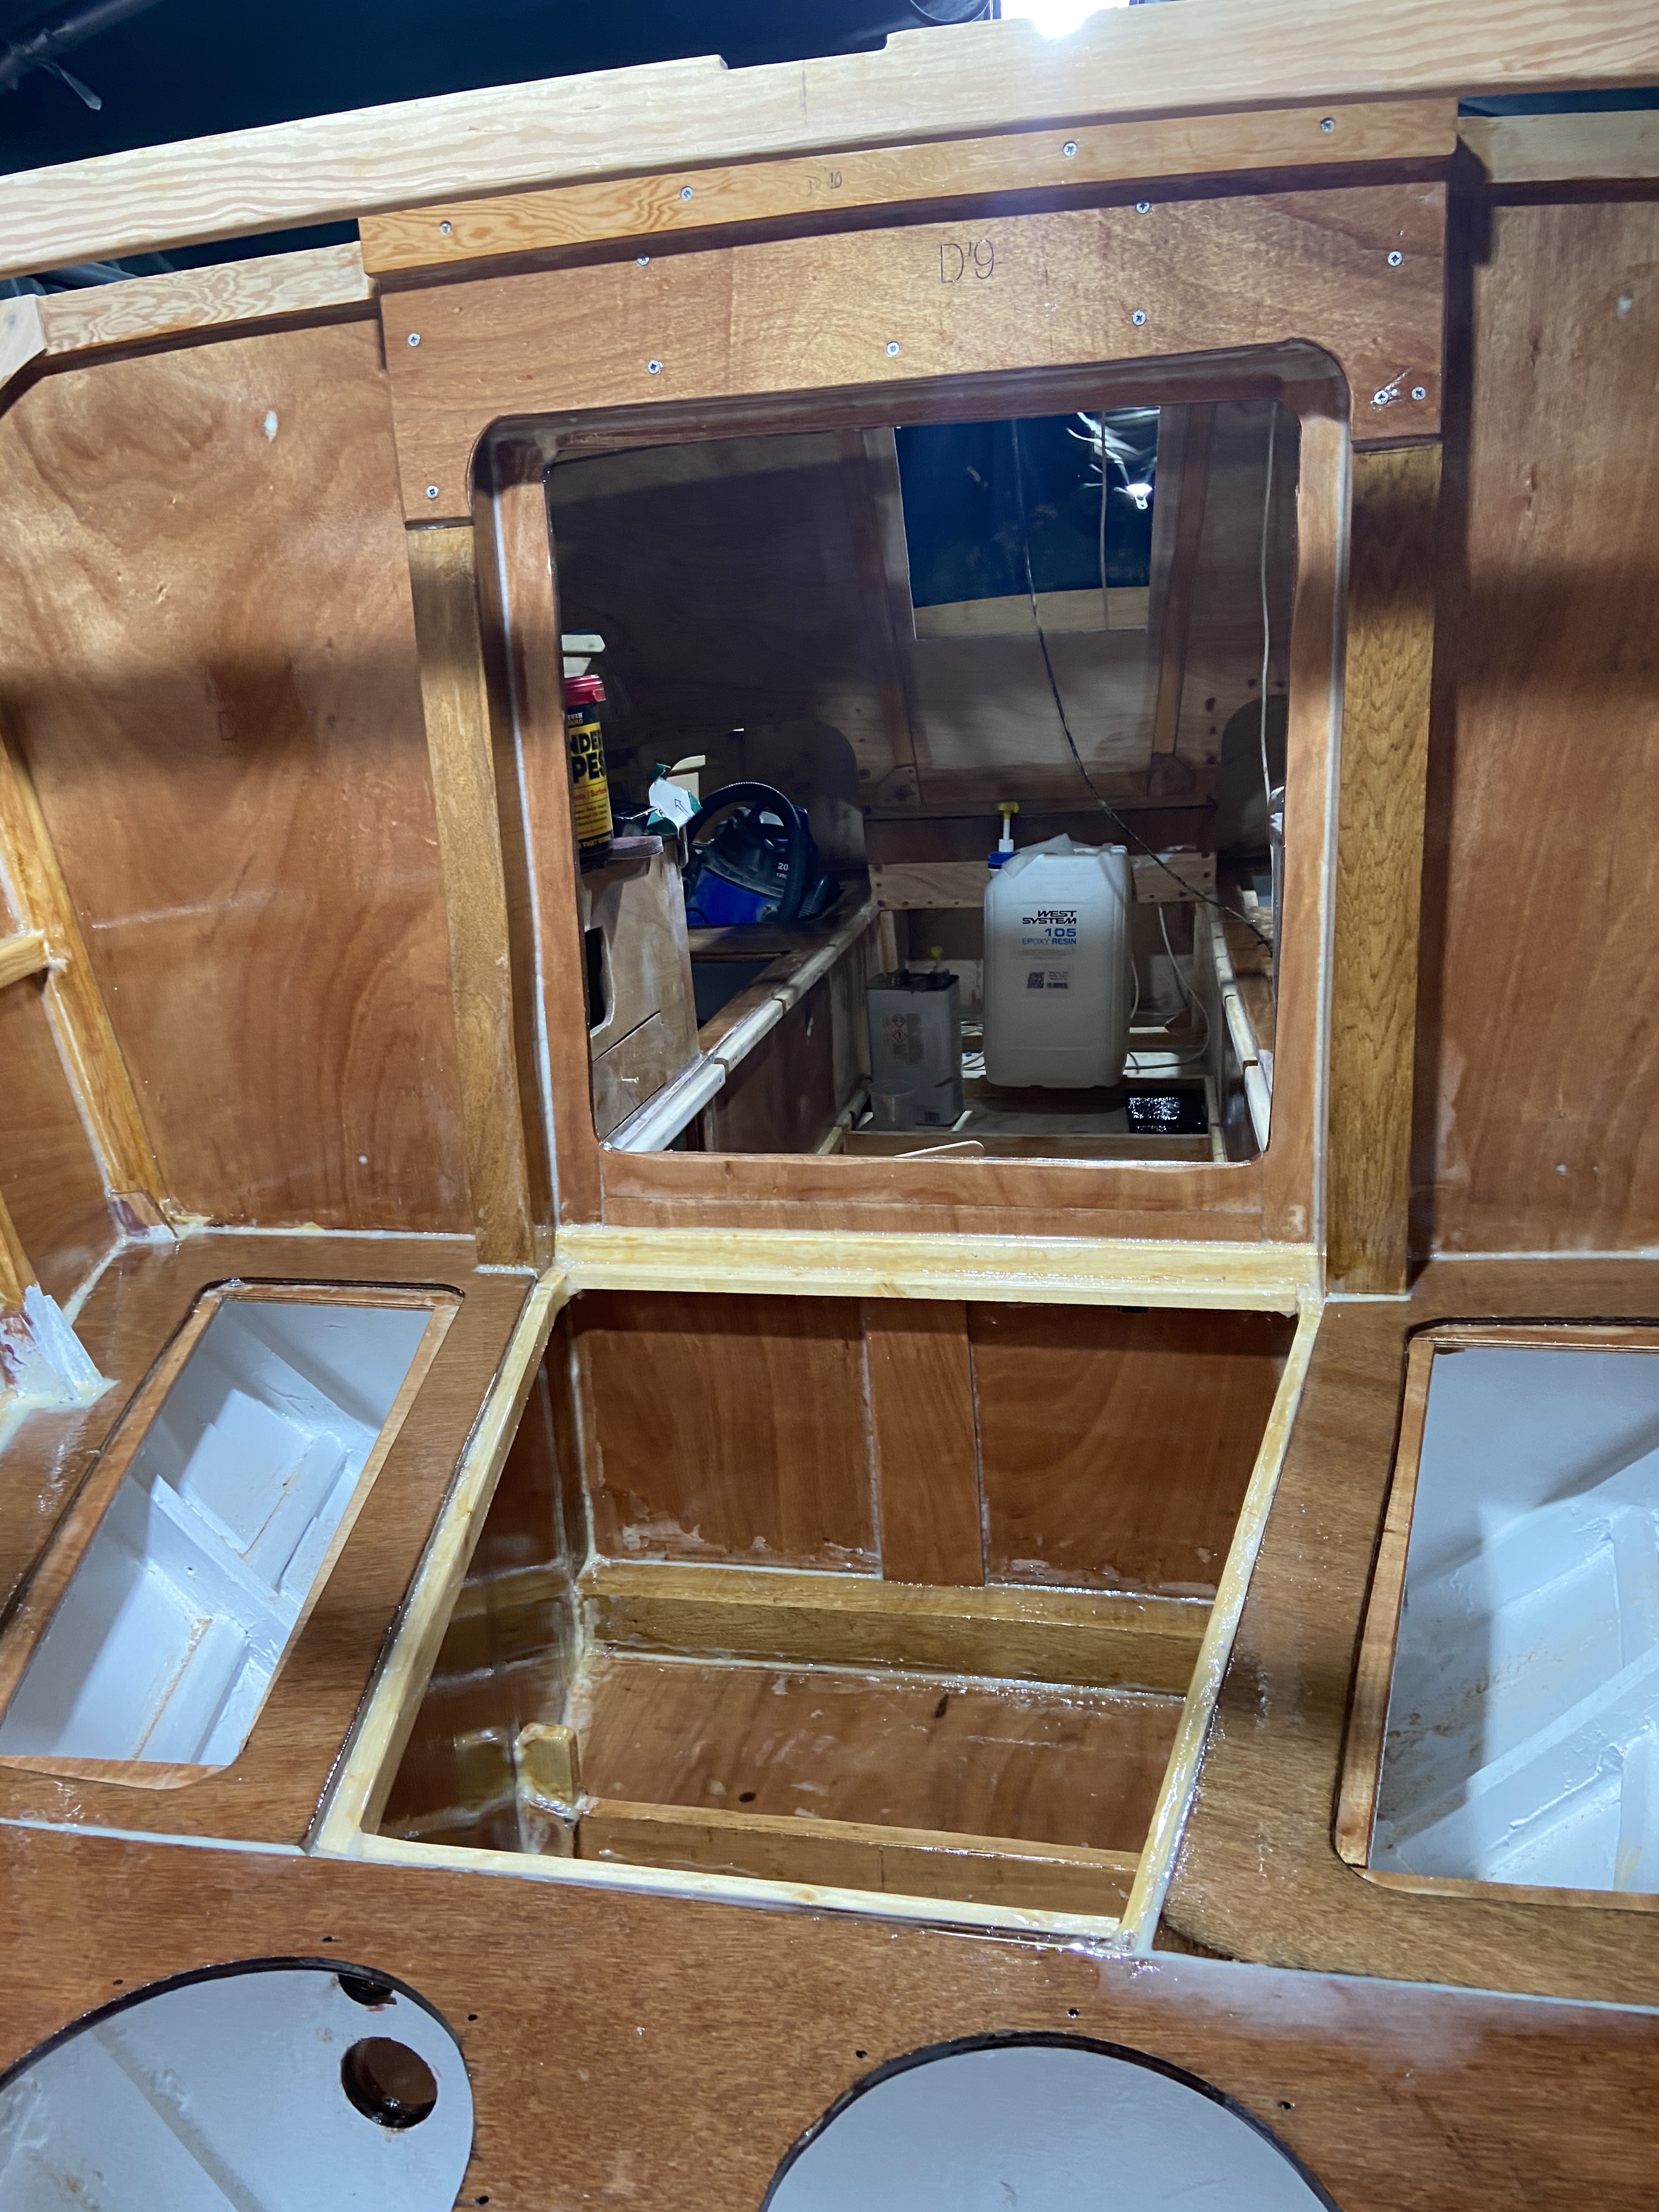
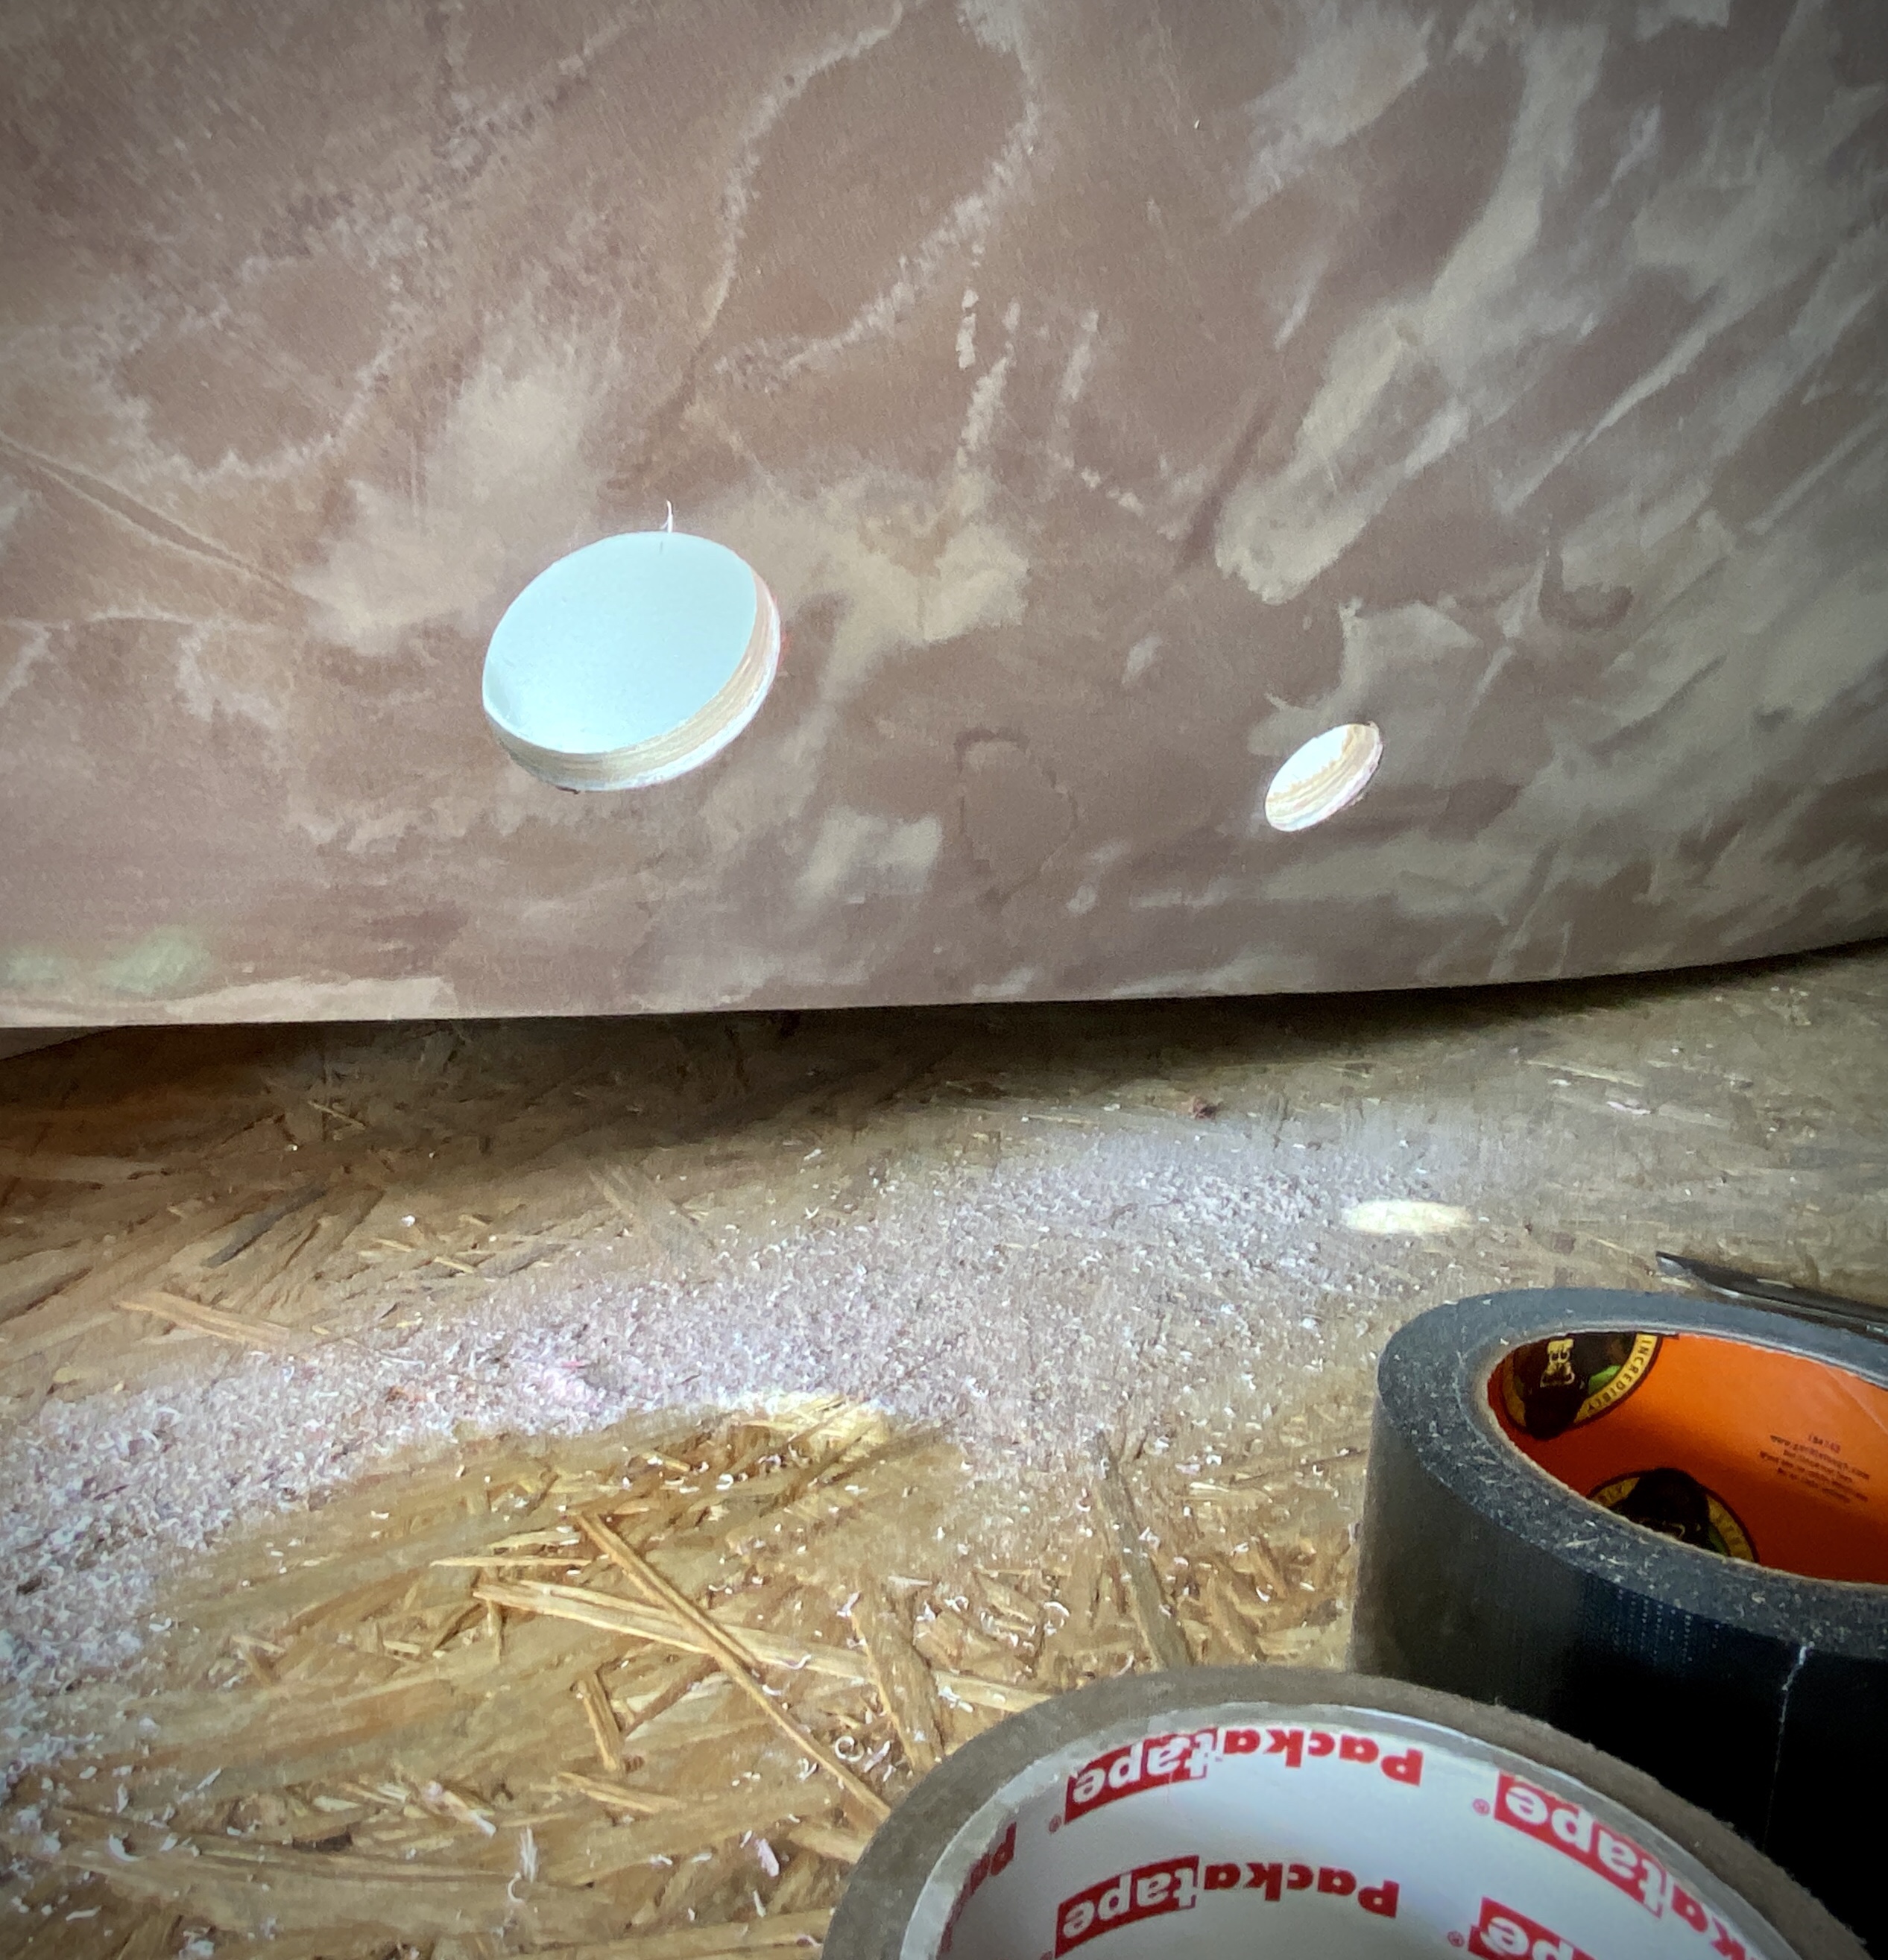
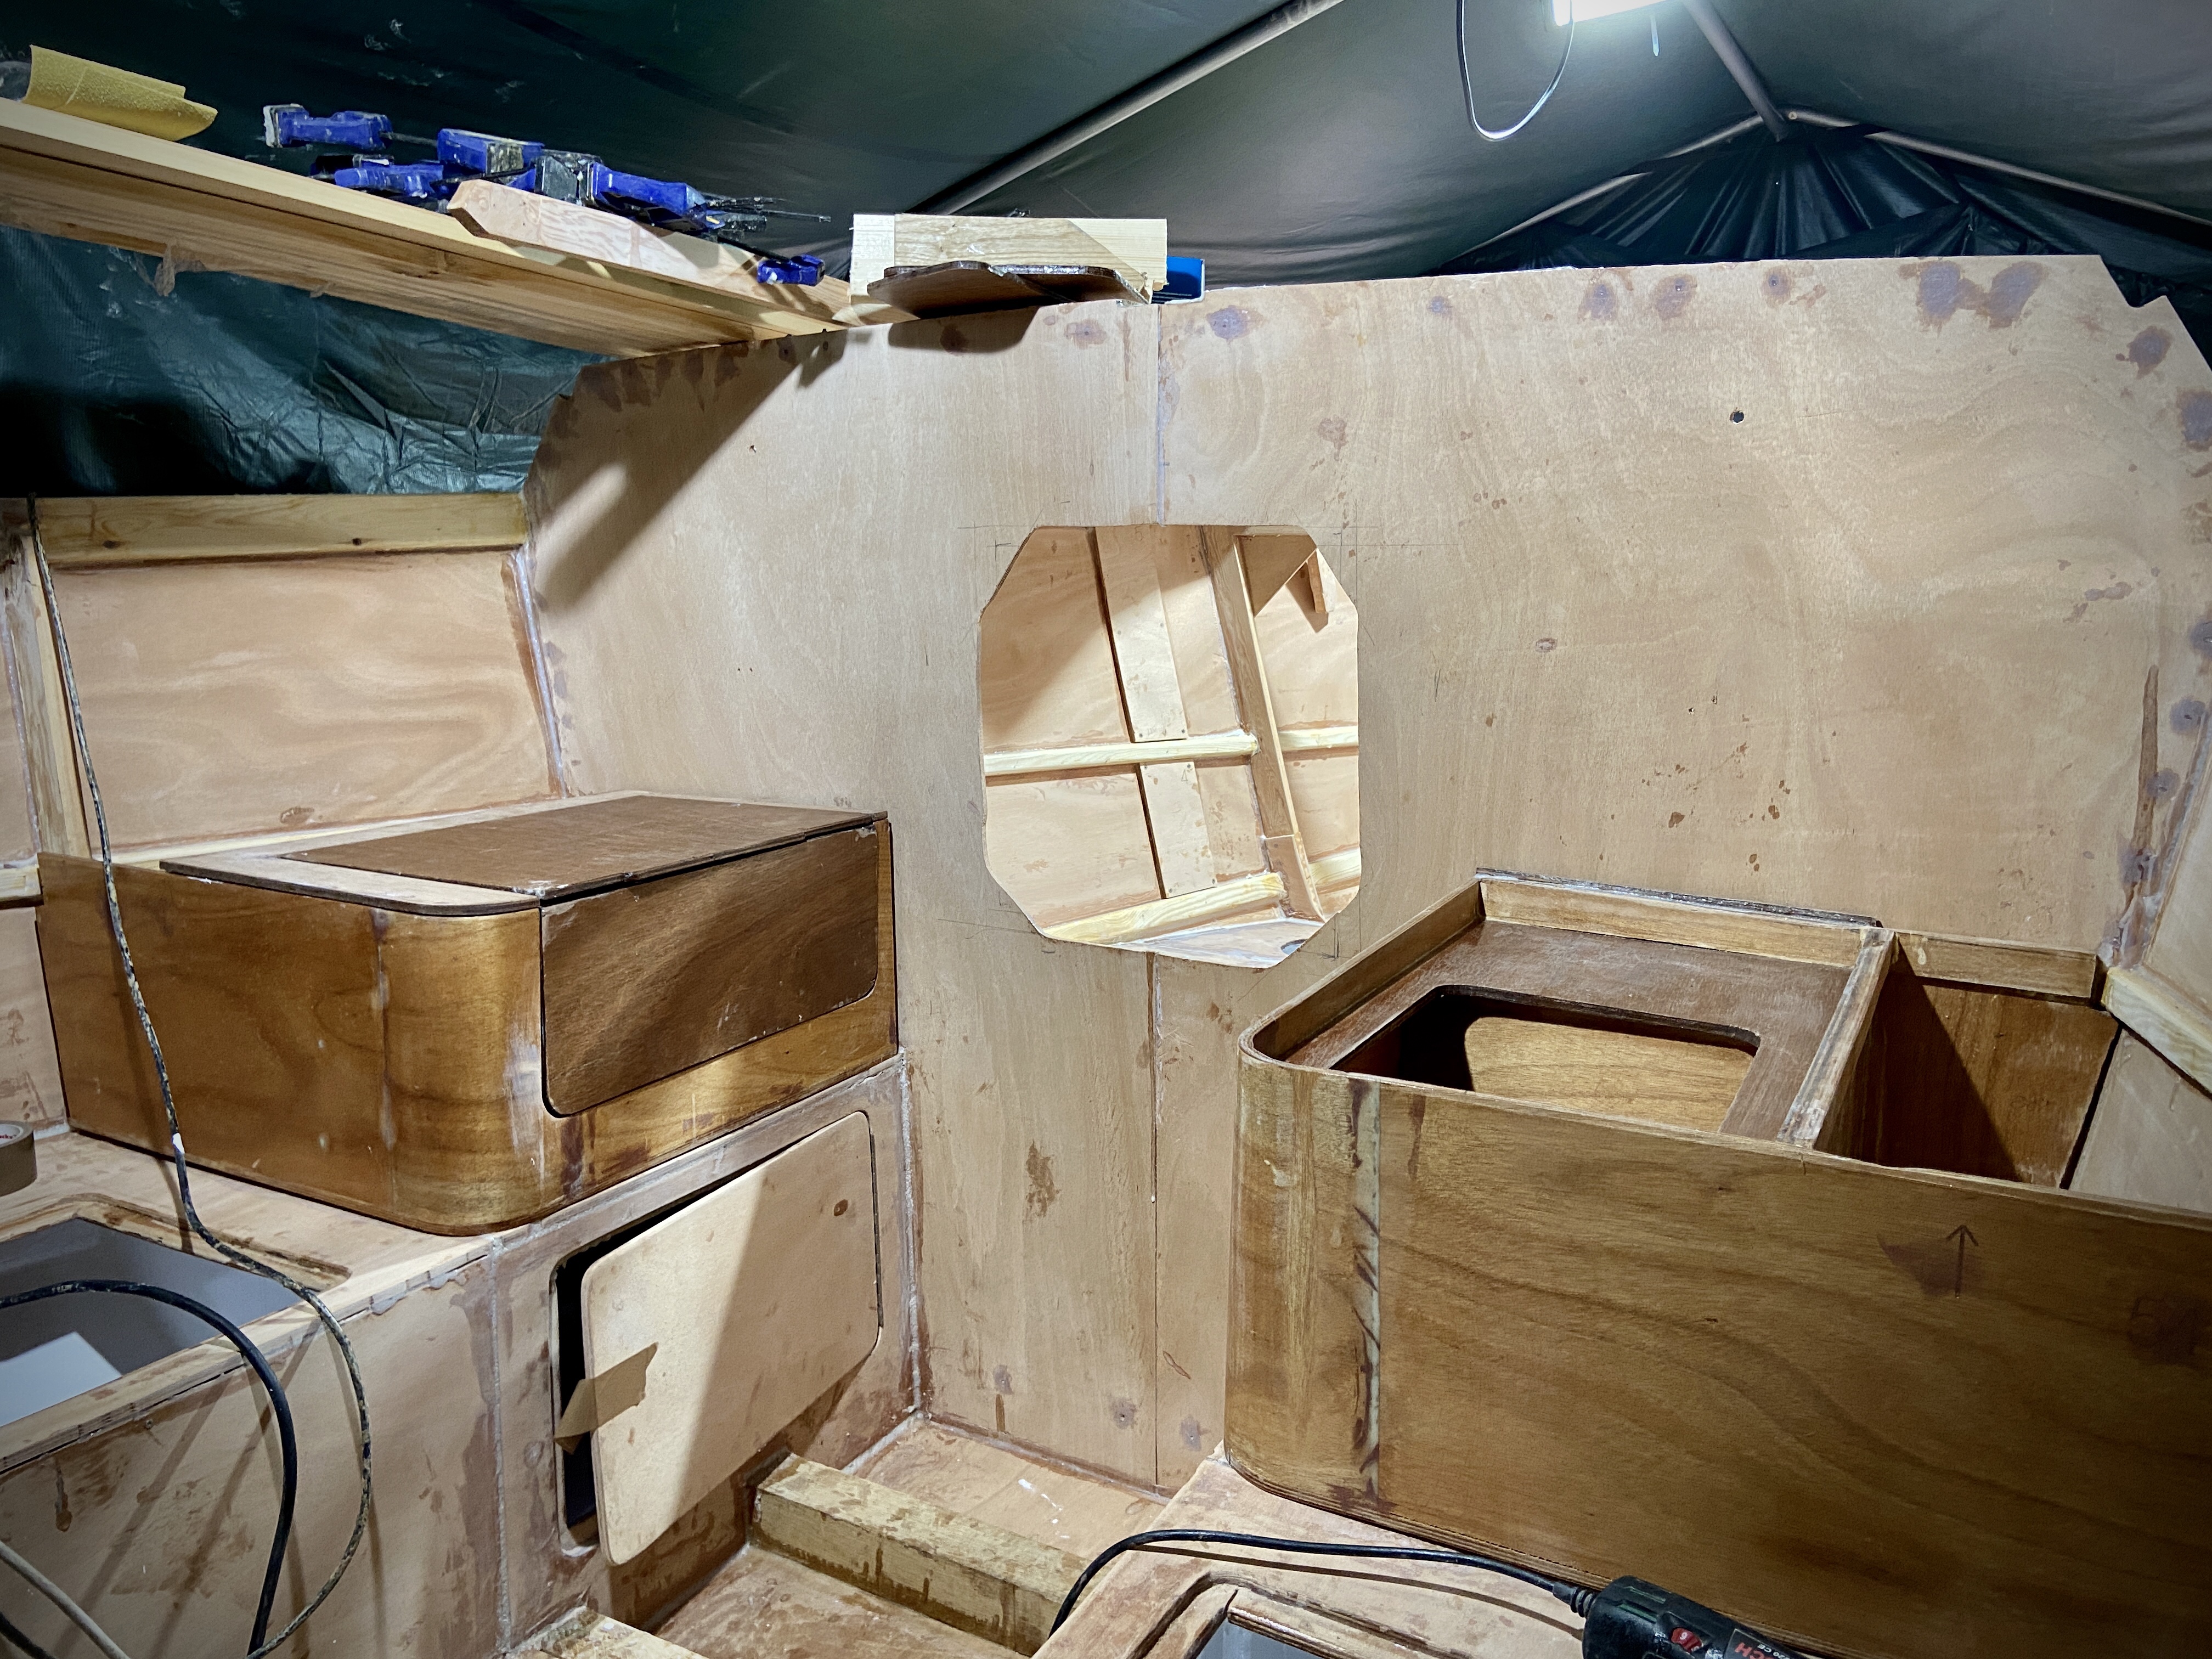
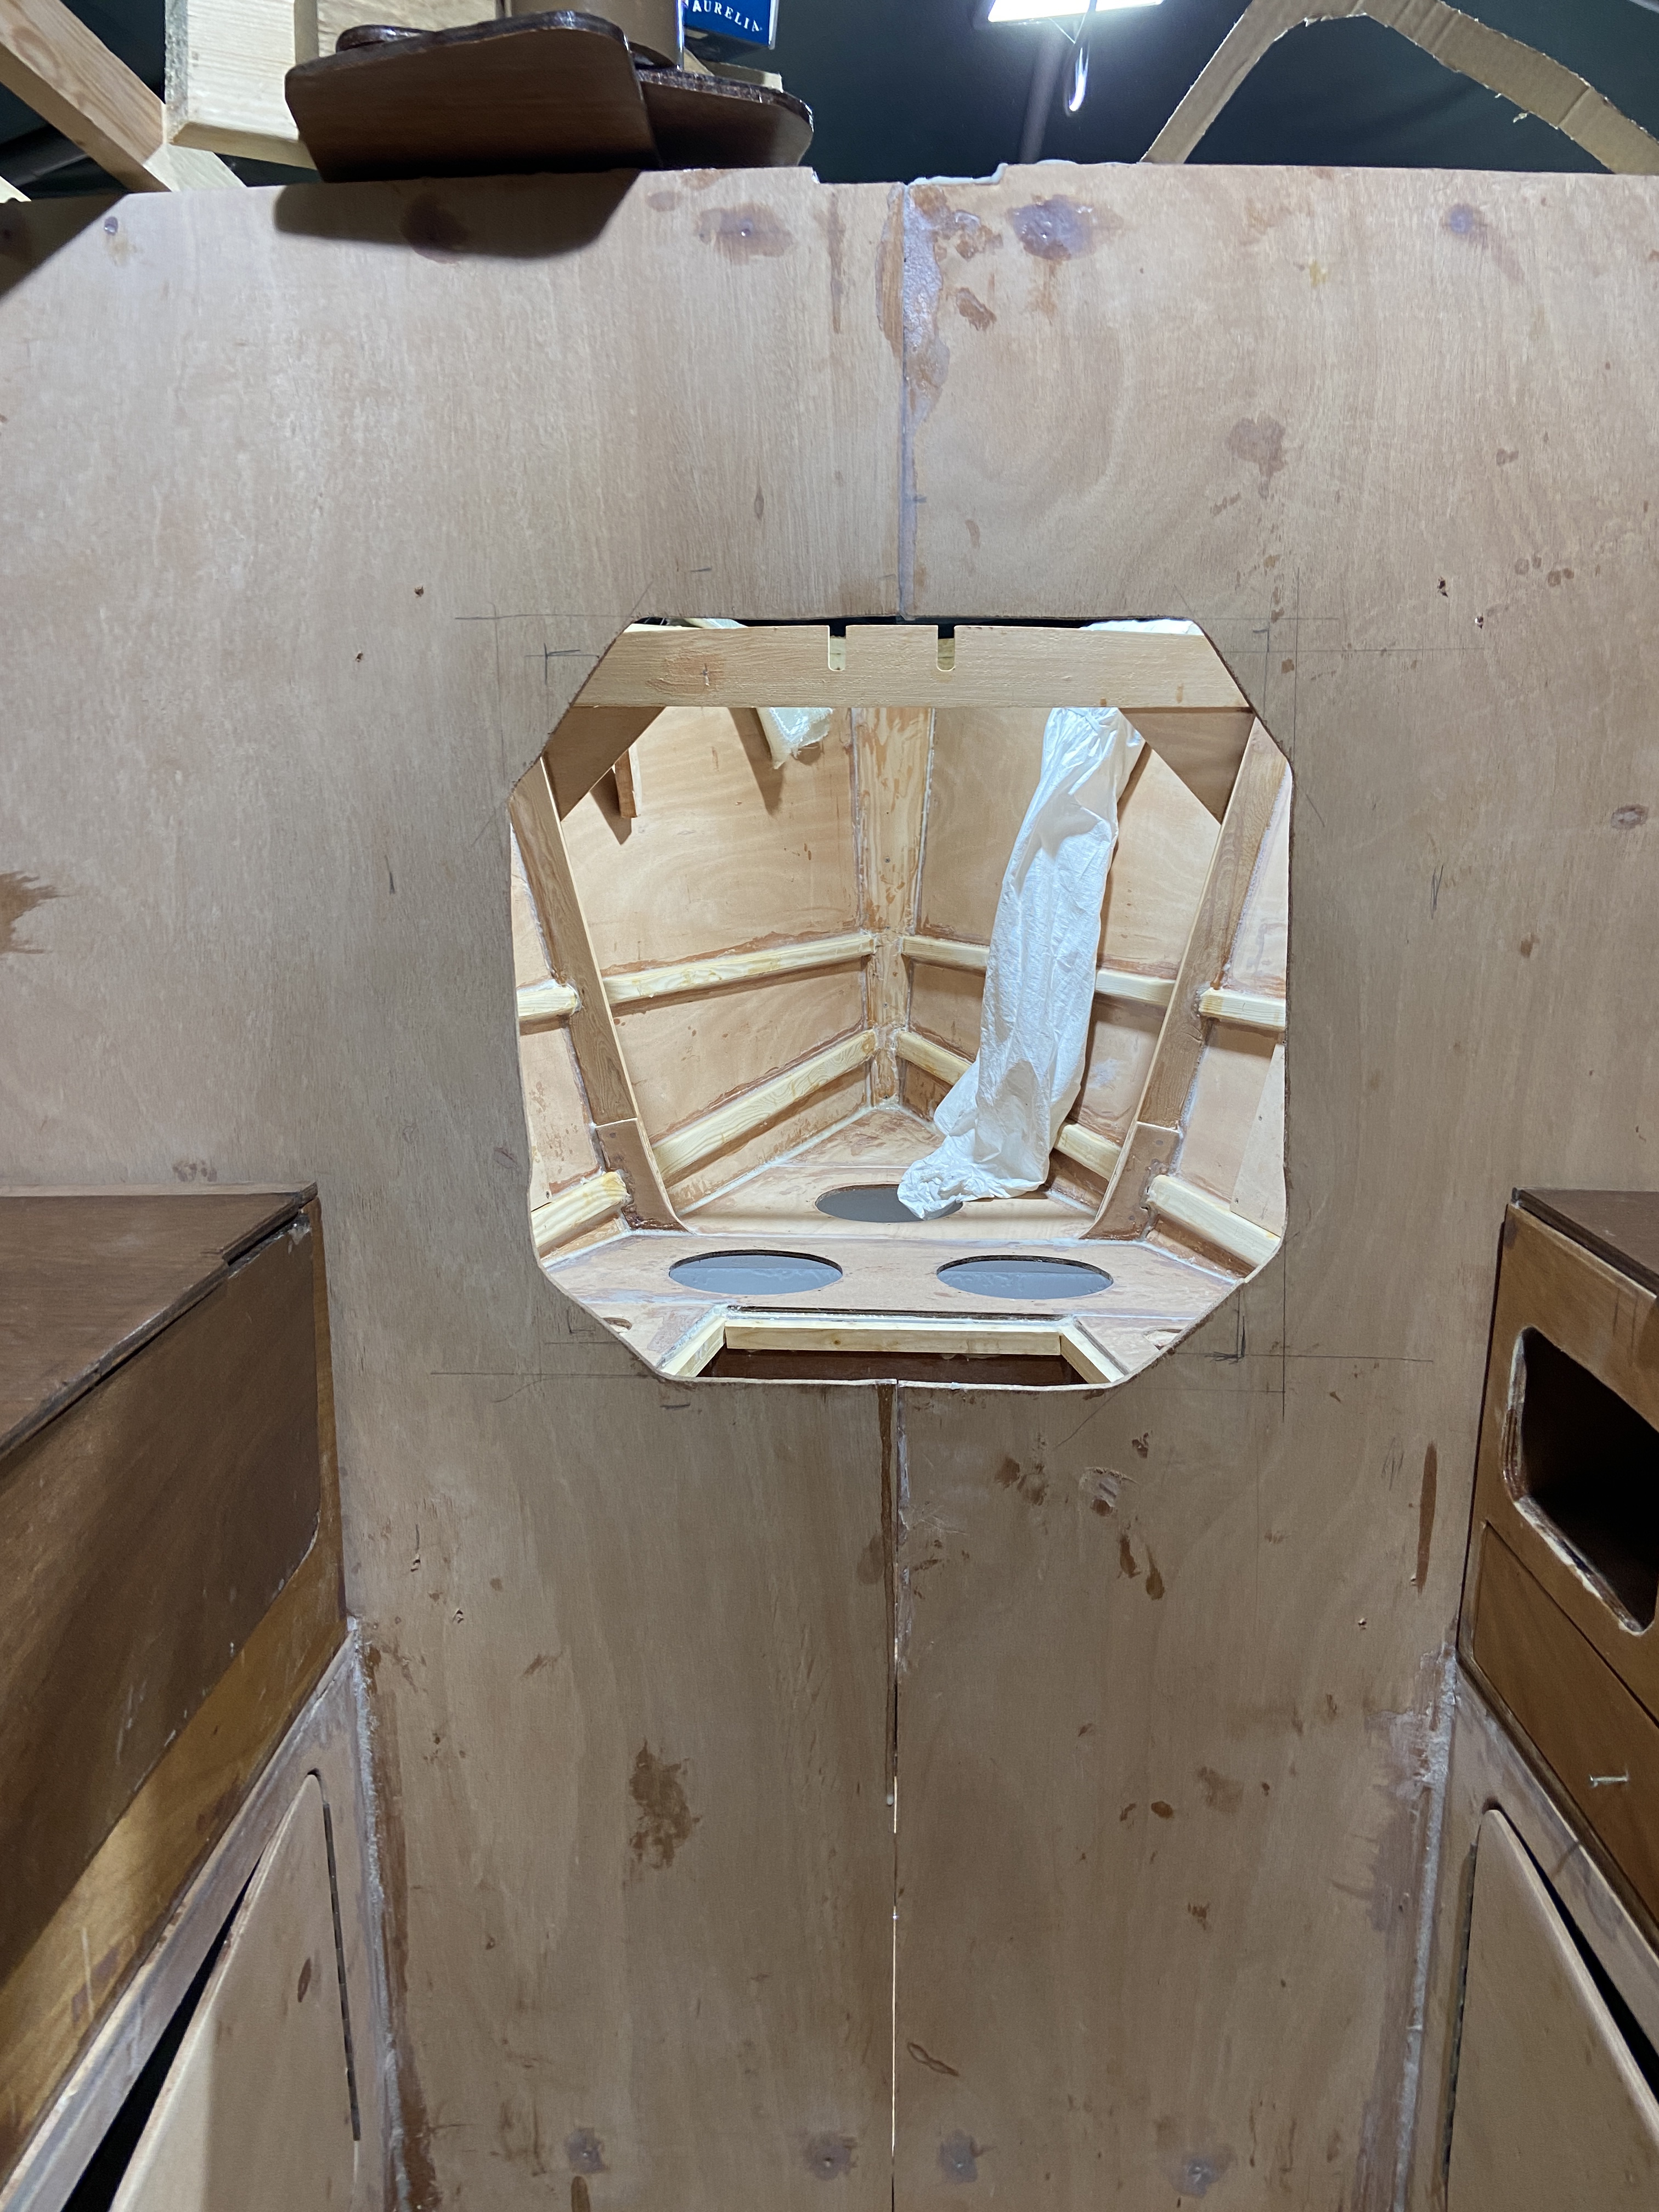
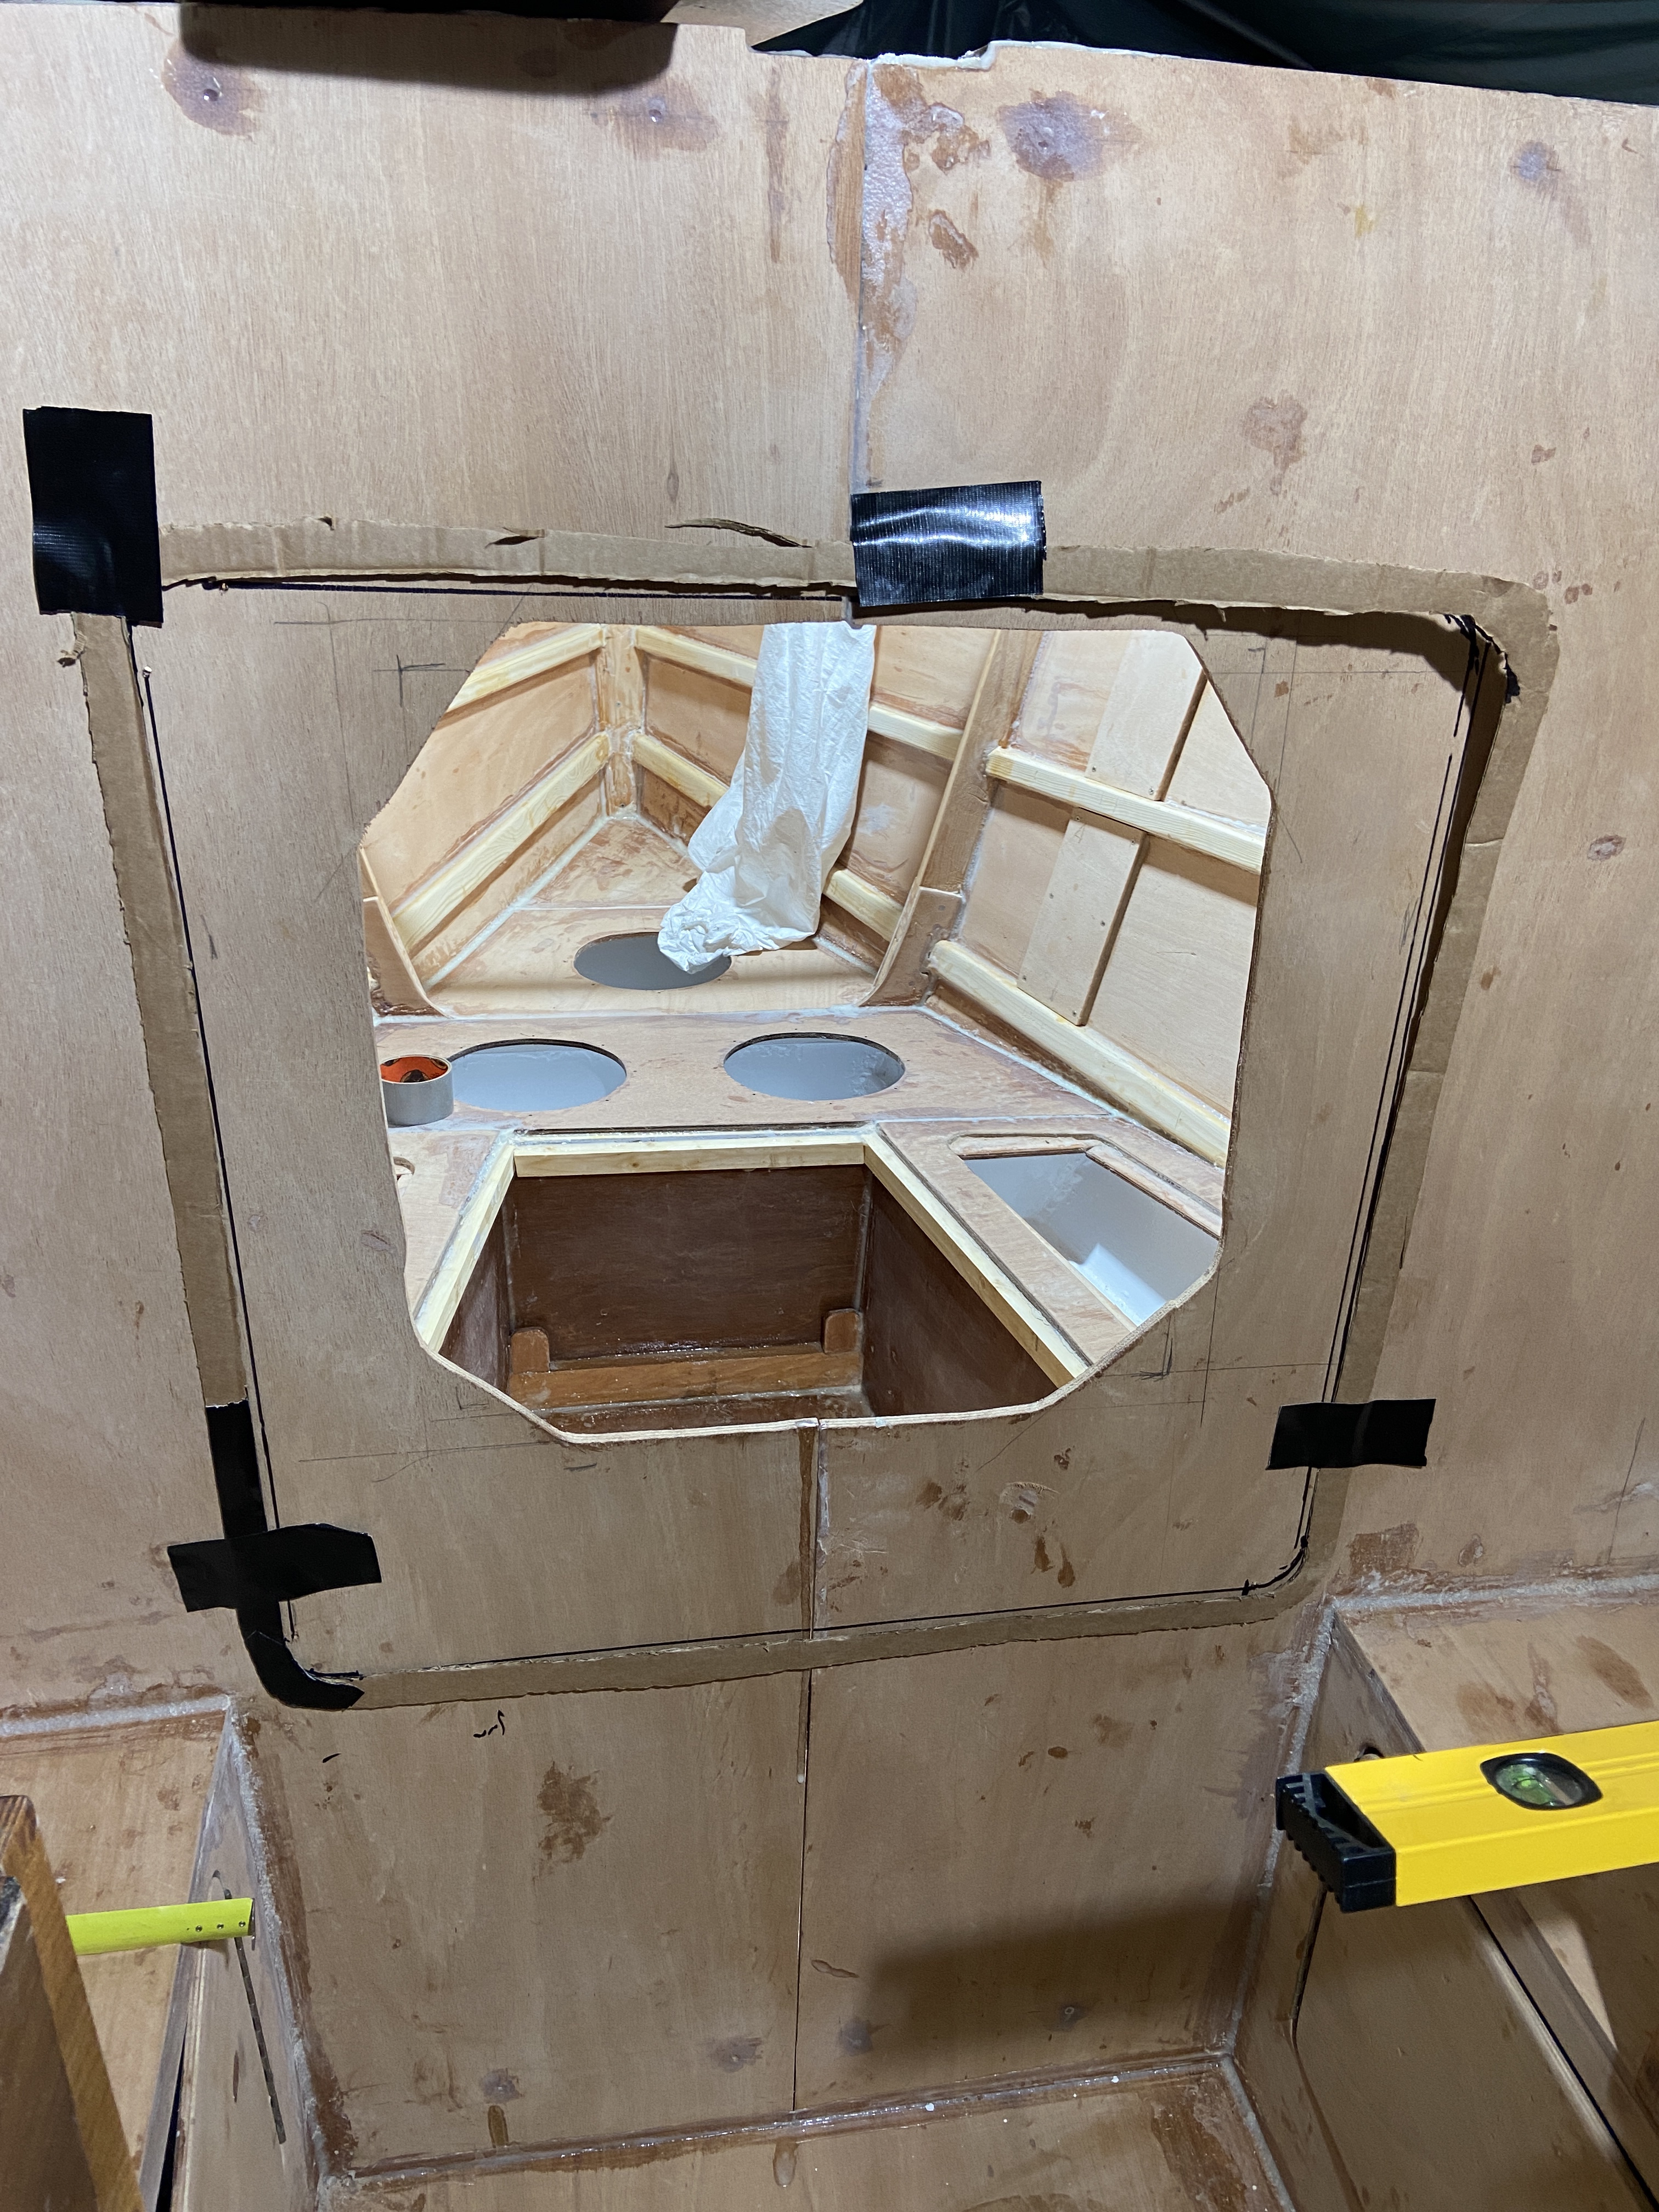
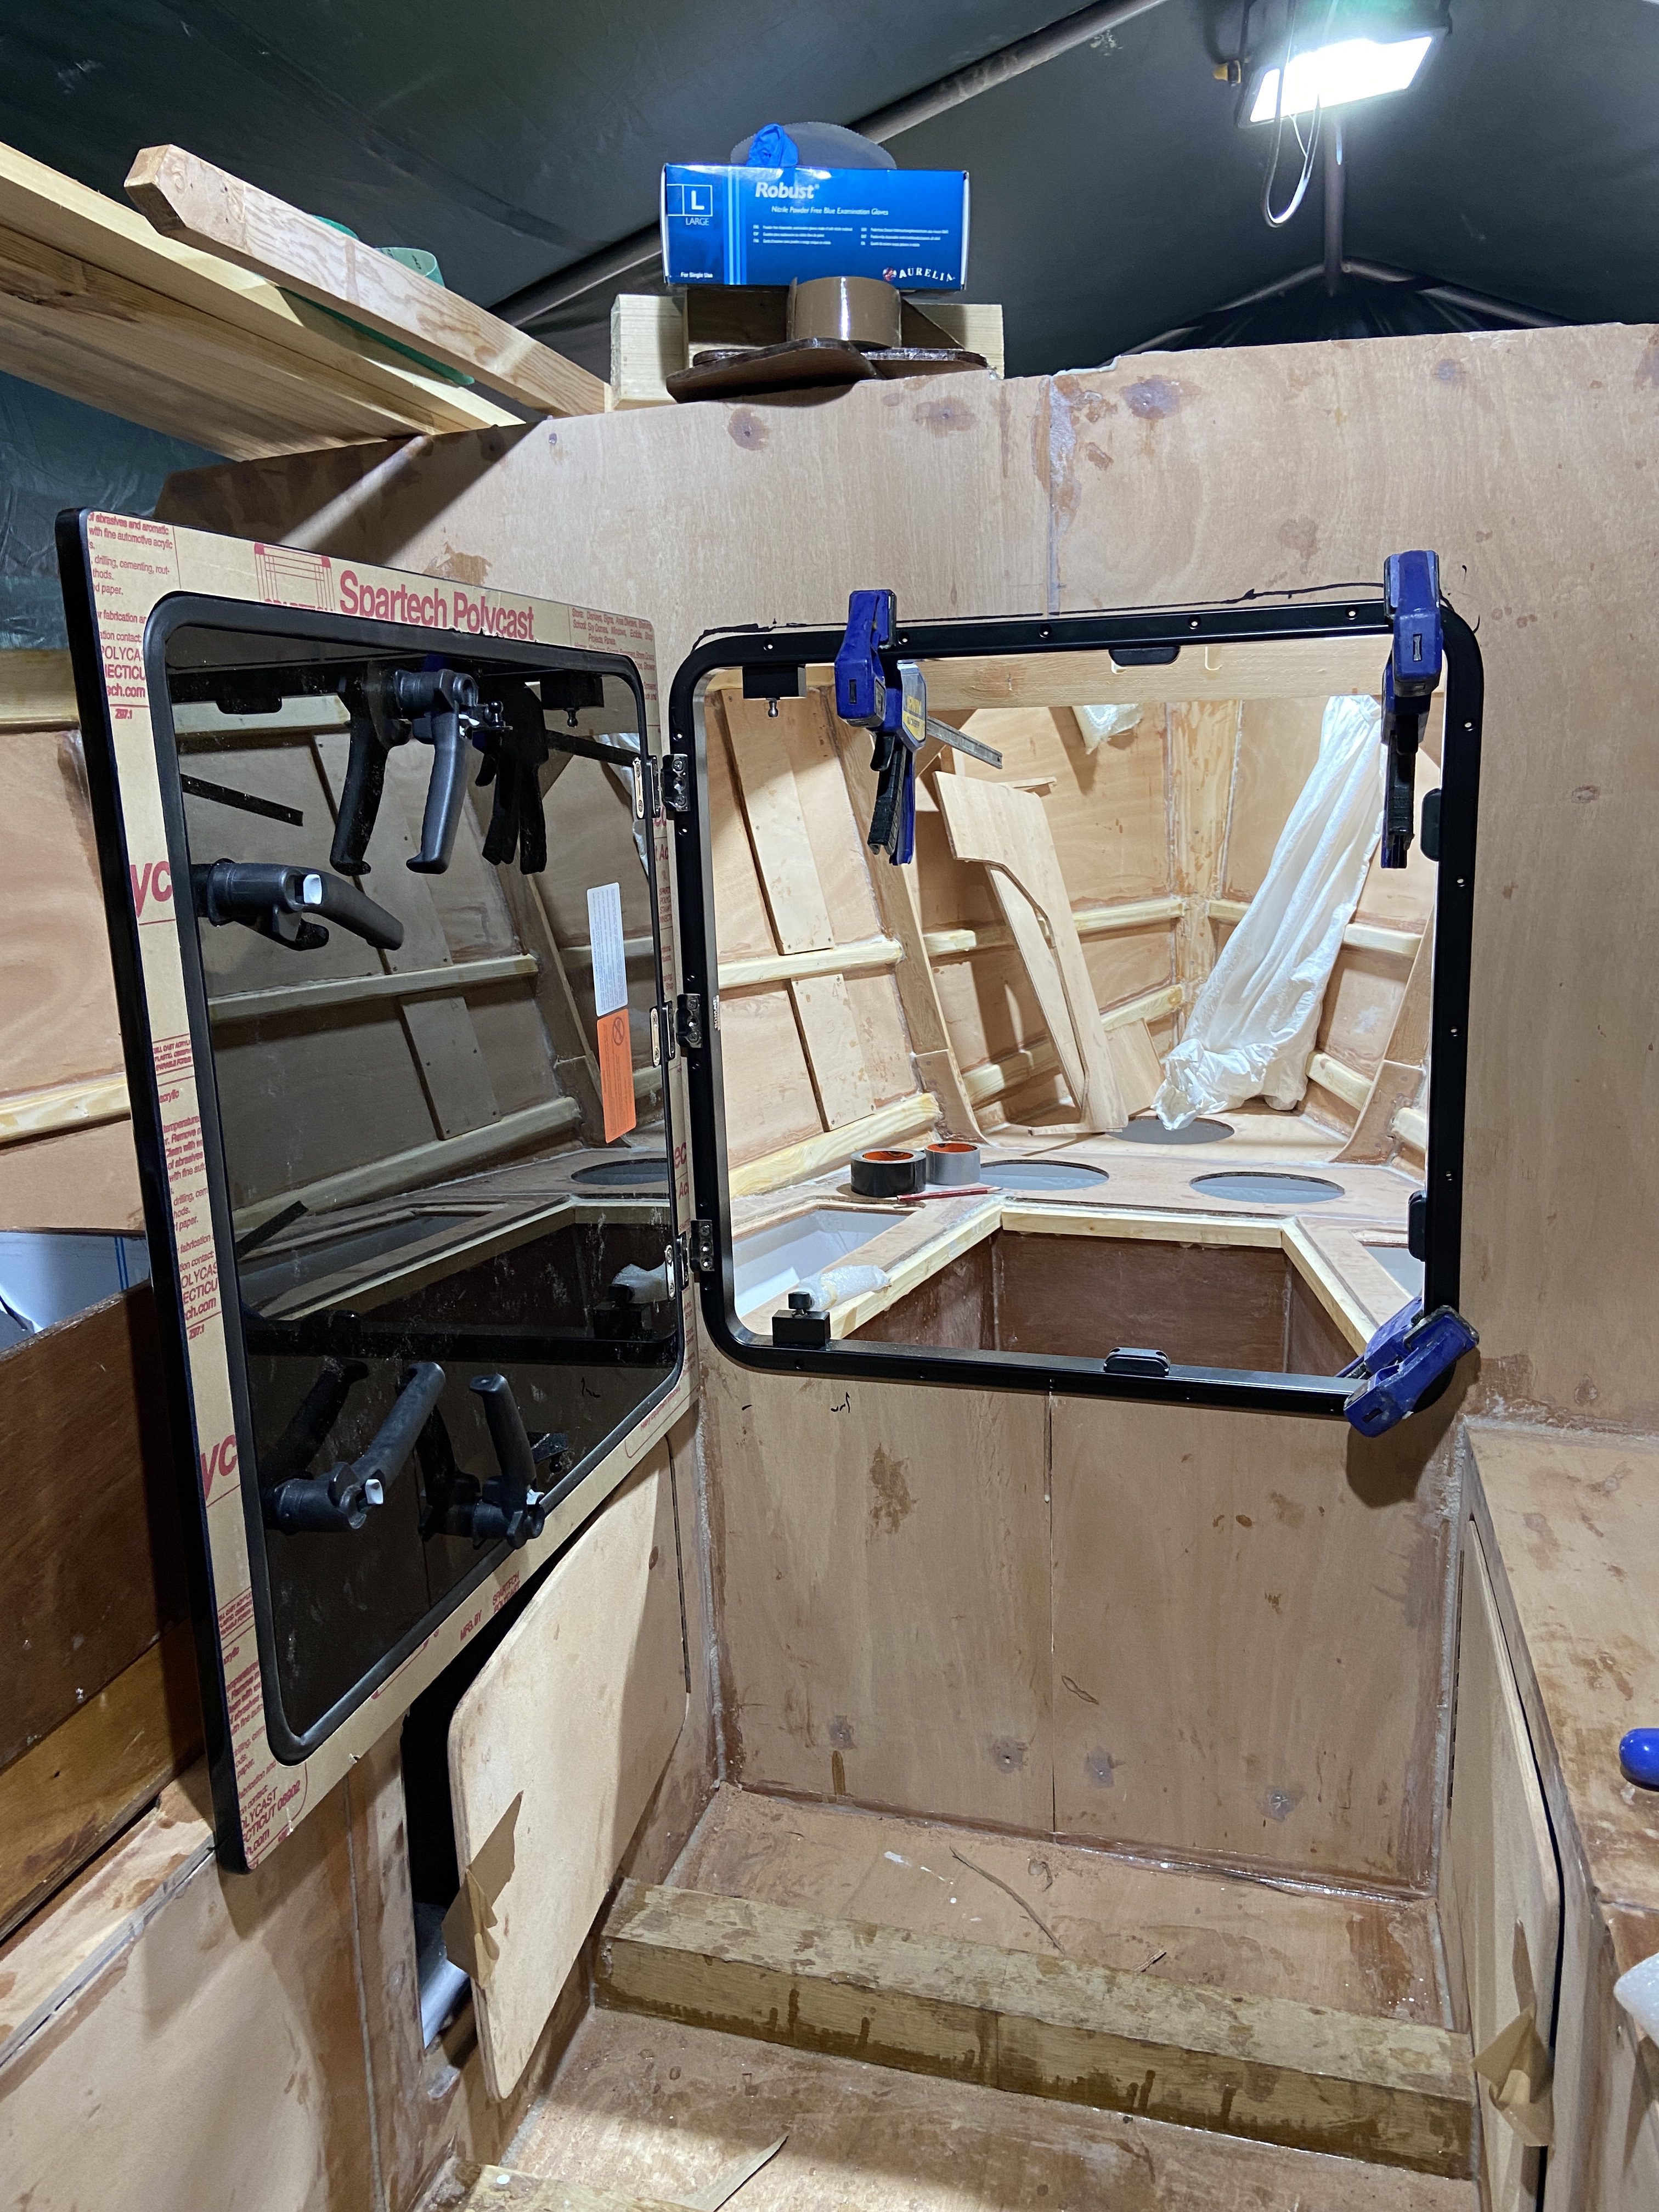
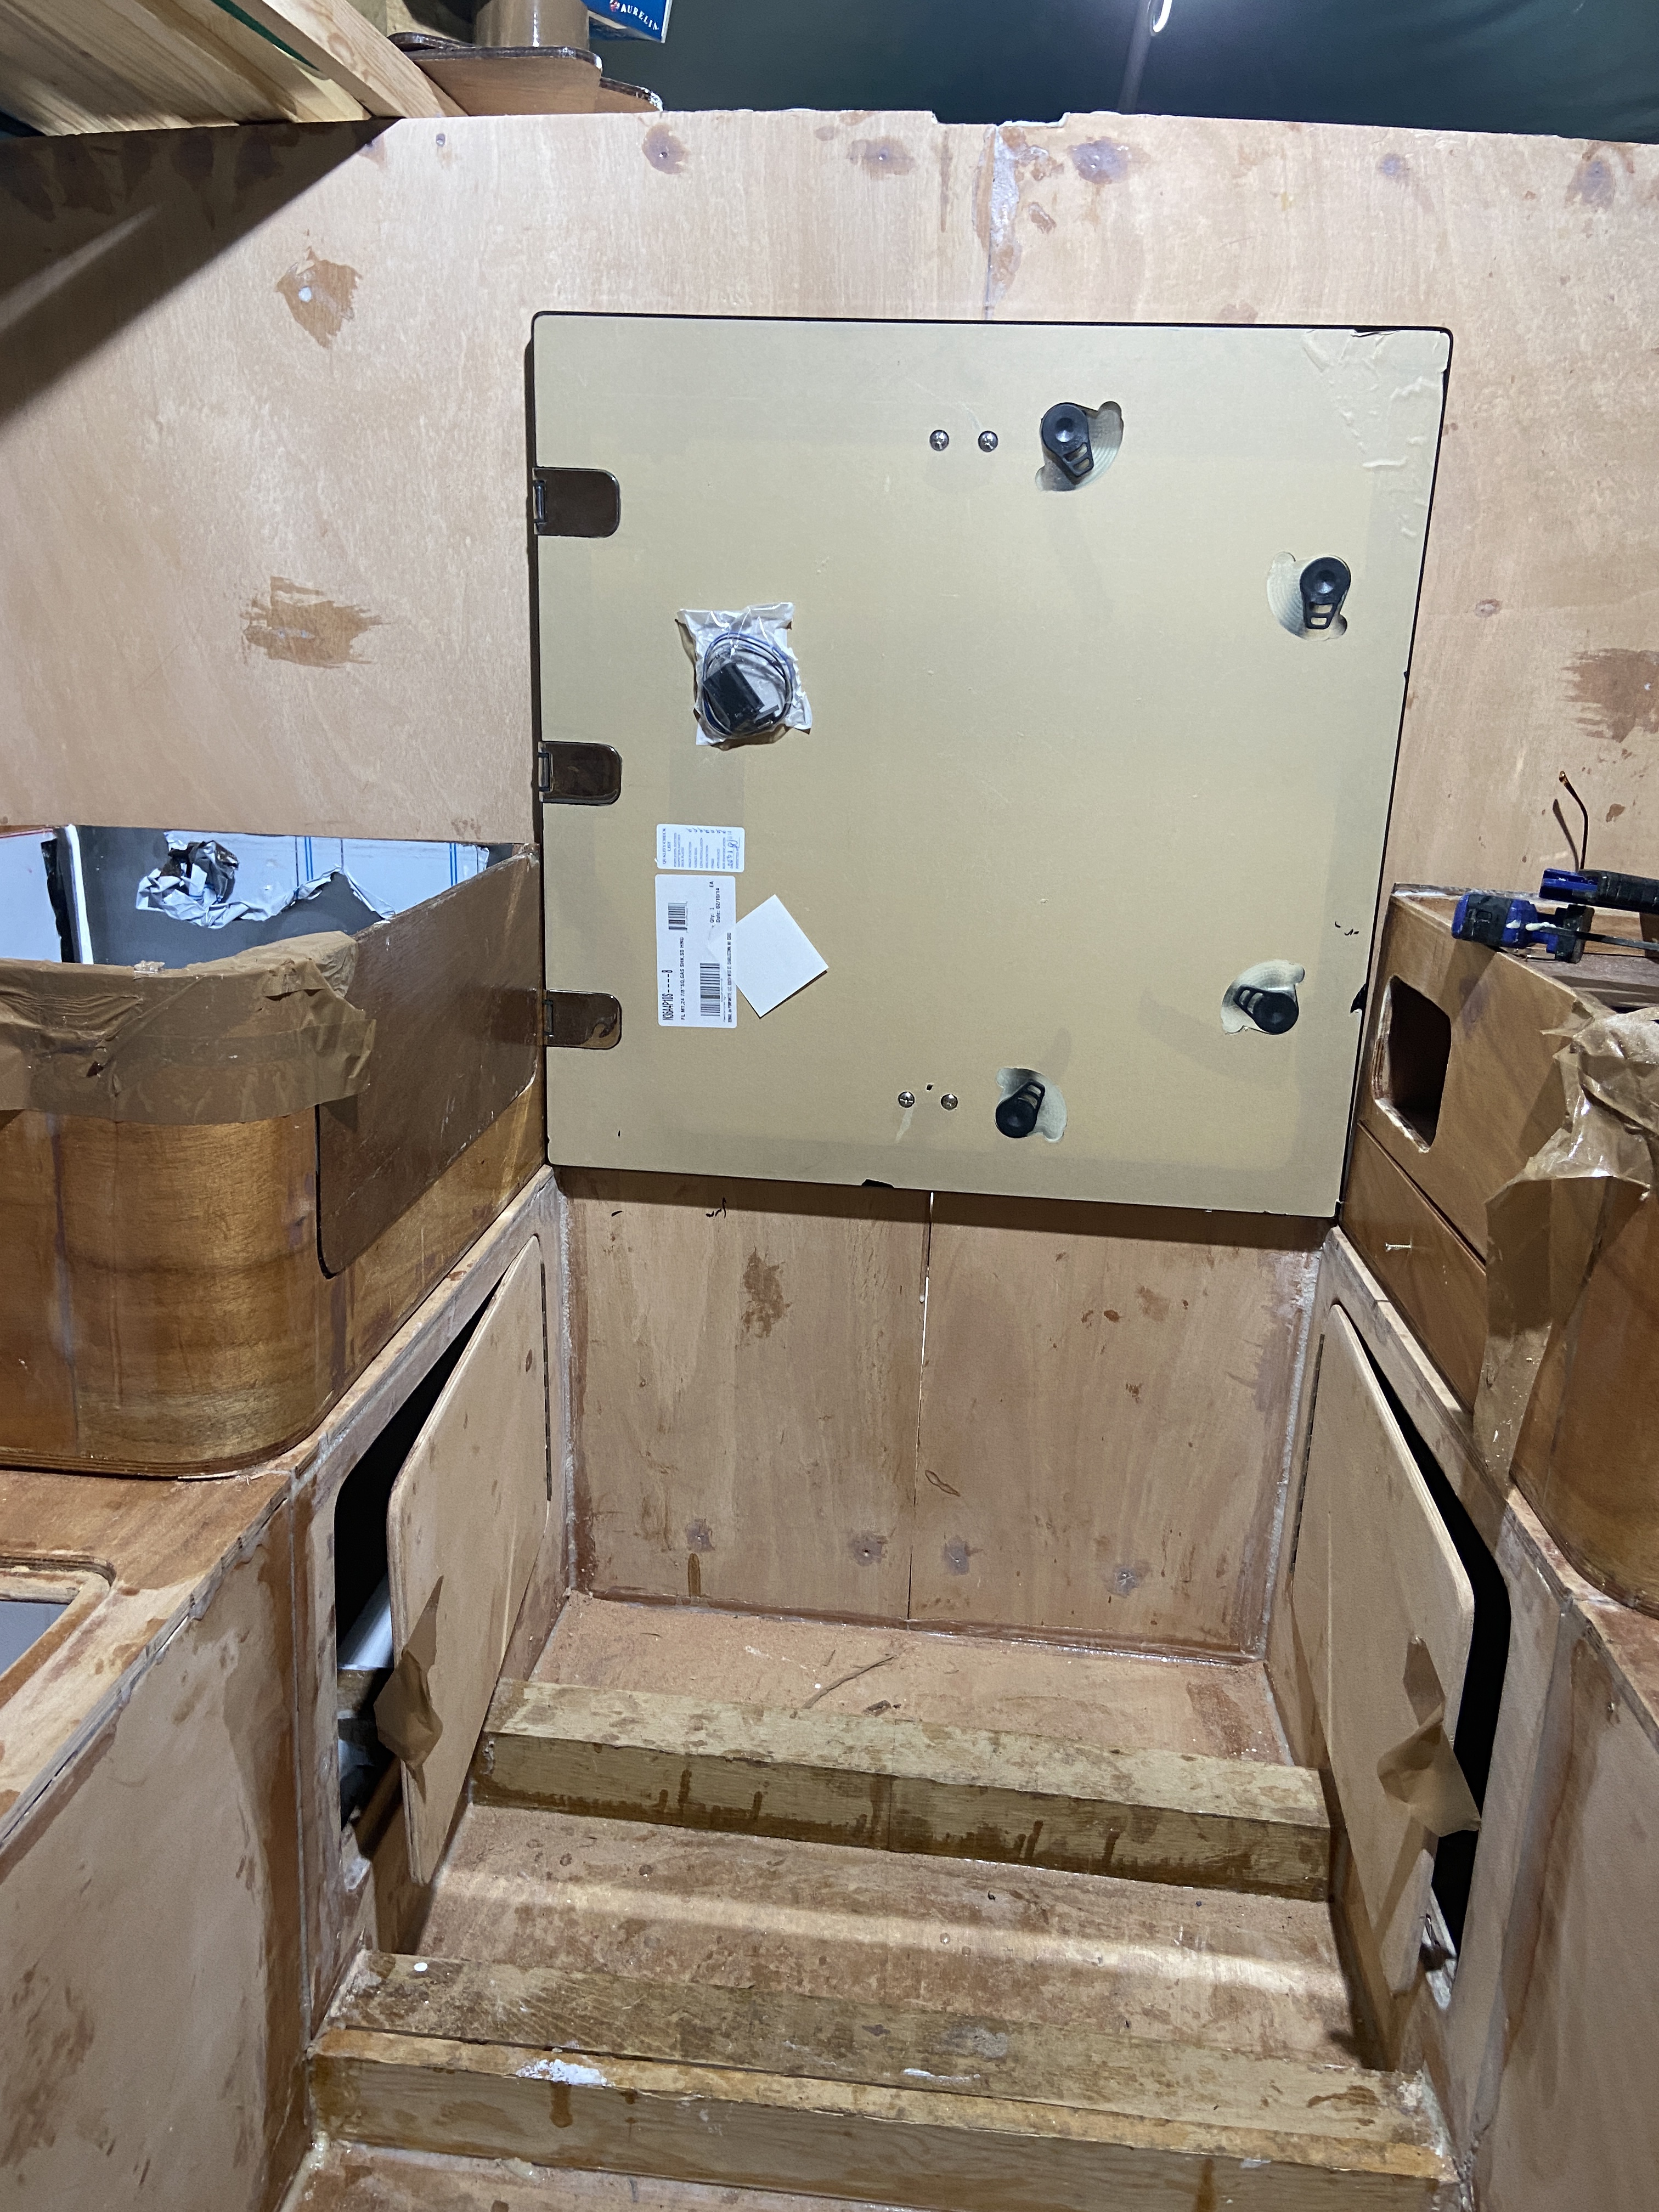
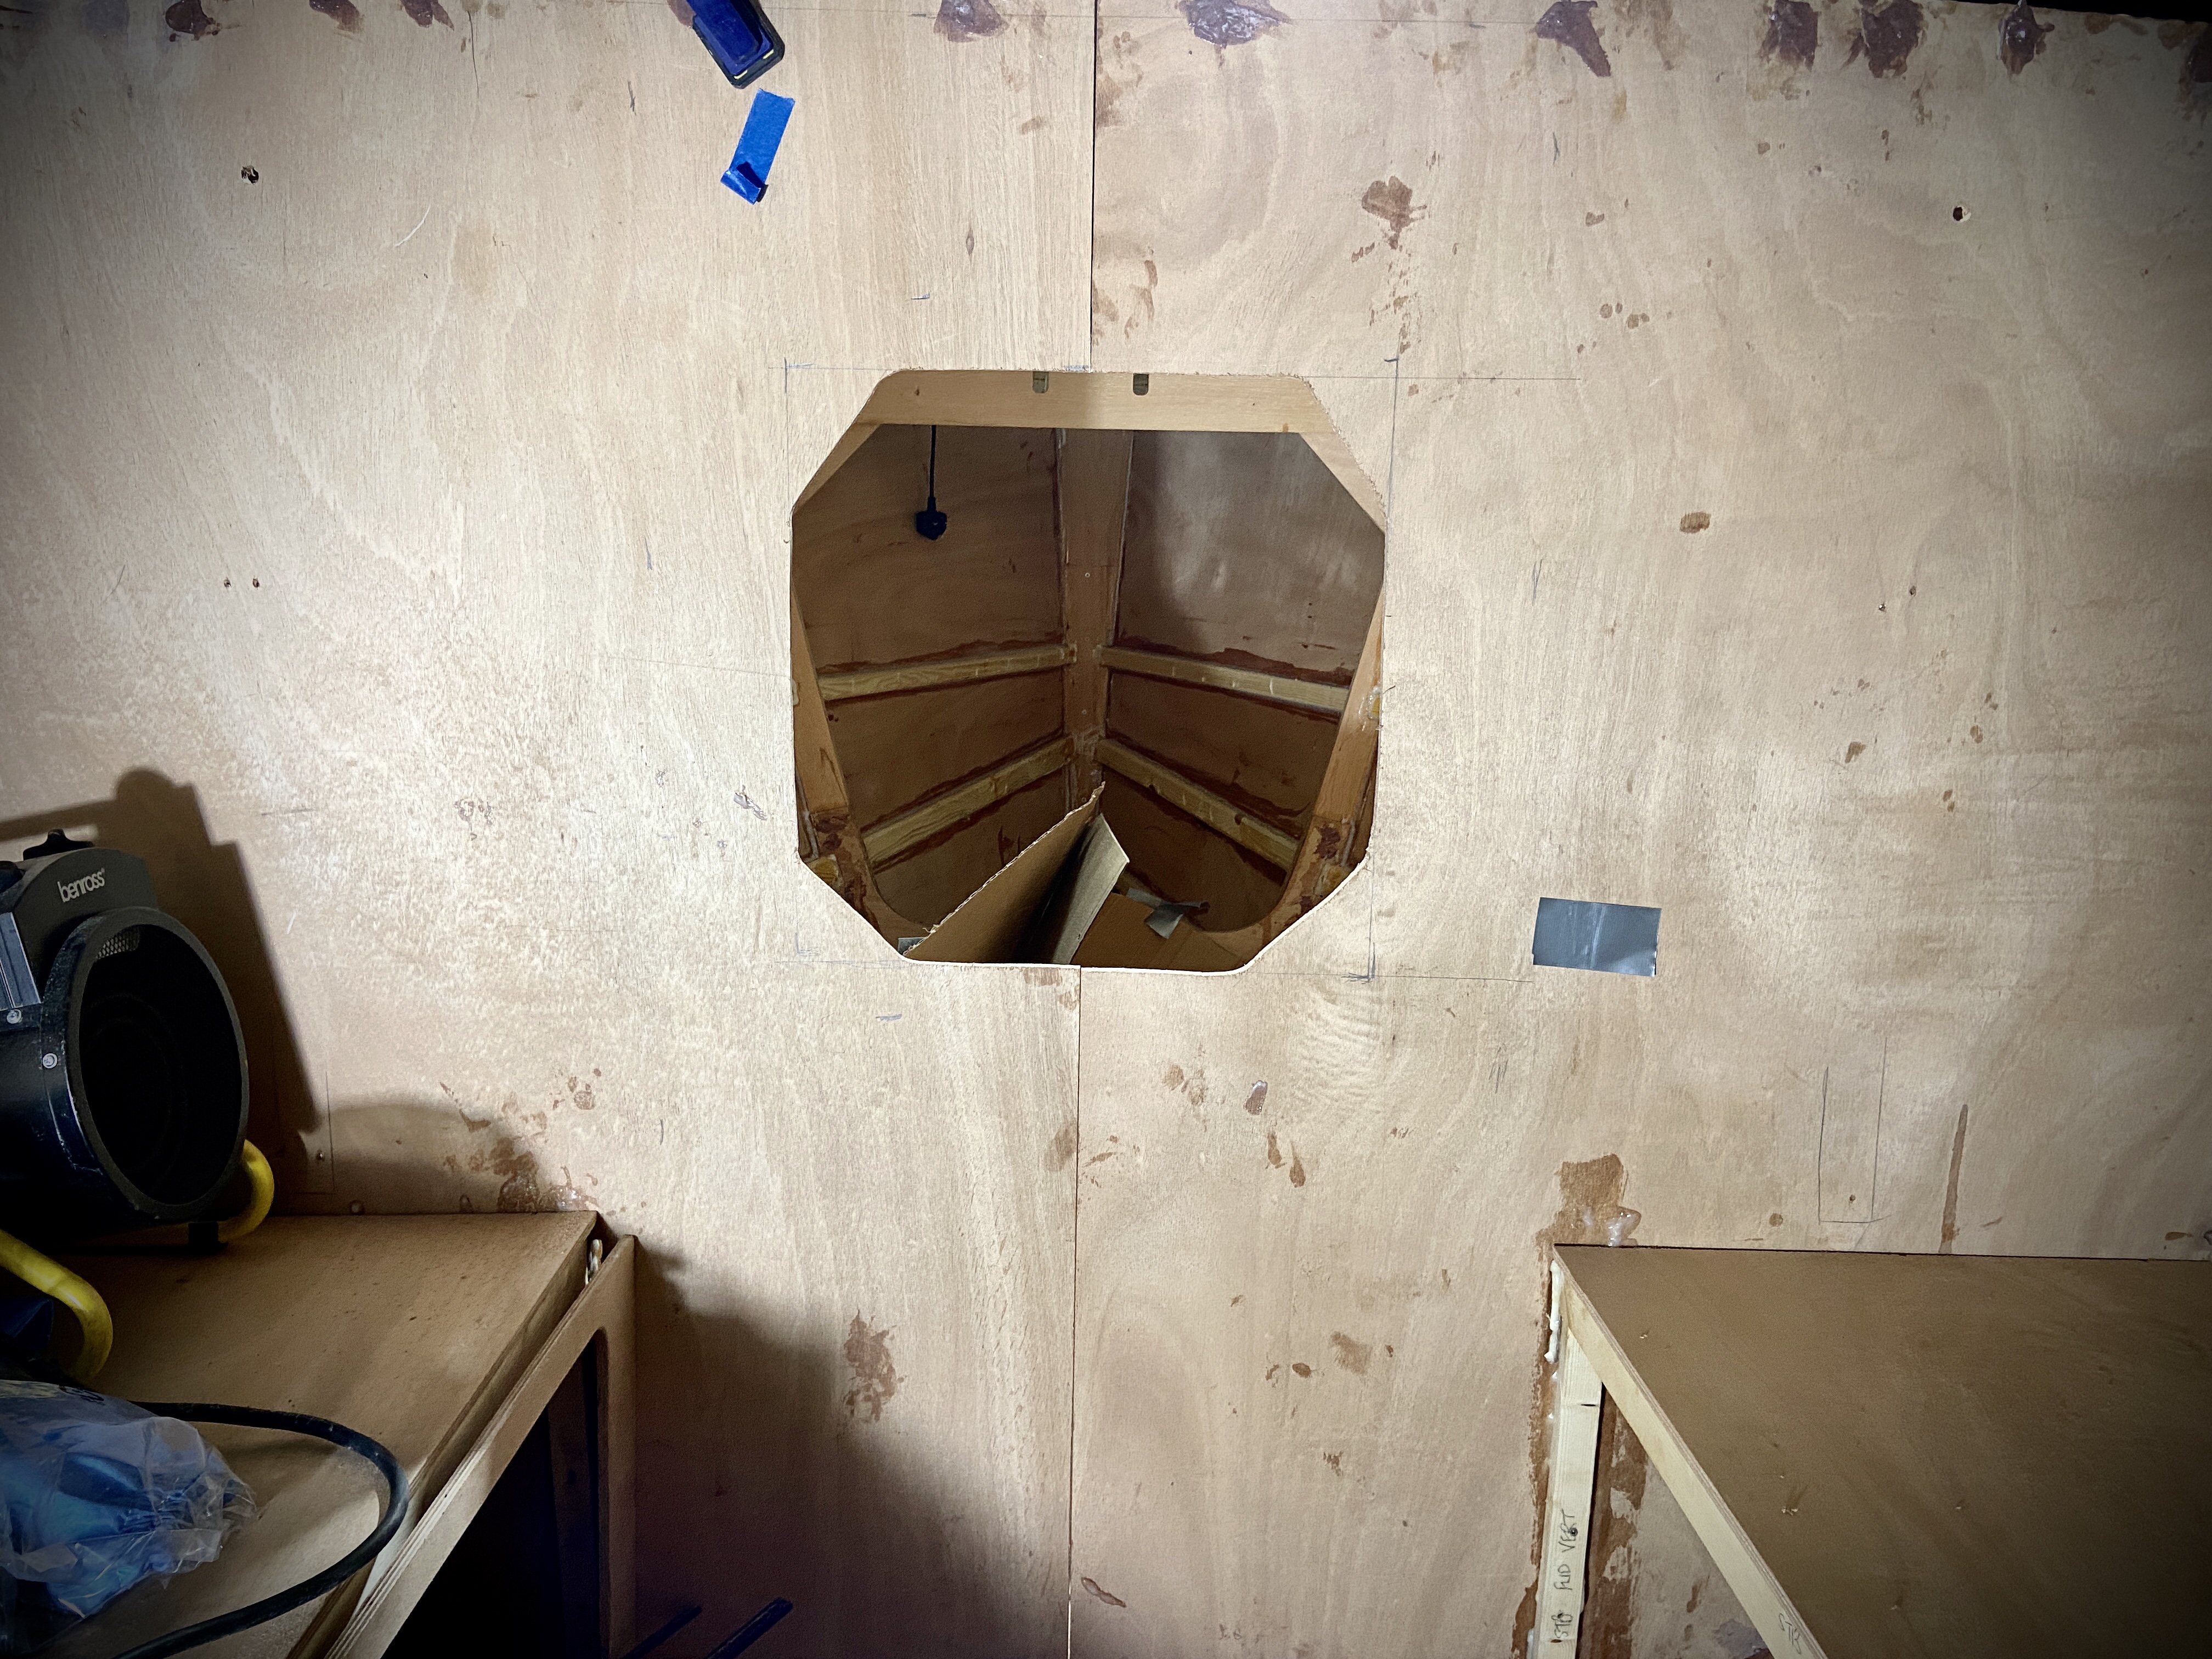
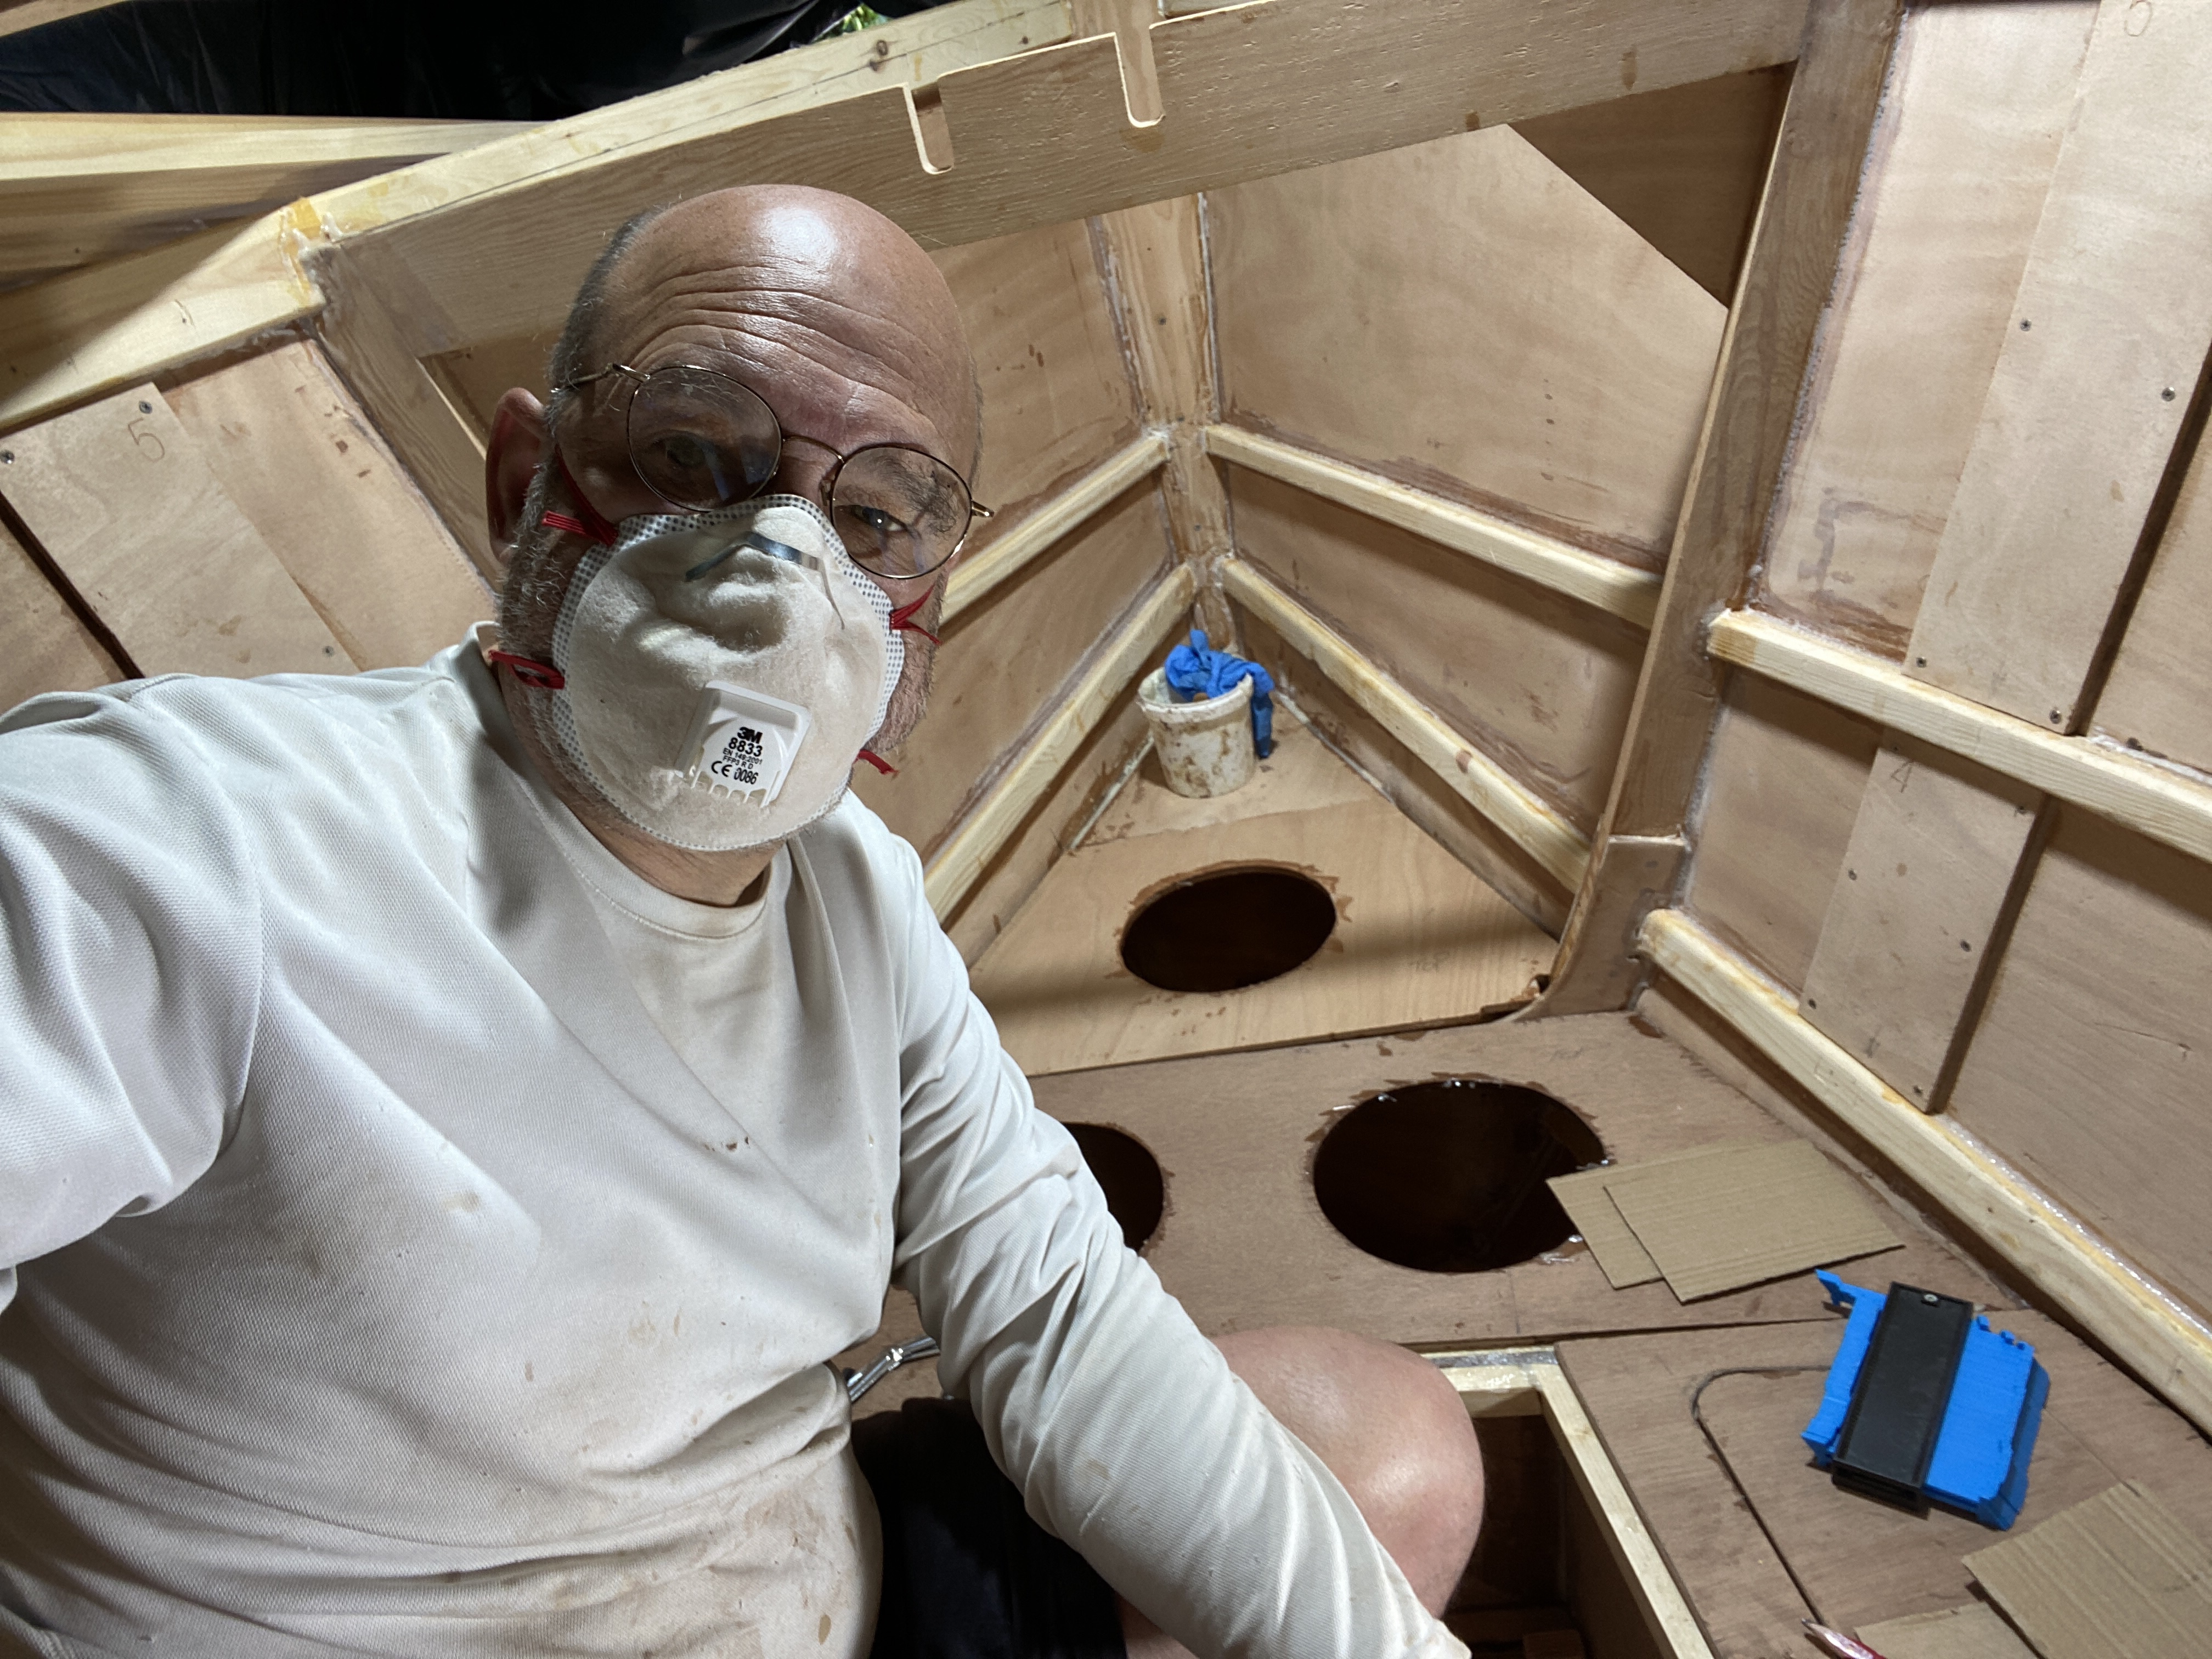
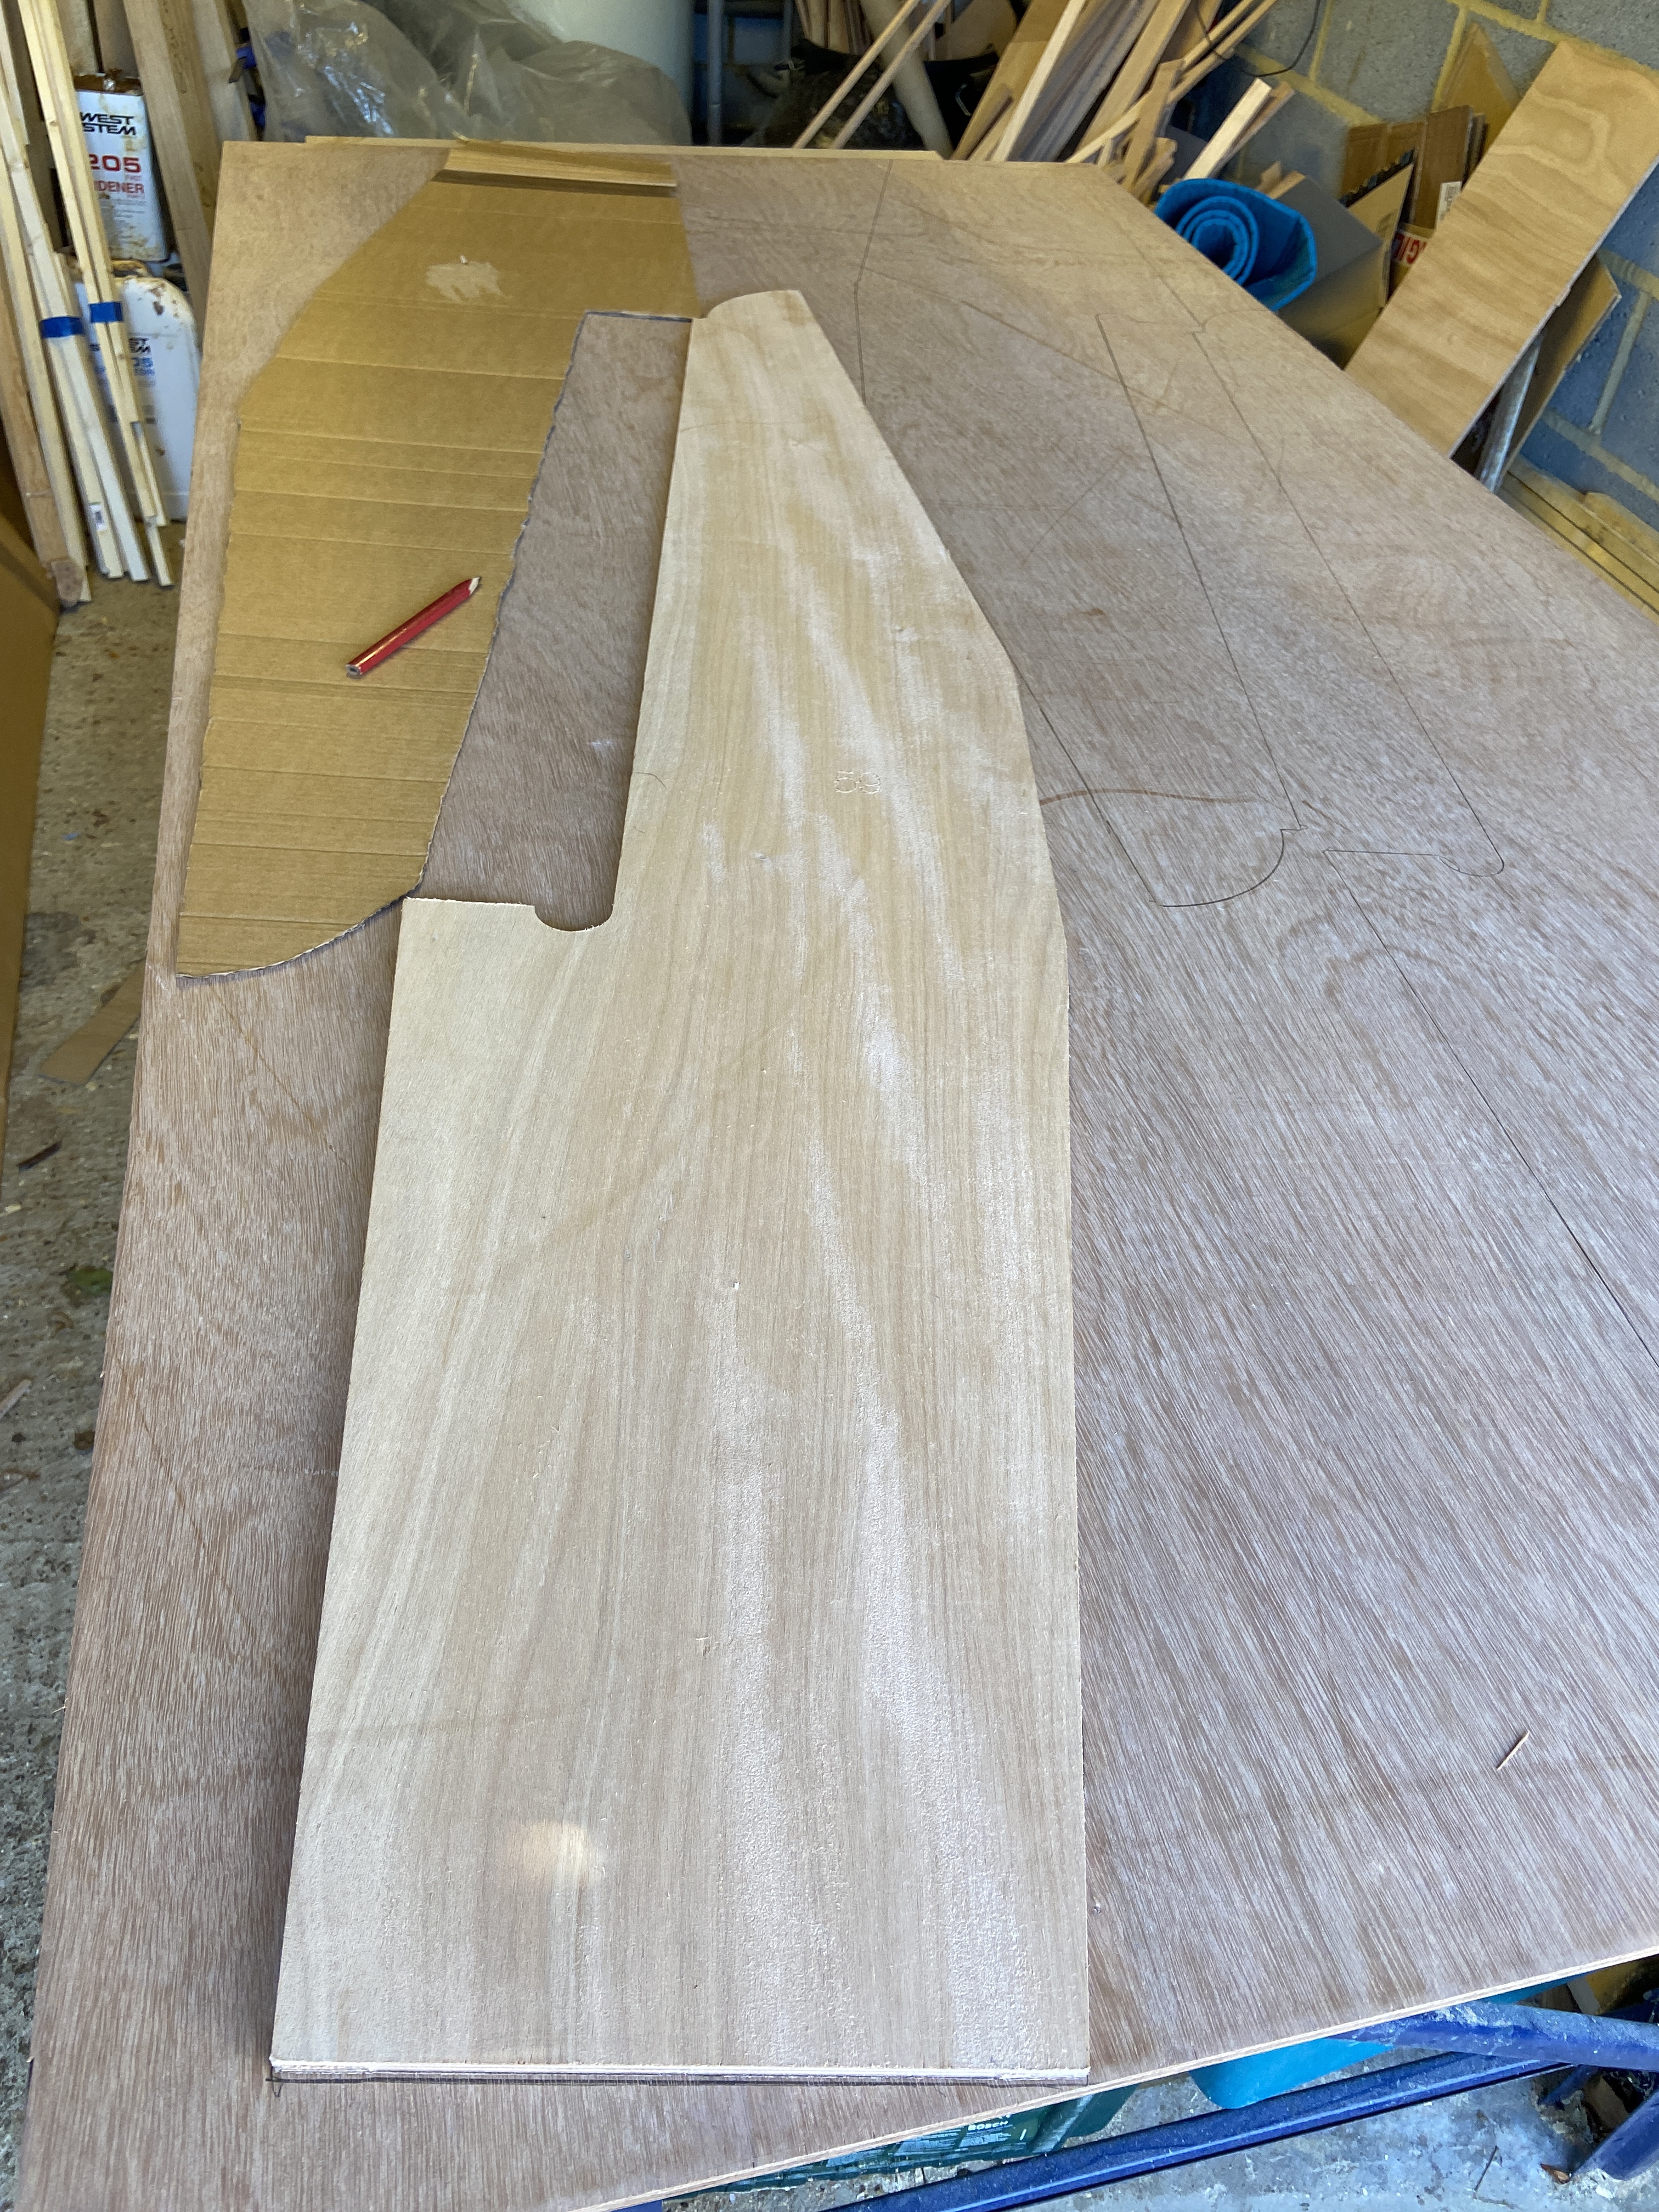
Onto cutting the hatch and vent holes next. Then need to make some decisions on the portlights for the shearstrakes and the observation pod. Need to get these all organised so that I can fibreglass the deck. I would like to get this done before Winter bites too deep but may now struggle for time as essentially limited to weekend building.

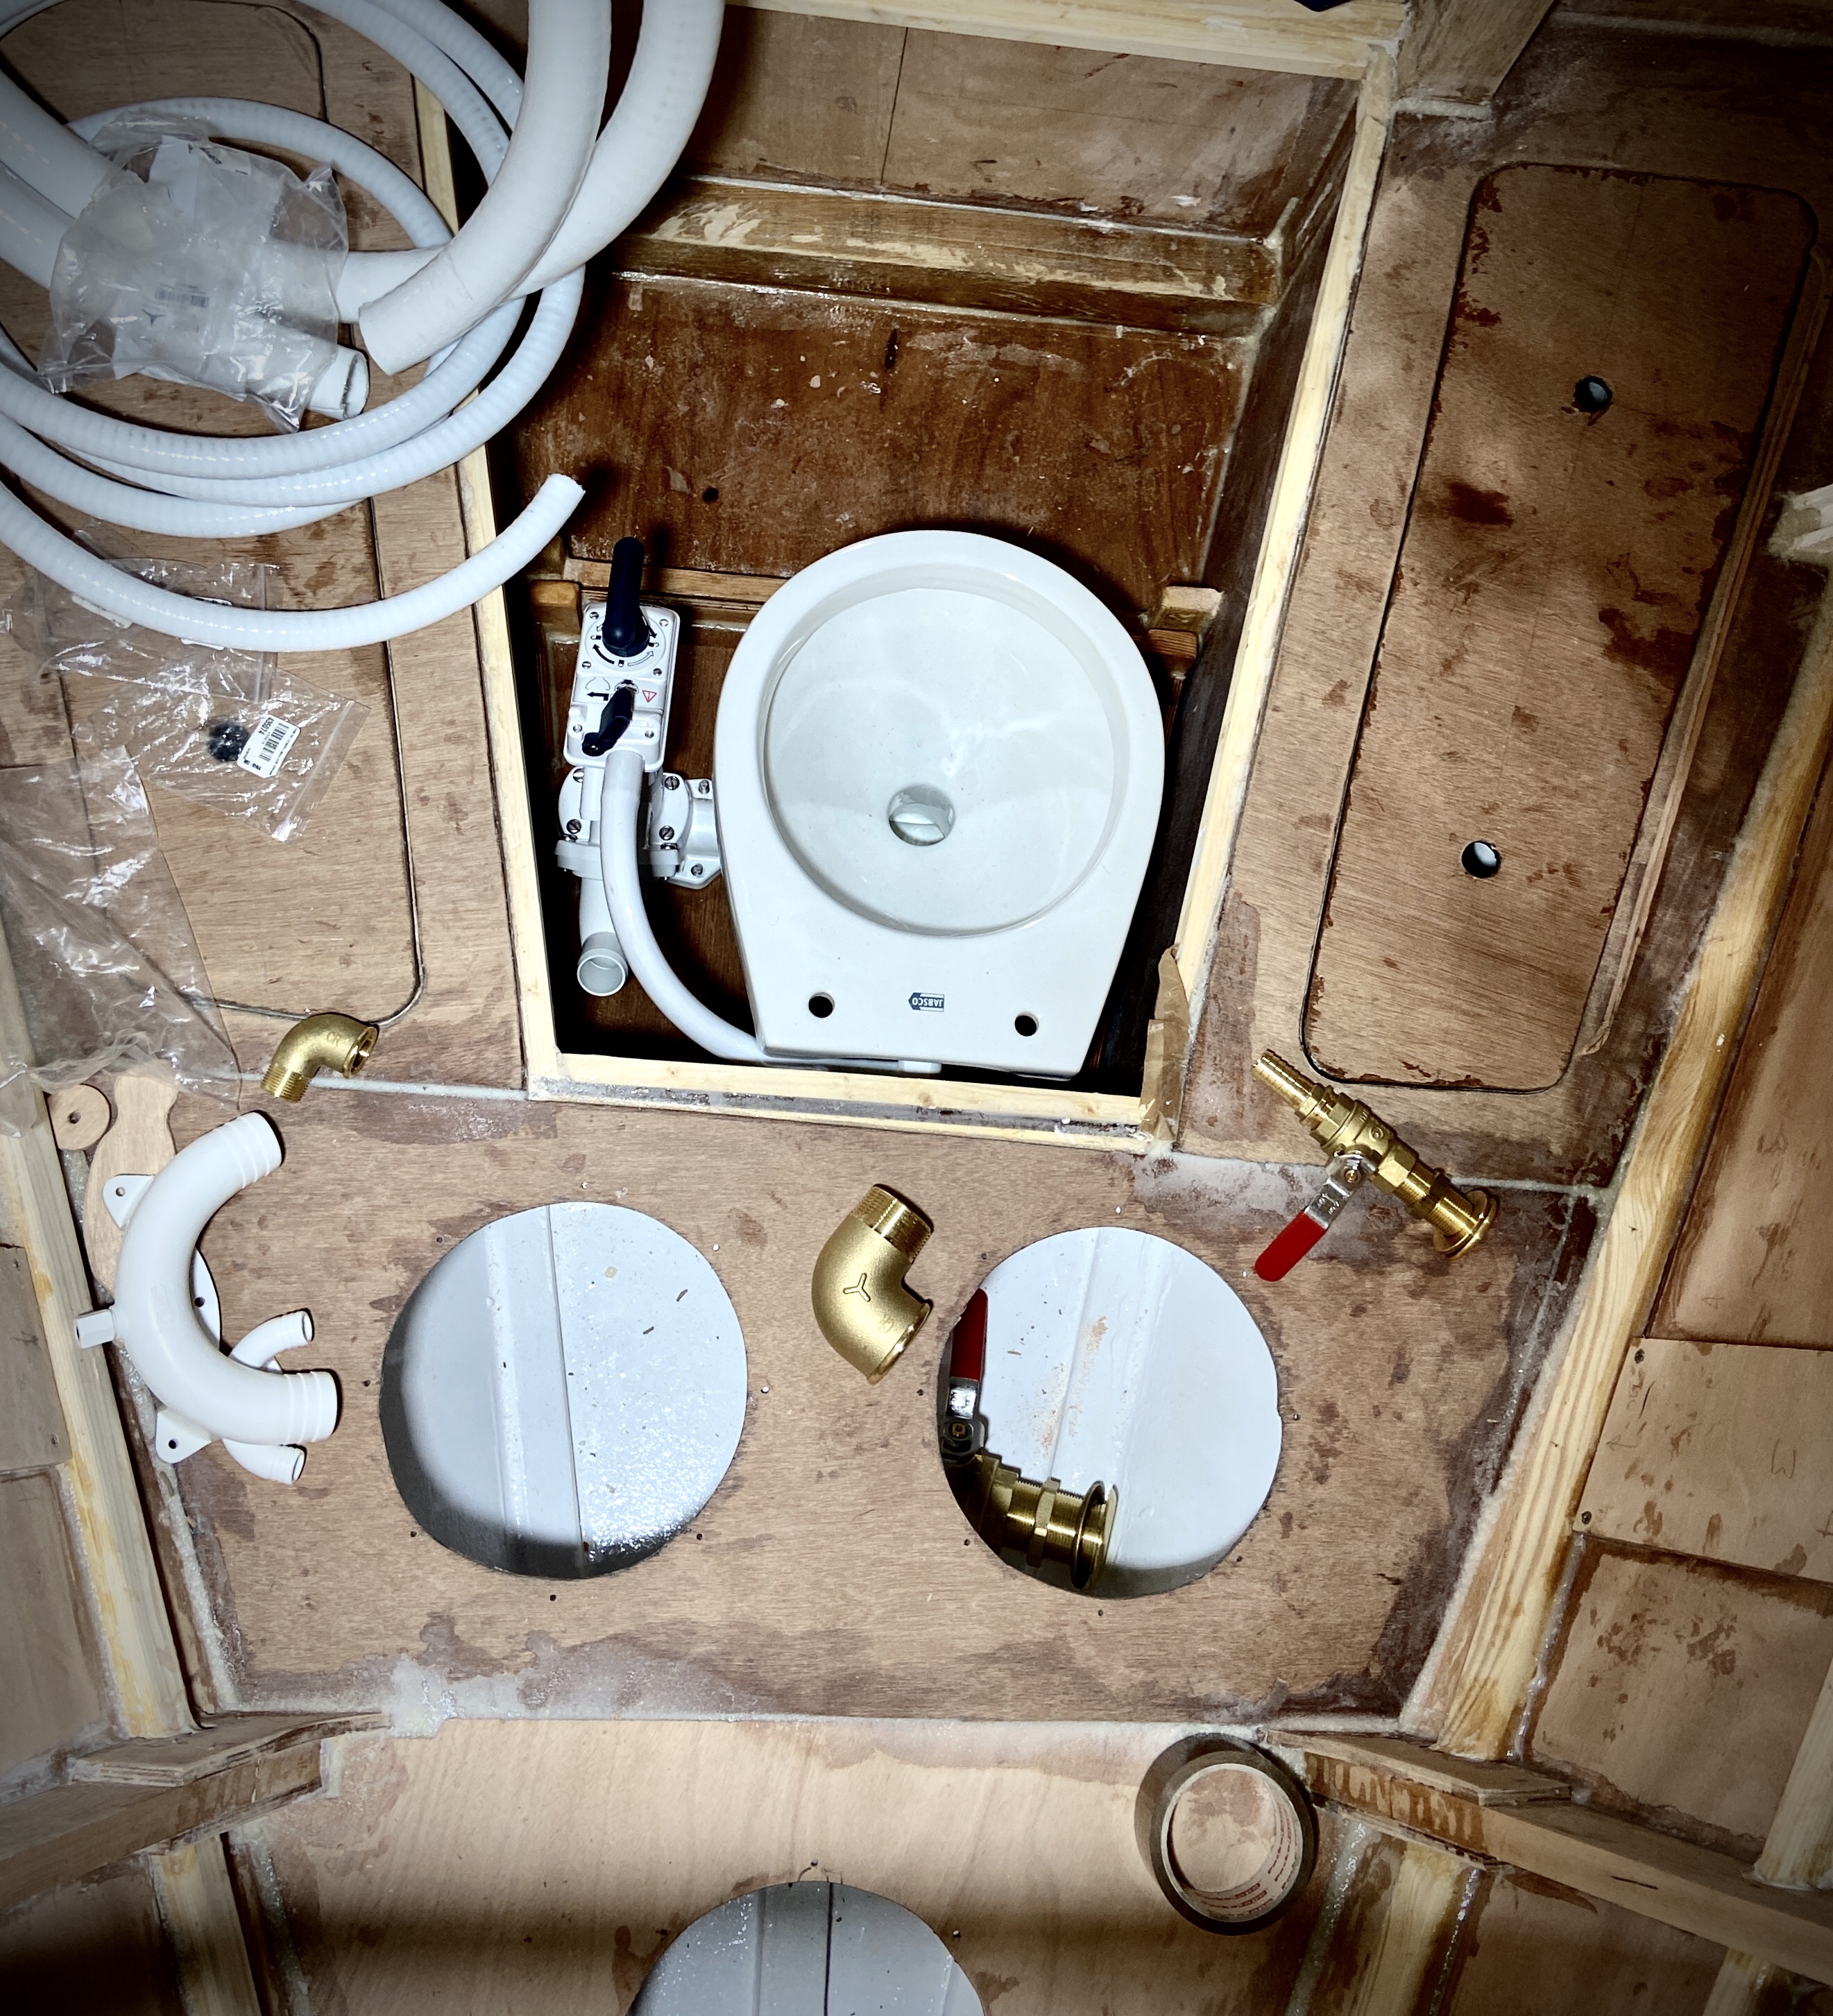
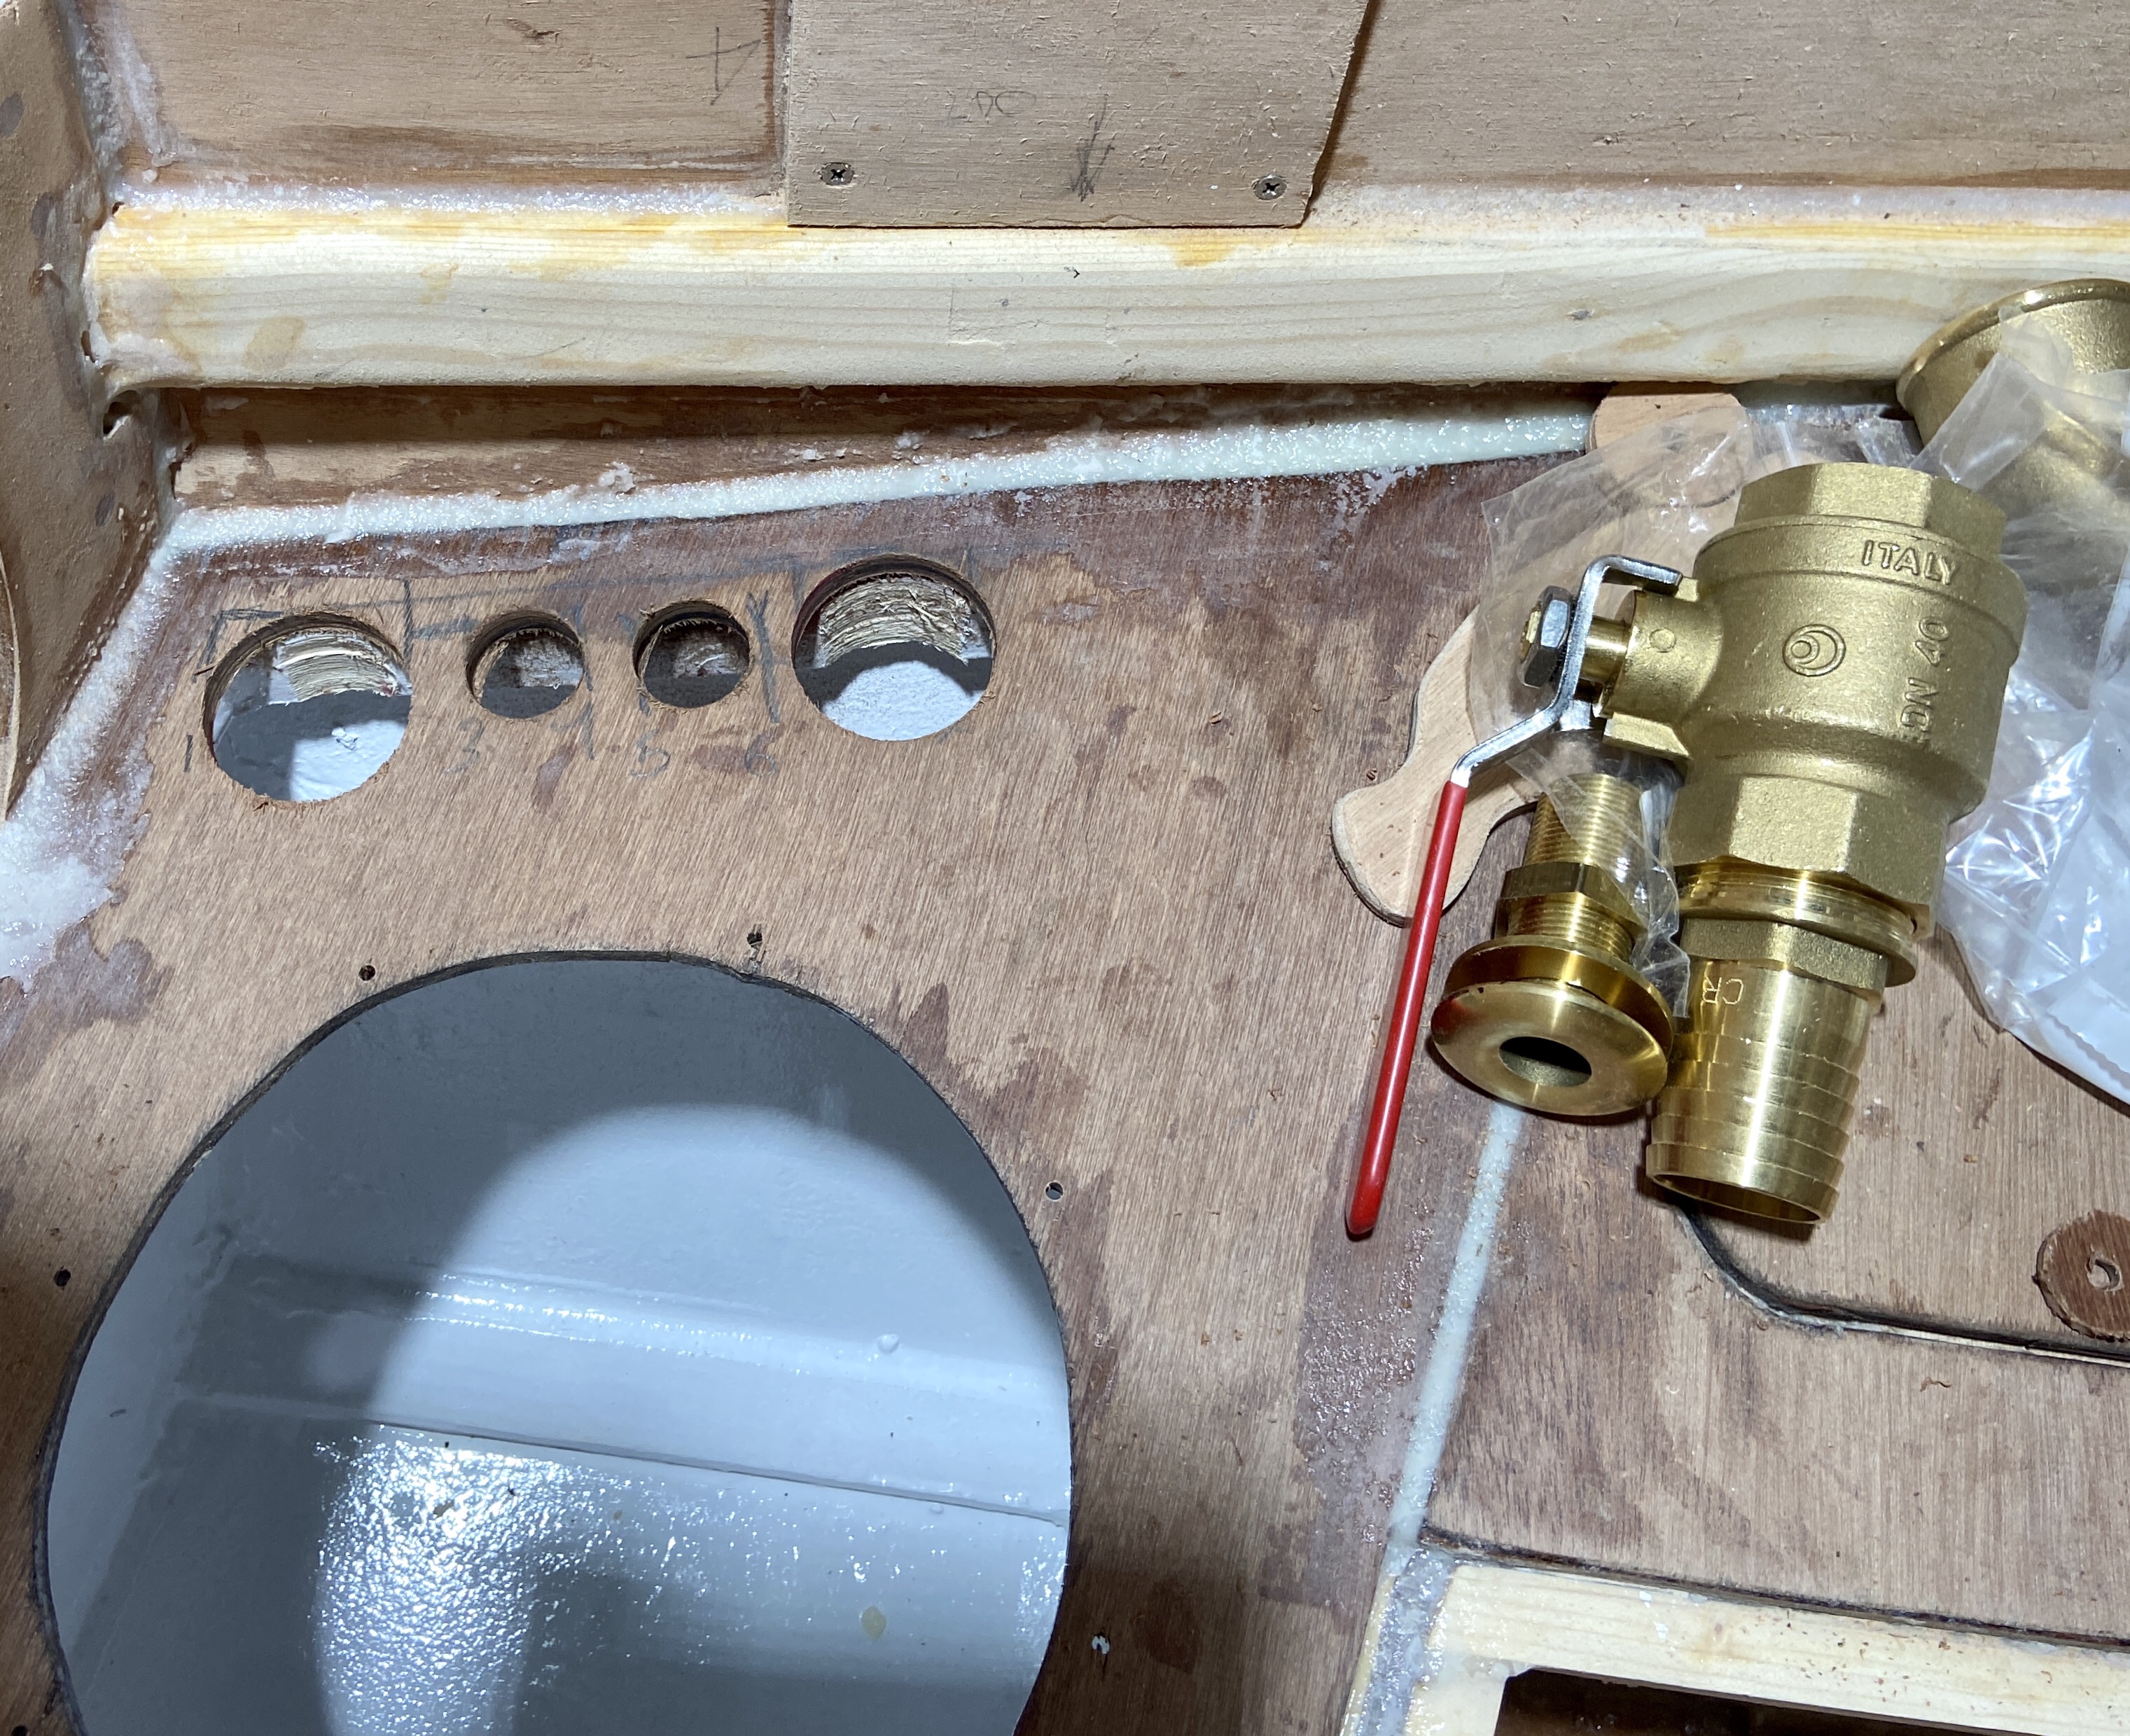
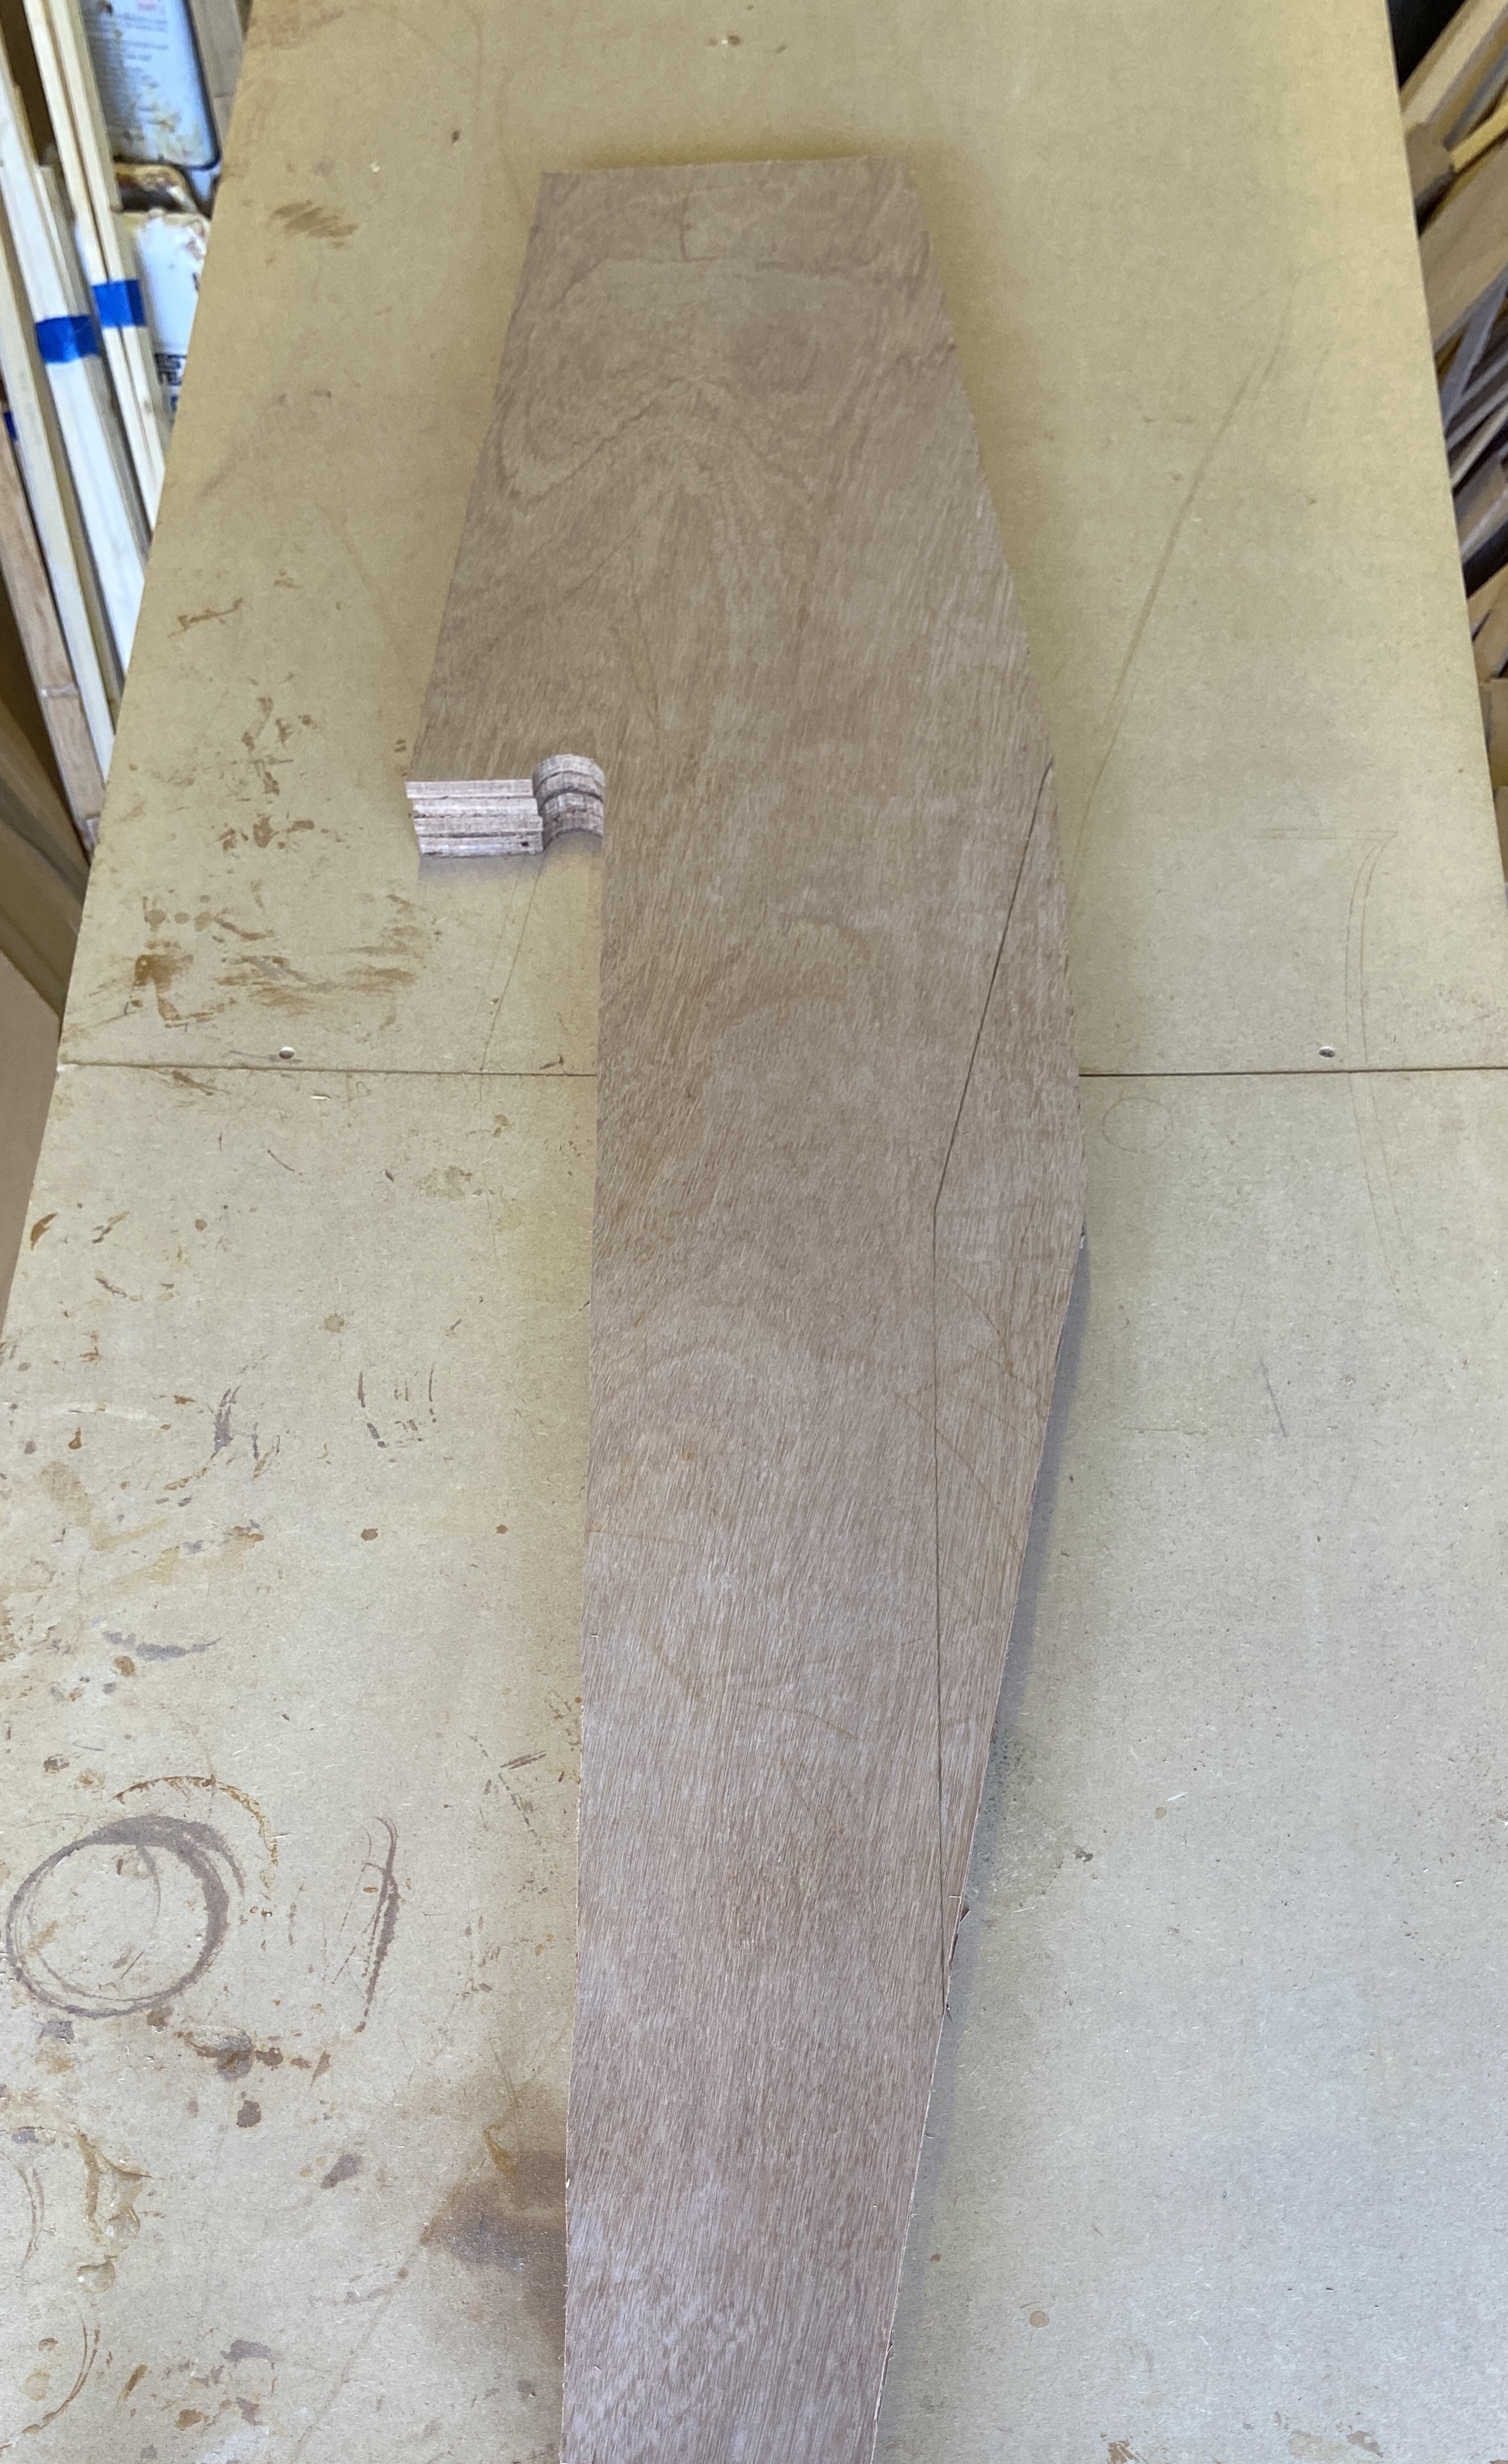
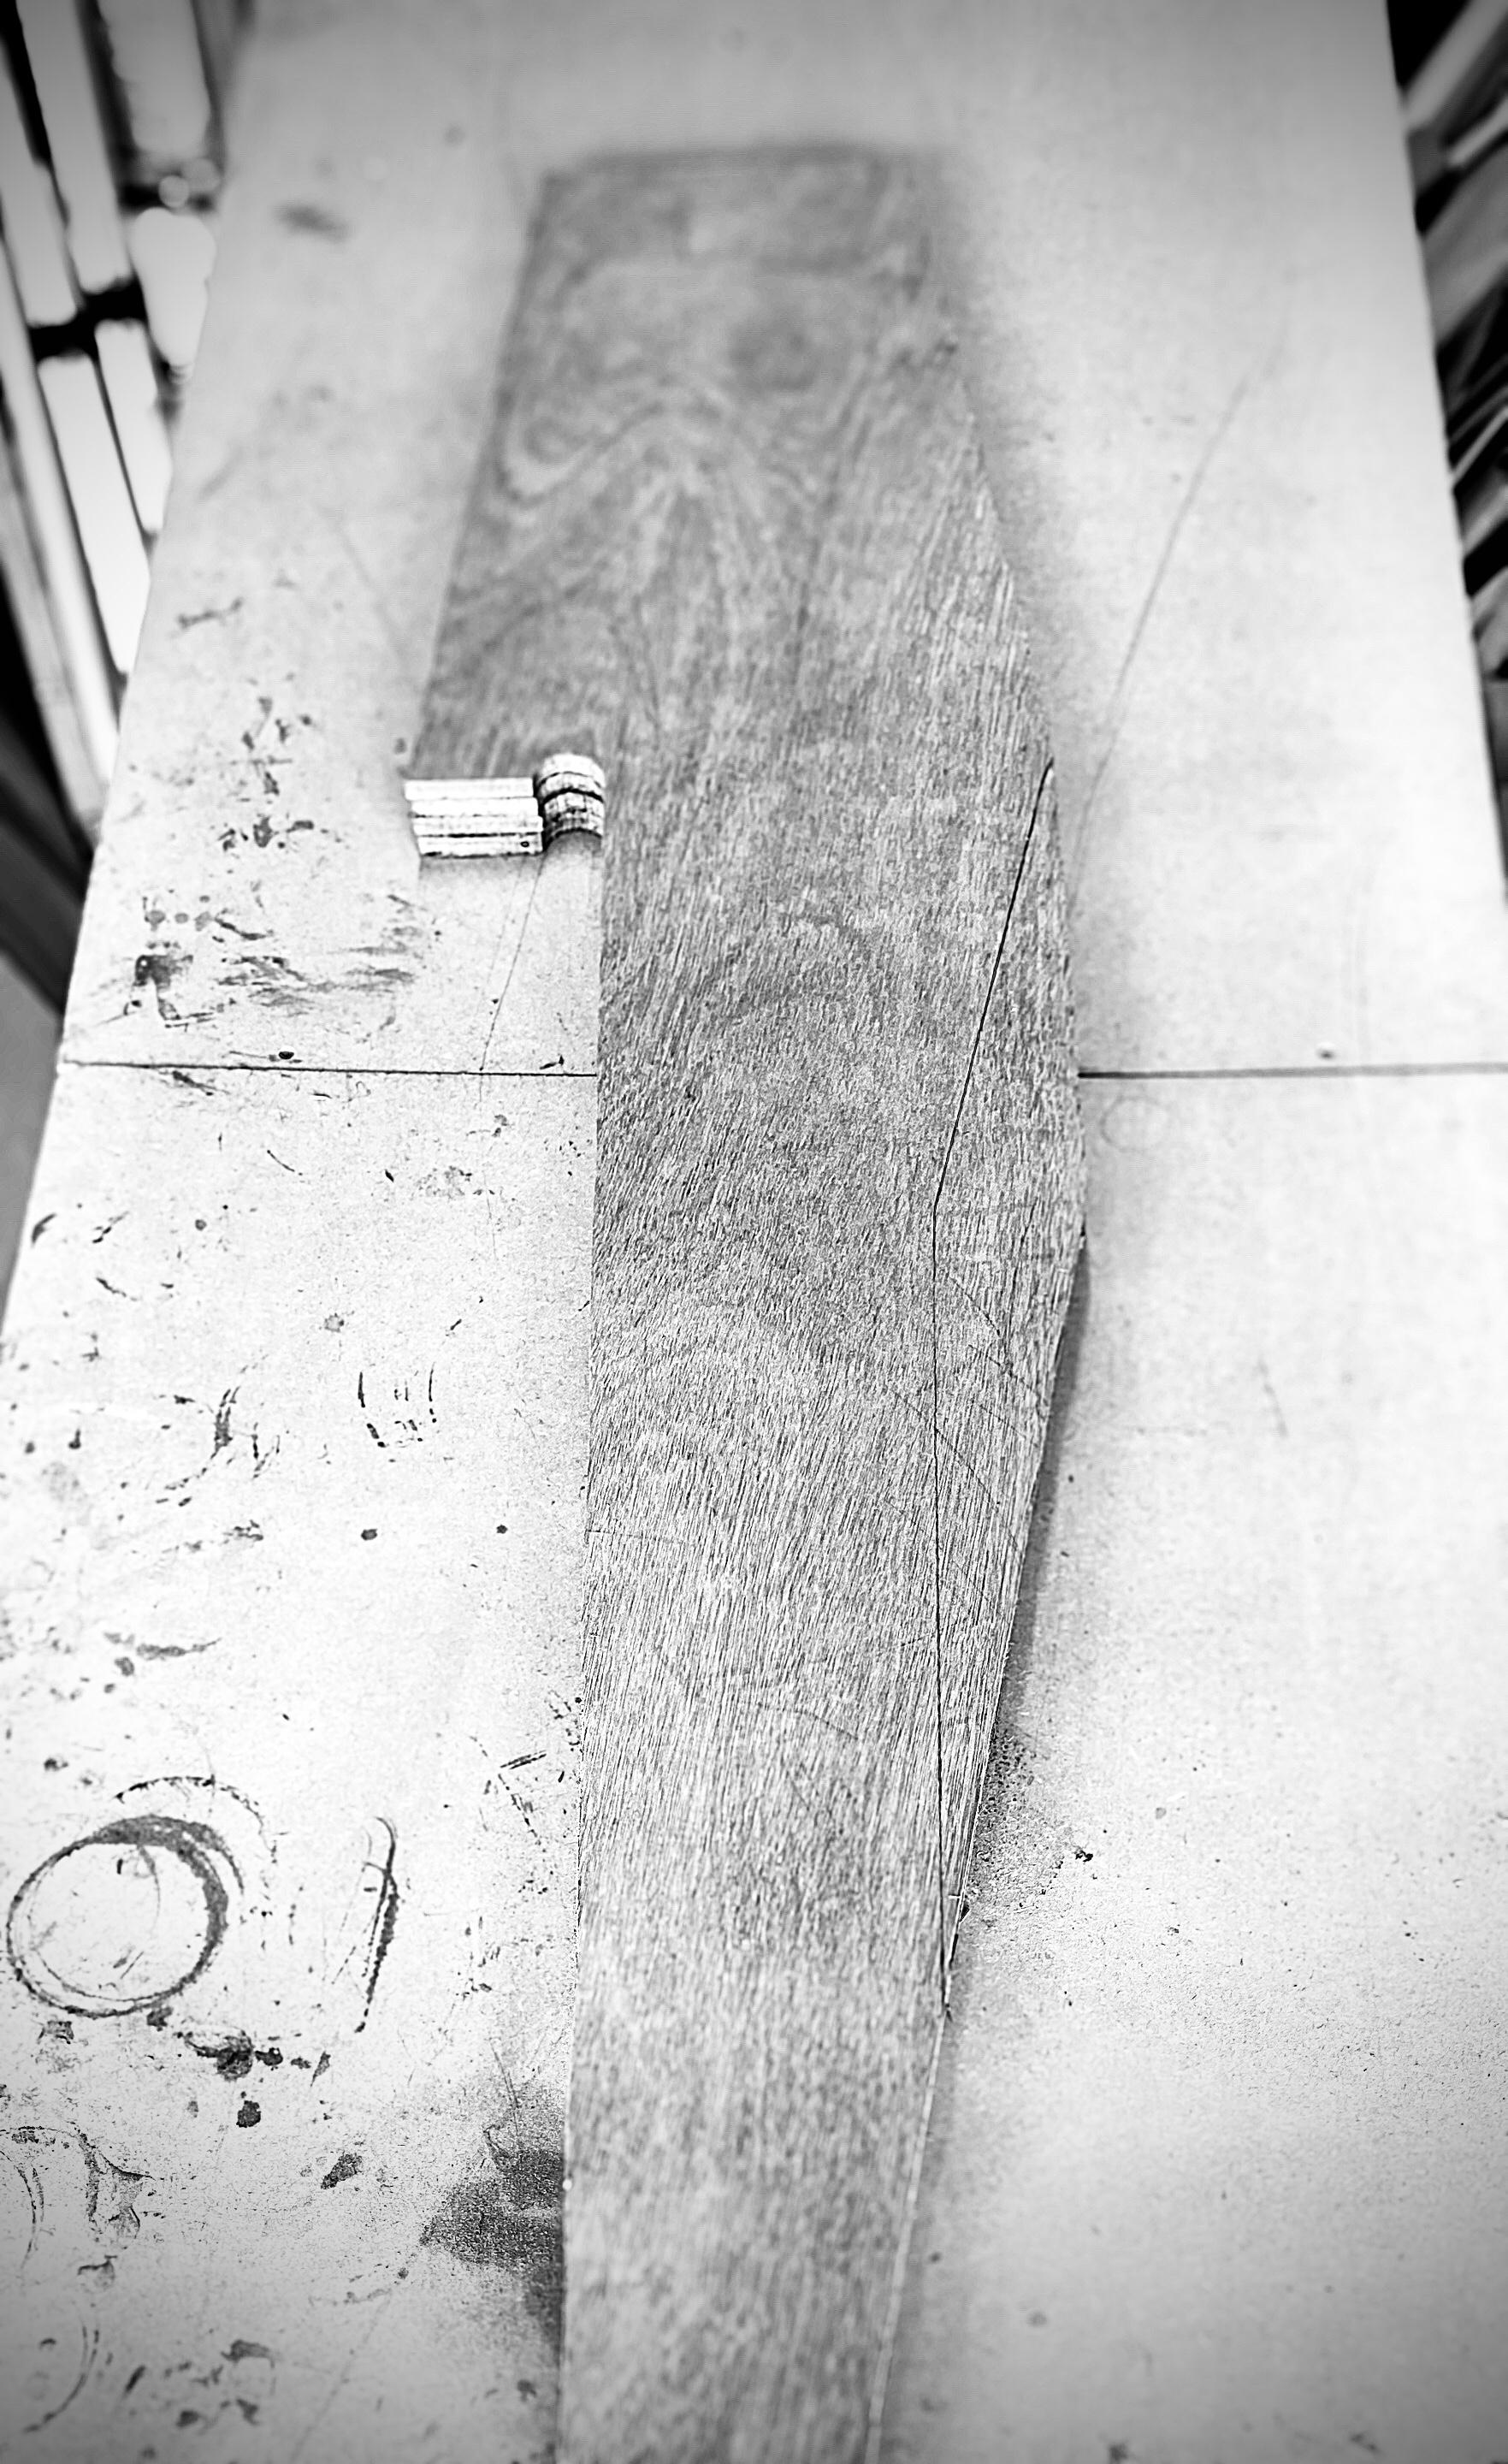
Probably turn the boat around so I can get to the cockpit more easily to do the fitting out there. Need to start pouring the skeg. I have the mould, and the bolts, just need to start building up the epoxy.

A couple of points of motivation. The fleet for the first Transac race have arrived in Lanzarote and are preparing for the Atlantic itself. Some great achievements to get this far. Good luck to all of them.

This was never my goal. I was building towards to Azores race that was in the calendar when the class was first announced but is not happening now. So I’ll do some coastal sailing next year and see what happens in 2023, maybe a Jester Race. Who knows!

Oh! And my Mast arrived!! Better get something to mount it on then.

Hit the deck!

Work has been busy again so the speed of build has slowed a little. However I think we have crossed another major milestone. Having spent a good deal of time sealing and painting internally we finally moved on to getting some more “structure” done.

Over the last few weeks we have managed to get the shearstrakes and major deck plates on. Nothing difficult to report, just the usual shaping on the frames to take the large sheets, but that seemed routine after doing this originally for the hull plates.

So next we should be onto cutting the deck for hatches and vents, starting the observation dome and moving onto the cockpit. But still have a huge amount to do internally.

Other good news is that the mast is close to delivery, just need to pay the import duty – today’s job.

Making progress!

Ticking jobs off

Been busy on other things but managed to tick off a few jobs.

  • Cut holes ready to take bilge lines and water tight hatches into cockpit
  • King posts fitted in forepeak
  • Ran the shearstrake stringers
  • Deck support cross beams fitted
  • Hatch and ventilator cowl ordered and delivered
  • Built shelves to go behind bunk seat backs for storage
  • Two layers of epoxy painted across forepeak and cabin

Next need to prime and paint the cabin and forepeak. Then shape the deck frames and get the deck on. Hopefully next week.….

Still having fun!

Holes

It’s a notable day because I finally plucked up the courage to bore some holes in the beautiful hull we made. But that’s what it takes to make a marine toilet work, and that’s what it probably takes to have some of my mates sail with me!

Holes are oversized, so I will fill with epoxy and then re-bore to the right size, to make sure the hull plywood is sealed.

Also bored some holes for the bilge hoses to run from the cabin to the cockpit. Need to plan the transom a little further before cutting into it.

Cut the bunk side to take the “through bulkhead” Whale gusher bilge manual pump. I’m planning on joining the cabin manual pump with the electric pump, before the vented loop and exit through the cockpit.

Forepeak door

I soooo want to press on and get the deck put on but I know there are a few internal jobs I need to get done first….being sensible.

Having finished painting under the bunks one of these key jobs is to get the watertight frame to the forepeak cut to take the watertight door. Should be straightforward. Erm no..

I bought a couple of beautiful Bomar doors in a auction. They are great. But they are just slightly larger than the width of the gap between the bunks and when open they arc just a little wider at the hinge side. Which meant I had to slightly shorten the depth of my galley and nav boxes which were abutting right up to the edge of the bunks. Luckily I hadn’t stuck them down!

The bonus of getting the larger hole cut into the forepeak means I don’t need to contort so much between the cabin and forepeak now, luxury.

Hoses have arrived for the bilge pumps, I think they are the next job.

Been busy

We have been busy….honest.

There are phases of work where you seem to be chipping away for ages and not making much progress, and then whole section is done.

We seemed to have spent a couple of weeks bent over in the forepeak. But that is nearly finished now. We have built all the framing for the storage lockers, along with there lids.

Everything in the lockers has had two coats of epoxy to seal and has two coats of primer. We will put a top coat on next week and then they are ready to have the locker tops glued down. The undersides of have also had two coats of epoxy to seal too. We won’t paint these as they should not have any UV on them.

One of the lockers will be “wet” as it will have the hull penetrations for the marine toilet and also a depth transducer. This locker will have two watertight hatchtops.

We built a platform for the marine toilet to sit on. This will bolt to 4 securing points I have glued to the frame. This means I will be able to lift the toilet out of the boat as unit, for instance if I don’t want to carry it for long distance races.

The cabin bunks have been cleaned out and painted the same as the forepeak. Just waiting final painting next week and these can be finished too. Galley box and chart table are just about complete too, ready to land them on the bunks.

Manual bilge pumps are here so We will be mounting these shortly too.

Next week we hope to start putting the deck frame together all being well.

Quick Update

It looks like Spring is properly here and we have some sustainable temperatures. Winter has been quite challenging as temperatures have been very low at night right the way through April. This makes it has been impossible to glue “structural” components. I could rig up a heater but don’t want to risk it cutting out and then worrying about the curing of a key structural component.

However we have progressed some work!

We have finished gluing in the cabin bunk sides and the bunk tops have been roughly trimmed and positioned. Hatch lids have been cut into the bunk tops too. These won’t be fixed into final position and trimmed tidy until we have run the bilge piping and the electrics – just for ease of access.

The galley box has been fabricated and is ready to be put together. It has been prepared to take a dual alcohol stove that I found from a German marine supplier. As Dan Turk suggested, you have to be able to cook bacon and coffee at the same time after all.

The Chart table has been built ready to take a small sink and storage for “charting stuff”, logbook etc. Sink is probably only there for bad weather when you don’t want to be heading outside so much. Rather than draining overboard it will drain into a 10L bottle under the box.

All the framing for the cockpit seats were cut ages ago waiting for the weather to glue them in.

Next I am moving into the forepeak to build the crash box, storage/bunk boxes and look at mounting the marine toilet.

I will then look at the bilge and electrics before a big clean up and priming all the internal areas before moving into the cockpit area.

There’s a good builders conversation going on messenger so always somewhere to turn to for advice and support.

Plenty to be getting on with now the weather has improved. Although we had hail stones yesterday!

Some important gluing done!

We have had a number of warm days in a row, so we took advantage and got some key components fitted and glued.

We managed to get both the keel planks in the main cabin done and also the slanting frame. We had marked all these out by using the bunk sides that we then removed for gluing.

We ensured the slanting frame was in the right place and angle by using the dry fitted cockpit seating from the kit, by ensuring frame abutted to these parts we could ensure it was in the right place and correct angle.

The slanting frame at the moment doesn’t feel that it is attached to much of the boat, just at its foot and along a small length of the frame each side to the hull. However as we continue constructing it will become more integral, to both the cockpit, bunks and topside structure. This should be more than sufficient.

I must admit, I’m continually impressed at how clean some of the other builders boats look. I clearly have some cleaning up and sanding to do! I will do this shortly as I want to go around and put some epoxy joint fillets in.

Big step forward, as we can now get on with the cockpit and cabin. Spring is on its way so hopefully more gluing days to come.

Starting rudder and fins

Had a couple of weeks away from the boat doing other things. We also have been limited on what we can do due to the cold temperatures in the UK, consistently below the magic 5c.

We did manage to get most the dry fitting done for the cockpit seats and the bunks, but not able to fix them in place.

But fortunately there has been some jobs we could start in the garage – the stability fins and the rudder. We have an outline template for the rudder from the kit supply and the drawings give key outline dimensions for the fins.

We decided not to use the plywood rudder template as part of the laminated layers, just in case we ever need to make another rudder in the future. But we managed to get the 4 layers needed out of a single 9mm by 2440mm x 1220mm sheet of marine plywood. Laminated overnight, great. With the glue, and fibreglassing needed this should come up to the dimensions for fitting to the rudder mountings.

We could check this as my stainless steel parts have arrived! Very shiny and solid.

The layers for the stability fins were cut out from off cuts from the kit frames. Three layers of 9mm, to the dimensions on the drawings.

Shaping was interesting, as in reality there is very little guidance available. The drawings show a general “airfoil” shape through the middle of the rudder and fins, but that’s it. Fortunately the Trekka blogs as some photos and description of what they have done.

Again this is one of those occasions where it’s easy to get held up, wanting detailed info before taking the next step. But I have learnt, it’s just not available, so you have got to press on, and do what looks right, in light of the info you can find.

So an electric planer was used to cut the rudder and fins to what We believed to be the profiles loosely described in the Trekka blog. This isn’t science, it’s art! Then sanded them down so they were smooth and nicely curved. My goal was simply to try to ensure the profiles were balanced across the centre line of each part, by sight and feel!

I think they look pretty good. The rudder feels solid, and heavy. Suitable for guiding me across oceans! Ready for glassing and finishing.

Quick Update

Thought we should have a quick update as it has been a while since we have posted. We have been progressing but slowed a little due to Christmas and the weather.

What have we achieved since turning the boat? We have;

  • Had a big clean up. The tent had become very dusty with all the sanding of the fairing, just wasn’t nice. So spent a good few hours just washing everything down.
  • Cut and dry installed the keel planks.
  • Dry fitted the slanting frame.
  • Cut and dry fitted the supports for the cockpit seats and for the cabin bunks.

We have posted some pics of this on Instagram.

Our main issue at the moment has been low temperatures in the UK. Sitting just above freezing. This is just too low to epoxy glue. Although I think I could use a heater warm an area for glueing the seating and cockpit supports I’m reluctant to glue the key structural elements of the keel planks, mast posts and slanting frame until I am confident the temperatures are consistently a little higher. This is simply as I want to ensure the “mass” of the wood is above 5c (preferably much higher), rather than just the air temperatures around the boat. So waiting for a weather window at the moment.

I need to take a couple of weeks off but if we don’t have a weather window when I get back then we will just need to cram some heaters in the tent and raise the temperatures for a 48 hour period to warm the boat before hand and during curing, and try to get everything done in one hit.

Next jobs apart from glueing…

  • Another big clean up and checking all the fillet joints, soon some of them will be hidden and difficult to get to
  • Once the slanting frame is fitted we need to take down the 70mm stringer to 40mm in the appropriate areas fore and aft
  • Prepare the cabin bunk tops to take hatches and fit them
  • I have ordered a two burner alcohol stove so we can build a galley box to take it
  • Order the equipment for the bilge and electrical systems
  • Give proper consideration to how or if we install a marine toilet
  • Finalise the companion way design

I have ordered the stainless steel pack to ensure we have that in time for when we start the deck fitting. It feels as if things may start to come together a little more quickly, which gives a positive boost. Key things I still need to resolve include;

  • Building the keel. I have a local price but it’s unrealistic. I need to get back on this and find alternatives.
  • Consider how to get the stainless steel work done, or bought.

I’ve been impressed with the build quality of many of the guys boats on their blogs, fantastic work. Not sure ours will be as tidy as some of the others…..however it will fulfil the purpose of sailing. Hopefully this Summer.