We turned our 580 over!

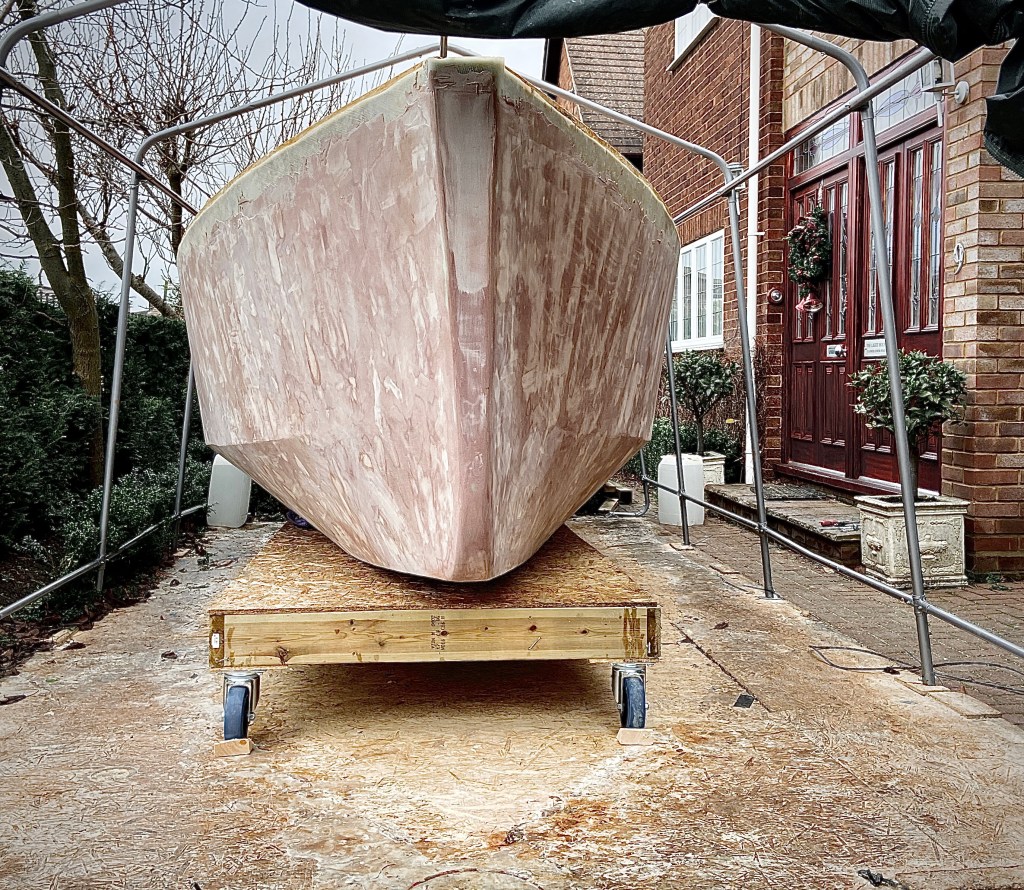
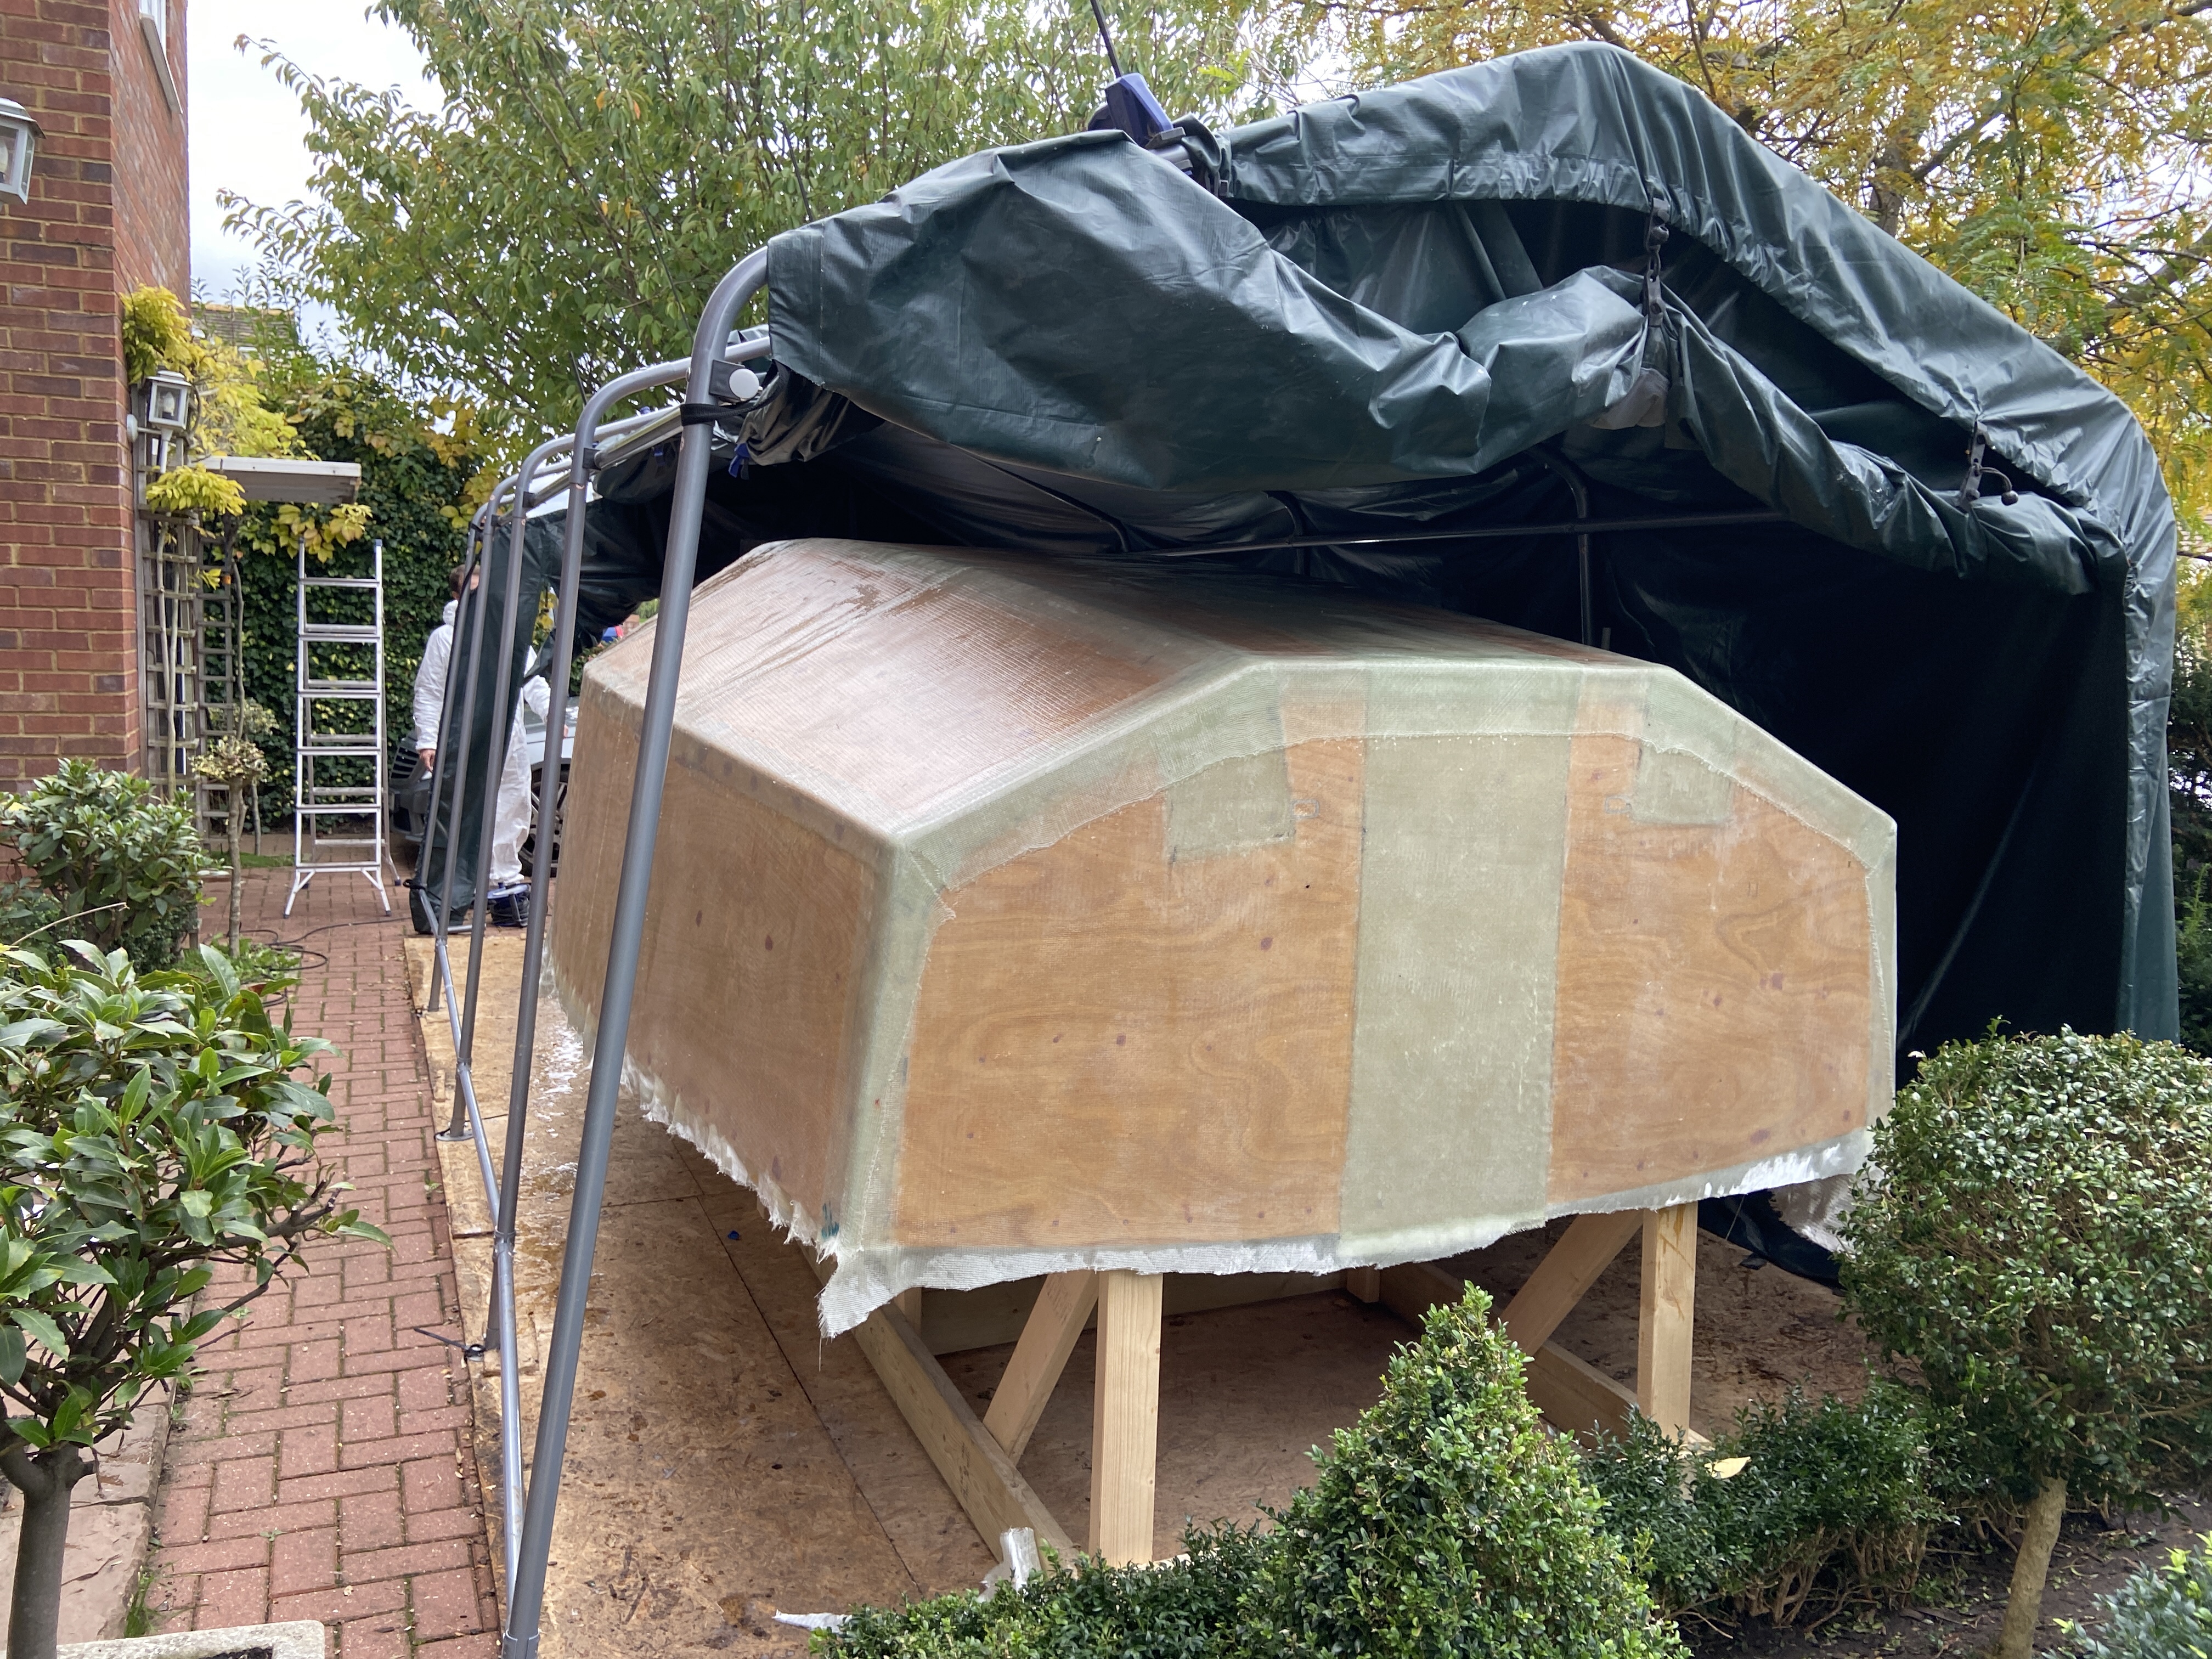
Bit of a long update but we have had a couple of big days and reached a major milestone. We turned Hull 43 over, and have a hull right side up on the drive. Fantastic culmination of the hull construction phase. I have added a bit of detail of what we used in case it is useful for other builders.

Although there will always be fairing to do, it’s basically a law of nature, we took the opportunity of a weather window and a free day to bite the bullet and get her turned. In the end getting through the whole process took us two full days, with four of us working together for much of that.

Essentially we had a number of things to do;

  • Prepare the boat to be turned
  • Open up the tent fully
  • Build a scaffold and rig the lifting gear
  • Remove the jig (test of faith)
  • Turn the boat
  • Re-purpose the jig bed
  • Drop the scaffold
  • Put the tent back together

This was all too much to complete in one day.

It was also the point of bringing together a series of decisions about how we were actually going to get the turning done. I guess all builders will take different decisions depending on their experience, access to equipment and location of where they are building. Our plans came together into a practical solution, that worked……but I wouldn’t claim elegance.

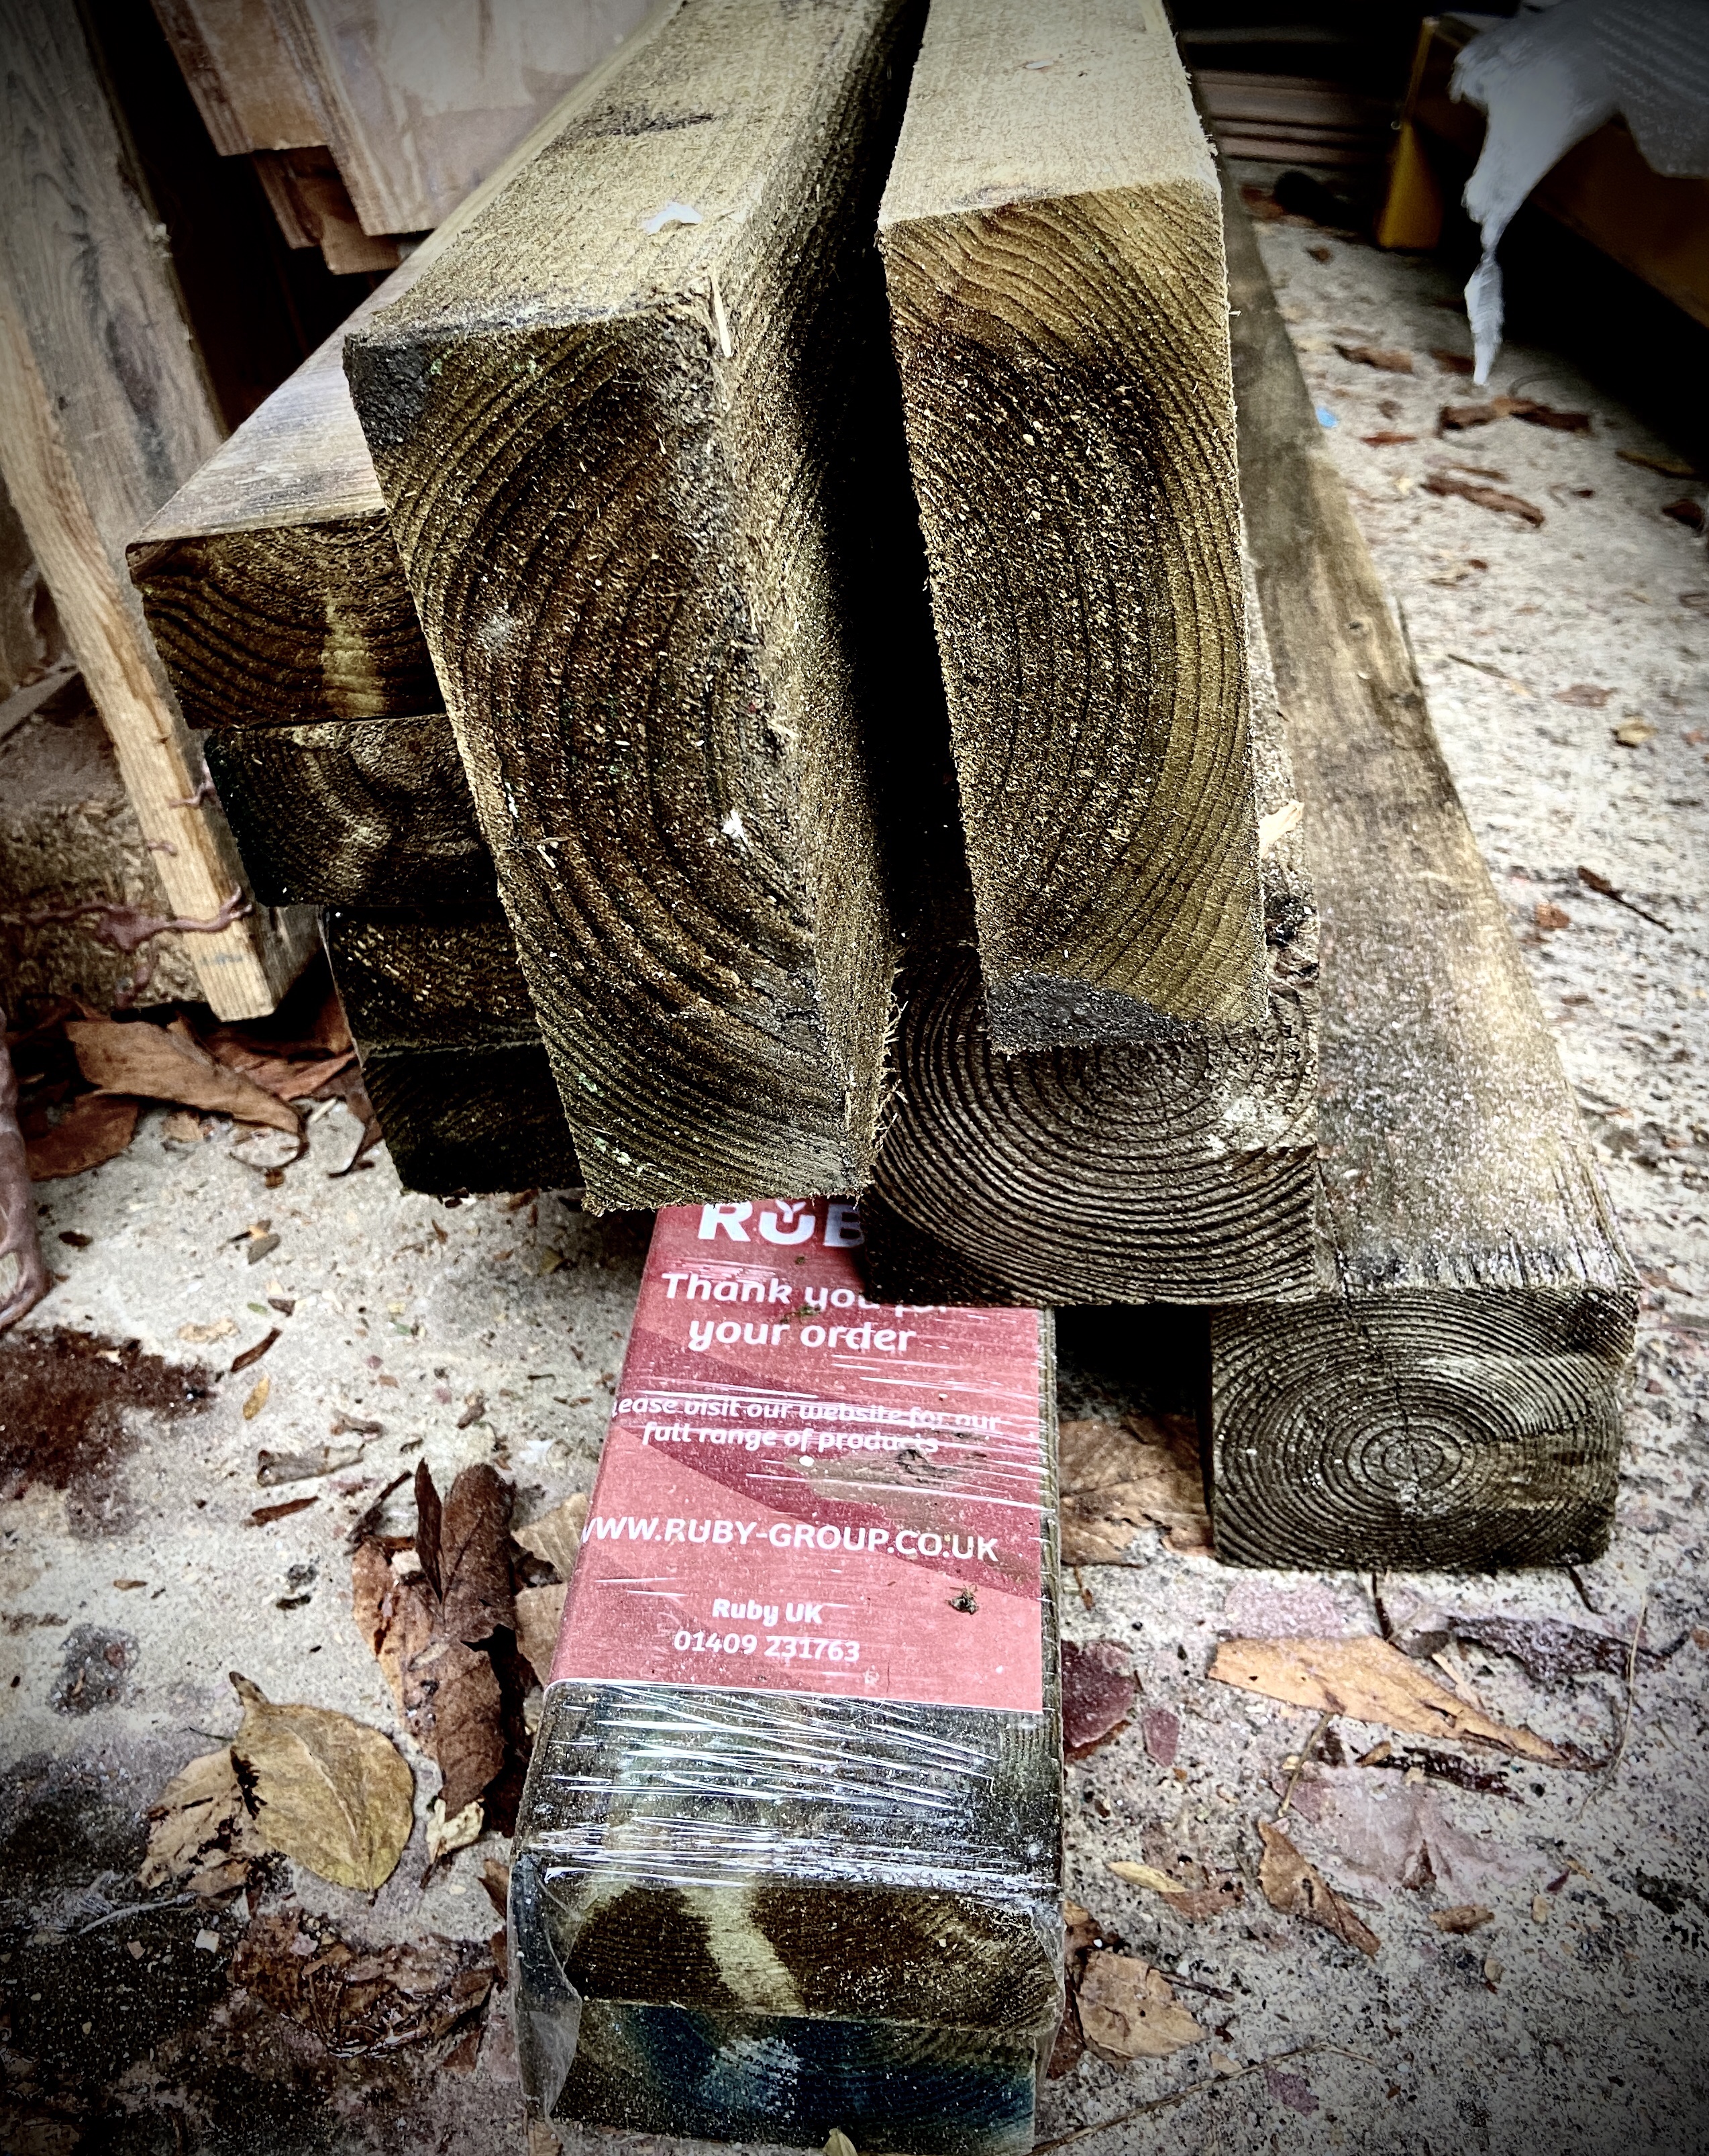
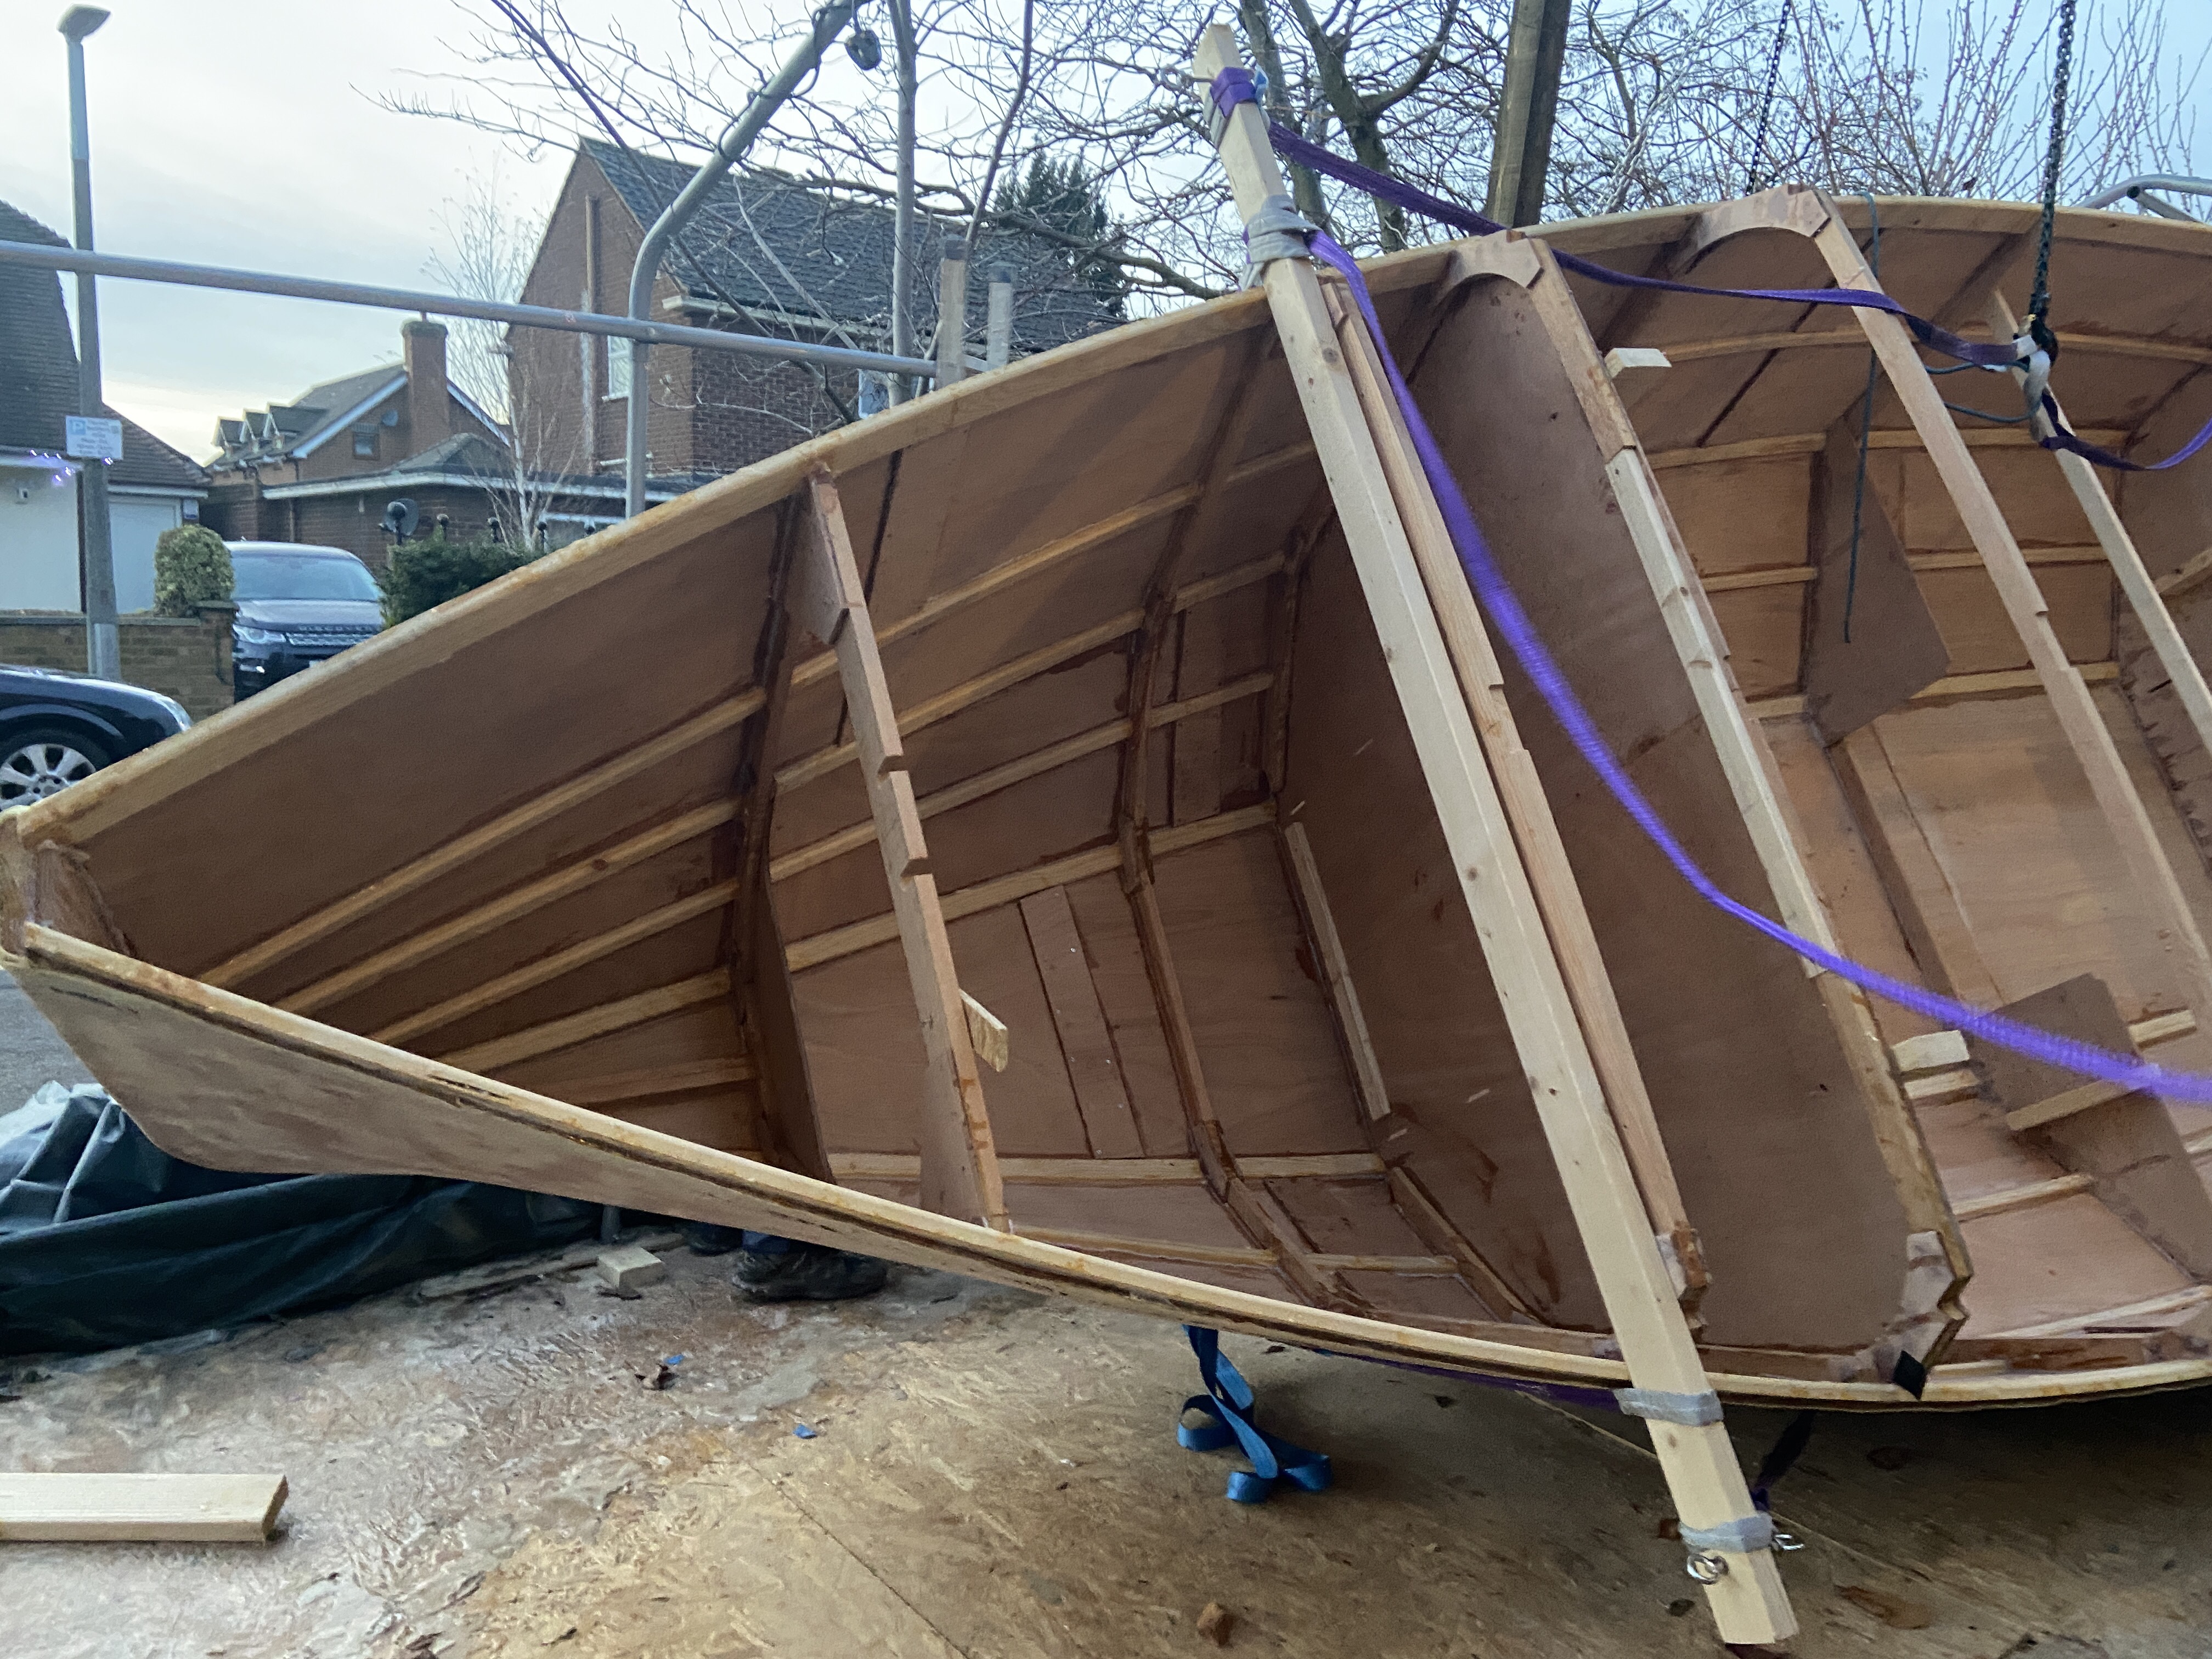
Preparing the boat was about deciding how attach lifting gear to her, as there aren’t really any obvious and robust lifting points. We decided to use some 2’ by 4’ timber planks and ratchet straps as our starting point. We placed the two planks, across the boat where we thought the best points of balance would be. One behind Frame A and one in front of frame D1, in actual fact we should probably have gone for in front of frame D.

Each plank was cut to overhang the hull side by about 6 inches or so. We drilled each end and inserted an M10, 100mm long shank Eye bolt and eye nut. We then looped a ratchet strap over the hull, around the ends of the planks and back. The ratchet them up…..tight. The original idea was to loop the lifting strops we were going to use through the eyes of the eye bolts, which would swivel in their holes. However in the end we just looped the strops around the planks and used the eye bolts as a stopper to prevent the strops coming off the plank. The two ratchet straps we used we each rated to hold well over 1 tonne each.

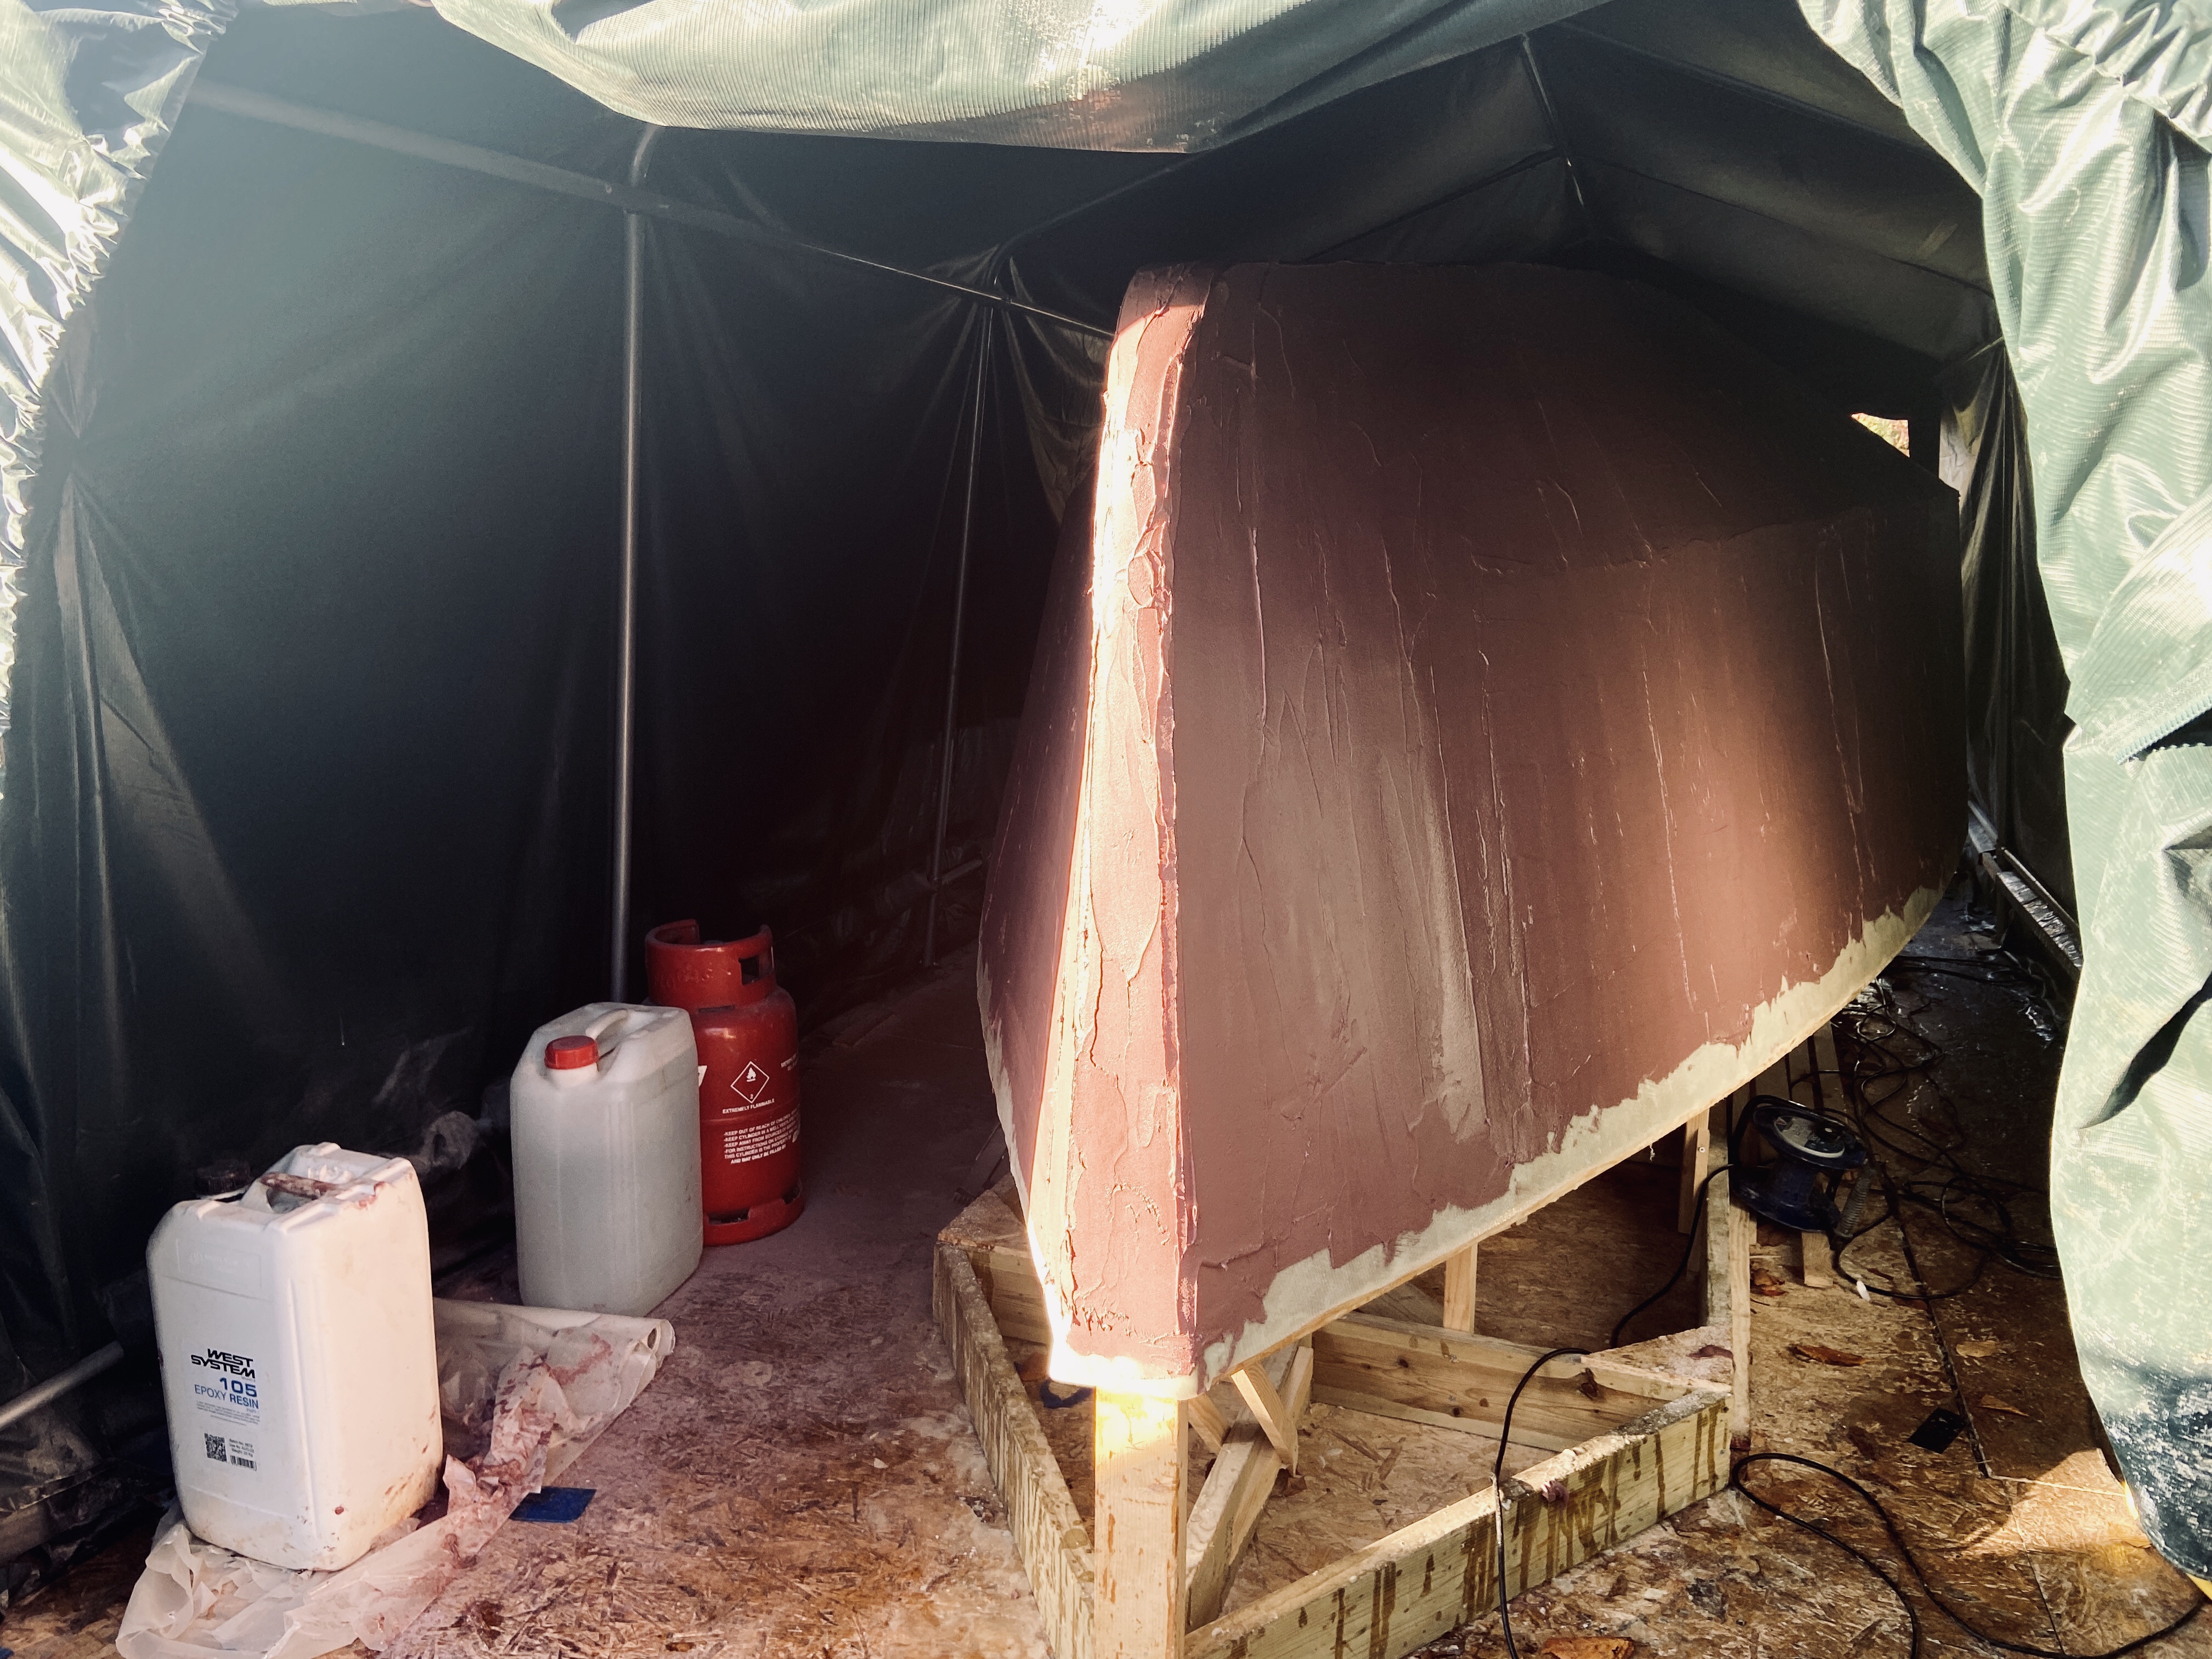
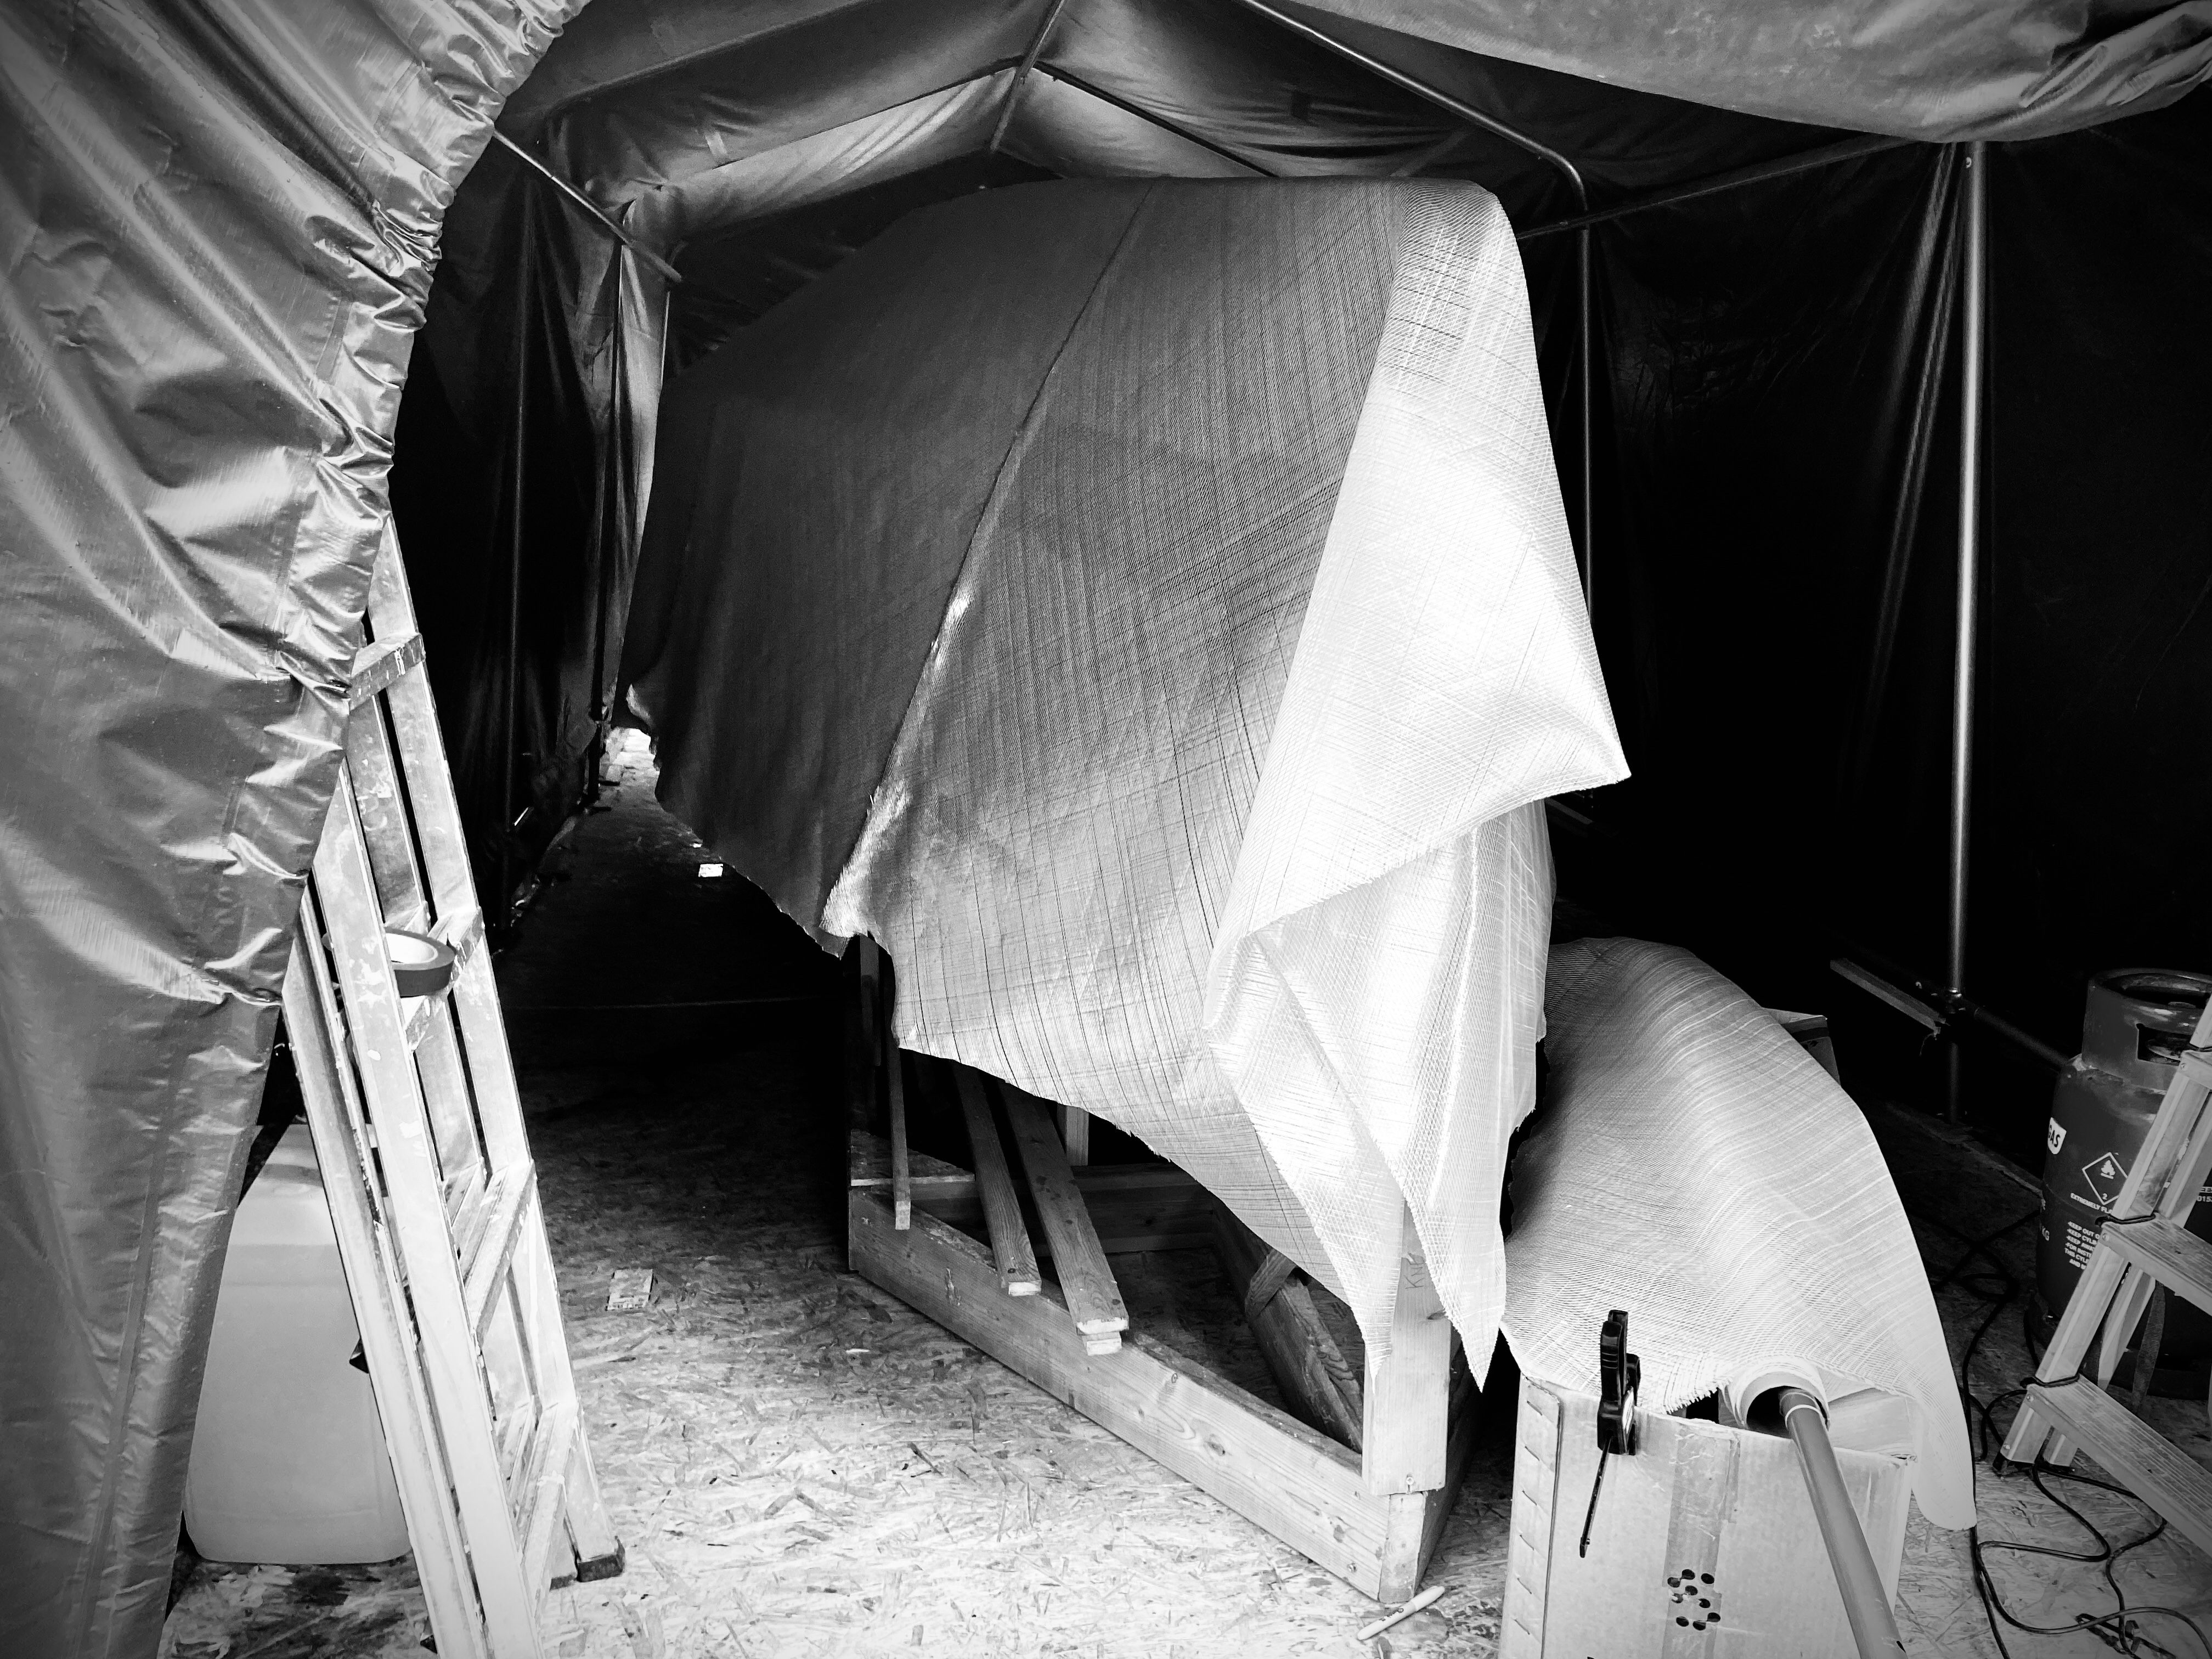
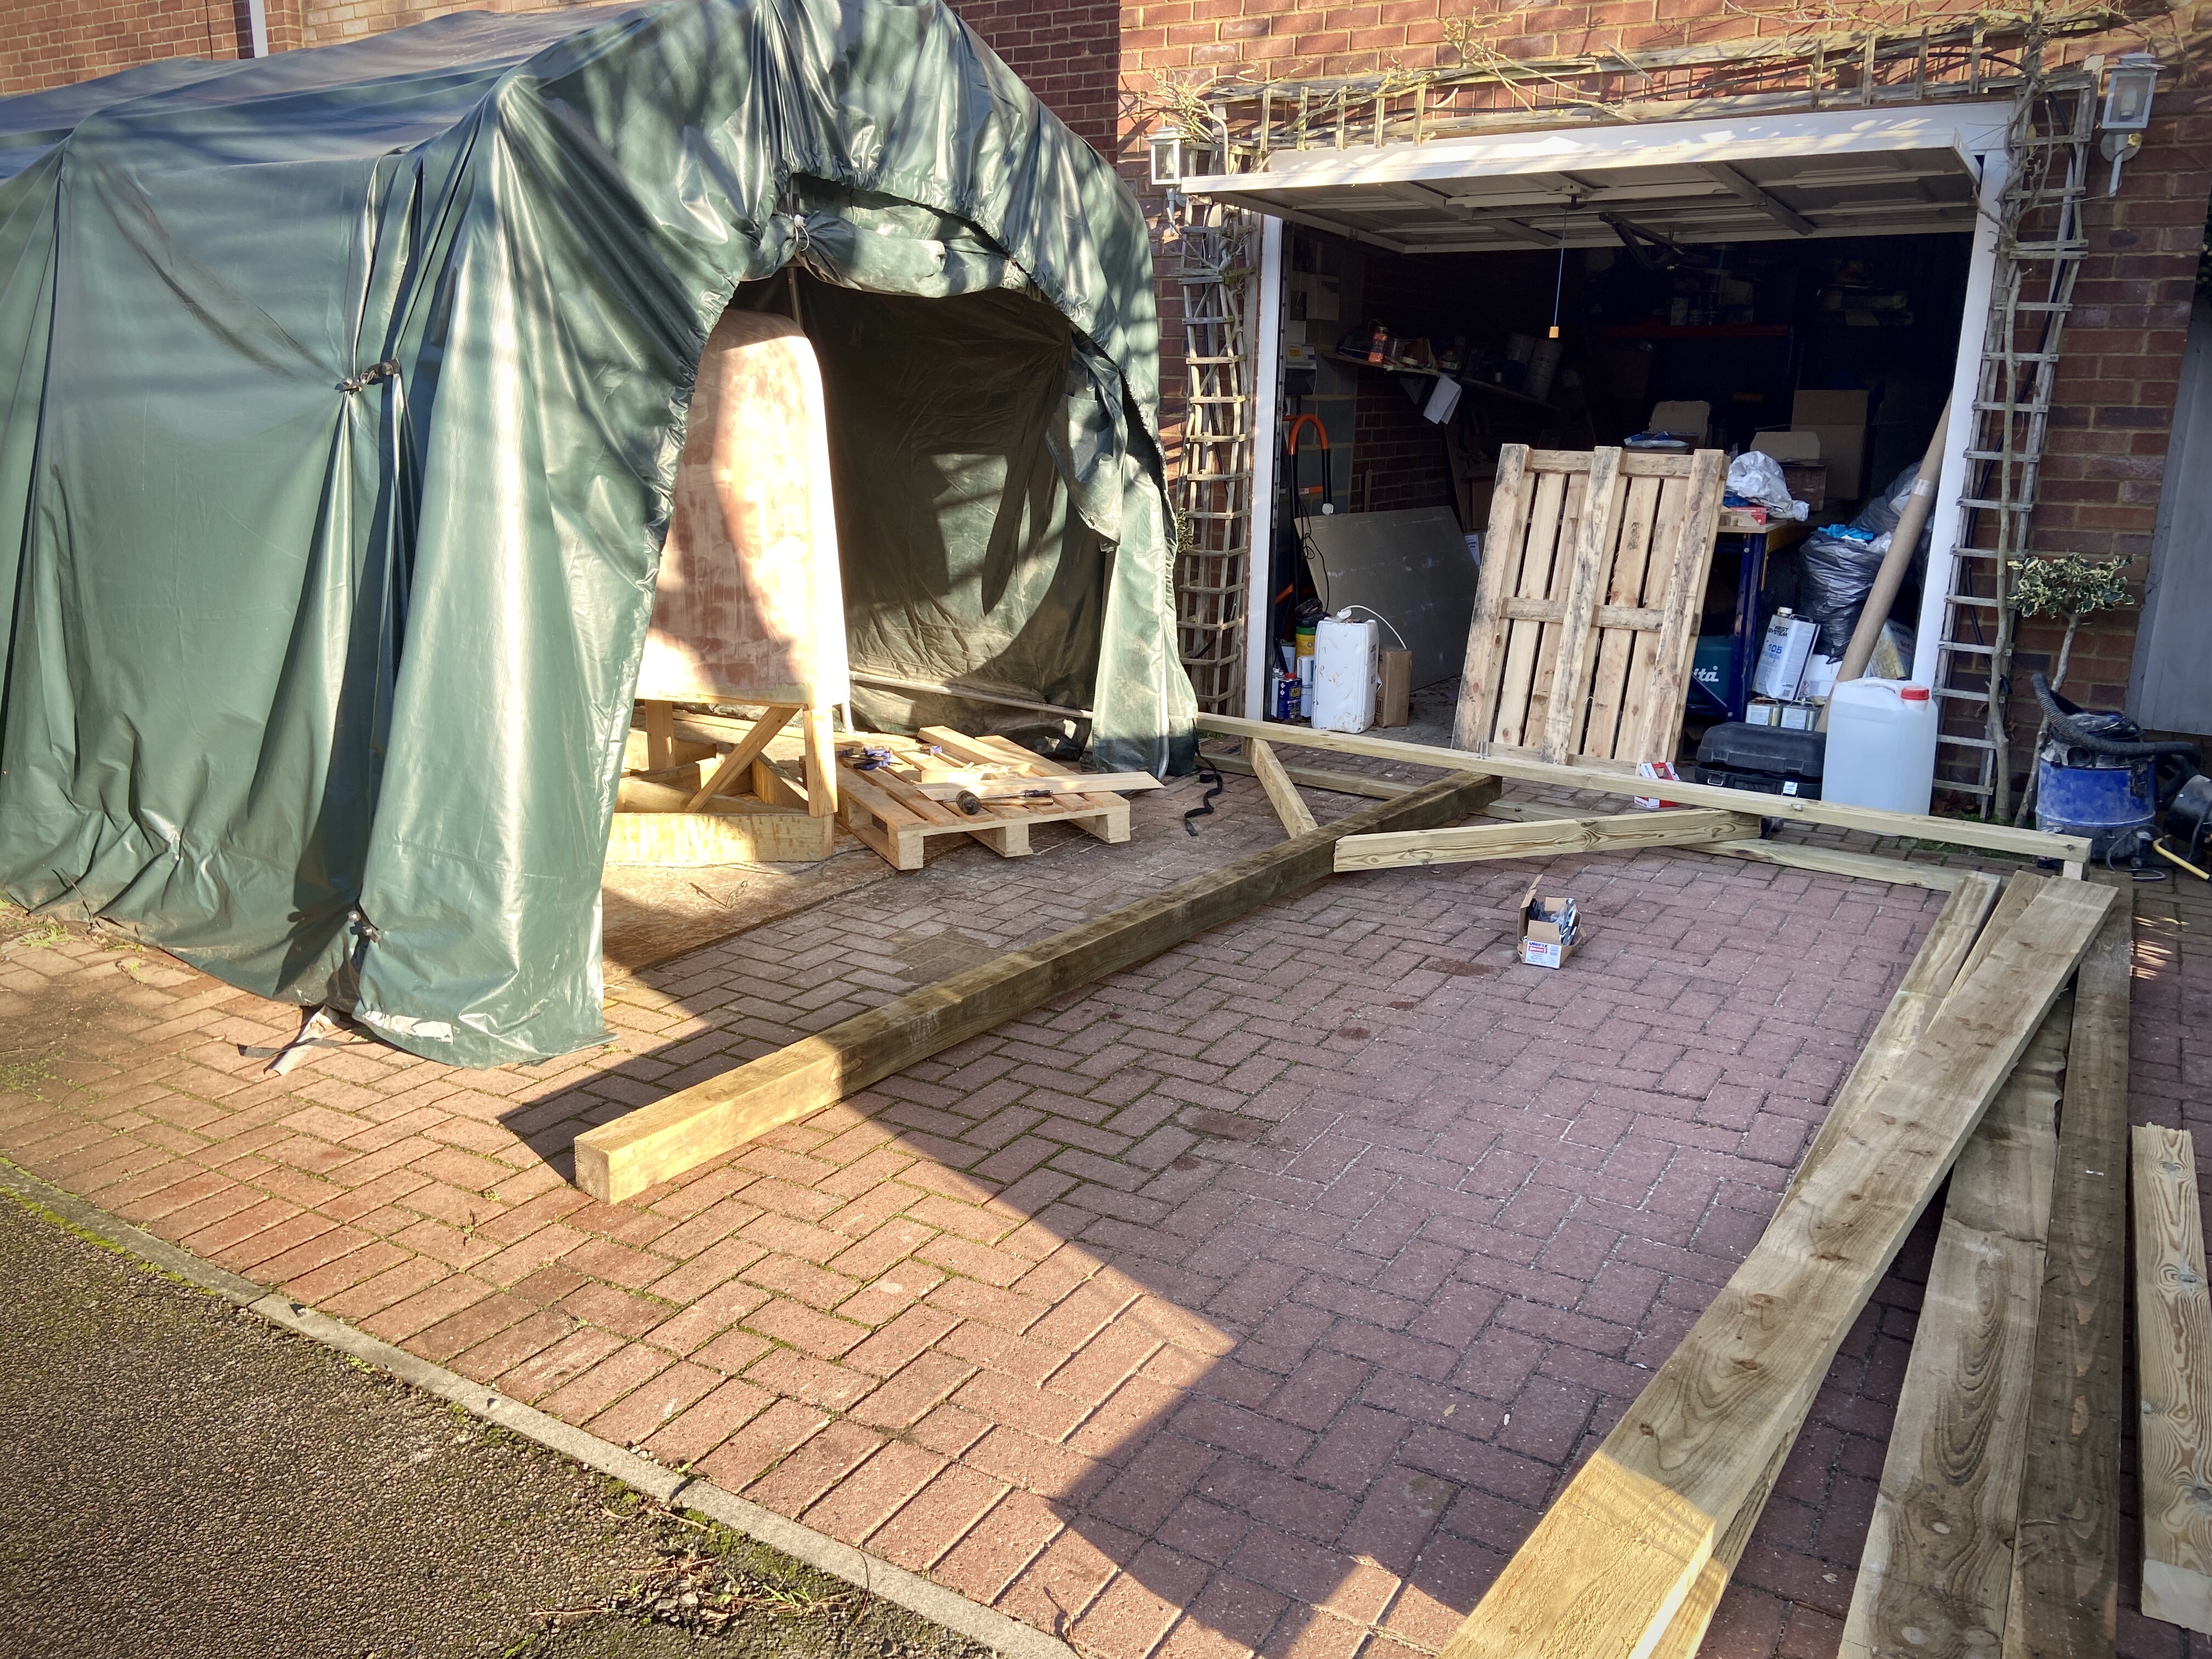
We then dismantled some of the tent where the boat has been living since August. We removed the whole of the canopy and the centre pitch poles to give us access to the centre of the boat.

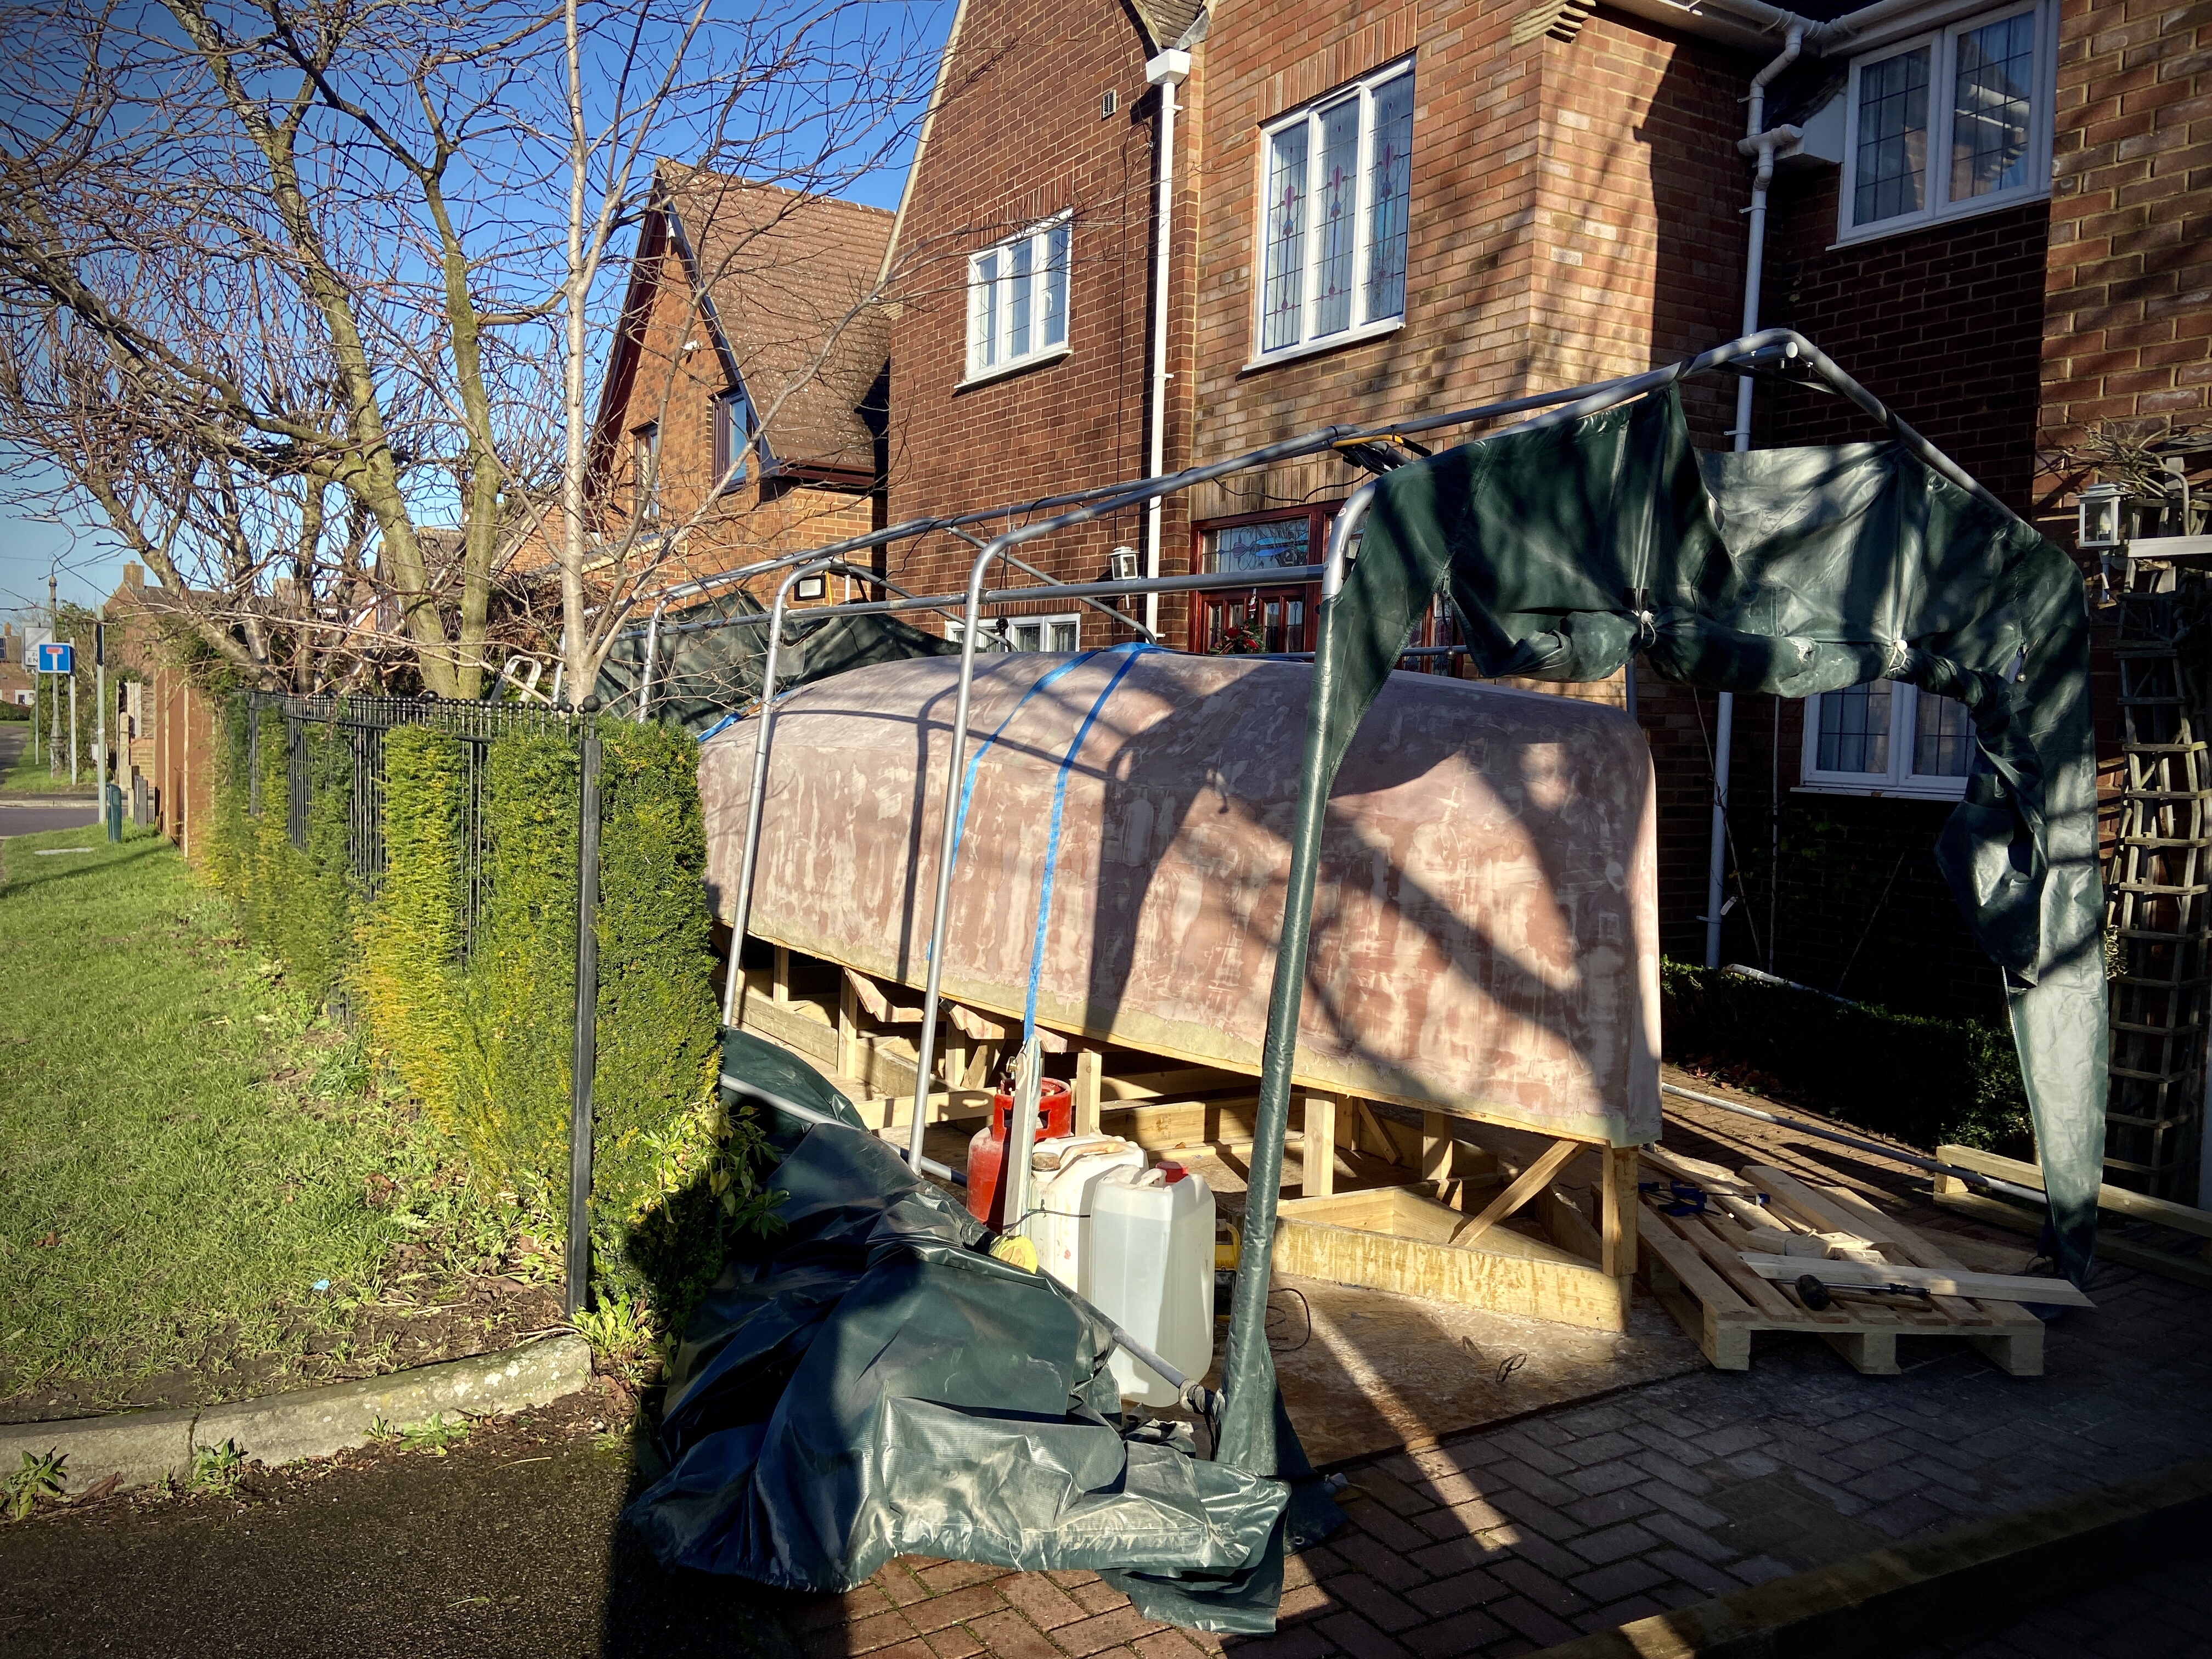
On with the scaffold construction.
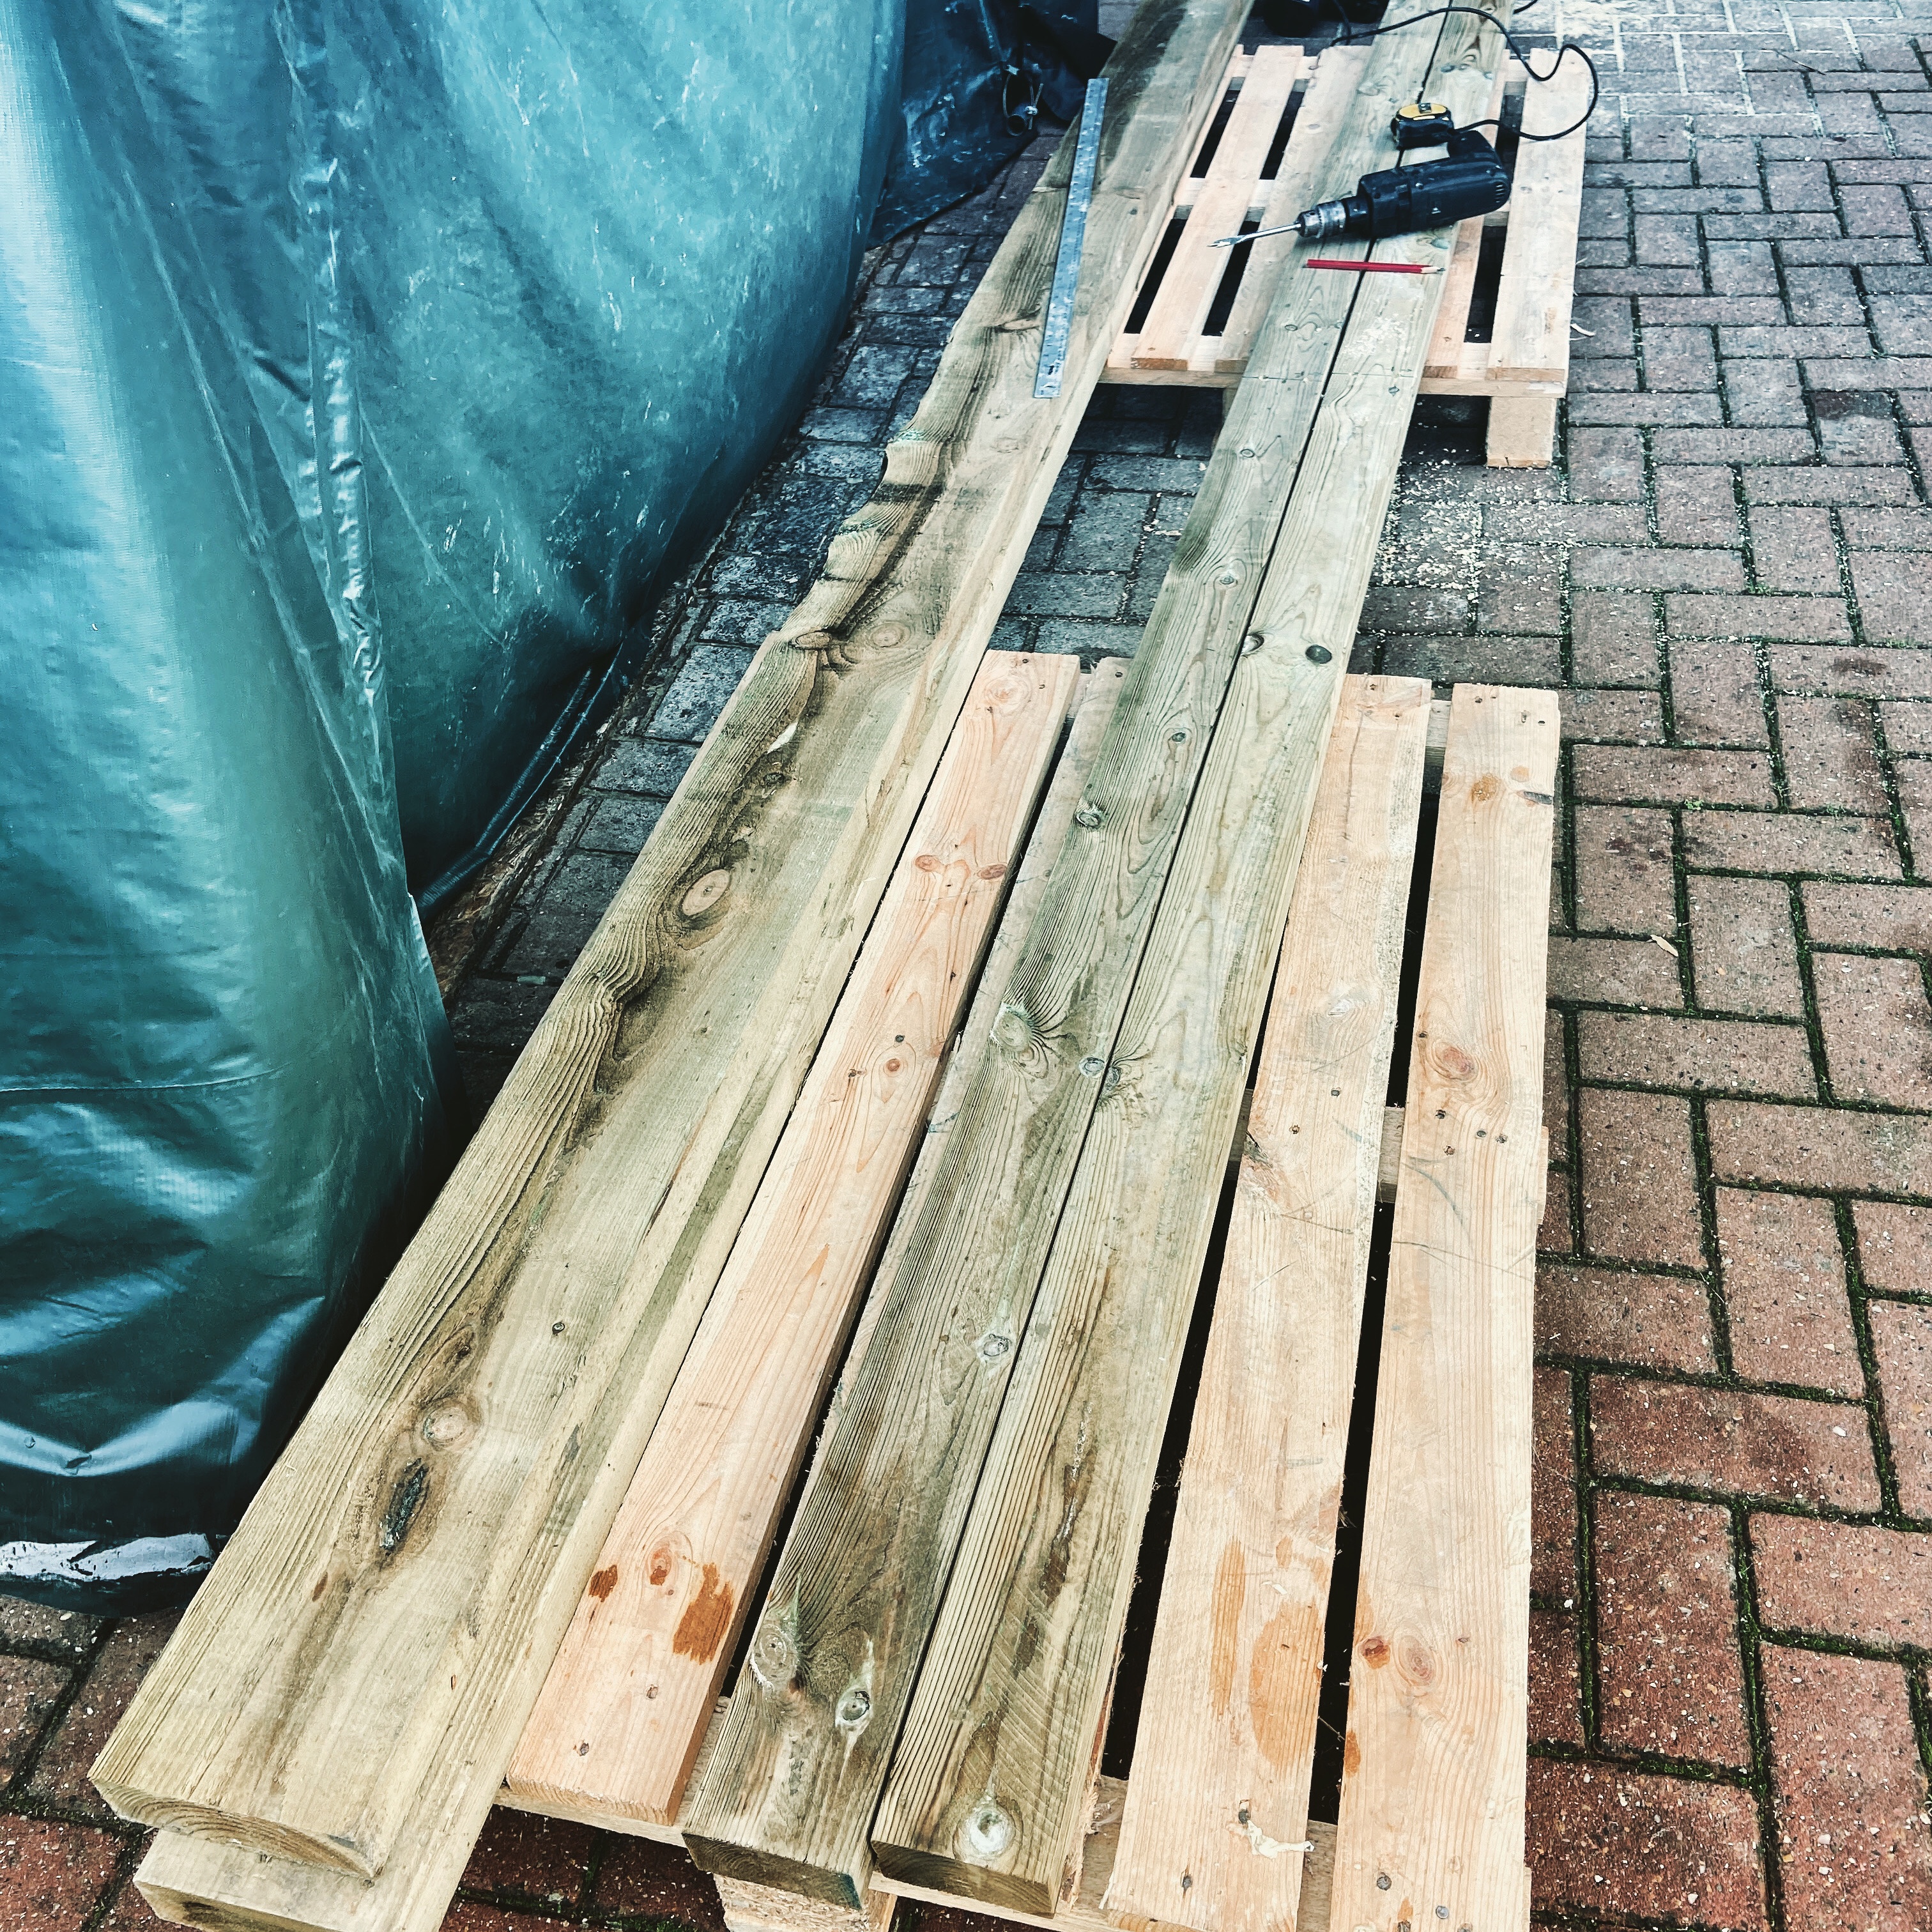
This we built from,

  • Two, 3.6m, 4’ by 4’ posts to form the uprights at each side
  • Four, 3.6m, 4’ by 2’ planks that we used to create the footings for the uprights, one bolted either side of the posts
  • Two, 3.6m, 6’ by 2’ planks that we connected either side of the uprights at at the top, for load bearing over the hull
  • Two more 3.6m, 4’ by 2’ planks were cut up and used to form bracing arms at the base of each up rights, and between the uprights and the load bearing beams.

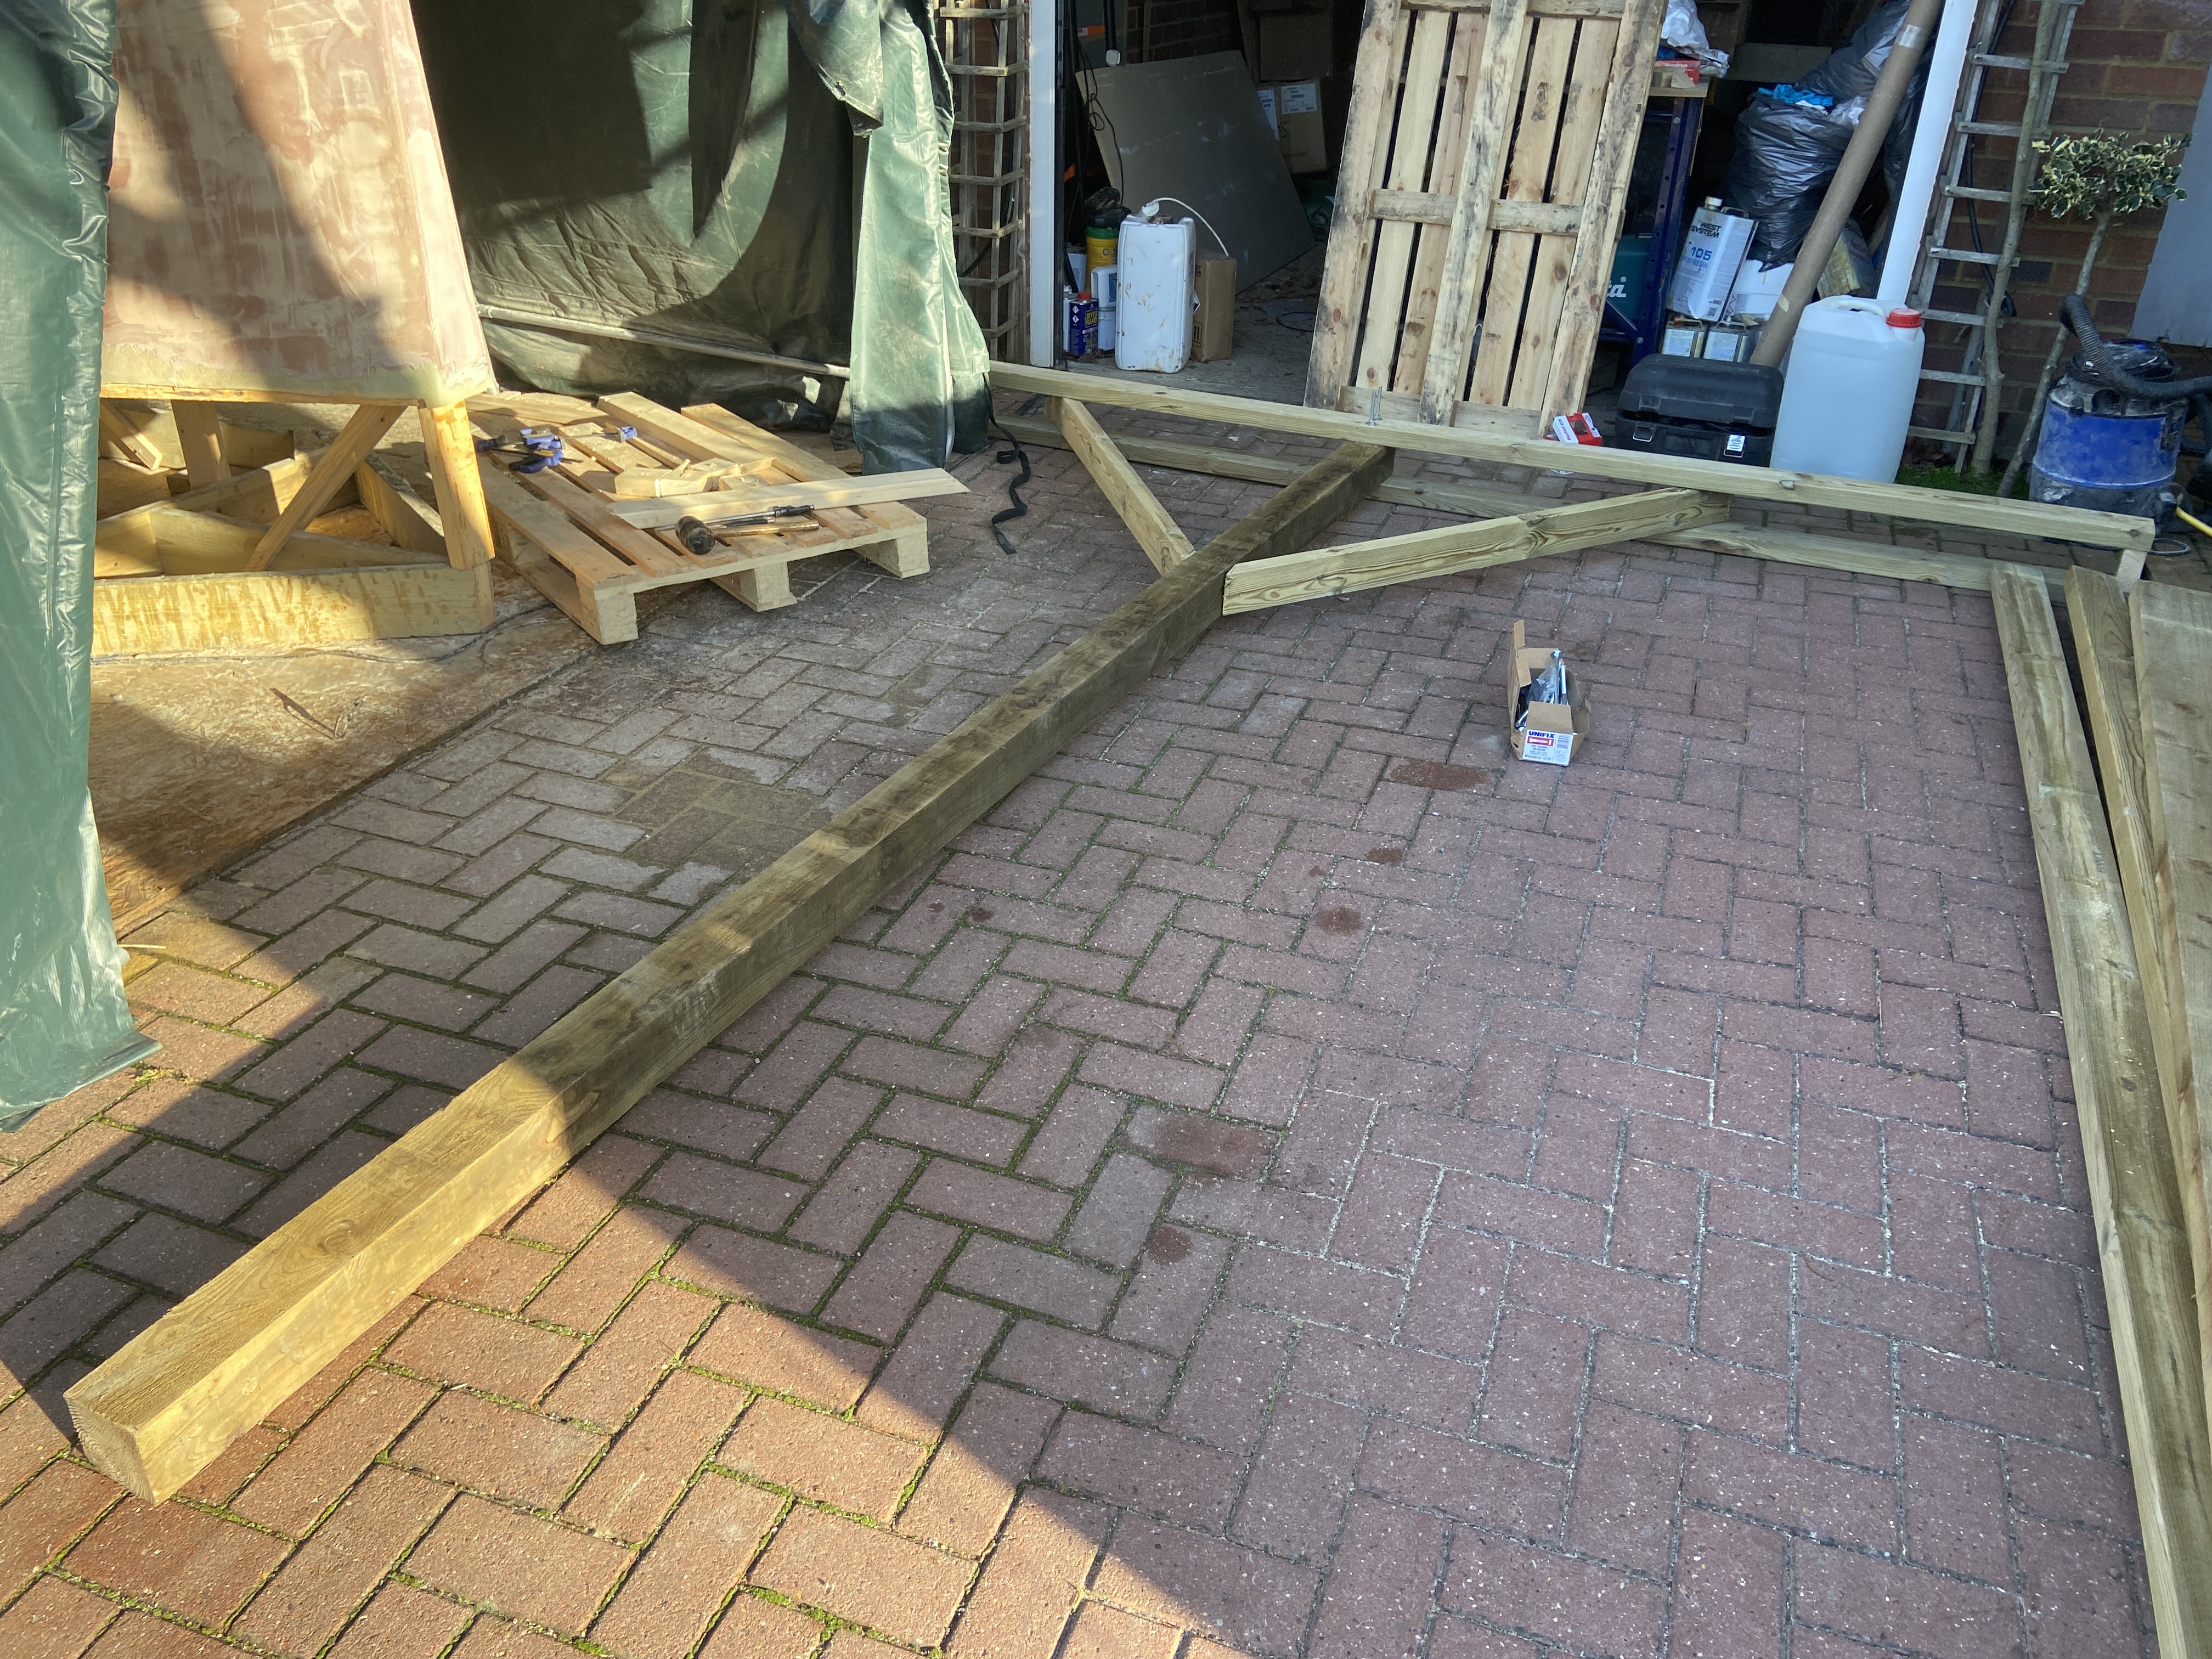
The main points of the scaffold were held together by M10 coach bolts, two at each point.

One upright was constructed on the driveway and lifted into place, whilst the second was constructed within the frame of the tent, having pre-drilled the holes for the coach bolts. Lifting and bolting on the load bearing timber beams was interesting at 3.6m above the ground. The boat hull was a convenient platform to stand on. There was an ongoing discussion with the Mrs about whether protecting the house windows or the boat hull was a higher priority if we dropped anything.

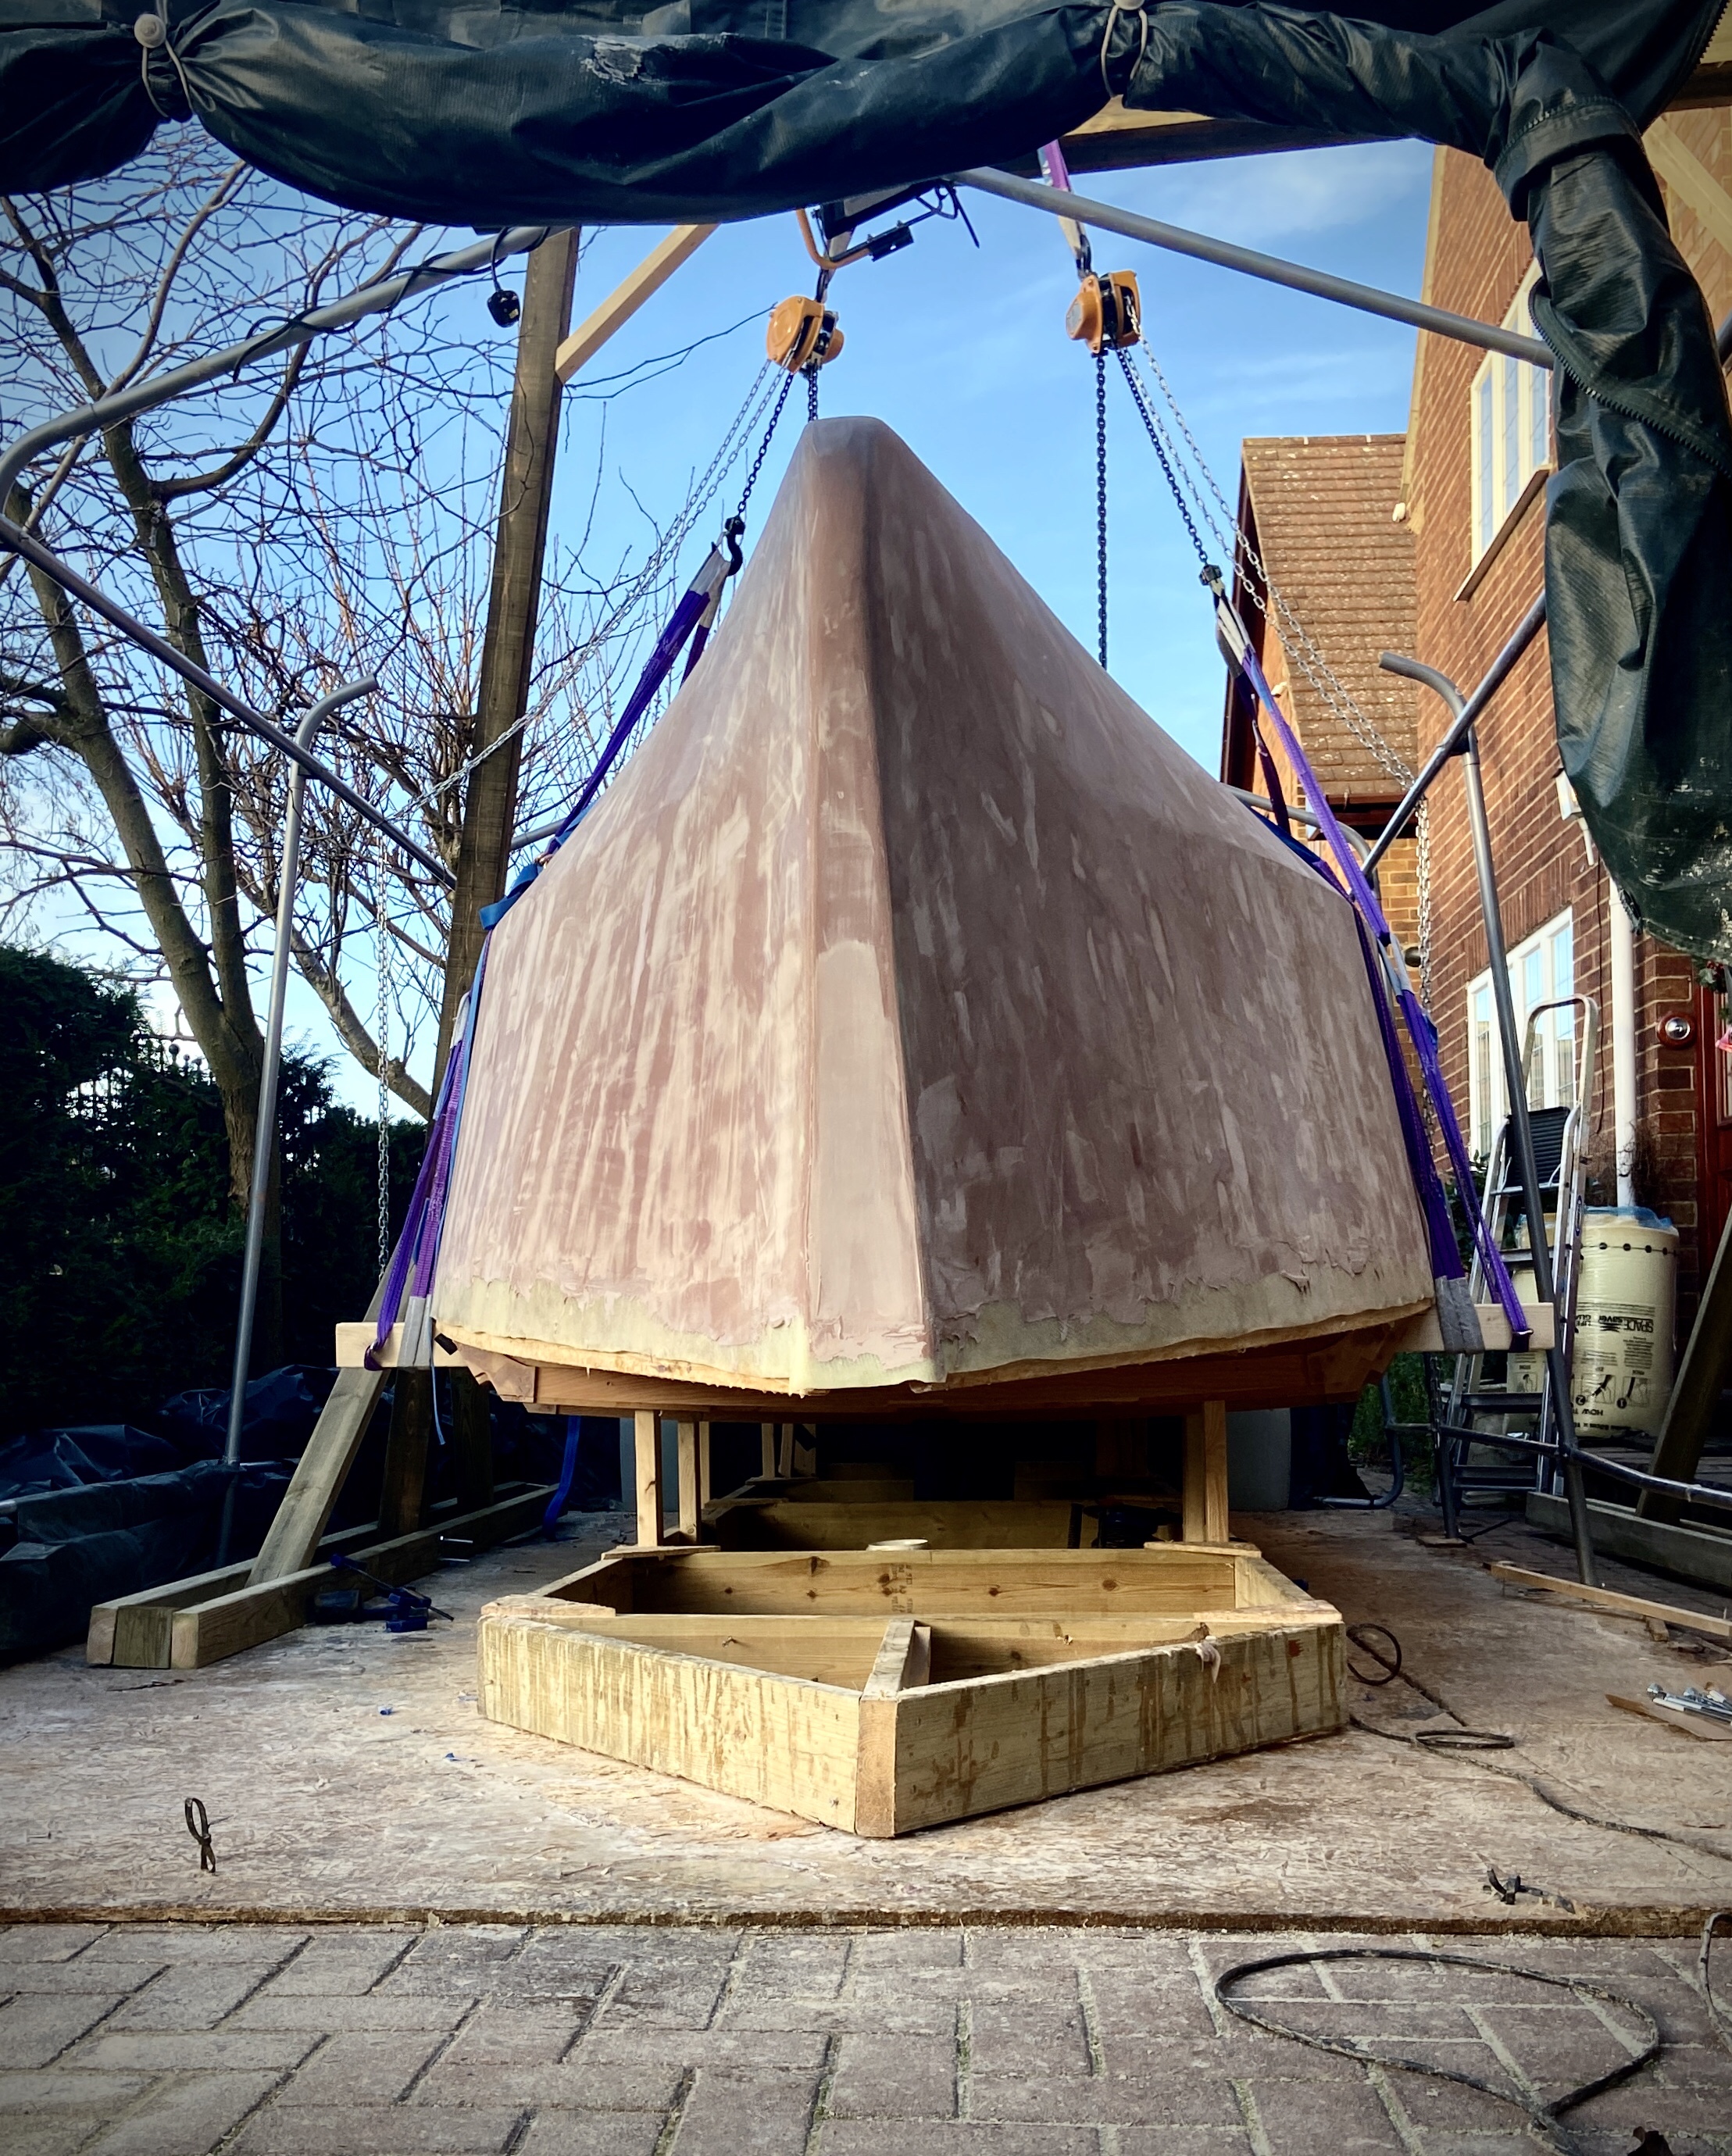
We hung two chain blocks off the load bearing beams using a 1m lifting strop for each. All the strops and chain blocks we used were rated at 1 tonne. Both blocks were placed somewhere near the centre of the beams. We connected the chain blocks to each of the planks we had ratcheted to the hull with 2m long, 1 tonne lifting strops. Each chain block controlling a side of the hull via two lifting strops.

Then came the confidence check. Would the scaffold take the weight. We decided to tension her up a bit by taking up the strain gently, but before we knew it we had lifted the boat and it’s jig completely off the ground! Oops. But at least it worked.

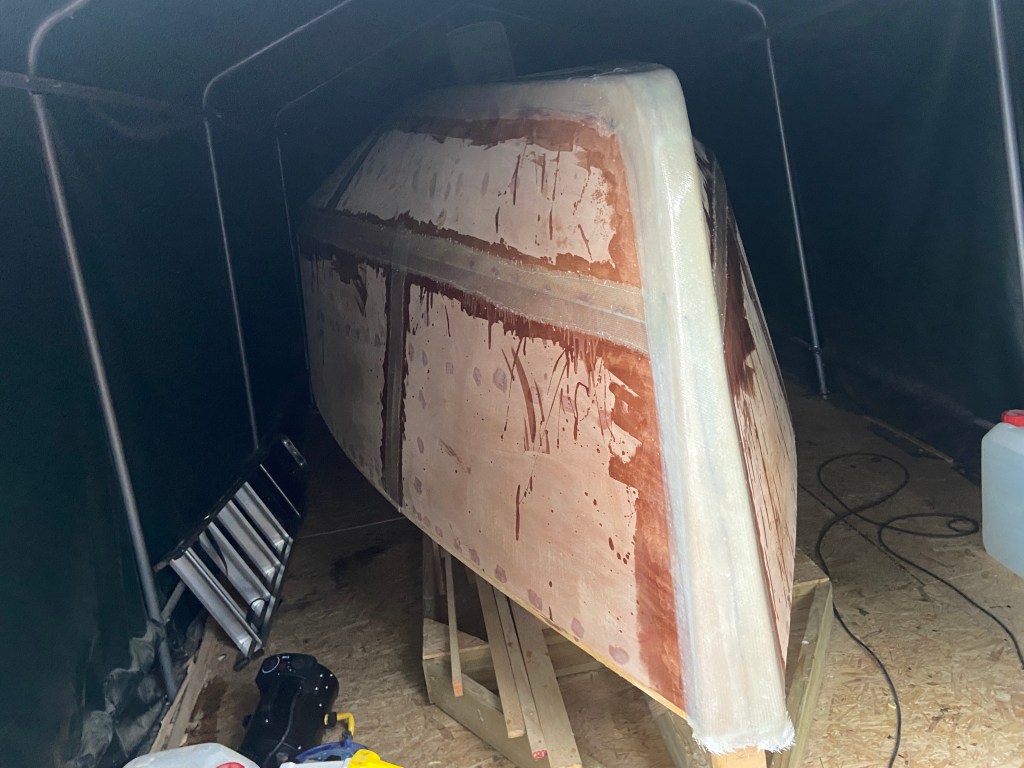
Then the next confidence test. Removing the jig. It was almost with mixed emotions I set about dismantling the jig that we had lovingly built, and which has held our boat safely since the summer. But needs must. As I removed the last screw she rocked free, and gently swayed to the side, she’s as ready to move on as we are I guess.

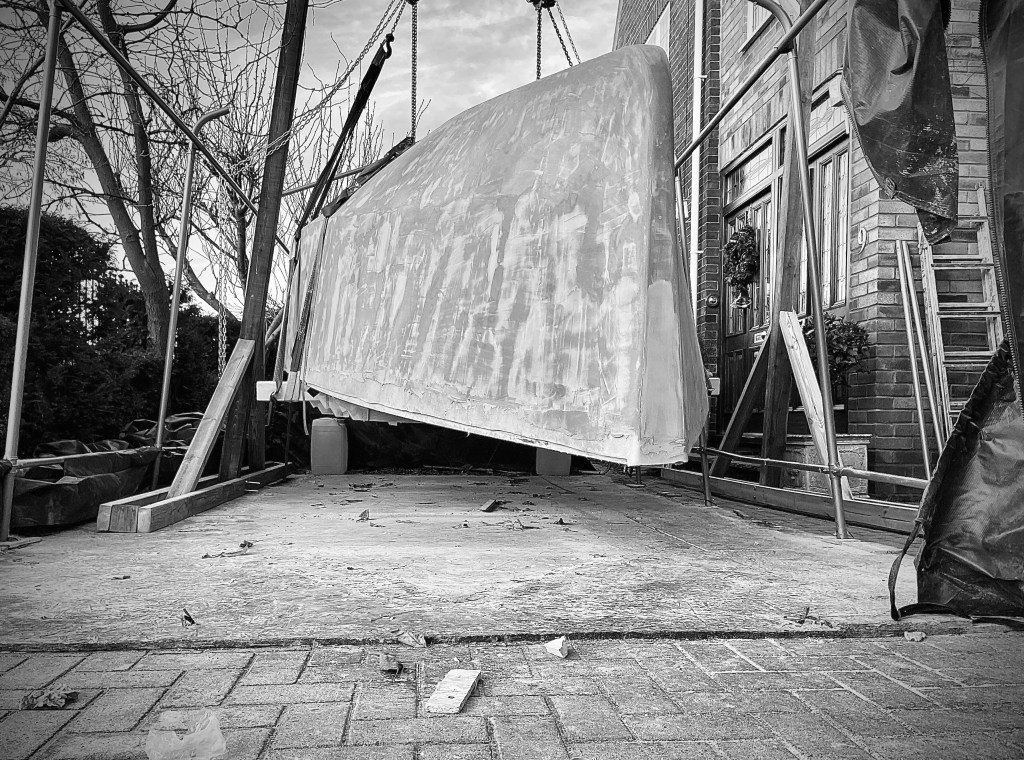
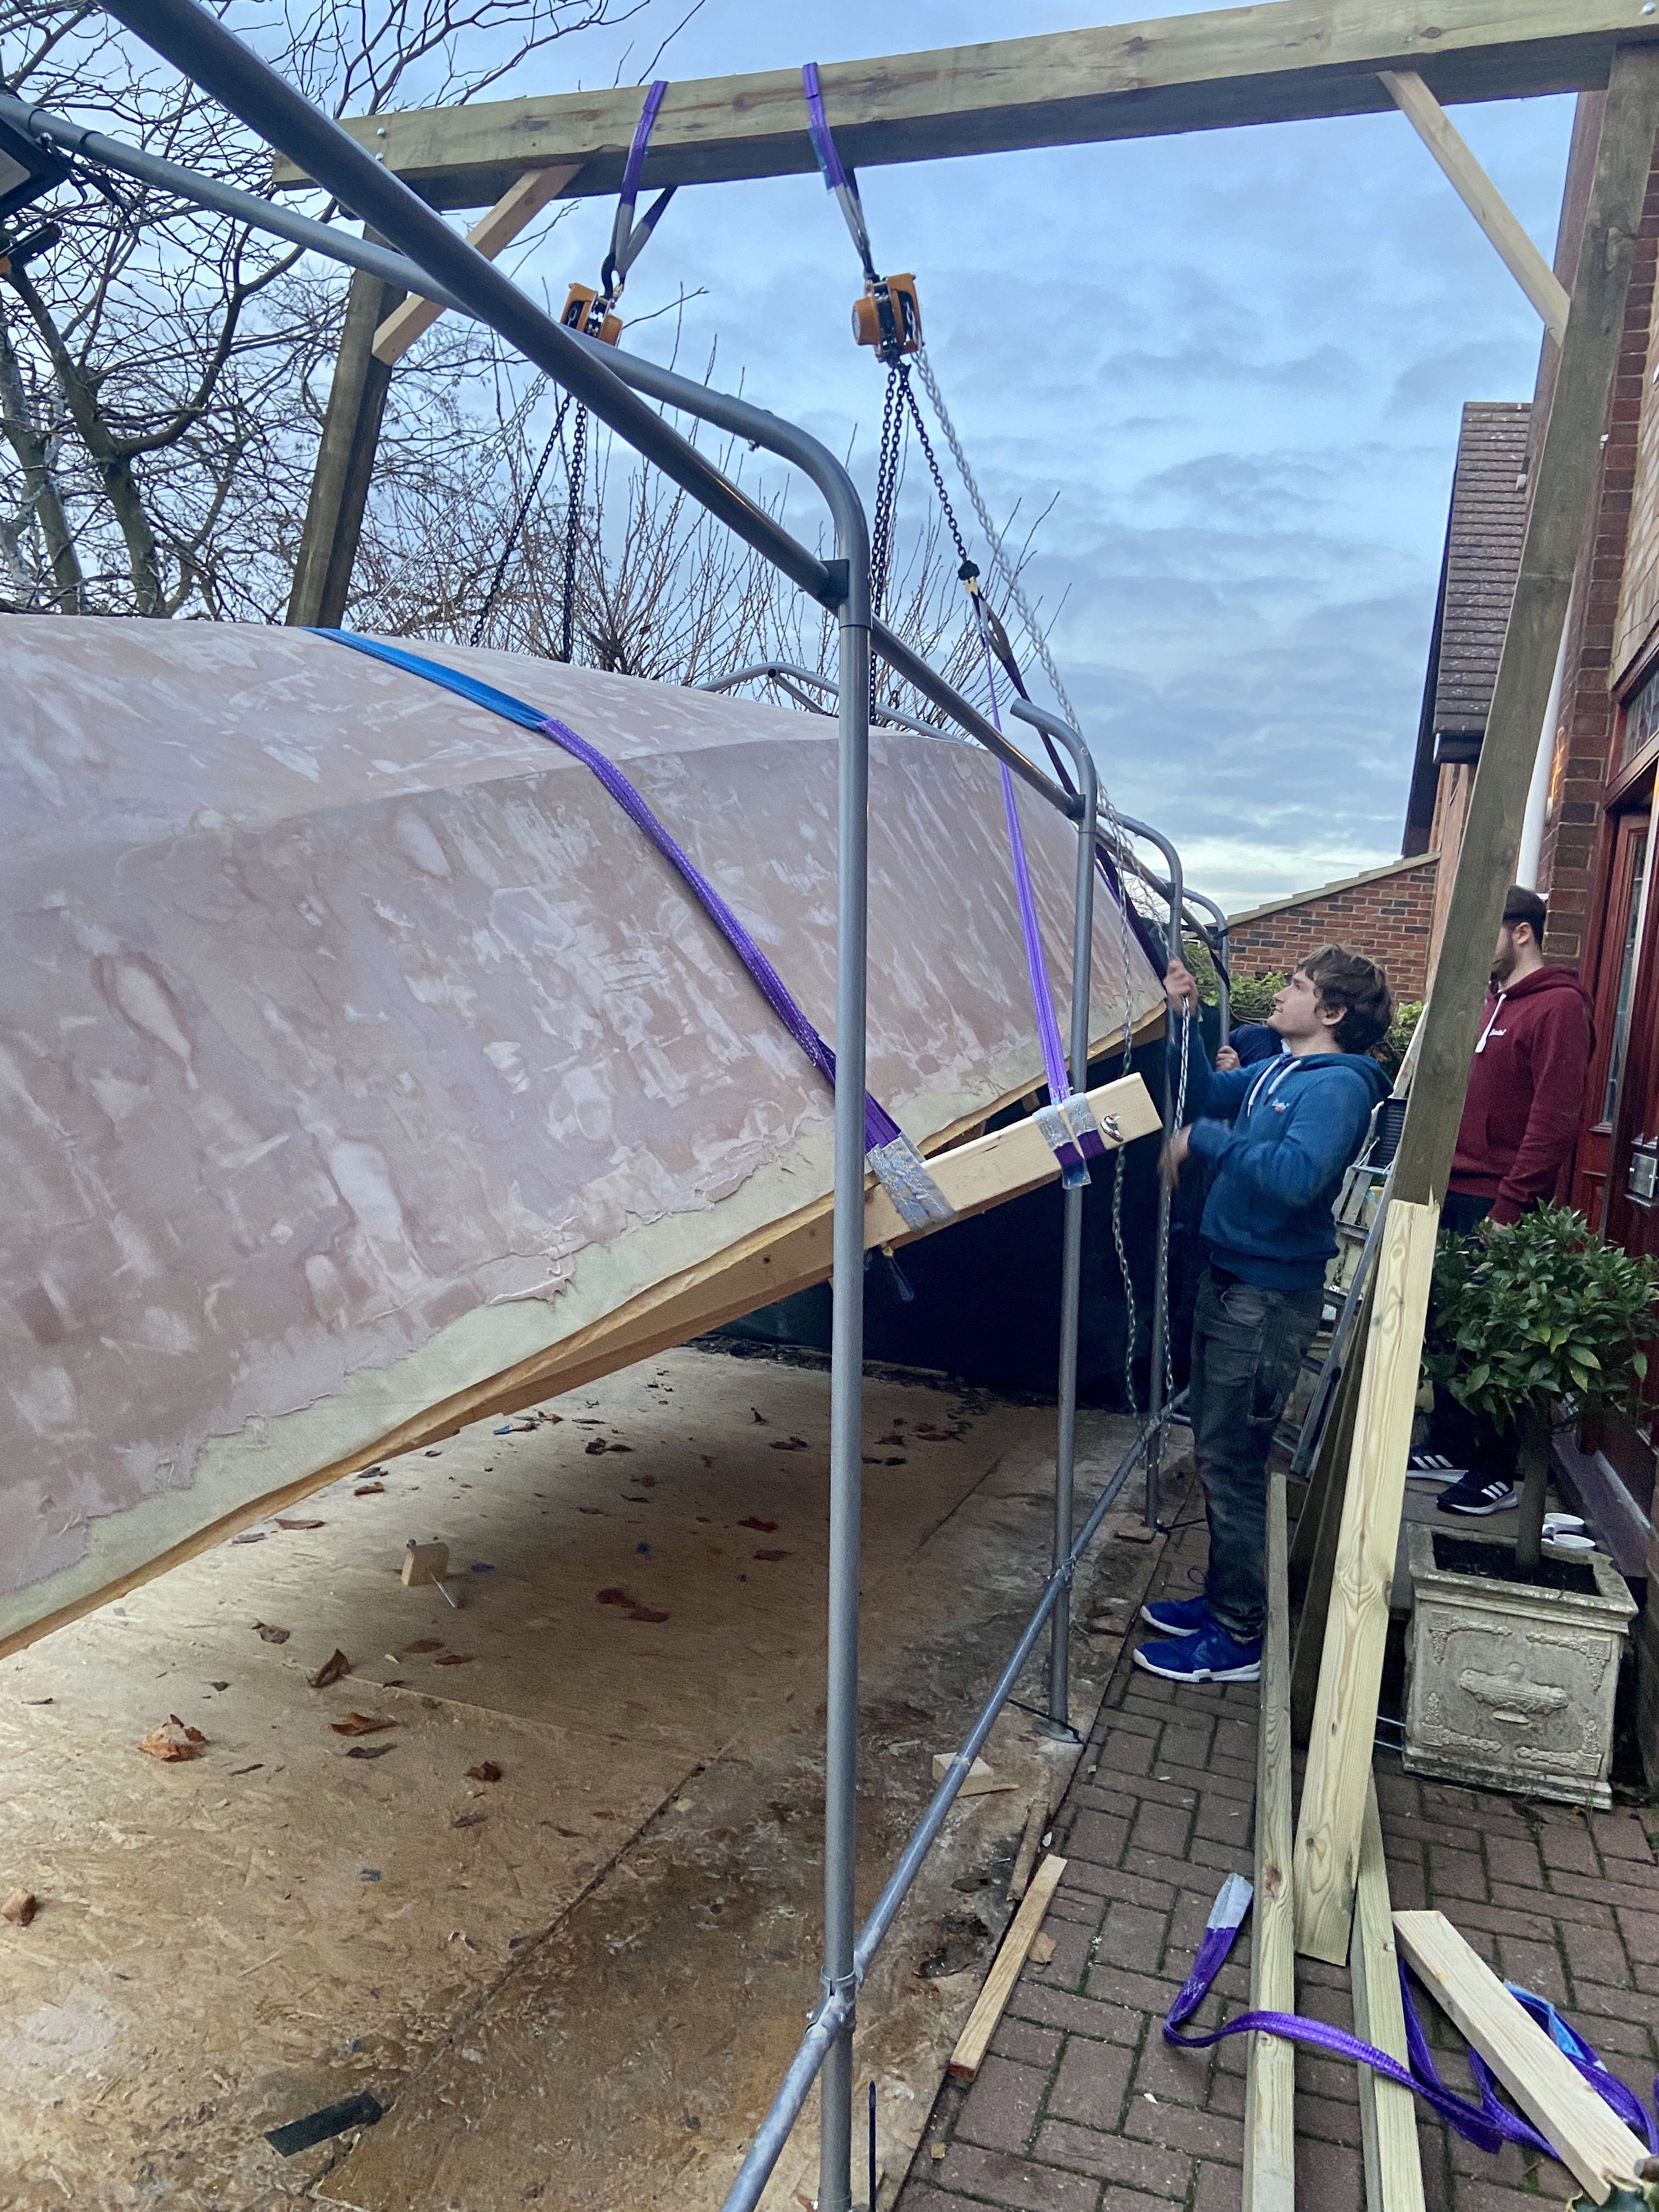
The plan was simple, raise one side as high as possible, whilst lowering the other side until the boat was effectively hanging on her side from the chain blocks. All was going well, until the chain block reached its maximum height, but the planks we had ratcheted to the hull were still dragging on the floor to one side. She wasn’t going to swing free freely. However with the majority of the weight taken up we could manhandle her through the last bit with a couple of us lifting and a couple more pulling on strops we attached to the bottom ratchet planks. A couple of grunts and groans, and pleads of “go for it, pull” and she was through.

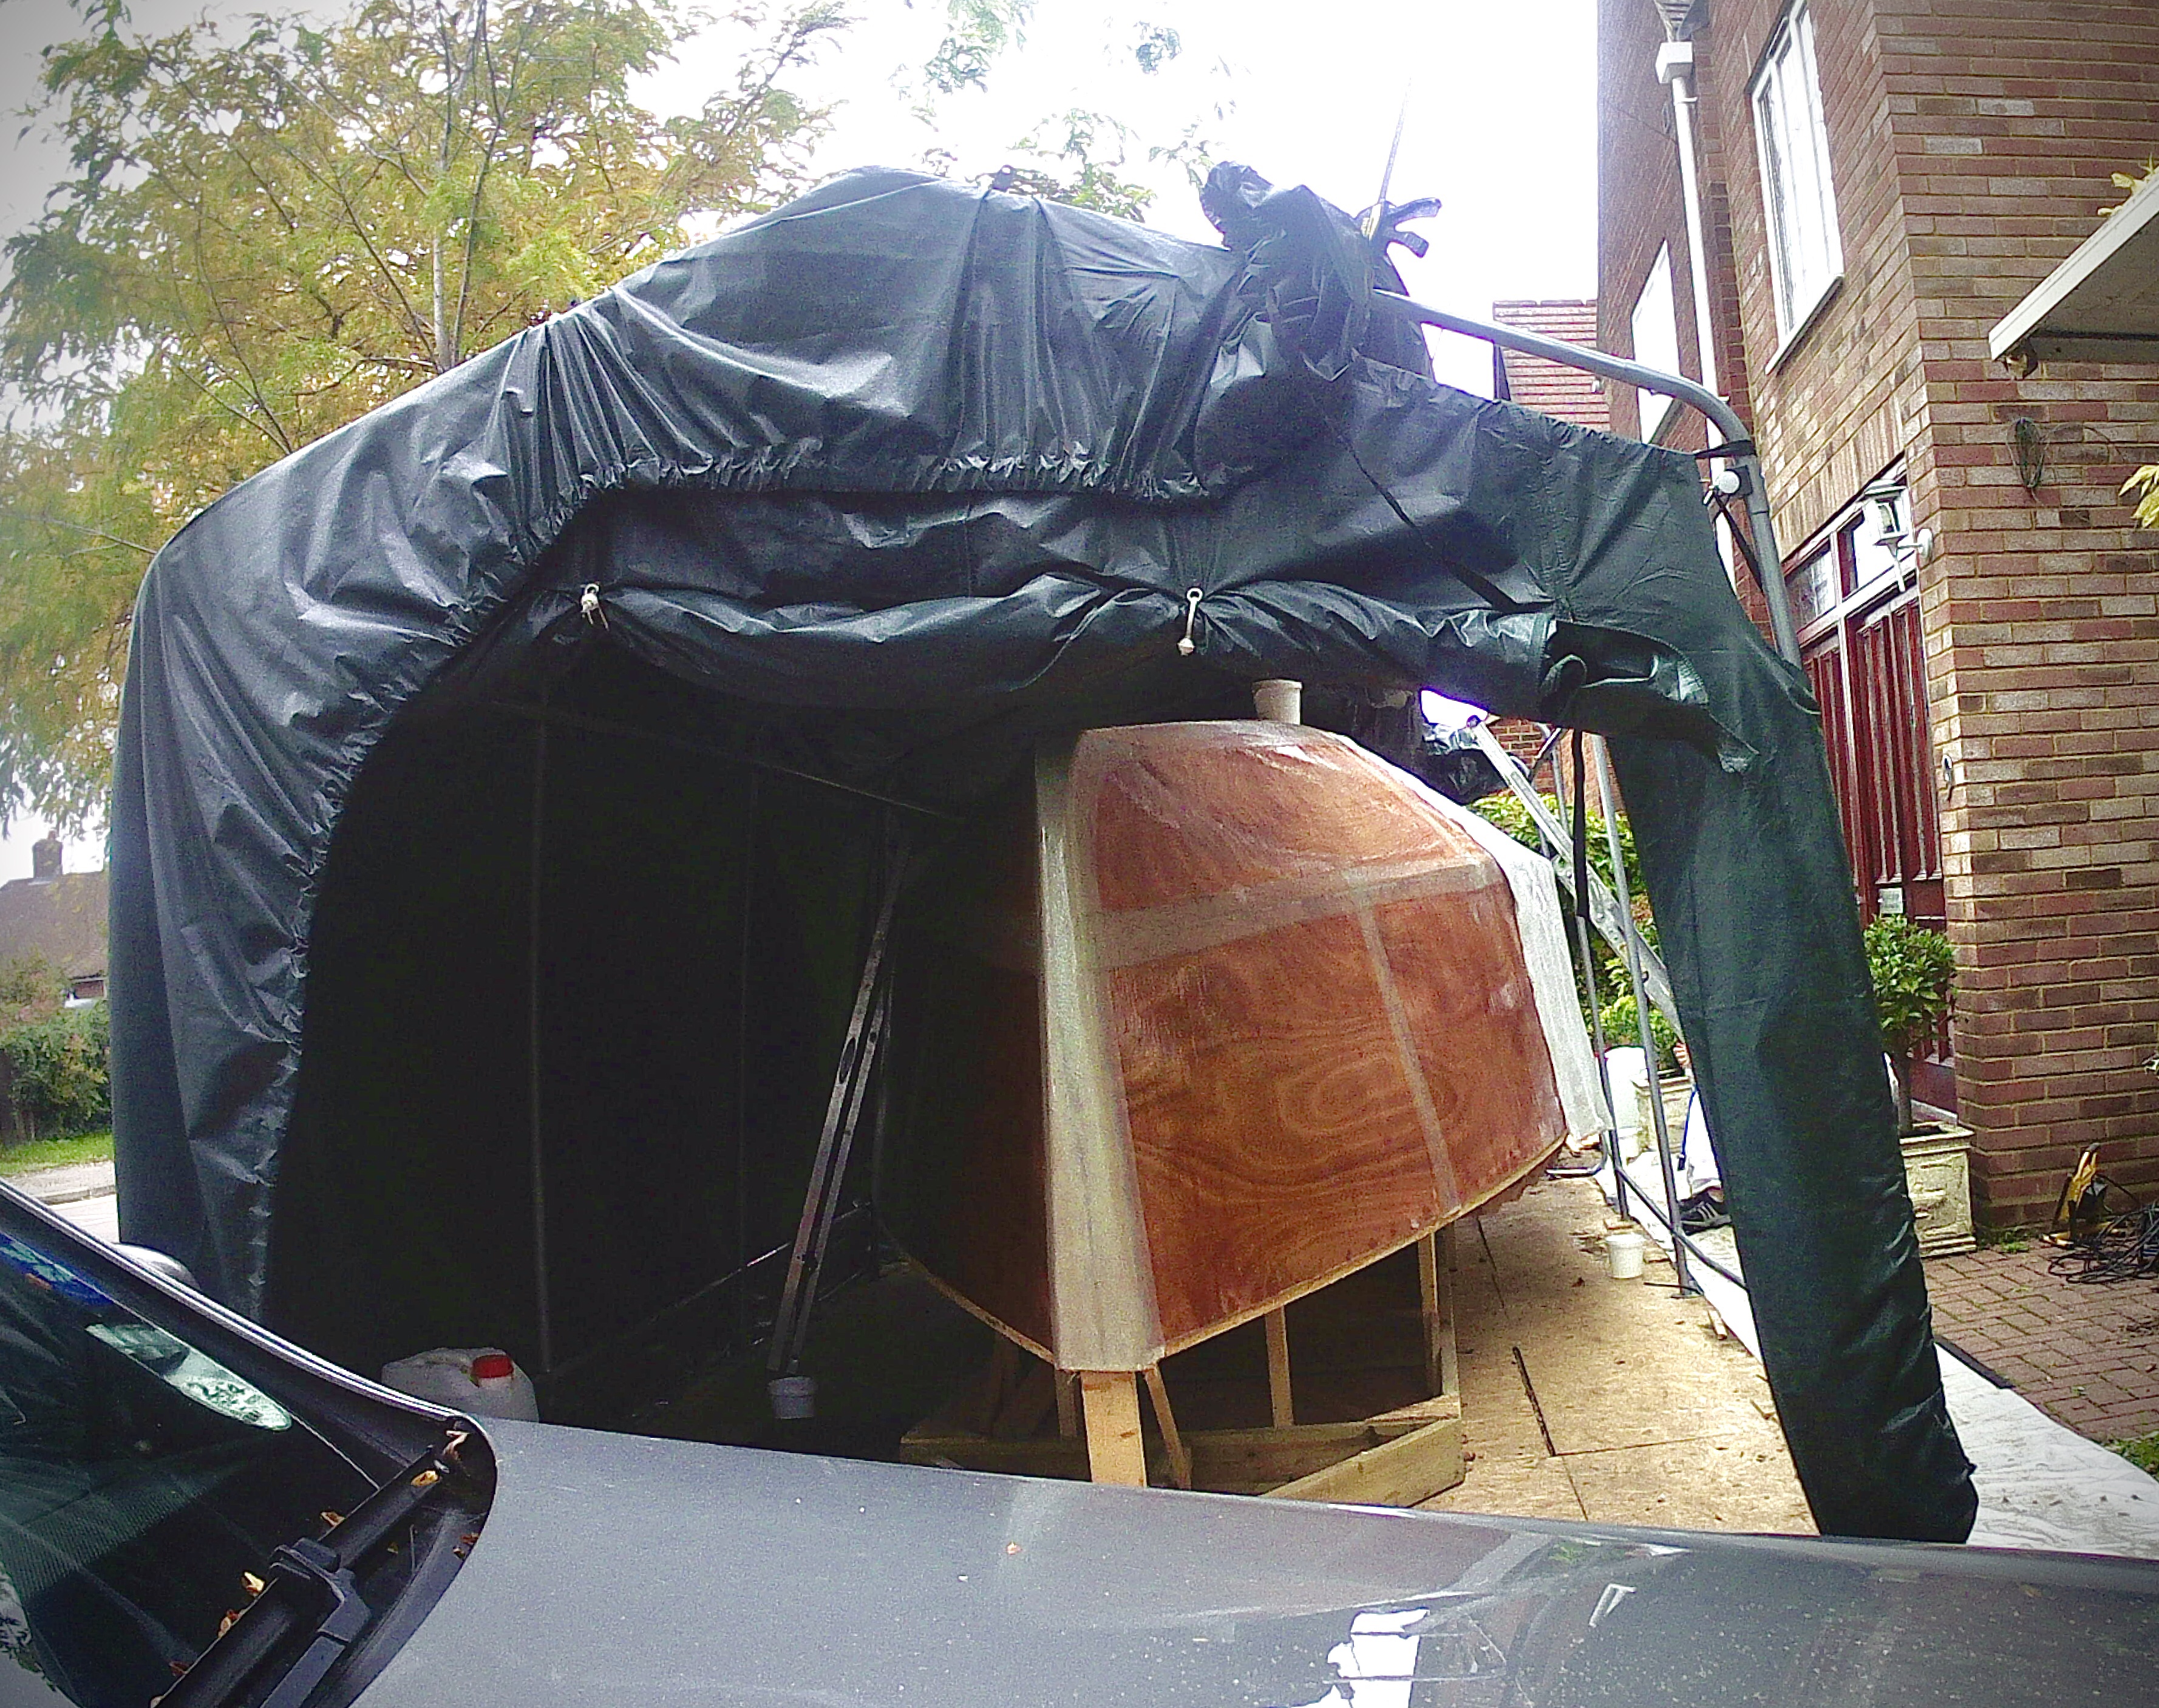
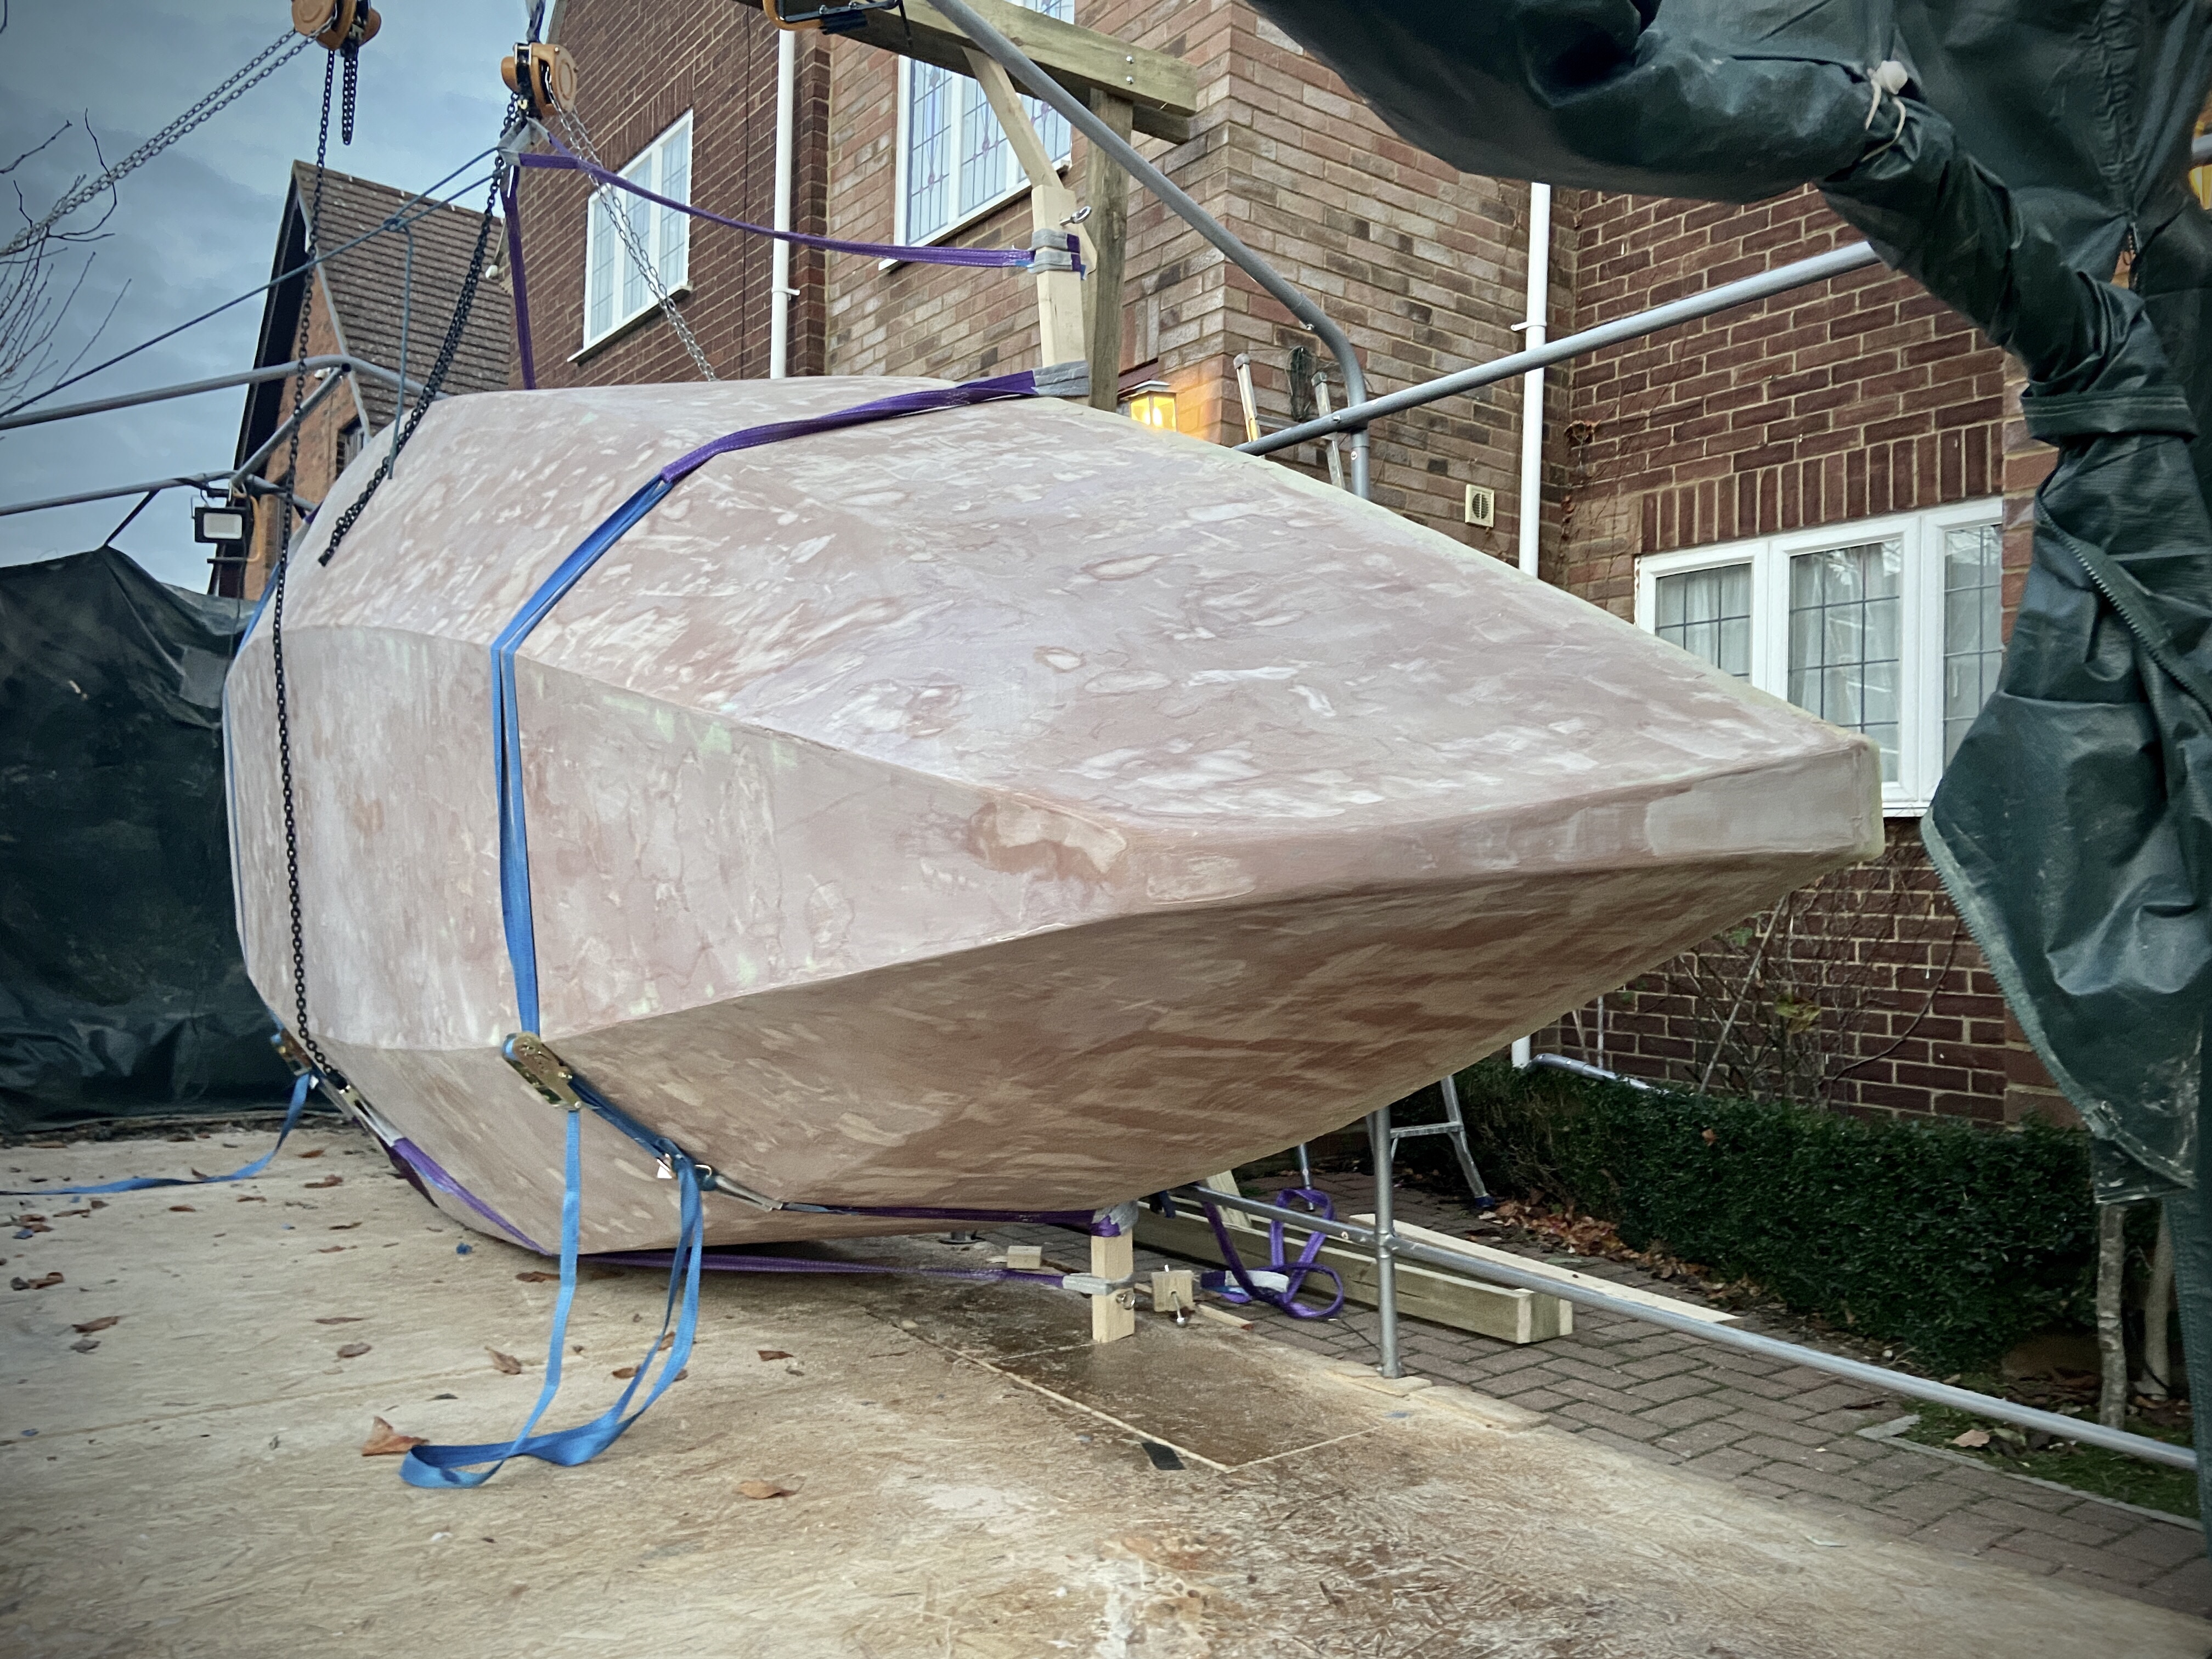
But then the lifting gear is connected to the wrong side of the boat to complete the lift, and bring her right side up. So we landed her on her side. Removed the lower lifting strops, and brought them under boat and back over the hull to the same chain block. Then by coordinating lowering and raising accordingly she was upright. We had an upside, right side up boat!!

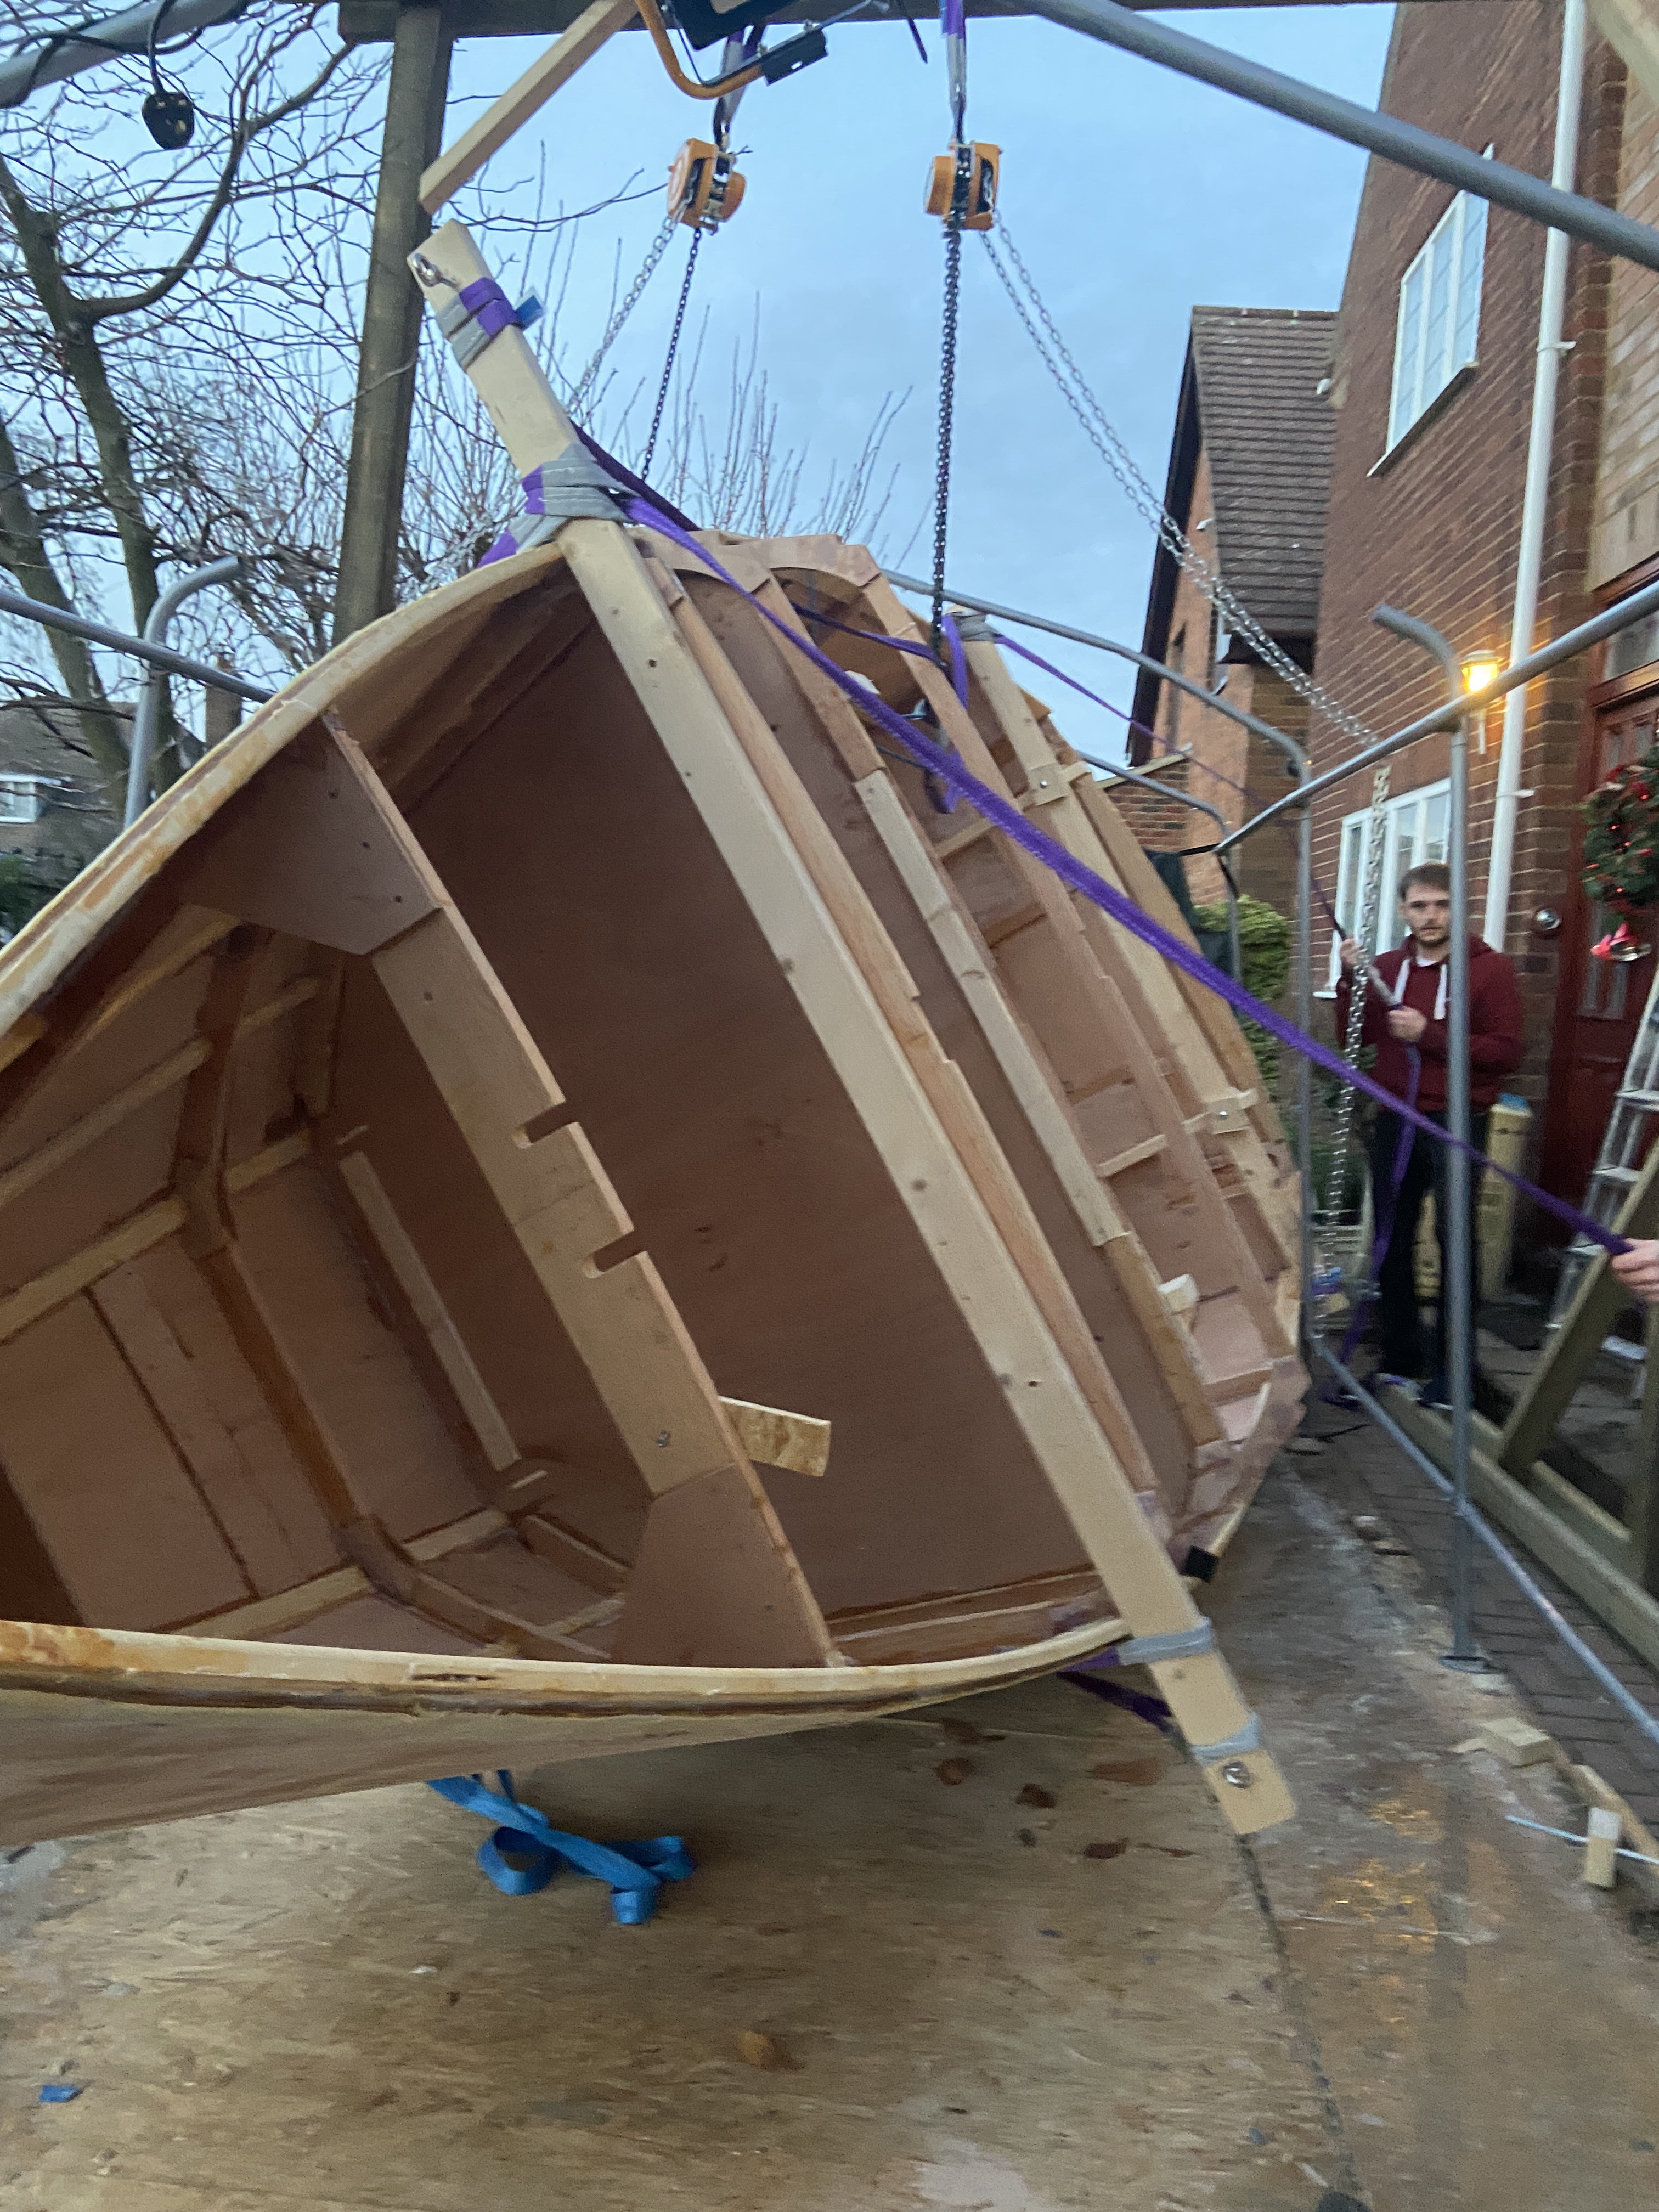
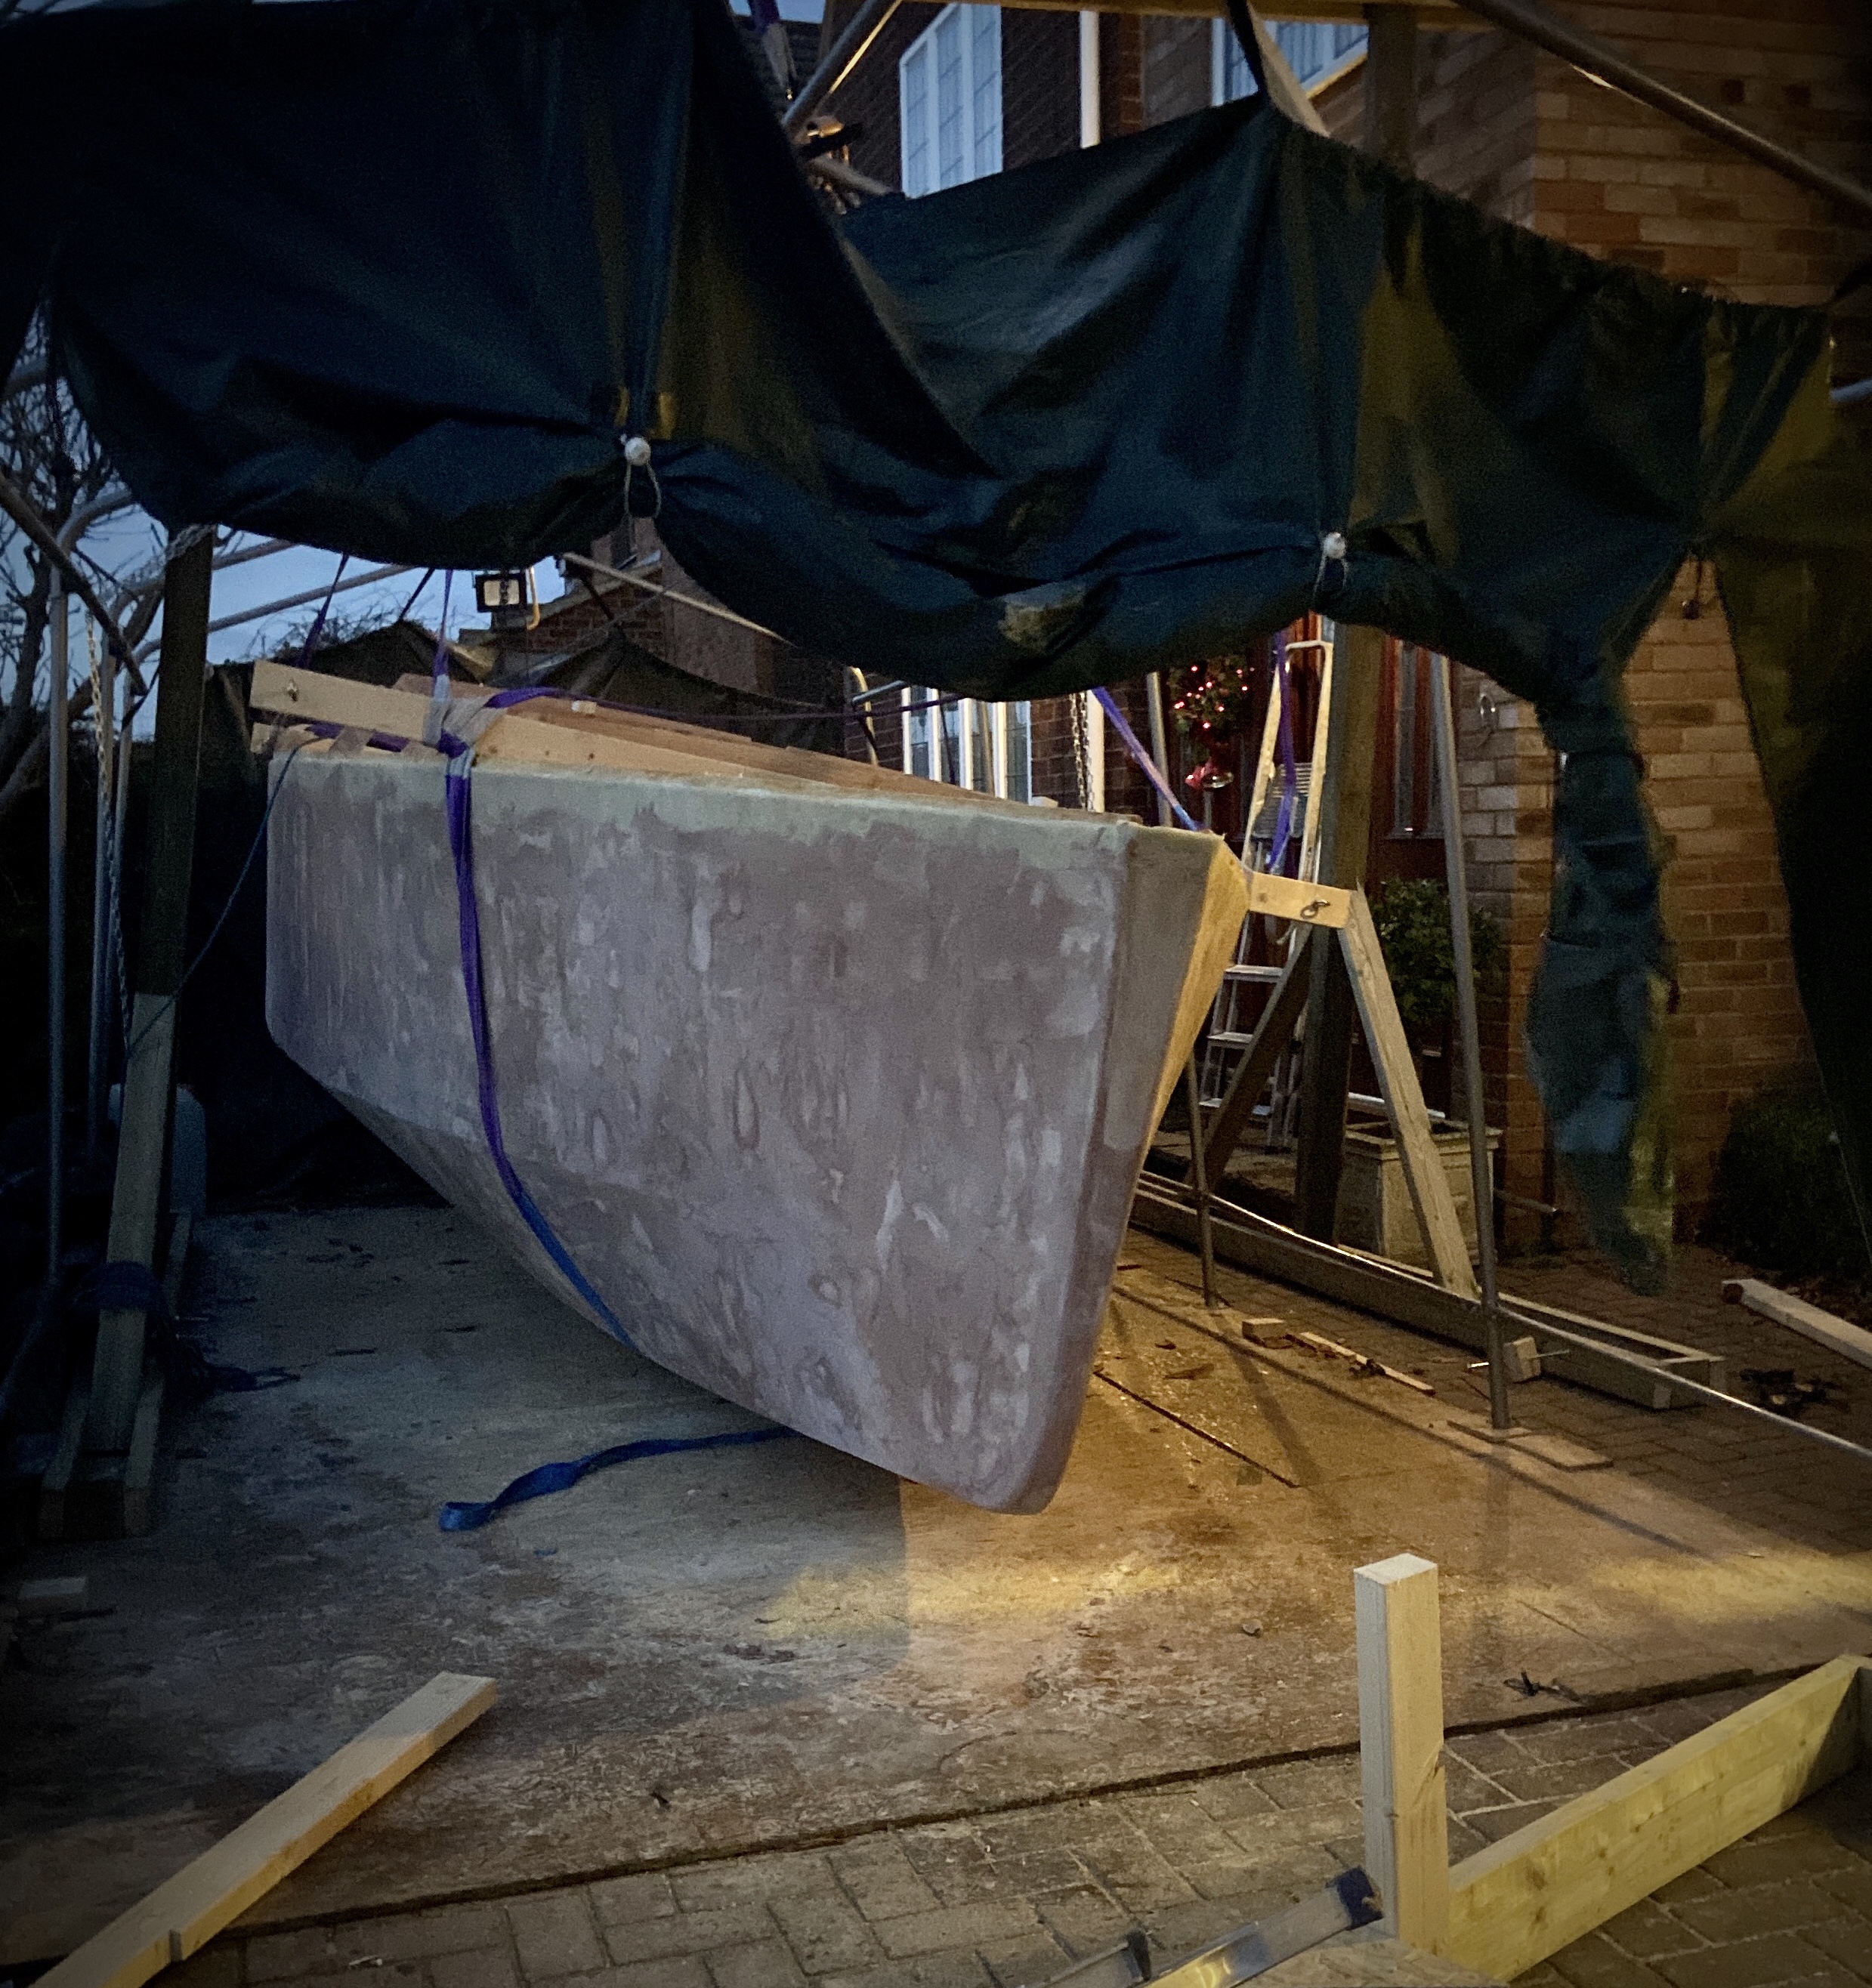
We then lost the light and decided not to progress on in darkness. So we landed her on the floor of the tent and covered her with the canopy in case it rained overnight. A good day.

Day 2

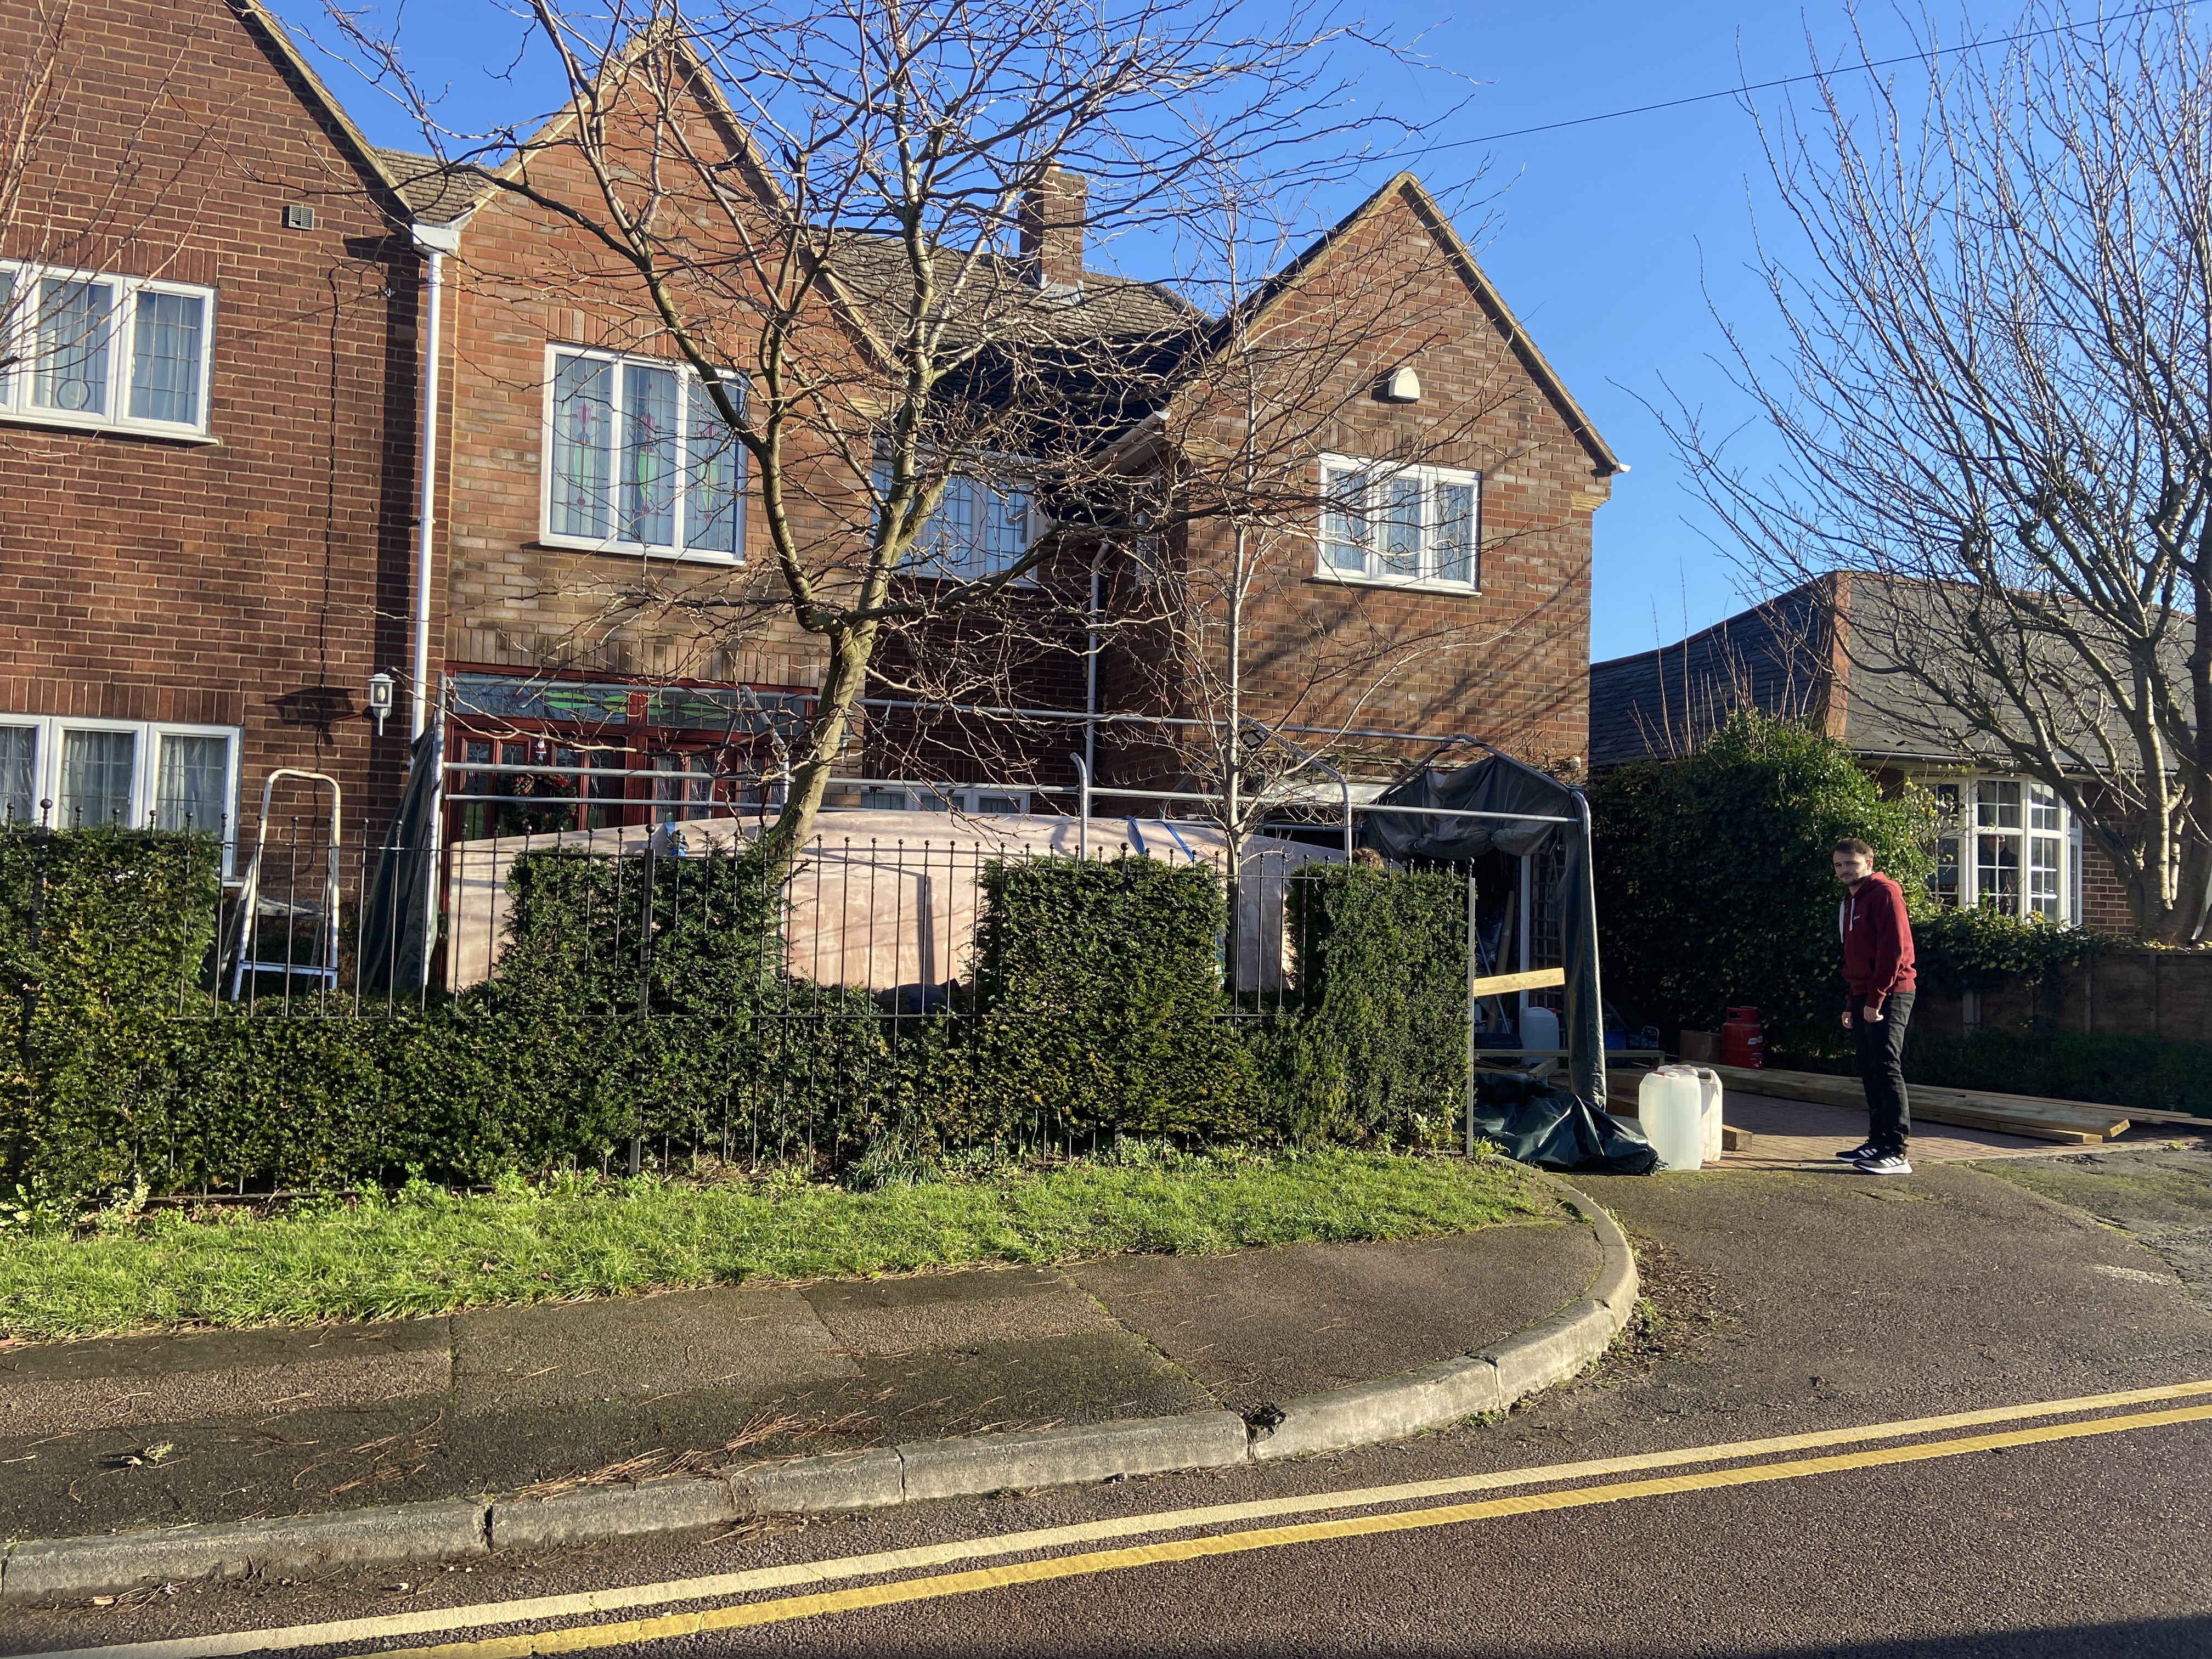
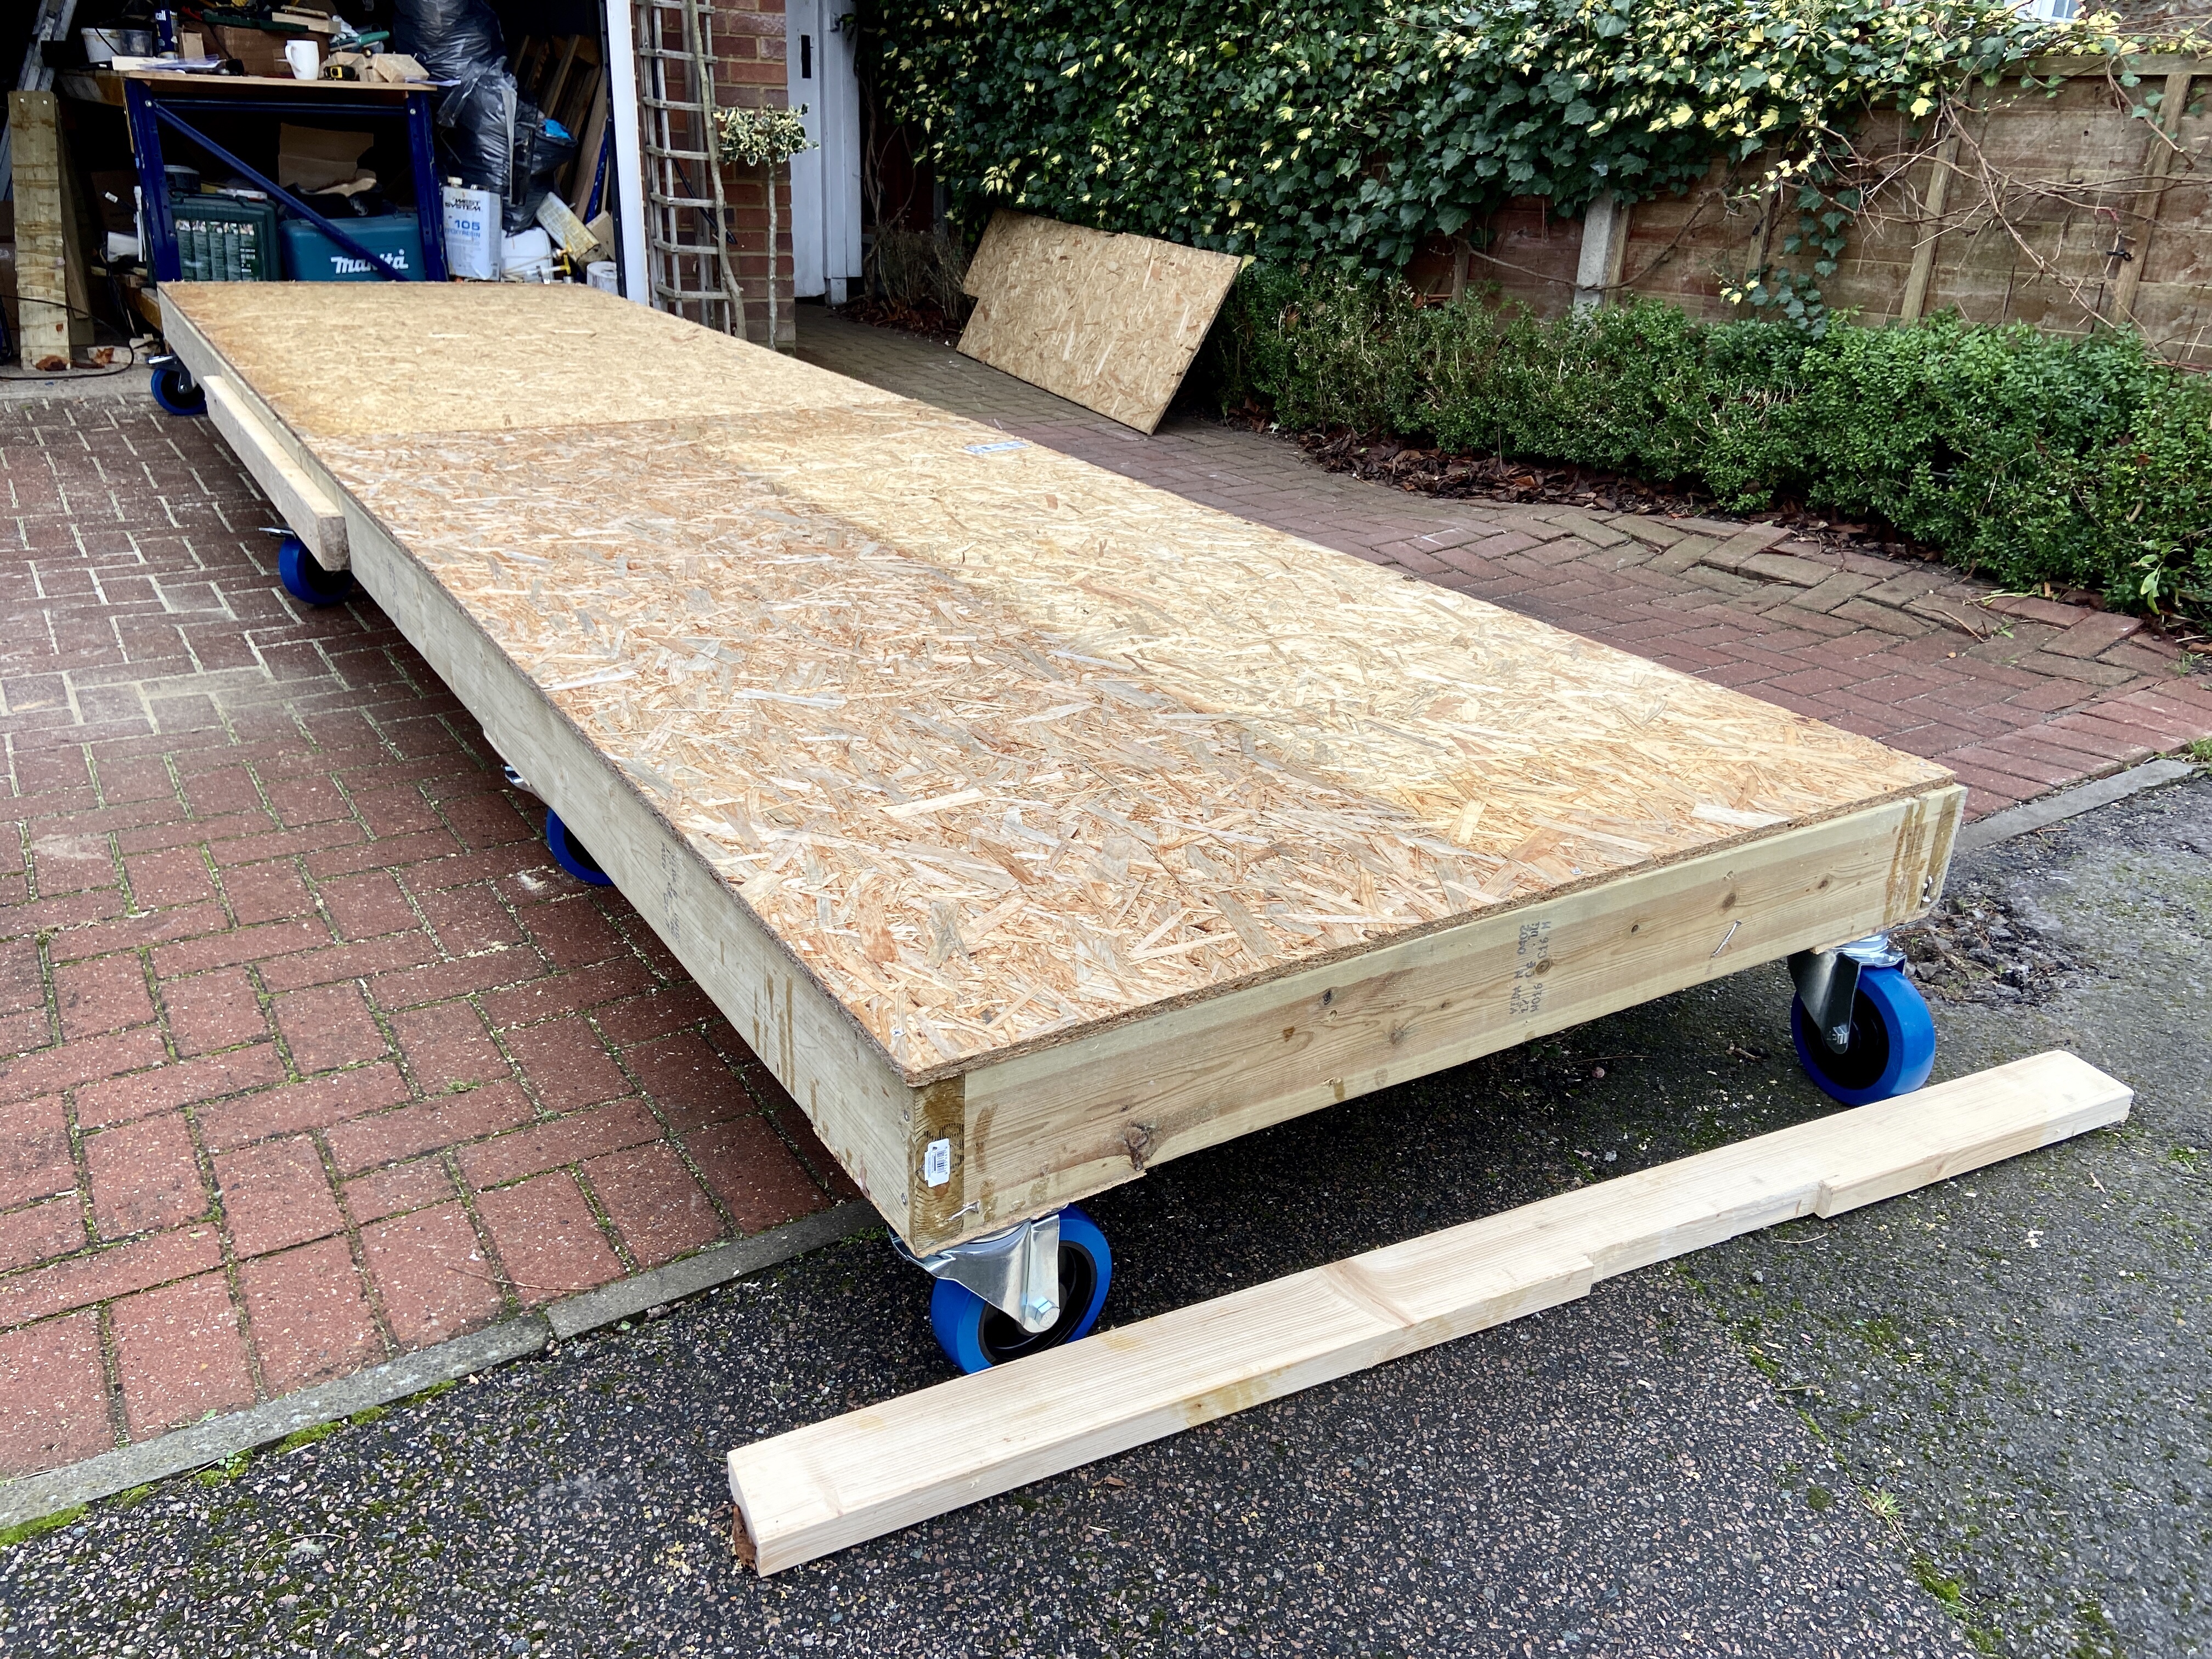
First job on Day 2 was to repurpose the jig. Working in the tent has been fine but it can be tight at times. Also there is more light at one end, unless you open both sides up and you can then turn the tent into a wind tunnel on some days. So we wanted a way of moving the boat around. Also at some point we will need to move the boat off the driveway and I’m not sure it would be an easy crane lift to do….traffic, trees and phone lines.

So the idea was to put the frame that formed the base of the jig on wheels. On went eight, 160mm, rubber wheeled, swivel castors. Each castor is rated to carry 350kg, giving a total load of 2800kg…..should be enough. Wheels on, flipped the jig over and covered the top with some OSB boards to help spread the load.

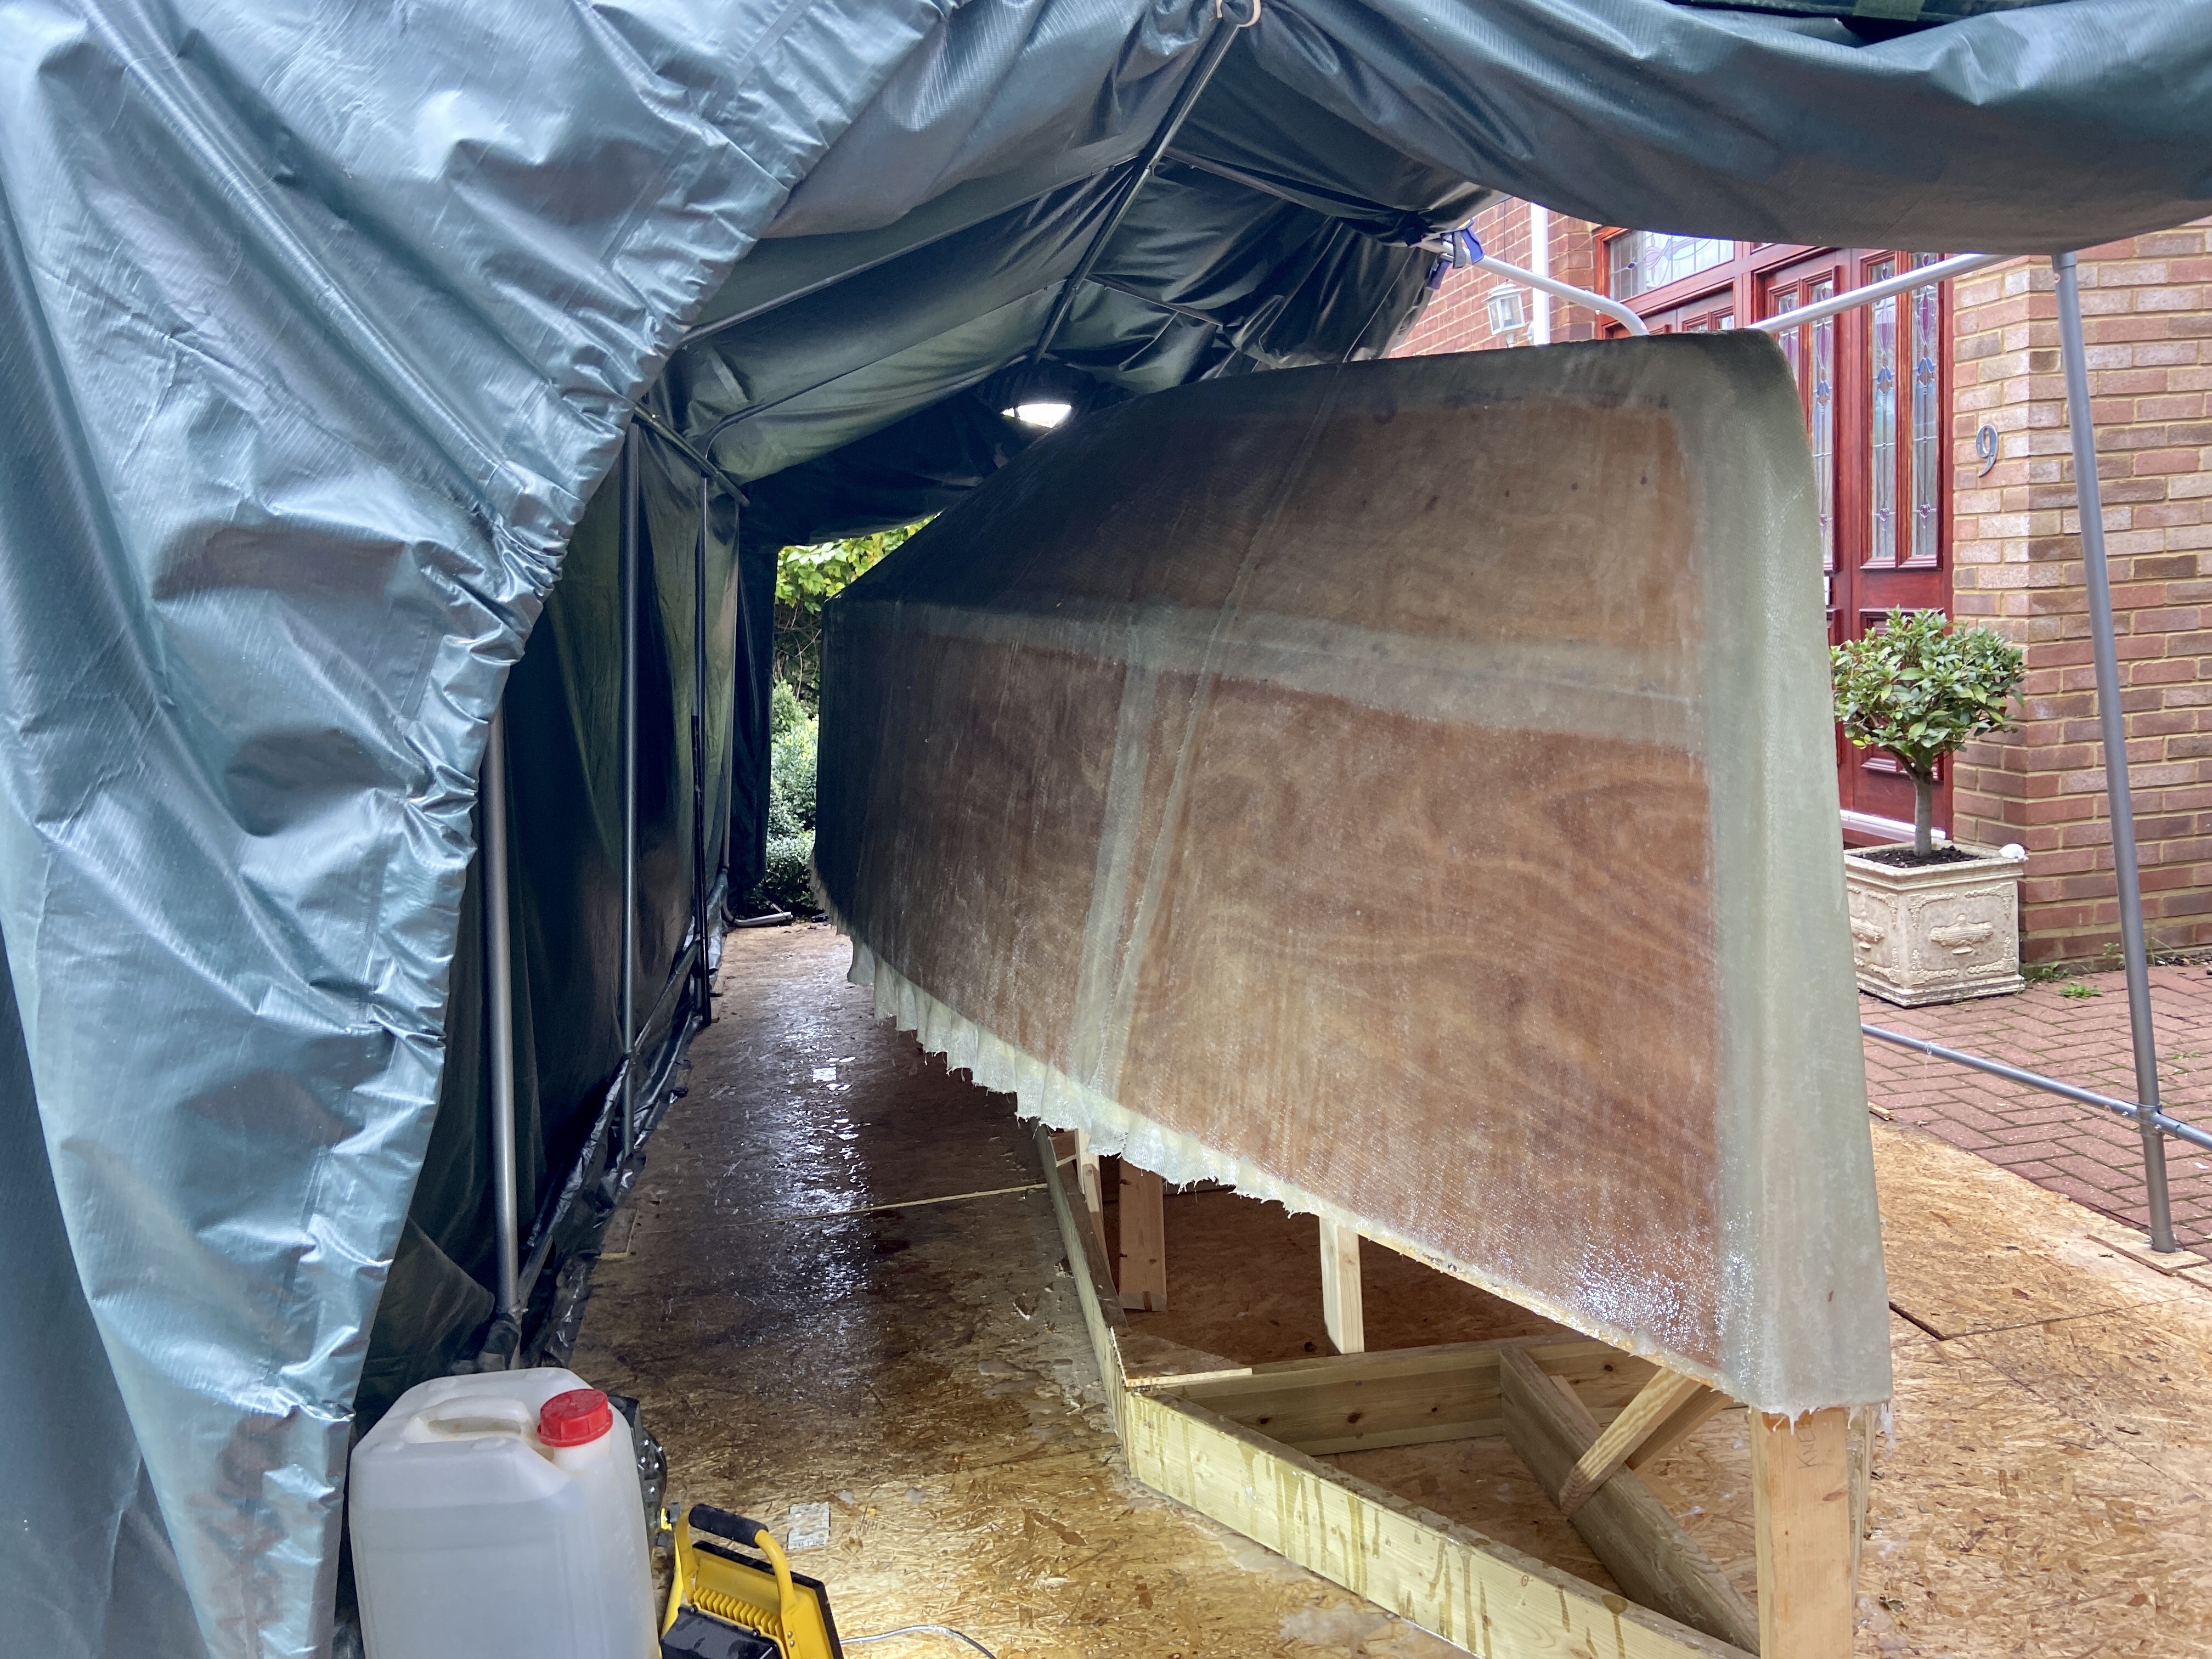
Under the boat it went and the boat was ready for a road trip! Before finally lowering the boat we placed the boat on blocks and removed the ratchet straps and their planks, replacing these with two 3m long, 1 tonne lifting strops. In case we ever need to lift the boat again.

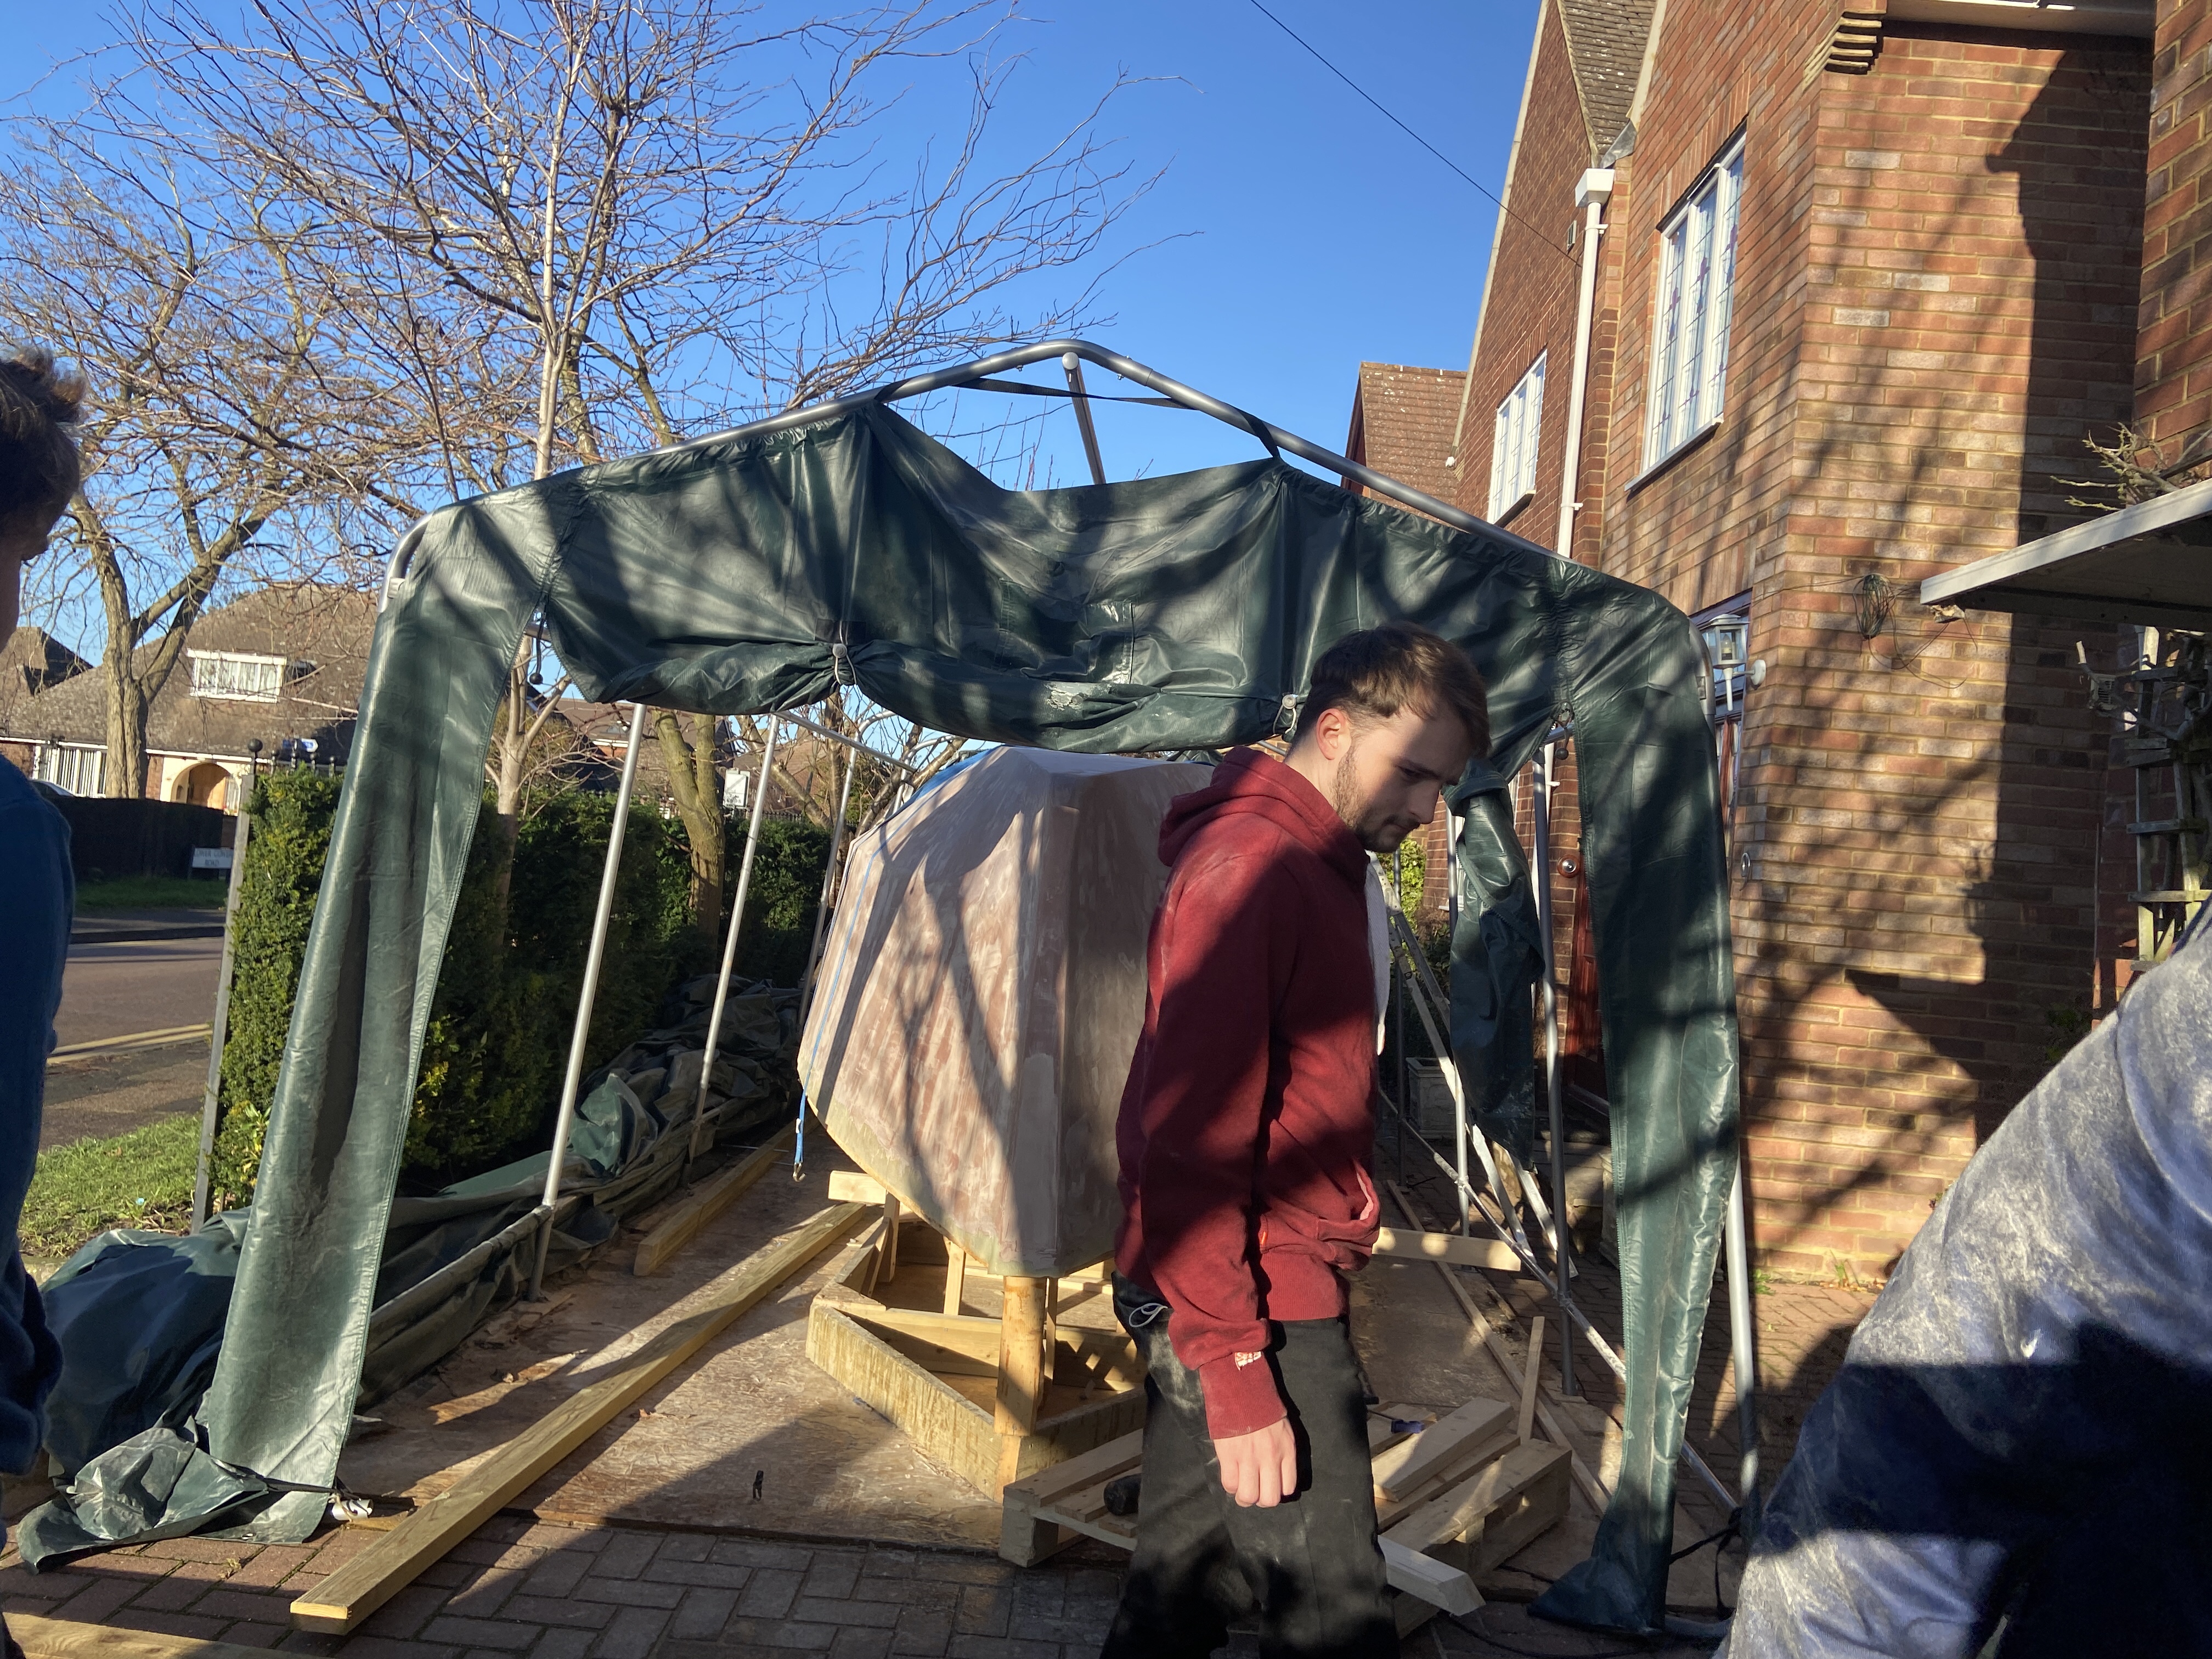
Putting the scaffold up was OK. But now do we get it down, when we no longer have a boat hull to stand on, and even try to stand on it now it is significantly lower than it was on the jig, and you can’t reach the load bearing beams over the hull. The last real challenge.

We solved this by fixing together a number of lifting strops to get two long lengths. We then looped one around each joint between the load bearing beam and the top of upright posts, either side of the hull. We unbolted and removed the lower coach bolt holding the upright….well upright. This then allowed us to do a controlled lowering of the uprights by pivoting the them and load bearing beams on the remaining coach bolt at the foot of the upright. Two of us controlling the lowering with the strops while two others walked the uprights down on their hands, until the load bearing beams came to rest on the upper side bars of the tent. Much more accessible than wafting around at the top of a ladder at 3.6m like Wylie Coyote trying to find a sky hook to carry a 3.6m long plank you have just unbolted!

So that was it- job done. As we were clearing up and reconstructing the tent the wind started to get up and we were being spotted with rain.

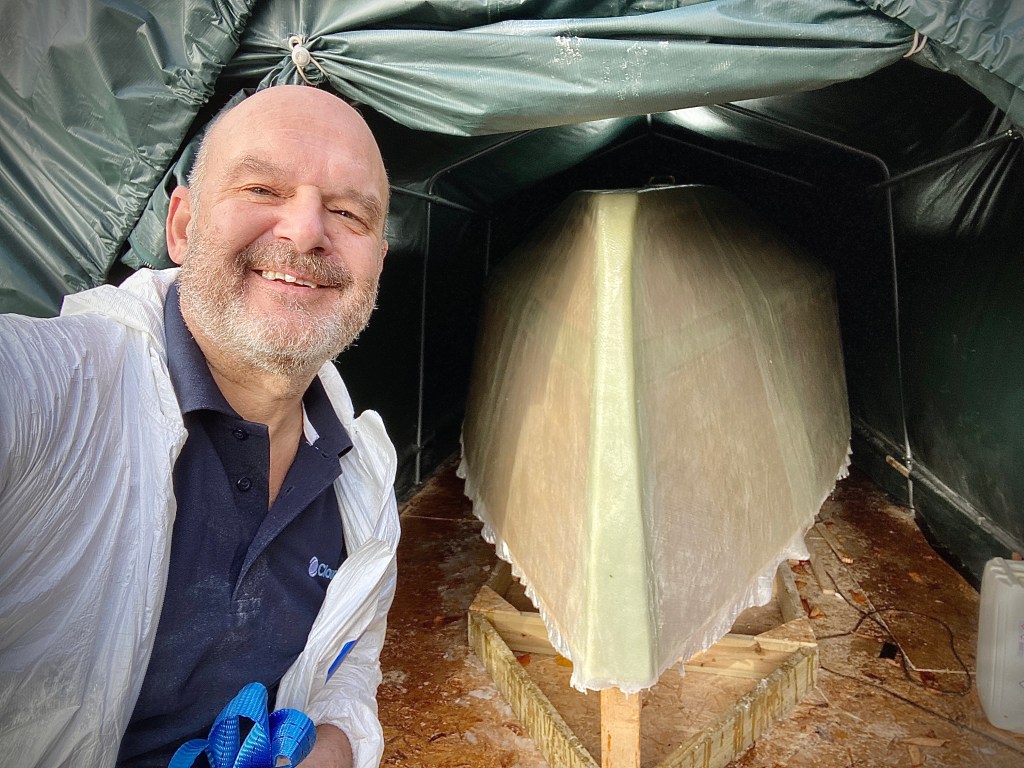
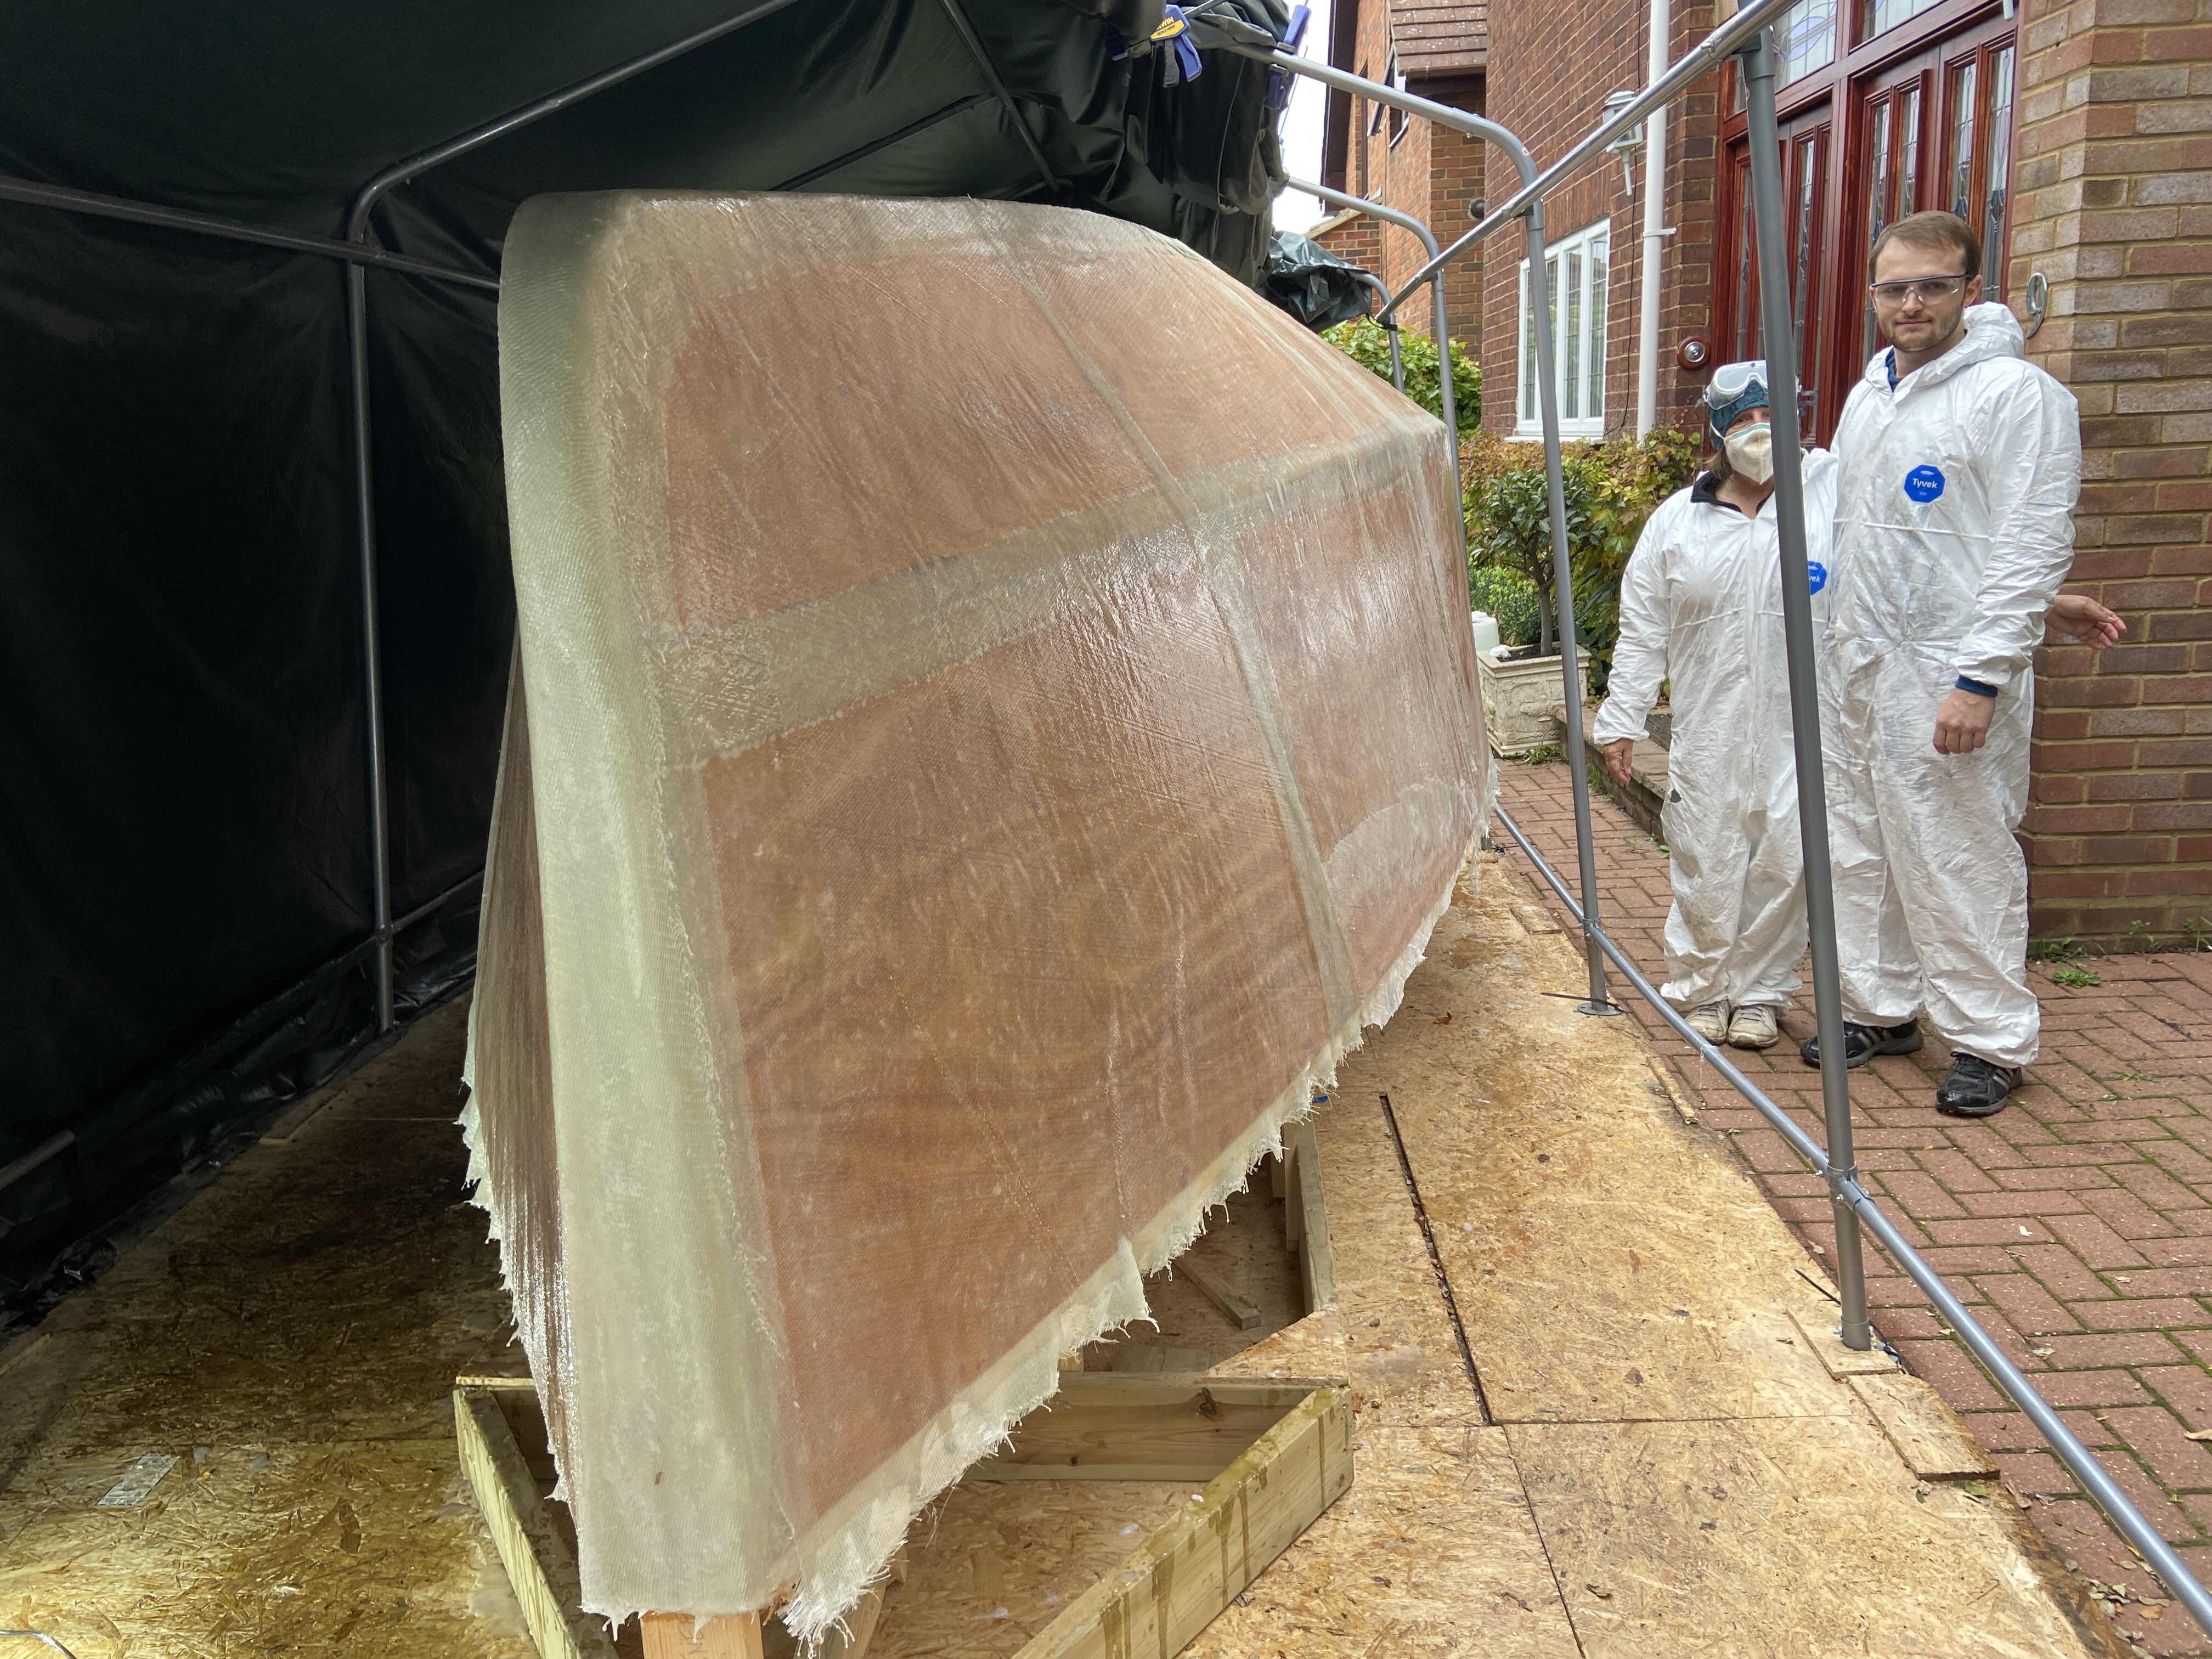
Two solid days. No way I could have done this without the family jumping in, helping and collaborating to solve the issues as they arose.

What would I have done differently? Not a lot, I think it all worked pretty well. But I think I would change a couple of things on the scaffold.

  • I would change the 4’ by 2’ timber we used on the scaffold with 6’ by 2’. It worked fine but I think it would add another level of robustness
  • We screwed the bracing arms onto the uprights and loading beams. I think if we could I would coach bolt them, again to add a little more robustness
  • Perhaps find a way to hang the chain blocks from the top side of the loading beams rather than hanging under, maybe off a couple of metal bars secured across the top. But I didn’t have an bars lying around! However those extra 6 inches would have allowed the boat to swing easily through its arc without our manhandling.

I think that’s about all I would consider changing. It would have been easier if we didn’t have to put one of the uprights in the tent as it created a load of extra work, but that’s just the way it is.

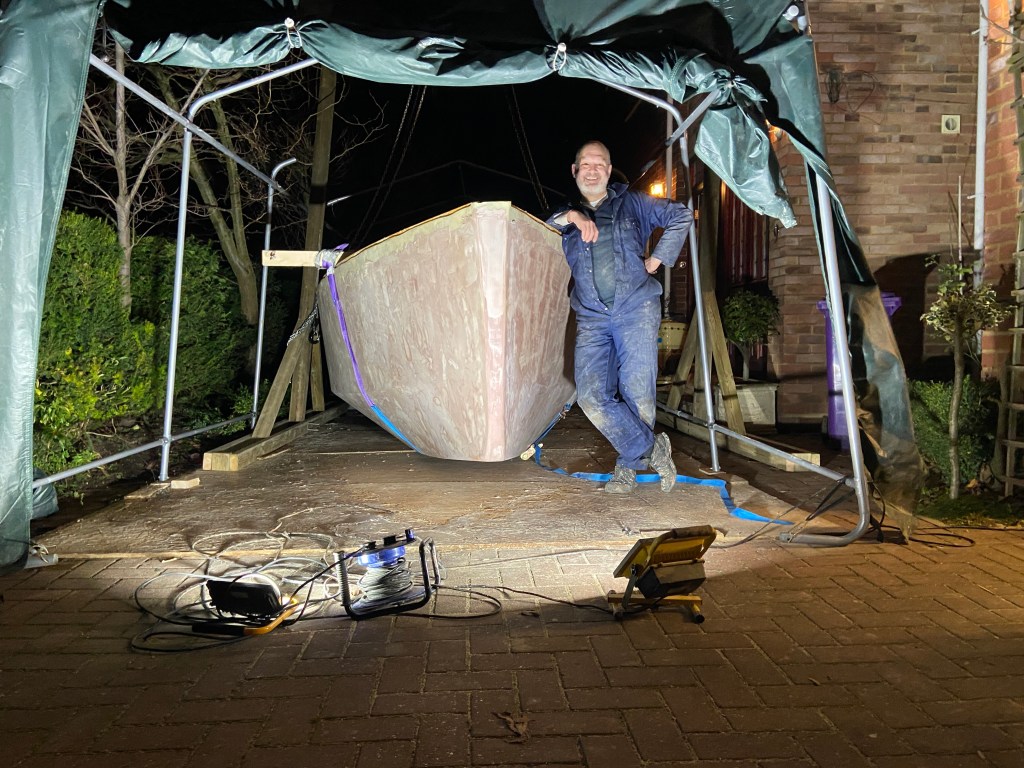
We celebrated with some mulled wine to warm us up and our friend Captain Morgan came out to join us.

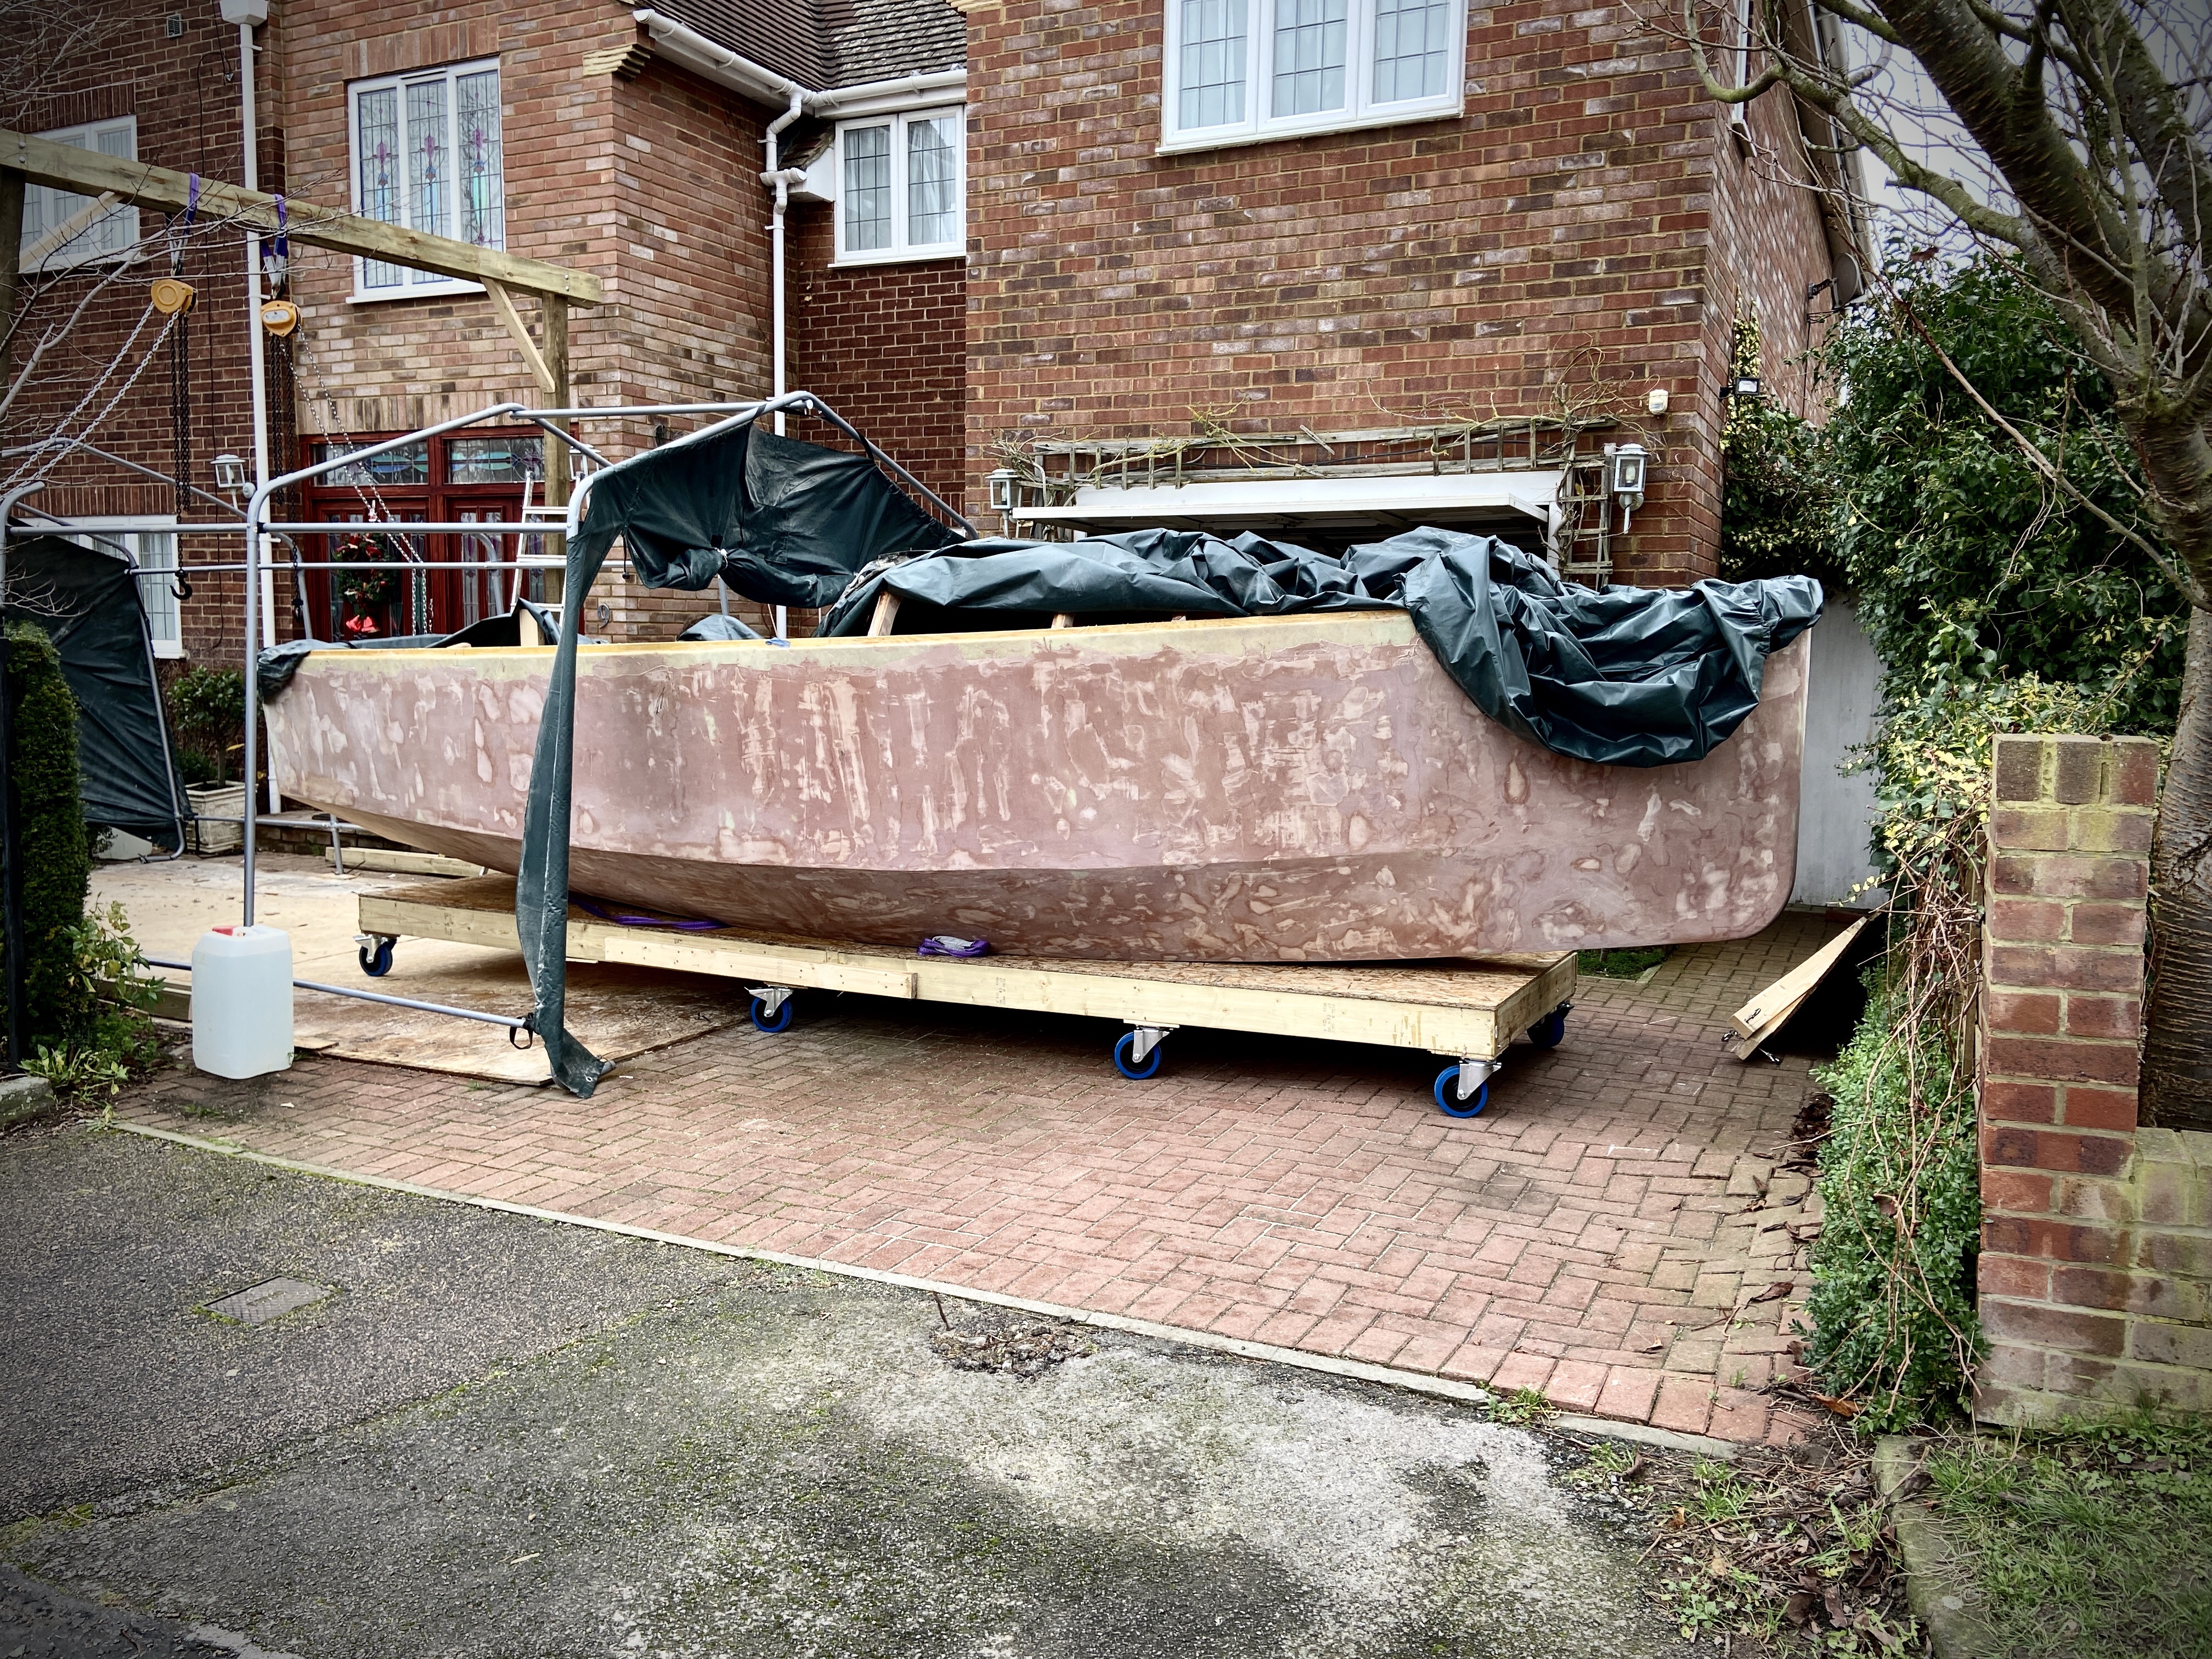
We now have a 580 hull on the drive. Complete with bright “go fast” blue wheels! After significant effort from the whole family its a great milestone and very satisfying. I think I’ll pop out and have a quick look!

For the love of Fairing

You will notice there aren’t any videos on YouTube of people talking about their love of fairing. It hasn’t been to most fun part of the build, but it does feel strangely satisfying…..now I have nearly finished anyway. Yes nearly finished! Honest. It’s been a bit like the “just one more summit” when you climb a hill. But I have nearly done.

It’s been a little slow, for the reasons I discussed in the last blog. But she does look good, if I say so myself.

Today as it was warmer, and should be warm overnight, I have put some fairing compound on some areas of the chines I want to be sharper, and gone over the bottom of the hull again, double checking for lows and small holes. Mainly because once we turn the boat getting to the bottom will be difficult, and doing the chines while it is upside down is much easier.

I will sand these down tomorrow and then that’s it. No more for now.

I know there are a few gentle undulations still in a couple of places but I will resolve those when I join the deck to the hull ….next year!

The timber has arrived so we can construct a gantry to aid turning the boat over. As Baldrick would say…..”we have a cunning plan”. I’m sure it will work. But if you don’t see an update on the blog again……well..

Weather permitting we shall turn over for Christmas. So we should have one of the “three ships that come sailing in on Christmas morning”, the right side up on our driveway……maybe.

Carry on Fairing..

Plodding on with fairing. It’s coming on well, just taking time. Sanding the highs and filling the lows.

I have probably made work for myself from inexperience. Nothing detrimental to the boat, but just adding time. It is starting to look good I have to admit, but not fairing is not a quick fix job.

I probably put too much compound on as the first layer. Probably better to build up. However I was conscious I had quite a bit of thickness of glass from overlapping cover up toin some places.

I would have liked to have a longer “edge” perhaps to have a smoother surface, even the largest squeegee I used meant I was leaving rough areas as I applied the compound. All needing sanding after.

However the West System fairing compound is working well and once I smooth down with a low grit paper I think it will be great.

I’m probably about halfway through fairing. I have nearly completed one side and the hull floor. At least one more fill on them before I am happy. And some focussed attention to the Chines.

If I did it again…

I would perhaps be a little more sparing with the compound initially, but hard to judge. And be more conscious when I was fibreglassing to move the overlaps further apart.

Everything is functionally sound, but I could have perhaps saved myself some work.

Still learning! Still enjoying

Moving on…..Fairing

Beautiful day today in the South of UK. Time to get on with the Fairing.

It’s great to be moving on from the fibreglass processes to be honest, concluded those with a final sanding down a couple of days ago and a wash down ready for the next layer.

We are using the West System 407 low density filler that is recommended for fairing. Supposed to be strong but with good sanding qualities.

I did a quick test of it after cleaning the boat by putting a fairing layer across the bottom of the hull. Yesterday I did a rough sand to take down the obvious high spots. The initial finish looked good, nice and smooth even with a high grit sandpaper.

So with the sun shining we made a start on the rest of the hull today. One thing we changed from the other day was to use some bigger buckets. I had been using 1L buckets for mixing, with 500ml of resin and 100ml hardener. To get the thick, nice mayonnaise consistency this mixture would take up about 1000ml by volume of the low density filler, give or take a bit. The 1L buckets weren’t really big enough as we had a fair bit of filler spillage over the top, so we upgraded to some 2.5L buckets! Going for it!!

Also pleased that we had bought some plaster mixers for our drill. Mixing this much compound by hand would be impossible.

To do whole of the rest of the boat took us about 4 or 5 hours, two handed. We used the significant majority (more the 80%) of the 3.5kg tub of filler. Working reasonably quickly the compound did not go off in the pot at the kind of volumes I identified, but I wouldn’t hang around to get it on the boat.

As recommend I tried smoothing the compound from a couple of directions to ensure it filled any underlying holes or slightly under filled weave on the glass. I would have liked a smoother finish but I’m sure that needs a little more experience than we have at the moment. Should have done that Plastering night class after all.

So there we have it. First layer of fairing compound across the whole hull except the 100mm or so that will eventually take the overlap from the topsides.

On with the sanding!! Maybe tomorrow…..

Fibreglassing the hull…..done…I think

That’s it…third layer of glass on. This was 300g biaxial to bring us up to the overall weight requirements for the type of plywood we used for construction.

Went on very well although we had to do it over two days as we had to stop for a storm coming through. Had to put a couple of reefs in the tent and batten down for a while.

The 300g gives a very nice finish, it looked pretty smooth and well filled after it had cured overnight.

In the end I decided not to use the peelply. On balance I didn’t think I would be gaining anything. Abrading the whole hull ready for application of a new layer only takes a couple of hours and I thought it would take us longer that that to apply the peelply correctly. Also I thought there would be a some high spots I would want to take down a little, usually at the overlaps. So I didn’t think I would be gaining a huge amount. Yes I loose the chemical bonding, but I had already lost that as I have had apply the glass in shifts anyway.

So on to fairing. Today’s job is making a fairing board.

Fibreglassing the hull……Episode two

Second layer of glass completed! YIPPEEE!

One more to go.

Put quite a few hours in this week preparing the boat for the second layer of 450g glass. Our difficulties last week had left me with a few high spots that’s needed taking down and filling. Then the whole first layer have to be roughed up to enable the bonding with the next layer of epoxy and glass.

Another full day today, from about 9am to 4pm to complete this layer. This time I was assisted by my other son. We sped things up a little by measuring the epoxy and Hardener by volume rather than weight or using the pumps.

Slightly different technique this week, and it seemed to work much better. As the hull now has one layer of glass on it, we decided not to pre-wet the hull with epoxy before laying on the new glass. My assumption was that the first layer of glass shouldn’t be porous, unlike bare plywood, therefore we should be OK to soak the glass sufficiently using the “dry method”.

This worked out much better as we could manoeuvre the glass sheets about on the boat to get the angles and overlaps right, and ensure there were no wrinkles etc. This removed a huge amount of stress.

The 450g glass still took up a huge amount of resin, I will add it all up at some point, but we felt much more confident about the finish we would get.

So just a long day, but no problems. Fingers crossed it all looks good in the morning.

Fibreglassing the Hull……Episode One

That was a full day!

We had waited for a good weather day, low wind and no rain so that we could open up the tent side to give enough access to both sides of the boat.

Our goal was to get the hull fully fibreglassed…..in one day. Over ambitious. To fully glass the boat we have to get three full layers on. First two layers of 450g biaxial and one of 300g to finish. We only managed to get the first 450g layer on but frankly this was a good effort with three of us working on it.

We had pre-cut all the glass during the week and laid them out on a bench in the order we would place them back on the boat. Labelling them by layer and position on the boat, so we would not be confused when we were “frazzled in action”. We had also cut the cloth so that the joints would be in different places for different layers.

Everything went well but took significantly longer than we anticipated, this was mainly from lack of experience rather than significant problems or errors. So what were the key points….

1. The 450g biaxial cloth is lovely. It looks and feels quality. However it does take a huge amount of resin to wet it out. I guess this is “logical” but you don’t realise until you start working it the impact this has on pure time. Both in terms of applying the resin to the fabric and letting it wet out but also just mixing the resin up in sufficient quantities.

2. We ended up weighing out the epoxy out rather than using the West System pumps. The pumps work well when you are making small amounts of resin up. However they are slow when working with large quantities.

3. We have started using the Fast Harder due to low ambient temperatures here. As the cloth soaks up large amounts of resin we were making quite large amounts ready to apply. However this will go off with 10mins or so if left in the container just from the heat it generates from its own exothermic reaction – so you need to work reasonably quickly and time the resin for when it’s needed…..but that is pretty much constantly unless you take a tea break.

4. We made a stirrer out of a bent coat hanger in a electric drill. Manually stirring all that resin just would not be practical.

5. We wetted out the hull too far ahead. This meant that by the time we were applying the later strips of cloth the hull was extremely tacky. Which isn’t bad from a bonding perspective, however it means it’s extremely difficult to move the long heavy sheet of cloth into position. As it’s laid out across the hull it starts to tack down across its large surface area and it won’t slide. Next time we will try to apply the fabric earlier after wetting to ensure it will still be able to slide it into position.

Really happy we have got the first layer on. I have a “bit” of sanding to do once the resin has cured so that we can get the mechanical bond for the next layer. However this will give me a chance to deal with any high spots or missed patches is we have any.

Great effort by the family…..much appreciated. We will go again to finish the other layers.

P.S…….it’s a good job we stopped when we did. It started to rain a while later, that wouldn’t have been good for our drying resin!

Bursting bubbles…

I was really pleased with the glassing we did the other day.

But then when I was prepping the boat for the big lay-up later this week, cleaning and sanding, I noticed a small air bubble in some of the glass we had done. Oh hum. Then I saw another one next to it. Oh my….

They were both small, say 1 to 1.5 cm across, but after tapping them both you could tell they were delaminated. Thanks for the tapping tip from my neighbour Matt. I had considered leaving them as they were as they were so small, but then why knowingly build in issues when they can be fixed. So now I only have to worry about the issues I have unknowingly built in!

This morning I cut out the bubbles, built back up and patched over. Hopefully that’s it resolved.

I also managed to lay up the skeg, rudder and dagger board supporting glass……before it started to rain and I had to close up the tent.

Couple of good jobs out the way!

Joint Taping

We managed to complete the joint taping yesterday.

I was a little concerned before starting as the weather has started to turn chilly here in the UK and temperatures in my area were around 16c. This is getting be around the lower limit that West Systems recommend their slow harder to be used at. Below this it may not cure, given my previous experience of curing problems I was feeling edgy.

However we needed to get it done as the weather is supposed to get worse here for the beginning of next week, so I wanted to get the taping done and give it a while to cure before doing the main hull fibre glassing at the end of next week. Weather window pending.

I also wanted to get the taping done all in one go. There are a number of joint meeting points so there is quite a bit of overlapping of fibre glass tape where joints meet. I wanted to let them all chemically bond and cure together.

It was a full day job. I have never fibre glassed before and despite consuming an epic amount of Youtube videos there is nothing like doing it yourself and I confess to being nervous. Principally because if I got it wrong it would be a huge amount of work to remove it and do again.

To try and promote the exothermic reaction needed for curing we mixed the resin and harder together for longer and left it in the small pot, only pouring small amounts onto the paint tray when it was actually needed. Once it was poured in the paint tray it slows down it’s setting time, which is great for giving you time to apply it to the tape, but I was conscious of not affecting its curing given the relatively low temperatures.

I had bought peel ply to use on the finished tapes. However by the time I had got around the boat and finished the last tapes the first ones had already cured to solid, not fully cured to strength, but completed its initial cure. So I decided not to use the peel ply. The impact of this will be some washing down (to remove potential Amine Blush) and sanding to promote the mechanical bonding before putting on the main glass. That said the edges of the tapes are quite rough so I would have ended up with some sanding anyway even with the peel ply.

We used Biaxial woven glass. Some I bought as 150mm tape and some as a sheet I cut down for the 100mm needs. I found it reasonably workable across the corners and it took the epoxy well. We used the 2 phase method. Wetting the plywood area first with epoxy, then laying on the tape. Wetting the plywood first gave a initial “fix” for the tape so that when working on the vertical hull sides the tapes would stick to the wetted area before going back and filling in with epoxy.

We generally used a small roller to apply the epoxy. You could easily see the tape taking up the epoxy. I guess we applied a first pass of epoxy, quite generously. Within a short period the tape became translucent and you could see air pockets or areas that need more epoxy. A plastic squeegee could be used to remove the air but it generally came out with the rolled. Then another pass of the roller got the additional epoxy in until the glass looked evenly wetted.

We got a good level of overlapping of tape on the bow by extending fthe tape from the “bottom to hull side” joint. We then placed another layer of the 150mm tape over the bow to complete. So the bow has at least three layers of 600g glass across virtually its whole area already.

As the temperature started to drop we decided to call a halt to the day before we managed to do the reinforcement for the skeg and the daggerboards. But these should not take long.

To help the curing along we put a heater in the tent to help keep temperatures up a bit and wrapped her up for the night.

This morning all seems (no pun intended) to have cured nicely. Another big job done and we have crossed to fibre glass knowledge bridge a little further. In total taping the joints took about 5 hours of me working alone and then another two with the Mrs helping. A full day job.

Not setting…

Pace has slowed. I did some final “filling” ready to start fibreglassing a couple of days ago. But two days later the epoxy still has not gone off and hardened to sand. It doesn’t feel as if it’s hardened since yesterday.

Not sure if it’s because I have had a problem with the amount of Gardner I put in the epoxy or the dropping temperatures. It has been around 13/14 c during the days here and lower at night.

Anyway I have scraped off the mix I put on the boat the other day and ordered new epoxy and harder pumps. With all the glassing we need to do over the next week or so I want to make sure we don’t have an issue with the epoxy mix. May also throw a heater in there when we start laying the glass on.

Ho hum……