Space…

I’ve had a couple of emails about space!

We decided to build the boat on our driveway. We bought a “portable” garage tent to use. It’s 3.6m wide and over 7m long. We have only set it up to just over 6m so we can keep a car on the drive.

To kick off we made the frames in the garage on a board on top of a couple of pallets before building the jig in the tent. So far it has proved to work well. It’s going to be too tight for fibreglassing the hull. We will have to open up the sides to get all around, but that should be OK.

It’s been great during the Summer. Windy days can be an issue as the tent turns into a parachute, but it’s OK if we can leave the “door” closed. Might need a heater for the winter though!

But you don’t need a boatyard to build a 5.80.

Hull Panels Done!

A few days ago we managed to glue and screw on the final hull panels, including the second bottom panels.

We used a great deal of “peanut butter” density epoxy mix for fixing the panels on. As we had previously dry fitted the panels and left them in place for a good while they all went back on again relatively easily when we were gluing.

We used the Gorilla Polyurethane Glue to fix the second bottom panel. As its activated with water we dampened one of the two bonding surfaces before gluing. We bought 2 Litres to use and used it all. When you pour it out it has a thick treacle look and texture, but smooths over the panel well. We had plenty of time to get the panels in place and screwed down before it really started to activate and tack down. Initially we hoped to get away with smaller screws, 16mm, to pull the two bottom panels together. We would have preferred not to have fully penetrated to first bottom panel. However these screws were not sufficient and we had to use M4 30mm screws in the end. Success. Plenty of glue ooze coming out of the sides.

We did out best to clean-up all of the excess glue. However it was late in the day when we finished so when we returned in the morning there was plenty of excess glue to remove. Its not easy to get off. In the end we found that a Rasp was the best thing to use. It lifted the glue off well and with careful use we didn’t score the plywood.

With huge relief the screws came out of the bottom panels well. We were slightly nervous as when you screw into epoxy its very hit and miss if you can get a screw out again. We didn’t have that problem this time.

The last couple of days have been filling the bottom holes and sanding down the hull.

We have also mounted the Stem Cap. We were a little uncertain how it should be fitted. The drawings are not clear on what height it should be fixed at. After watching the CNC kit video several times we decided that it looked like it should be fixed at a height to received the top deck panels. i.e these panels butt up to the stem cap rather than sit on top of it. To be honest I don’t know if this is right, but it seemed to make sense to me.

This meant we could not get the radius of 60mm on the bow round that Dan Tuck has managed. However he has built from first principles not from a kit. Our radius is a good bit larger than his, nearer 170mm. However its still in front of the knee and there should still be plenty of structure to protect the boat in case we hit something just below the surface. And in any case I intend to put a little more protection inside the bow when I turn it over. Plus plenty of fibre glass too!

So now just a little more final tidying, shaping and cleaning……and then fibre glass. As Dan suggested it will be good to move onto something new. I think my sander has taken up the shape of my hand!

But…..oh boy does it look like a boat!

Dusty days

We have got most of the panels on now. Ran out of 406 so we have the bow panels to finish.

Pending the arrival of some more 406 I’ve been spending sometime cleaning the boat up inside and out. Dusty days.

A quick look inside

Hokey Cokey…

My brother told me off for not updating the blog for over a week!

Its been an interesting week or so. Lost quite a bit of time spread across resetting my frames by checking measurements using the bunk sides and some bad UK weather. We had a couple of gales come through that tried to turn the tent into a parachute when it was opened up, as I couldn’t put a reef in I stayed in the harbour a while!

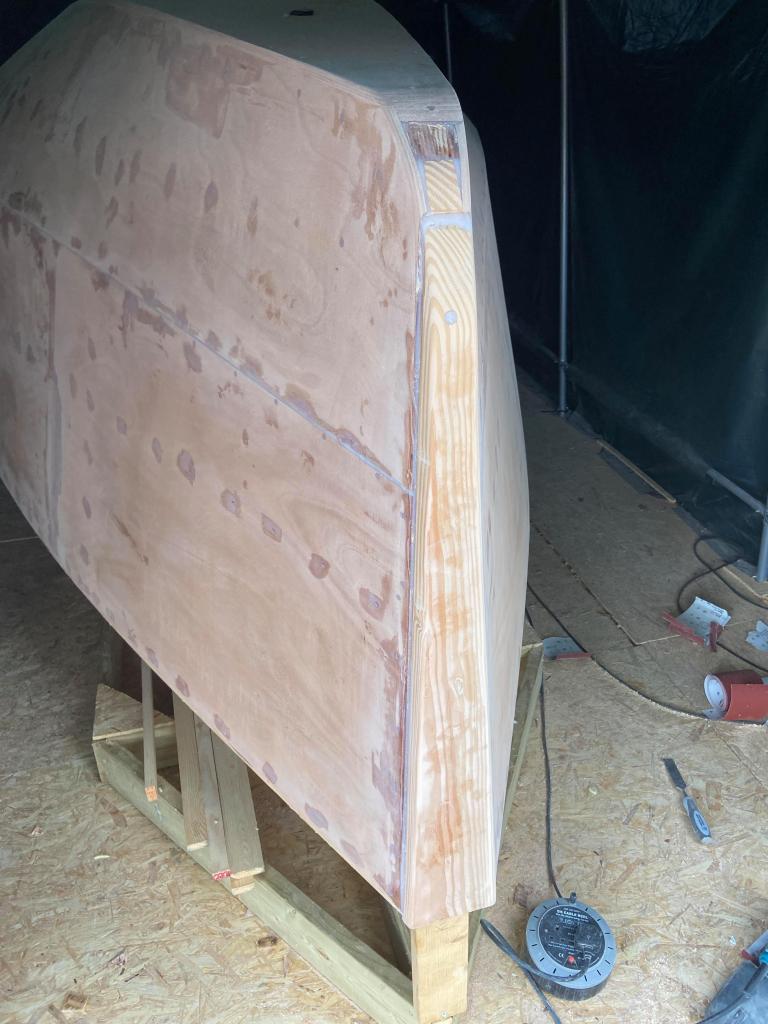
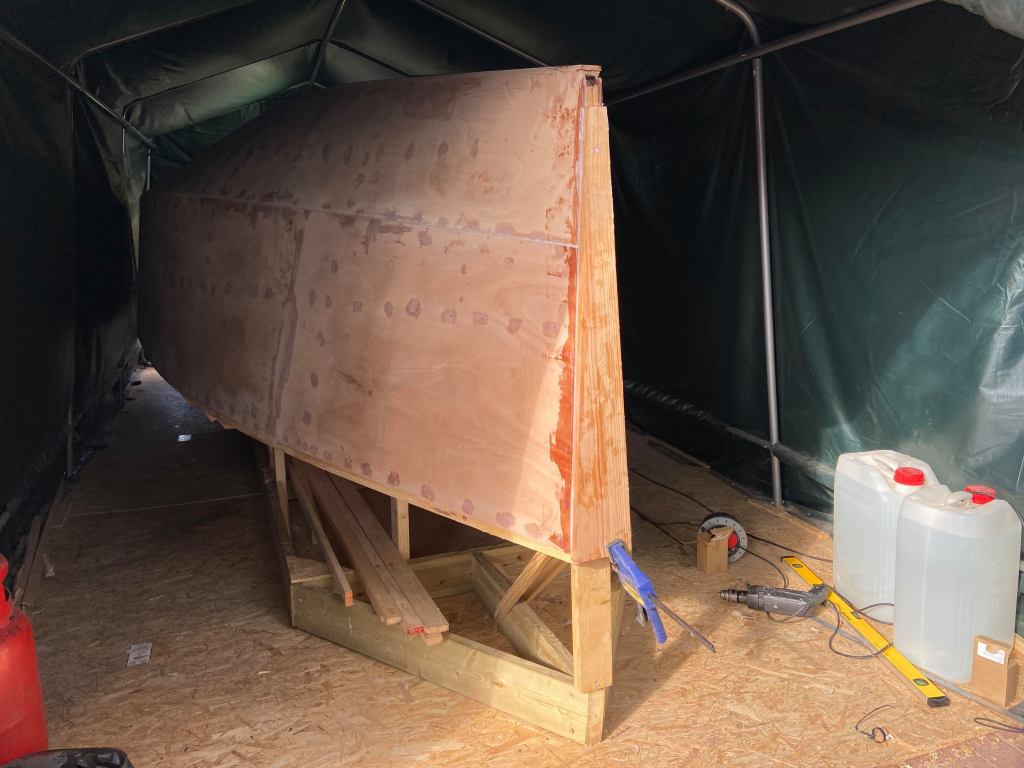
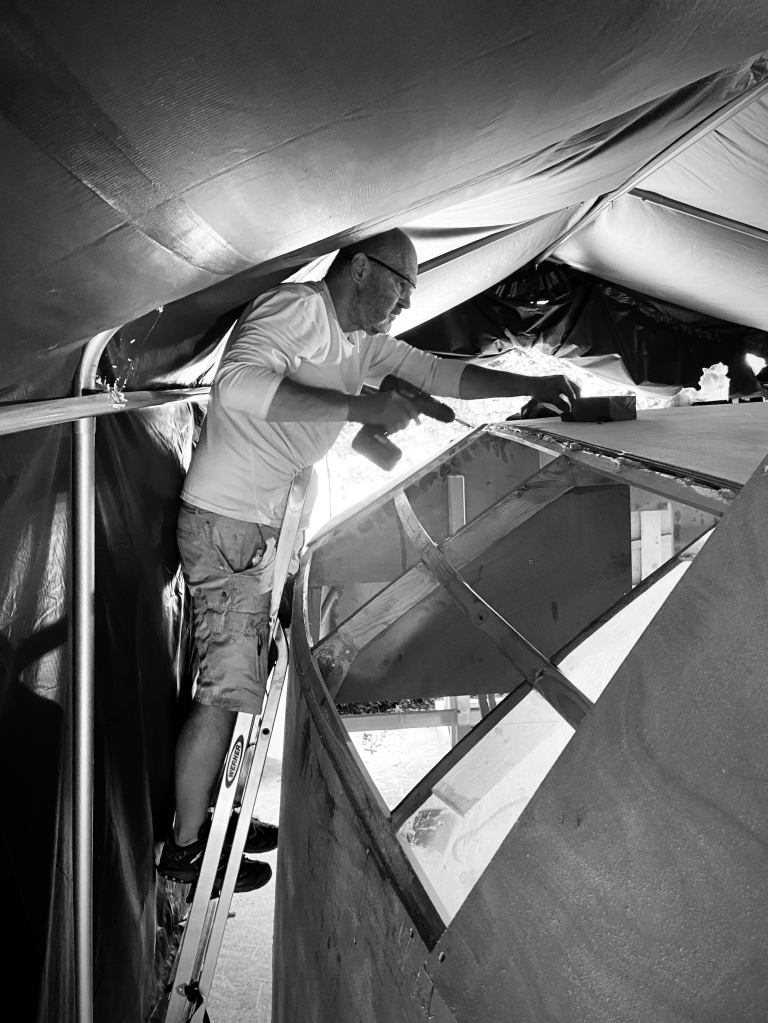
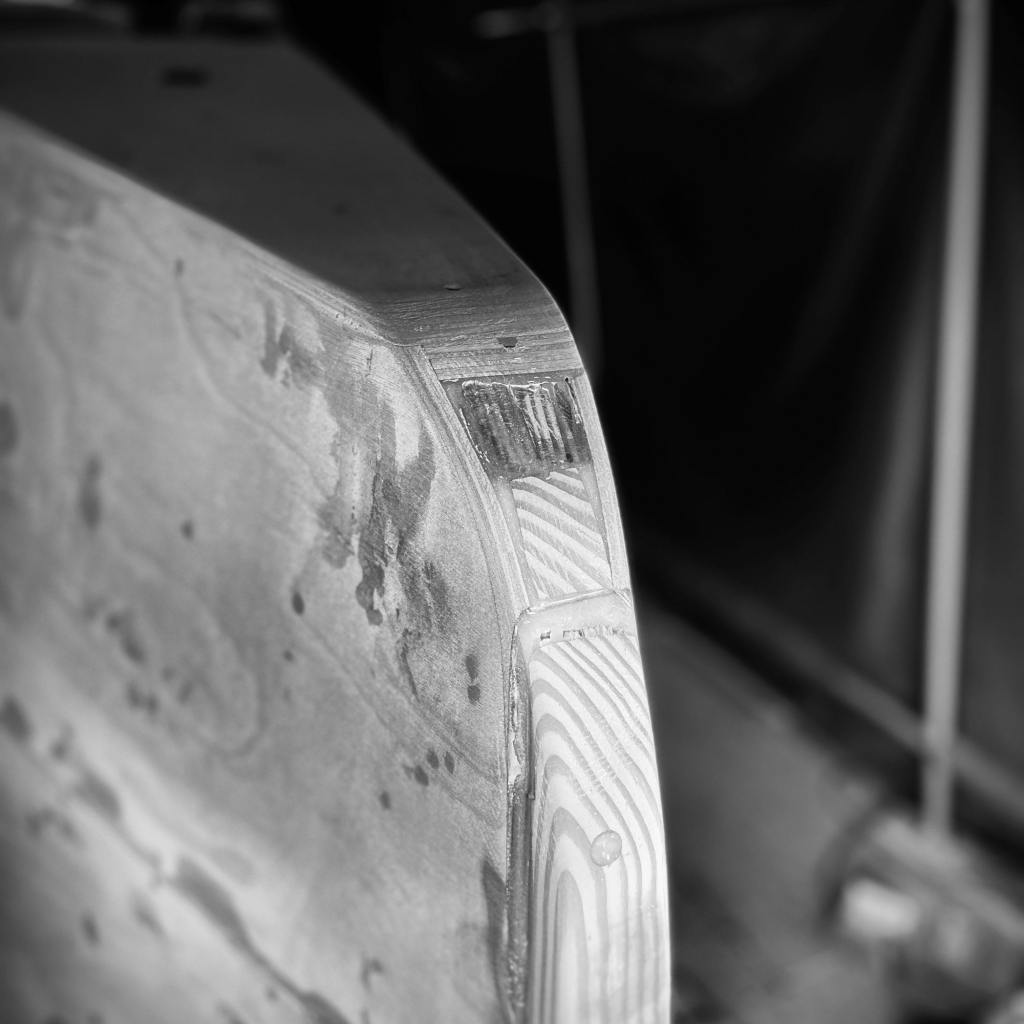
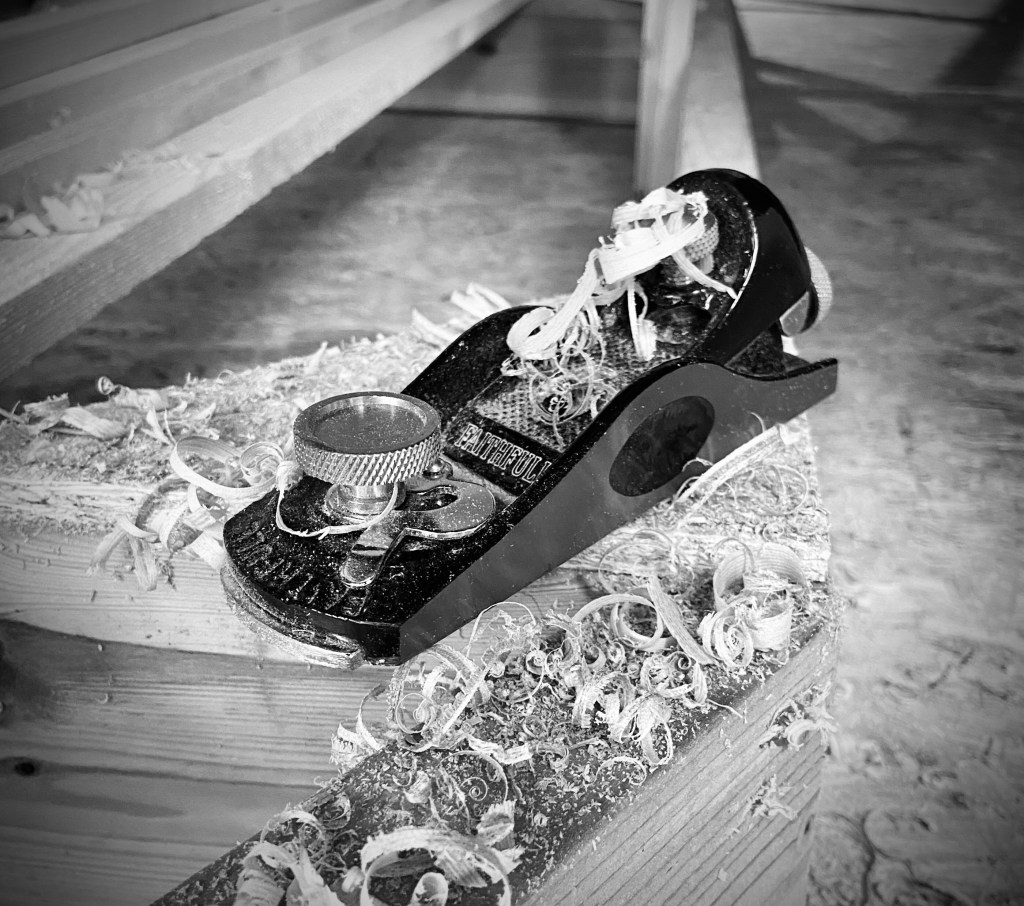
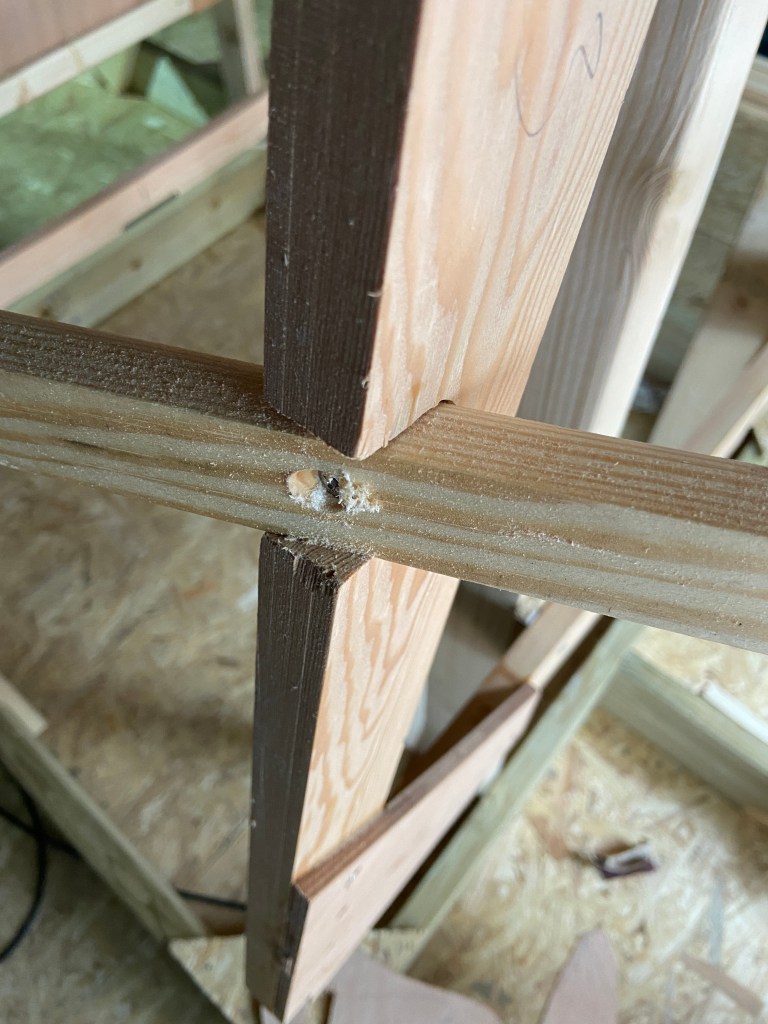
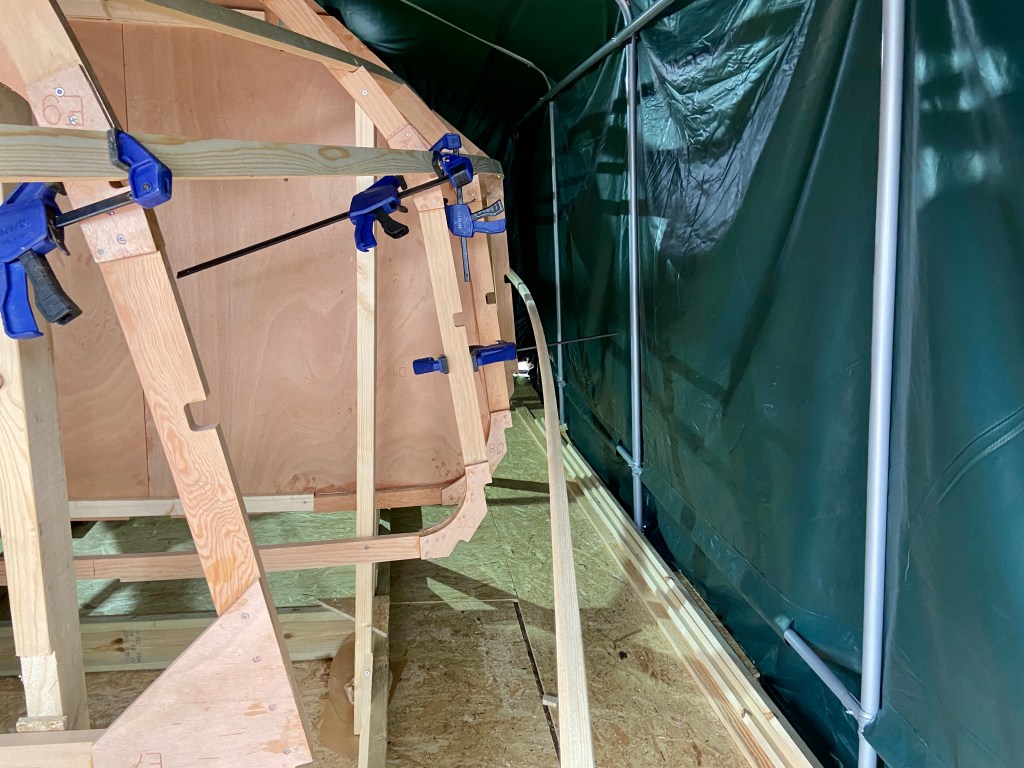
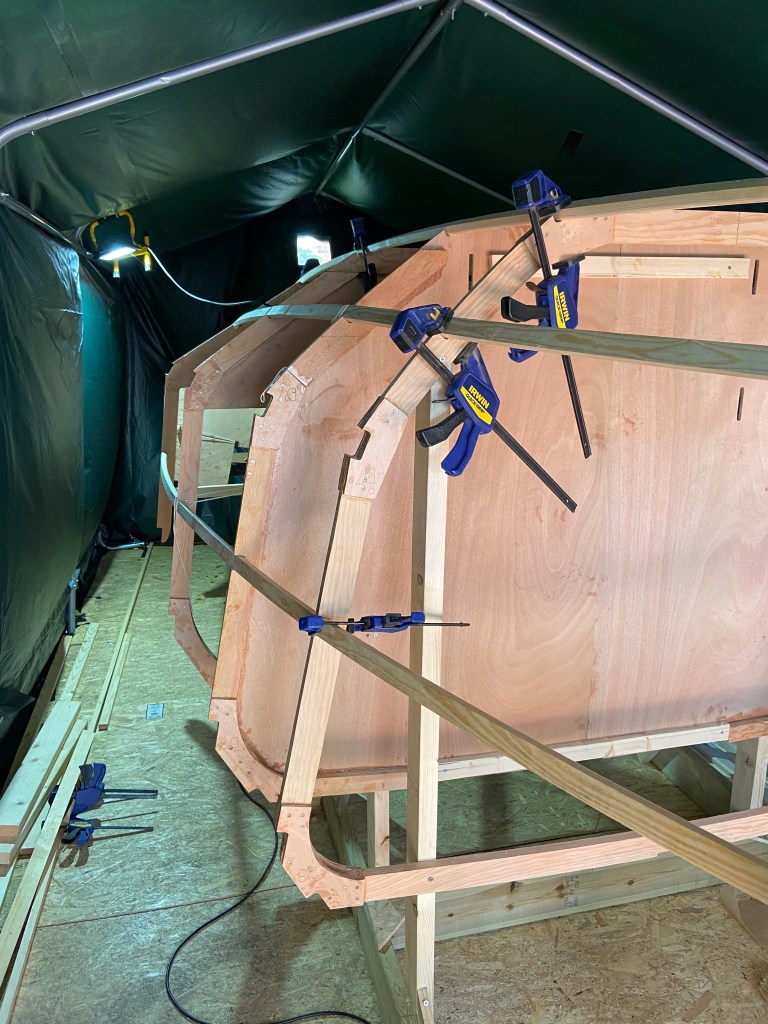
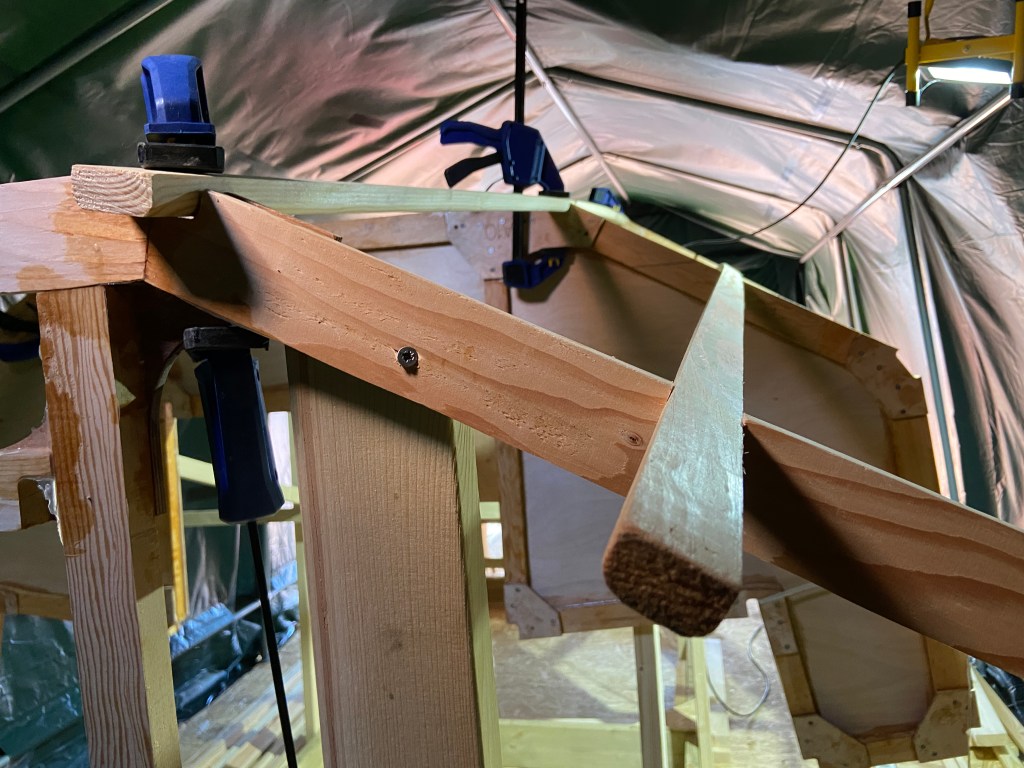
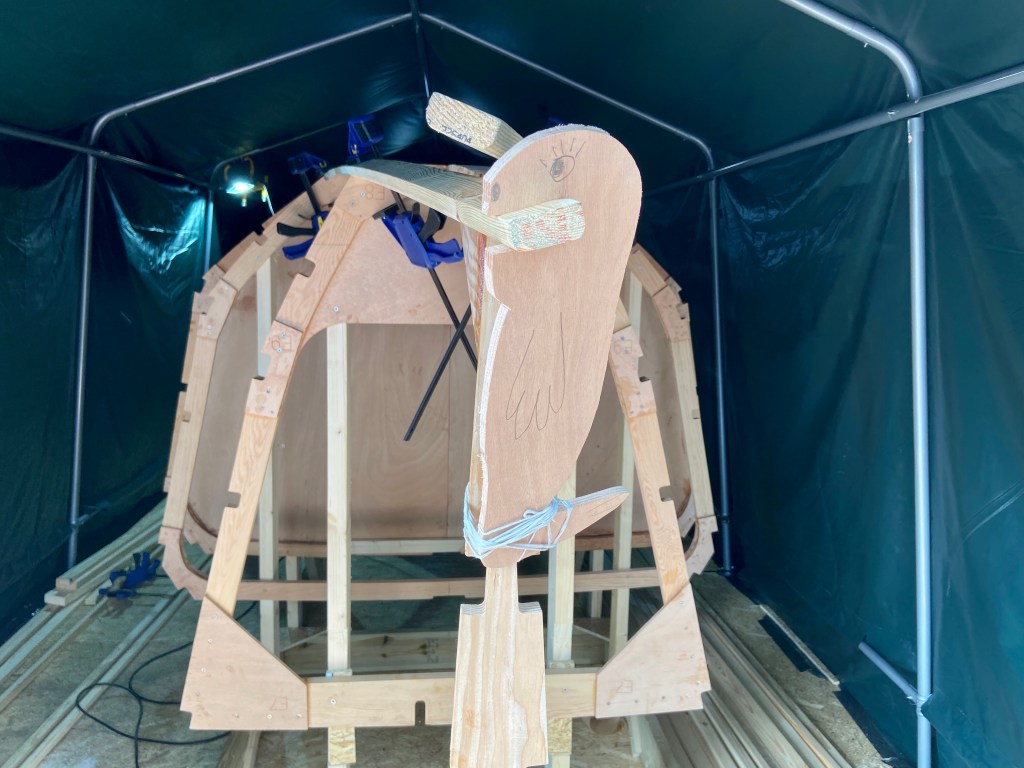
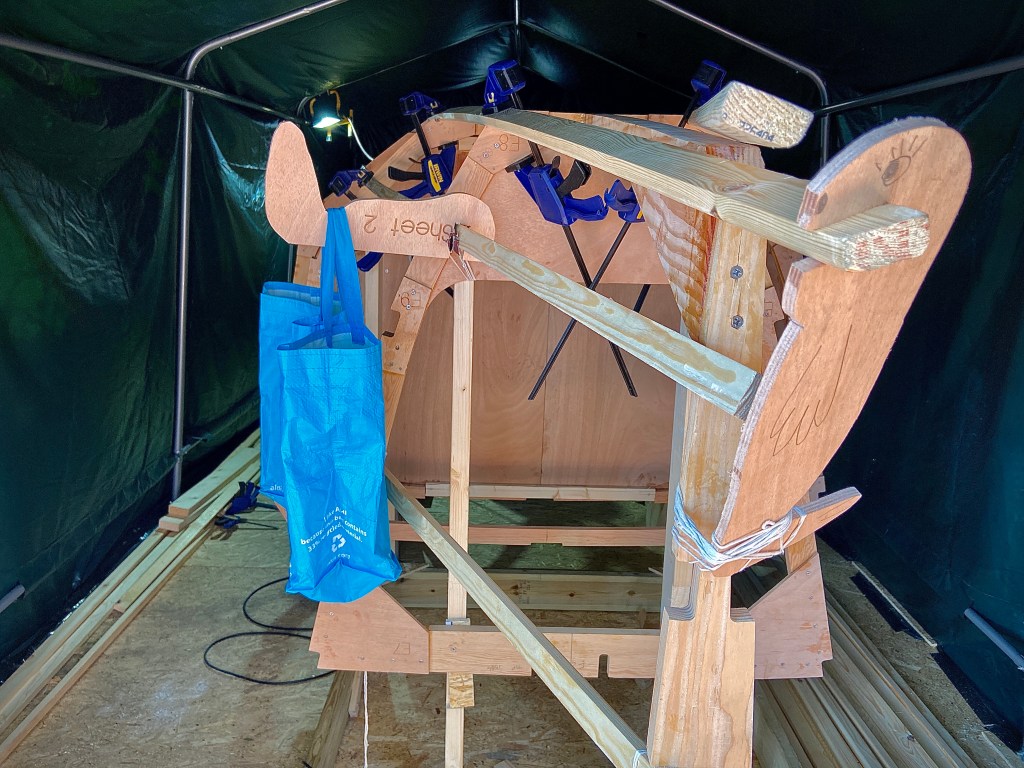
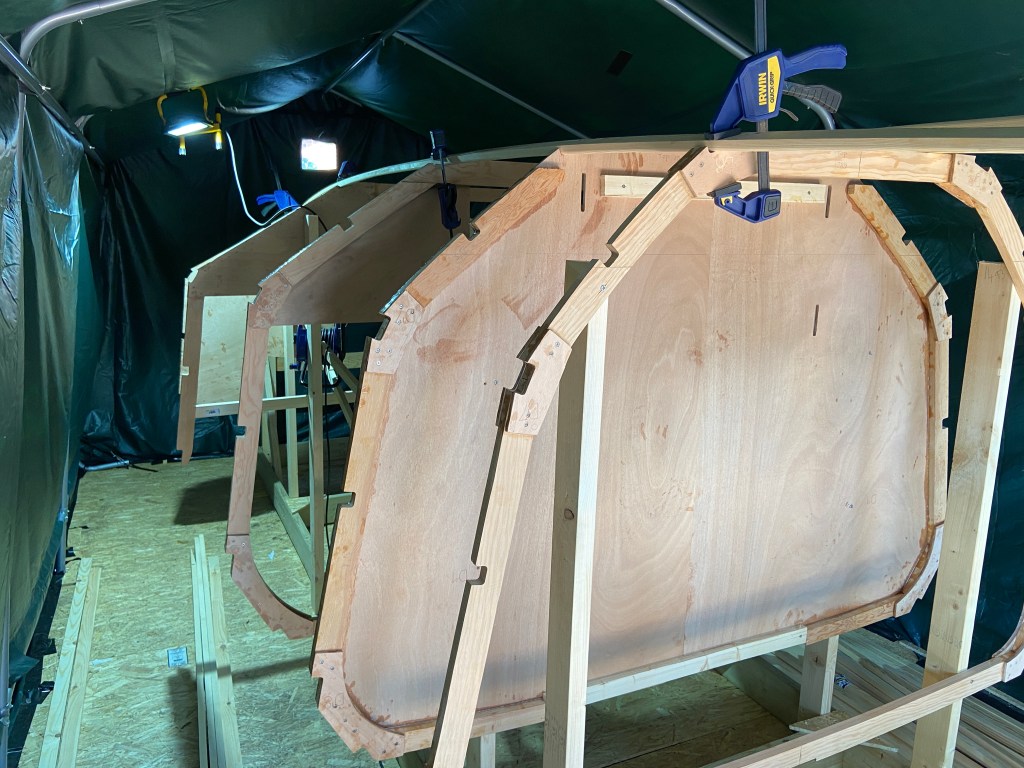
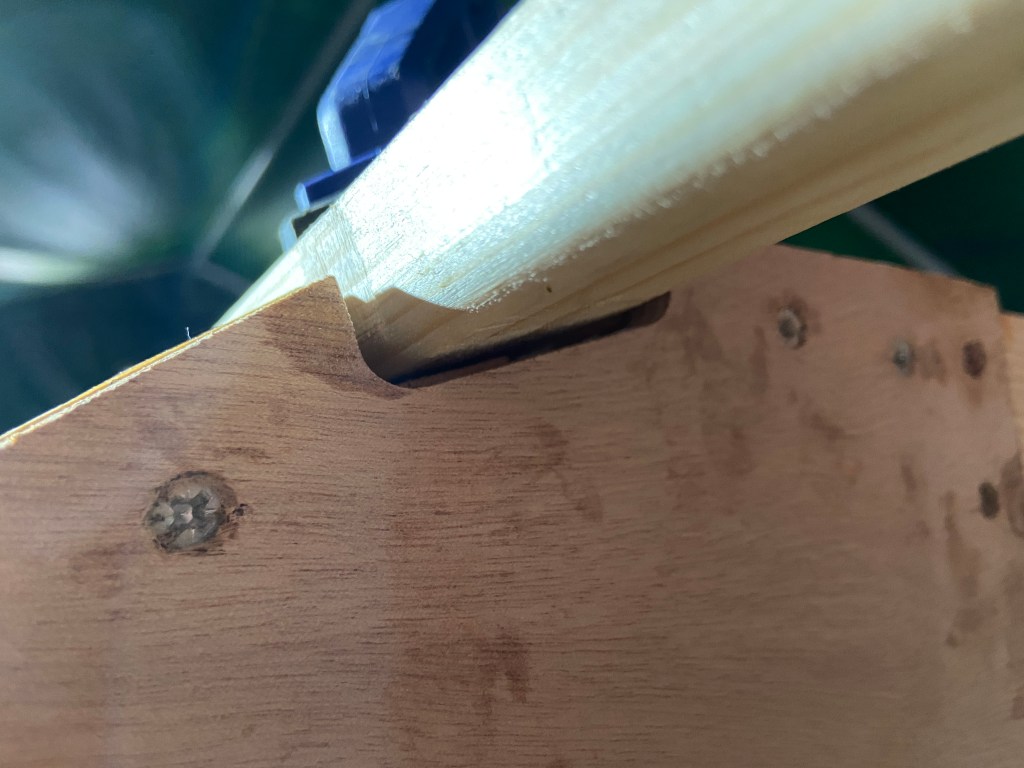
Apart from that we have spent the time working on the side panels. These have continued to be challenging to get them to fit in a way I am happy with. They have been on and off the boat a number of times while I have trimmed frames to get the right bevelling or trying to get the right angles across the 12 side panels to get a good fit. There is a lot of movement and tension across the 4 panels nearest the bow on each side, so slight changes in angles make a big difference.

Also its not 100% clear from the drawings provided which way up the panels go onto the frames. One length of the panels is straight and the other has a slight curve. When you are unsure of the correct orientation there are an awful lot of options to try! The kit panels are each numbered in one of the corners, and also have an arrow pointing into that corner, but the drawings don’t indicate how you use this numbering to get the right orientation. So we have had lots of clamping/unclamping and swapping and changing. I wish I had done a time lapse video as it would have been the “hokey cokey”. We have ended with the numbered corner being the lower side nearest the bow. Any other way just does not seem to fit. How do I know this is the best fit?

This way it seems to;

  • leave the least gapping between each of the panels
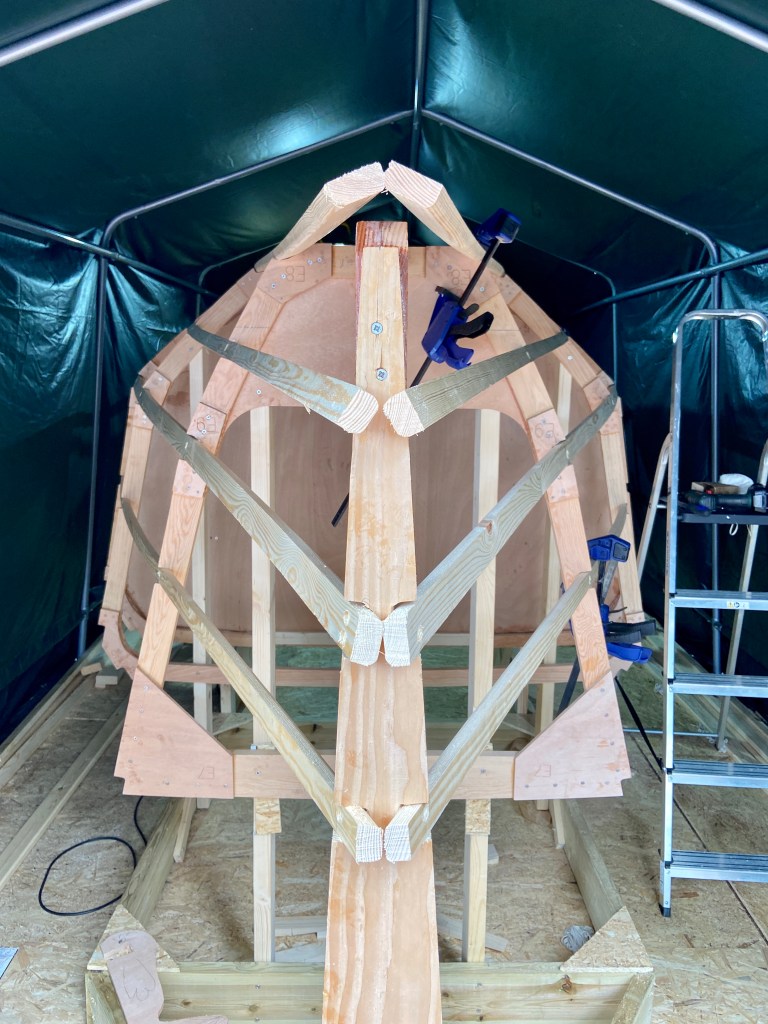
  • gets the right angle at the bow (any other way seems miles off)
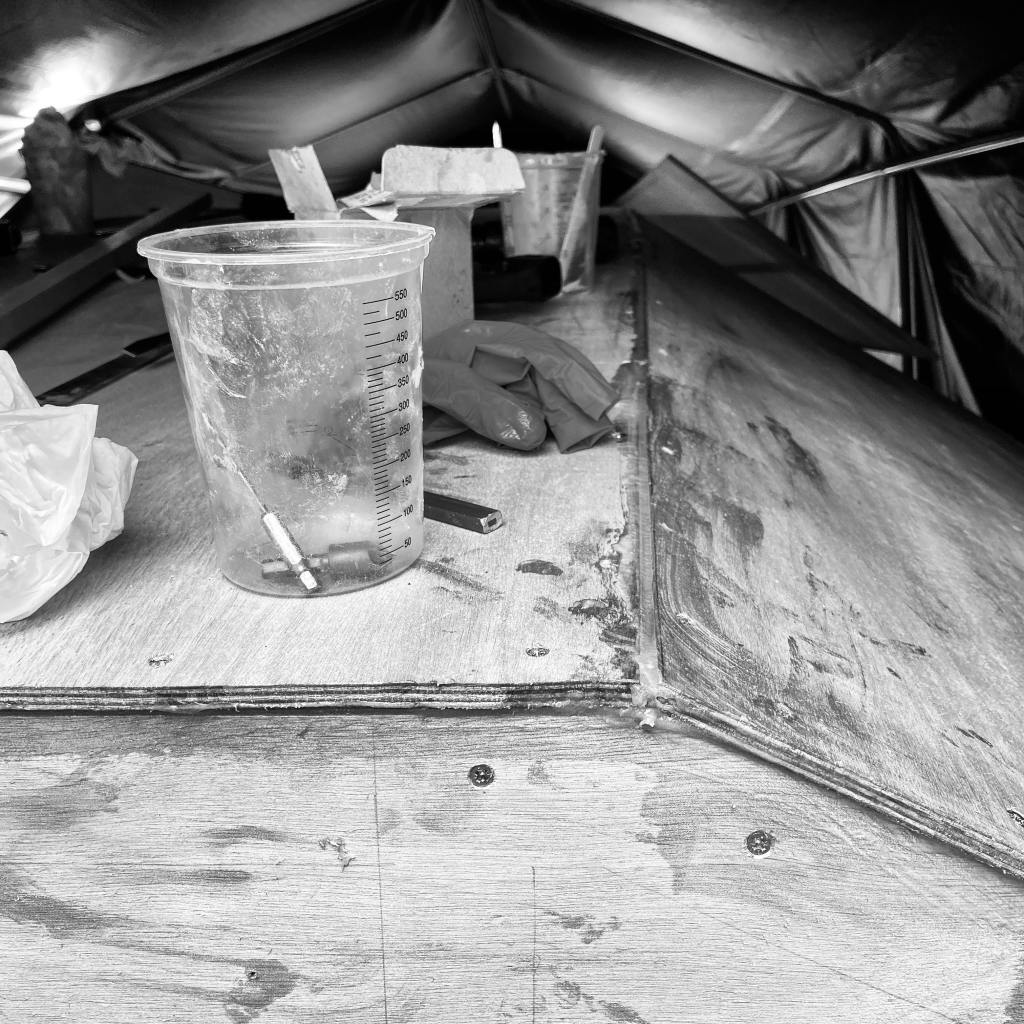
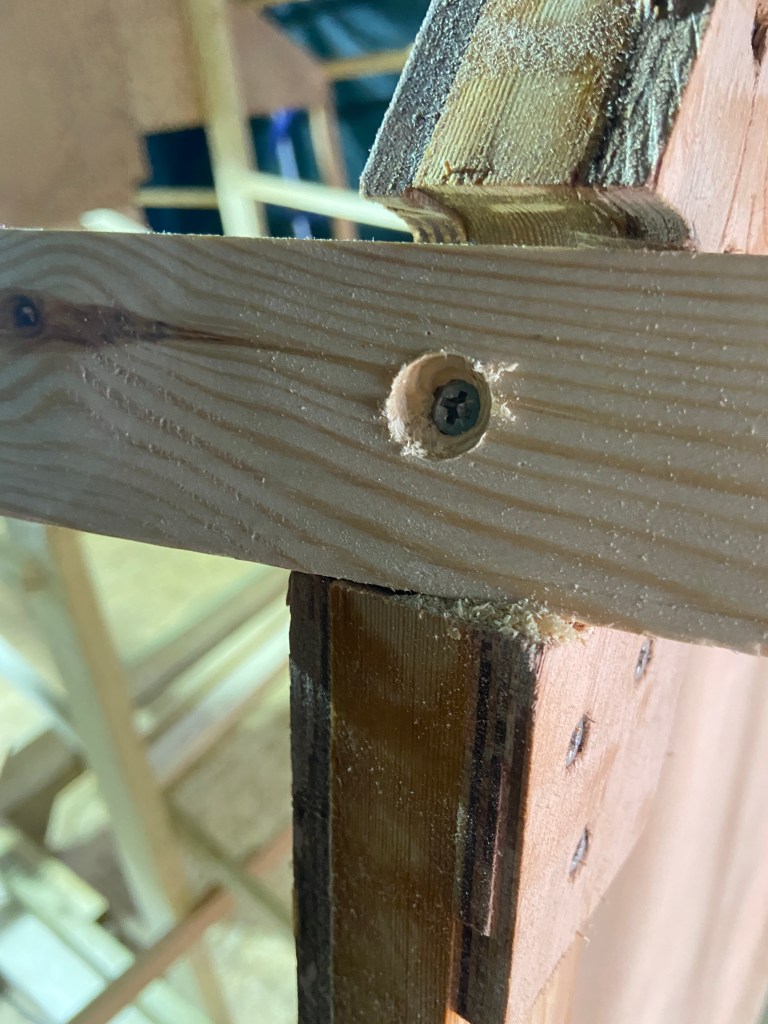
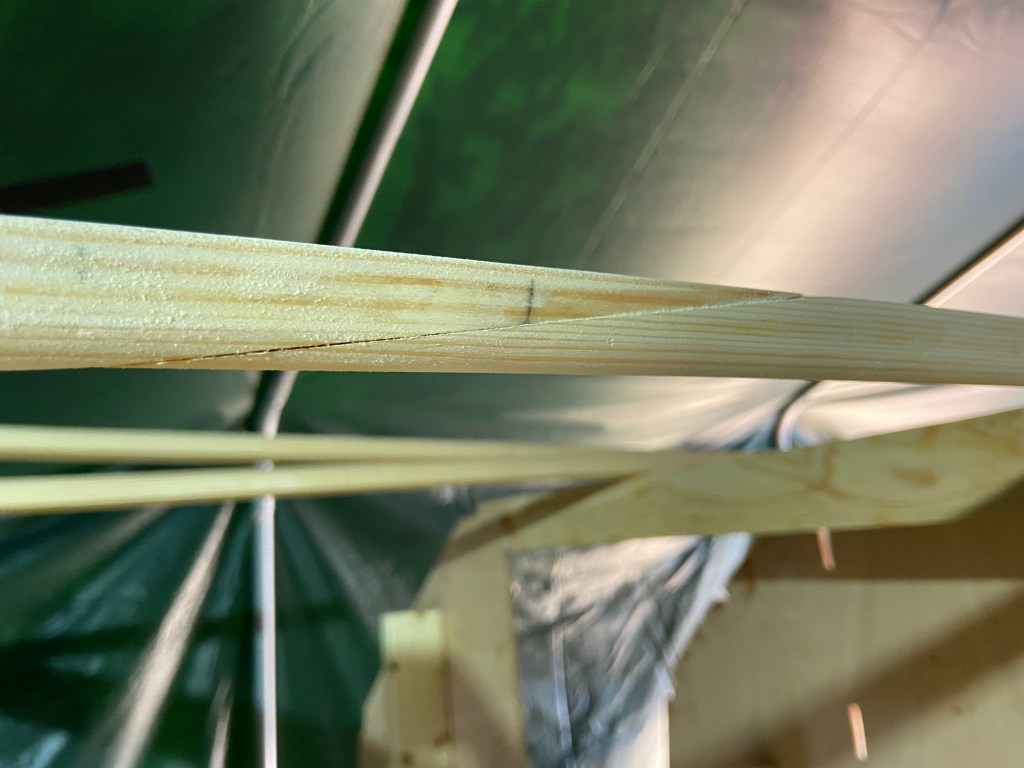
  • gets me to about the right depth on the lower 70mm stringer. Which I maked by drawing a 40mm pencil line along it length
  • looks about right on the angles for the chines

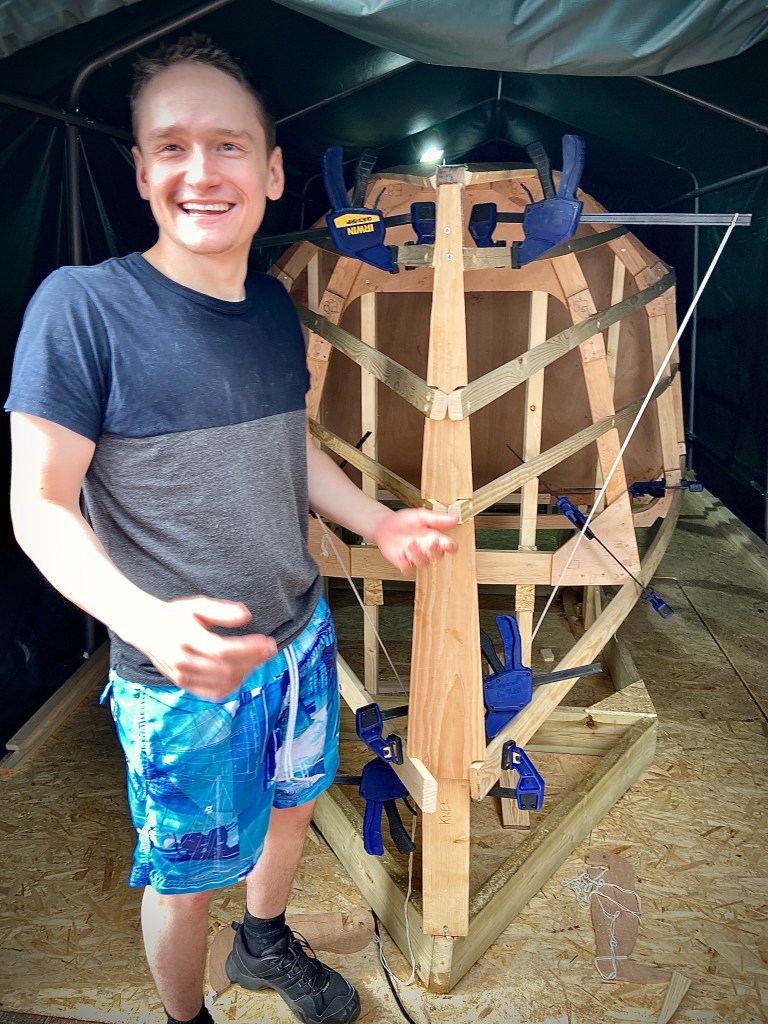
This has not been precision engineering, there has been a lot of look and feel. Lack of experience creates quite a bit of self doubt. But we have persevered.

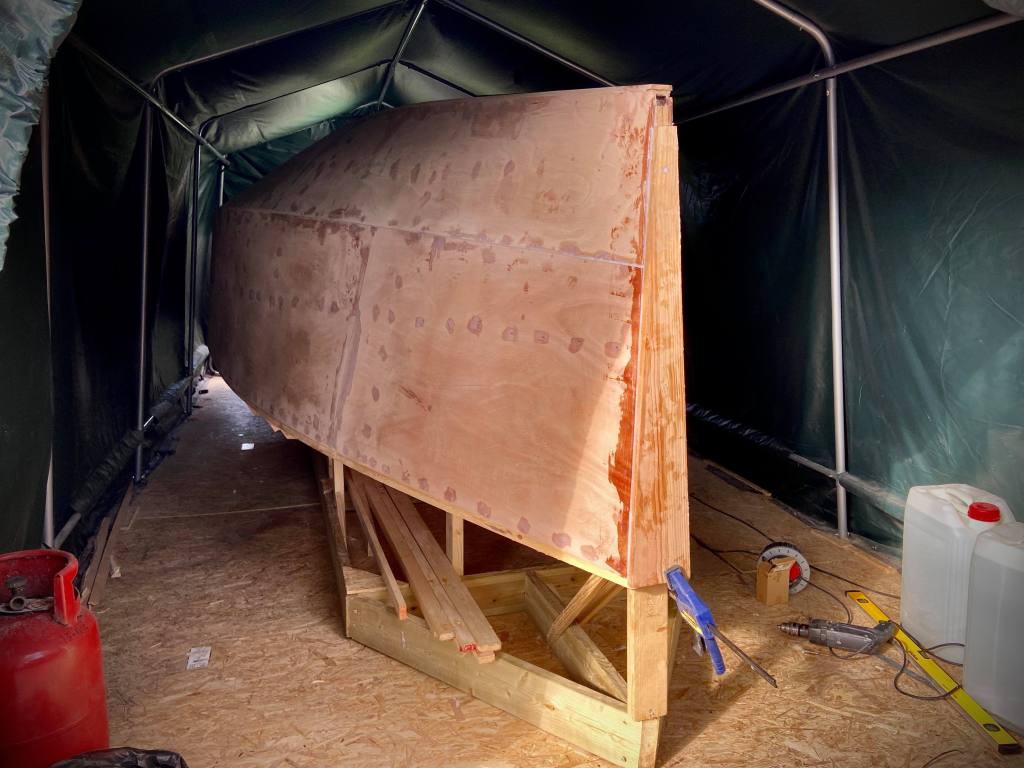
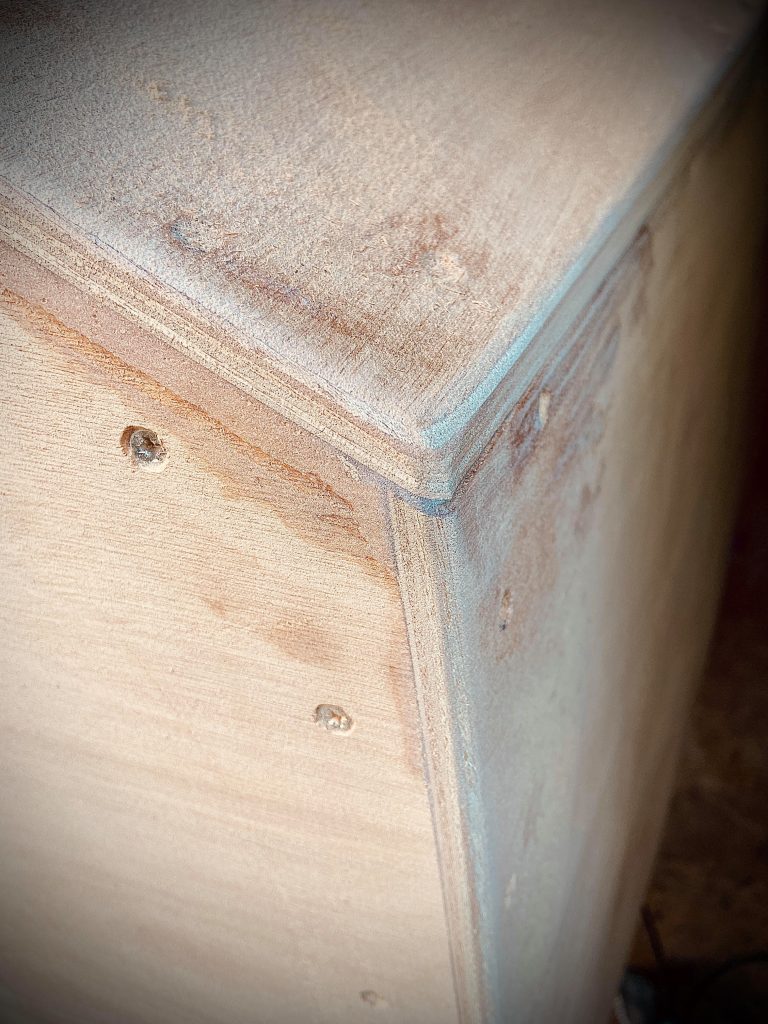
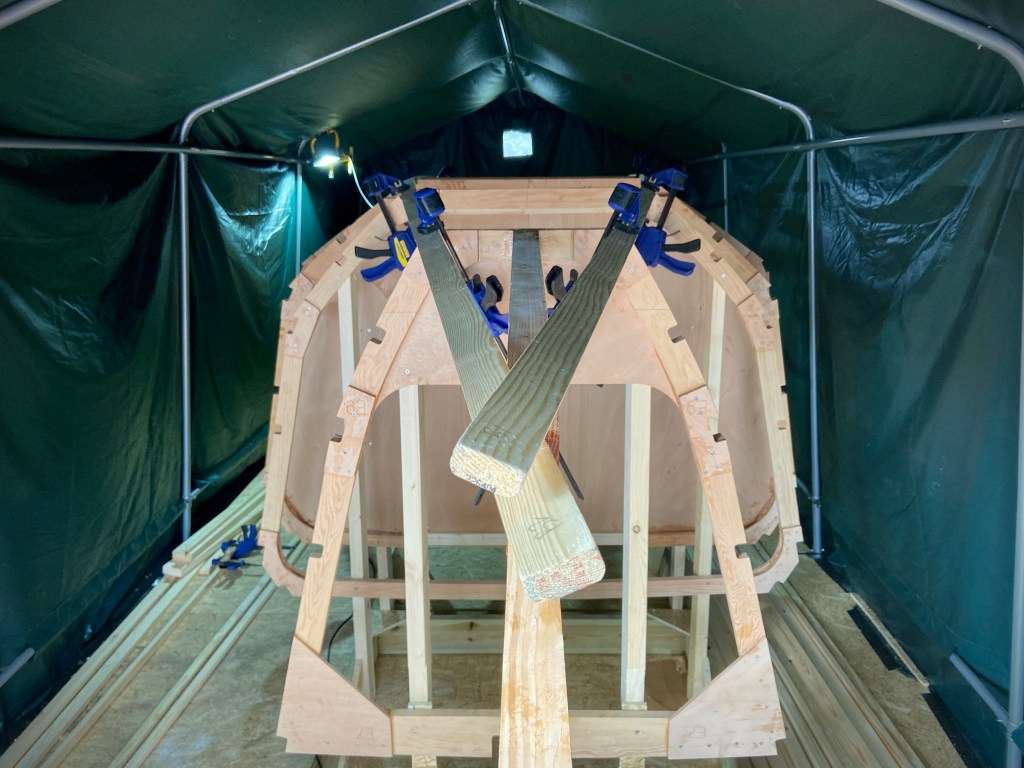
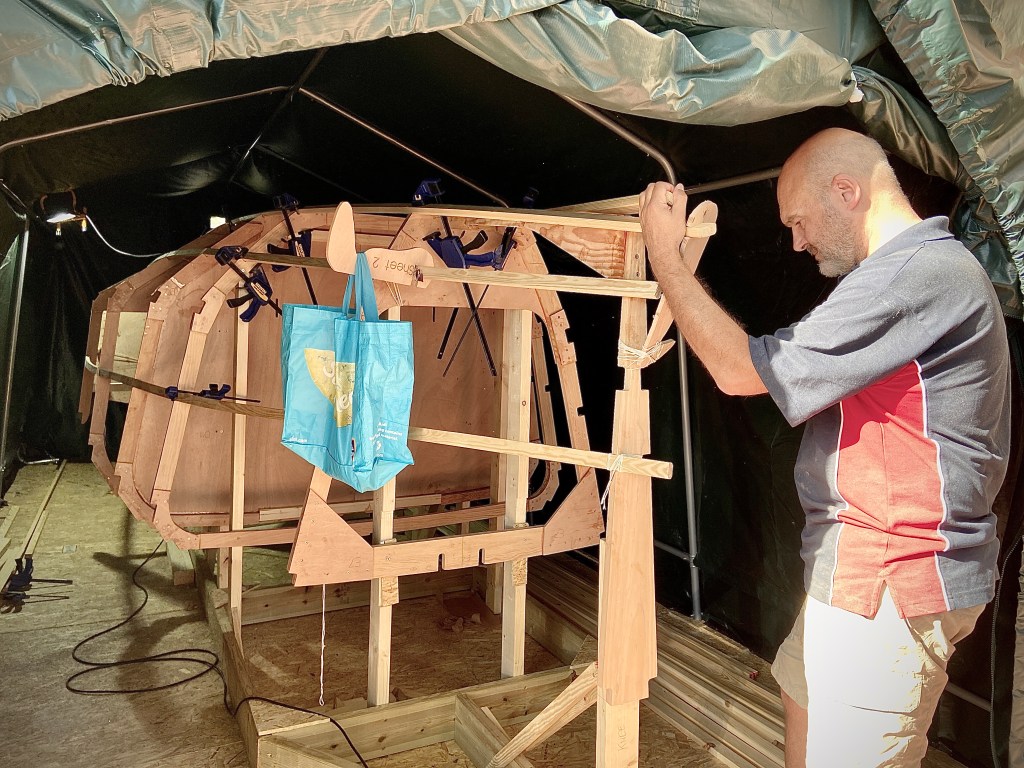
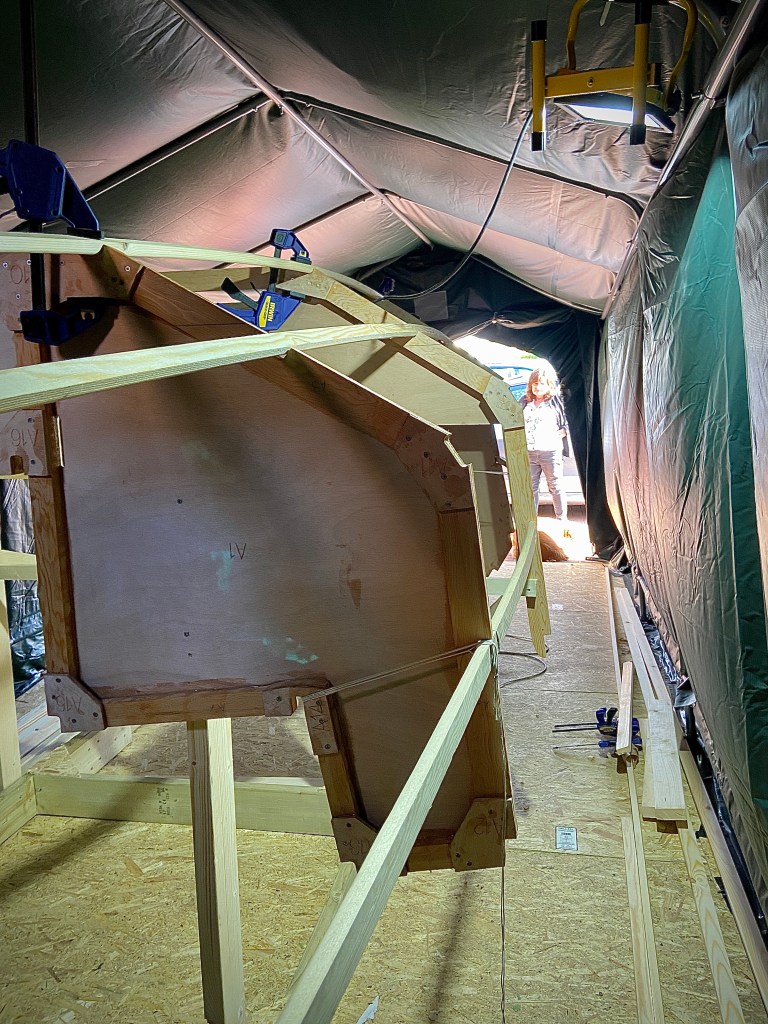
We have now got all the side panels dry fitted in a way I am happy. We have done some initial trimming but have left some more to do once we have taken them off again to glue them down. I have a couple (well maybe three) millimetre vertical gaps between a couple of panels but I can fill these with epoxy once I have the backing plates in place.

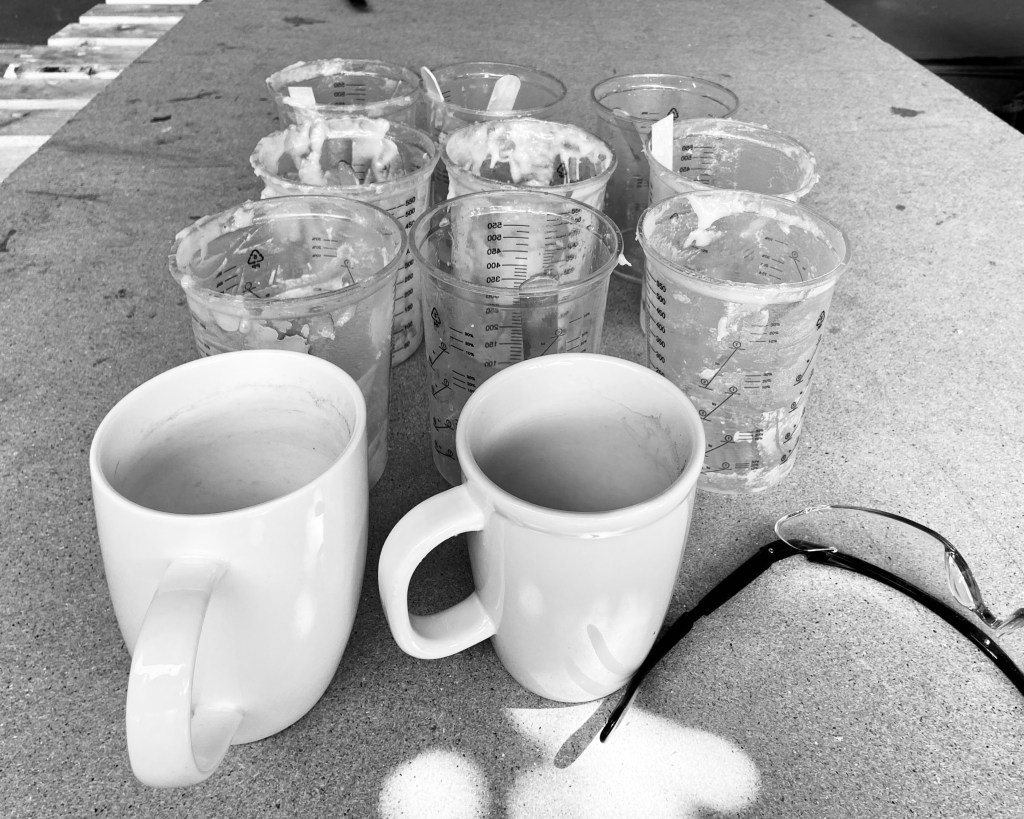
At the moment I am letting them percolate in place while I order and receive the materials for fibre glassing. Allowing them this time should make them easier to put back on again when we are ready to glue.

To be honest I have found this to be the most frustrating phase so far. But I think we are through it now and can look onwards again. And to be honest once I rested the bottom panels on the boat on this morning to double check some fitting and lengths it did look sexy.

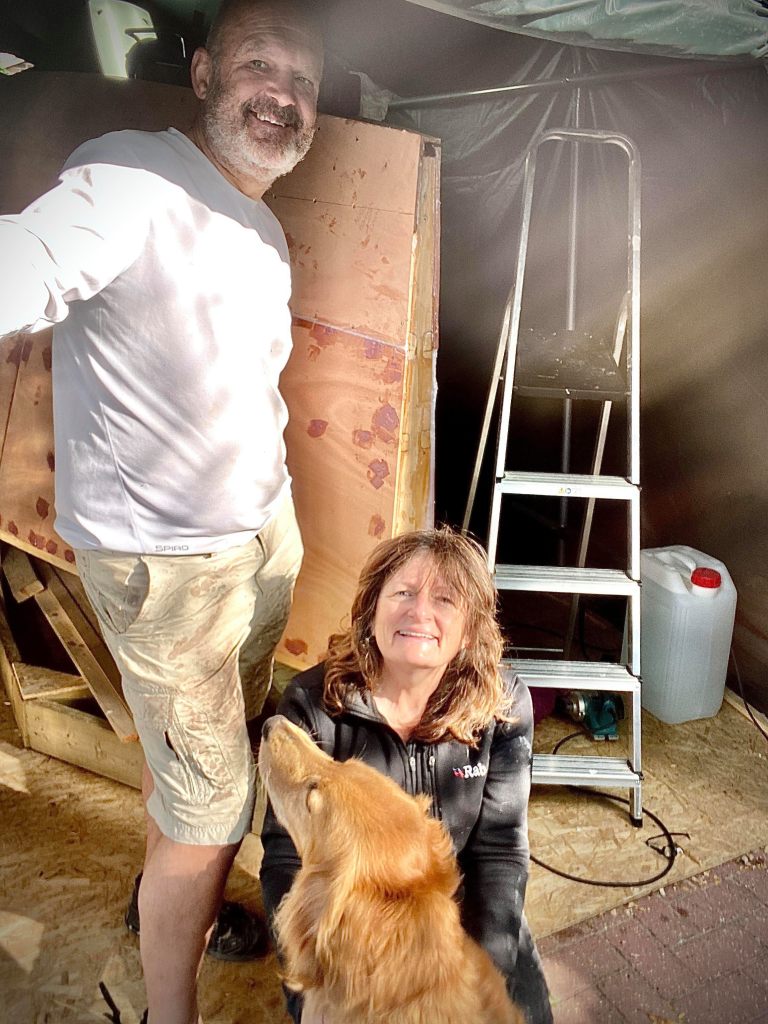
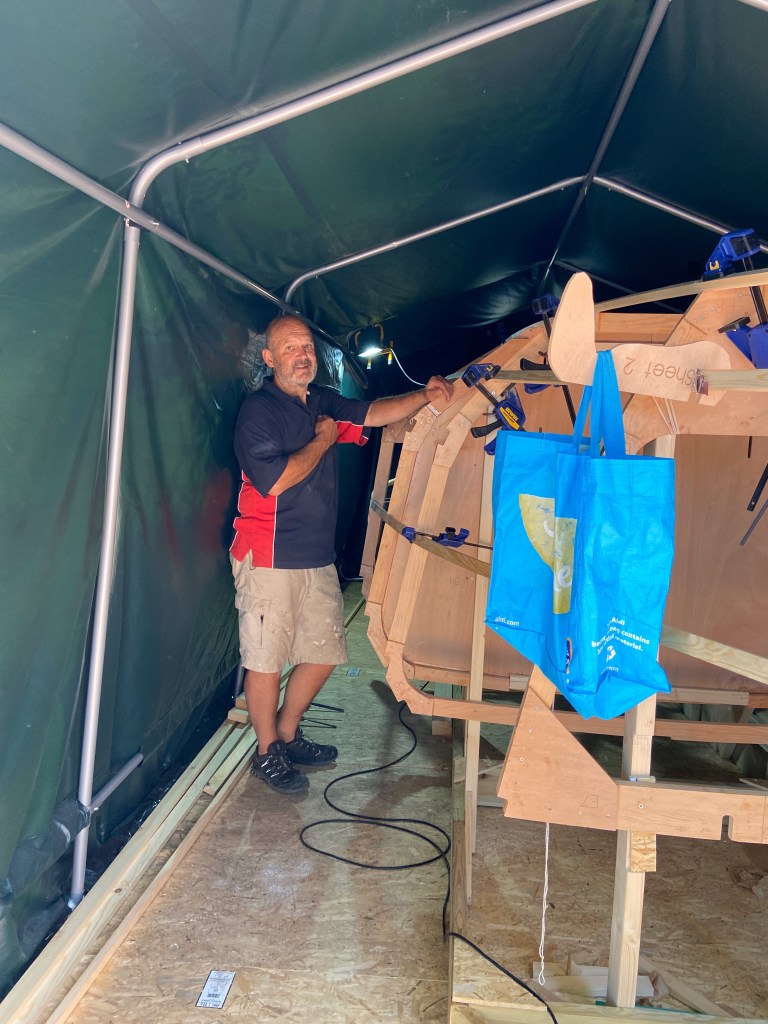
On the upside as I am working in the front garden I have met a lot more of my local community than I have in the last 20+ years of living here. The boat is quite a talking point. Even found out one of our neighbours a few doors down used to build boats for a living for a number of years. All knowledge, very welcome.

I have started an Instagram profile to feed to the website. Sometimes there is not a lot to say so I might post a quick update pic so my brother doesn’t think I am just lounging around…….again. Does this make me an influencer? Not sure…..but I am available for “Strictly” btw.

Back to bevelling.

Craftsman at work!

Tent survived a proper windy night. Celebrating by starting the bevels for the Chine panels.

I do use an electric plane but they can be proper vicious and take chunks out where stringers meet frames if you are not careful. So I tend to use the electric for taking some “bulk” off and then a small hand held where some finesse is needed.

Let’s twist again..

Challenging few days.

After driving on and getting the stringers last week I started this week with a dusty day bevelling some of them ready to take the side panels. The order of mounting being transom, sides, chines and bottom(s).

All had been going too well. When I mounted the side panels on the Port side I found I had a big gap, they weren’t long enough. Whereas the Starboard appeared fine. I continued bevelling but in the end I still ended up with a 30mm gap. This was slightly disappointing. Well quite a bit disappointing to be honest.

Overall this would equate to less than 1% of the overall length, so not a huge difference, and after all we are not building Formula 1 racers. Possibly if I had been building from raw materials rather than a kit I may not even have picked this up, as I would probably have cut rough to the boat and finished on the boat in front of me. However as I had three pre-cut kit parts to play with I had to take a step back. Why was I having this problem.

So out came the spirit level and the tape measure. I spent a morning re-measuring things. Overall length of the boat was fine, key jig dimensions ok. However I found a few key measurements out. A couple of frames slightly off centre (having run a plumb line over the top), and one of the frames and transom twisted off vertical. None of which you would notice to the eye.

As this has been checked numerous times before whilst building the jig and mounting the frames I can only assume this has happened quite recently. Although the tent we are using to build the boat is great, it could ideally have done with being a little wider. From time to time when we need to work on one of the sides we need to push the whole jig and boat to the other side of the tent. I can only assume we have accidentally introduced the movement whilst moving the boat.

So this morning was spent freeing the previously glued stringers on the aft Port frames with an oscillating multitool saw. (The only bright side of this episode is that I now have another new toy!!). This afternoon was spent repositioning the errant frames and rechecking the side panels. They pretty much fit correctly now, although I probably need to finish a little more bevelling for final positioning.

This is a good result as I thought for a while I would need to cut out all the stringers, which if I damaged would probably set me back a couple of weeks.

So what are the learning points.

  1. Don’t assume that once you have mounted the frames on the jig that they will not move. We had already added additional structure to that shown on the drawing, but even so….
  2. Do not glue anything or cut anything to “final” length until you have checked the next two steps ahead
  3. Before you glue its a good idea to double check that your core dimensions are still correct, nothing has moved
  4. keep coins nearby for the swear box

Hopefully we have resolved our issues for now. On we go.

Glue day

Long morning getting stringers glued on. Started early before it got too hot in the tent. Yes, we have sun in the UK this week. All bar 70mm stringers glued on. Lots to cups used, glue and refreshment. Didn’t want to mix too much epoxy in case it went off quick in the heat. First time using the 403 microfibres to create some bridging and gap filling – learning mixtures.

One thing is certain. The boat ain’t coming apart in a comfortable way from now on!

Dry fit

Yesterday was a good day. We managed to get all the stringers dry fitted to the boat. All except the 70mm are screwed and have had the frames shaped to take them. The 70mm we have clamped into position and will leave for a day (or so) to see if it will take the shape a little and then do some adjustments to the frames.

Was concerned about finishing the second stringer from the top (bottom) that finishes at the stem with no cut in. It felt very difficult to finish it properly in this position fixed to the back of the stem. So for now we have screwed it to the knee and shaped it finish at the side of the stem, matching the angles of the other stringers. This felt more secure. It may give us some minor issues finishing the crash box, but nothing too insurmountable. I will have another think about it before deciding their final position and gluing

Too hot to work in the “boat tent” today, so planning day.

Next steps are to break out some of the side planking and test fit. Check our angles are working and get an impression of the amount of beveling we need to do at the frames and stringers. Once we are happy we will take a day to do the final fixing on the 70mm stringer, release each of the stringers in turn, glue them up using a blend of West System 403 and 406 and re-screw into final position .

As a point of celebration we only had to remake one scarf joint overall. They all look pretty good now and have been holding up to the twisting and turning of hanging on the boat. Probably not the pressures of the Atlantic in bad weather but encouraging.

We could feel the structure stiffening up as we mounted each of the stringers, gradually increasing confidence in its overall solidity.

Happy building!

Stringers need string right?

Last couple of days we have just been a stringer scarfing production line, preparing, gluing and clamping……..and waiting.

In the meantime we got the Knee laminated and secured onto the jig and frames. Our boat now formally has a pointy end!

Most the Stringers were dry and firm this morning so we could press on with getting some of them mounted. At present we have just been dry fitting and slightly “modifying” frame inlets to let them in. We can now see some of the “tuning” we need to do on both the frame inlets and the shape of the frames themselves to follow the line of the stringers.

I ran out of my ration of Irwin clamps during the day. These are essentially currency of the amateur first time boat builder, and determine how quickly you can progress. Having needed clamps for both scarfing and mounting stringers we have today addressed our shortfall by bringing in the old time favourite of all crafty constructors……some proper string. Where the stringers don’t need to be bent too far, mainly at the back of the boat, a simple lashing with string (and quality seamen’s knots of course) seems to be sufficient to hold them in place so we can free clamps up towards the bow….. where all the large movement is happening.

We have also enlisted a patented “Seal Key” and a “bag for life” into our high end boat building tool set. I wonder if Dan Turk will swap a Seal Key for a Captain Morgan Twister?

We’re making progress………wonder if I should call the boat “Elegance”…..

Stringer time!

Started to prepare the stringers for mounting on the frames. Like most builders I have seen so far I cannot find timber long enough in a single piece to cover the length of the boat. So I have gone with the best I can find and I am learning to make scarf joints and how to use a router to round off the corners. This is all completely new to me.

I have scarfed two joints so far. One I was happy with and one I wasn’t. I wasn’t happy with the second one as I didn’t manage to get the epoxy glue to penetrate across the whole of the joint. I have decided to order some West System 406 adhesive filler. I want to make sure that after I have wetted the joint with plain epoxy mix I could overlay with a better binding mix that can compensate perhaps for my lack of detailed carpentry skills.

I have continued to prepare stringers pending the arrival of the filler compound. I have also decided to increase the length of the joint too, again to give a larger/better bonding area. I have tested the joint I am happy with by trying to bend and break it. It survived my not insignificant weight being applied! So I will use it and see how it takes the movement needed to fit the change of directions on the frames.

It has now been clamped on the frames overnight it has pulled in nicely. I can begin to see the amount of work I need to do to cut and bevel the frames to take the stringers properly and then in turn to take the side panels.

Next jobs are to laminate the “knee” and mount it along with the stem on the jig. I can then see whole boat from front to back and how much shaping needs to be done.

Lots to do……learning all the time.