Video update of where we have got to. Still lots to do but feel we have made some progress.
Author: PB
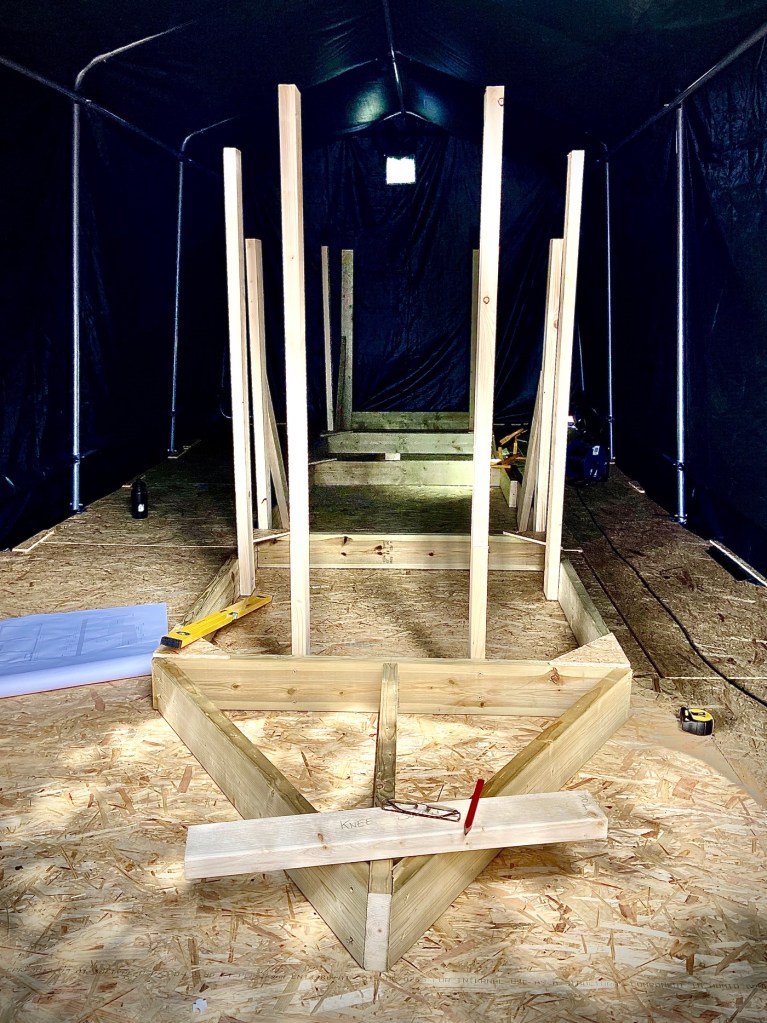
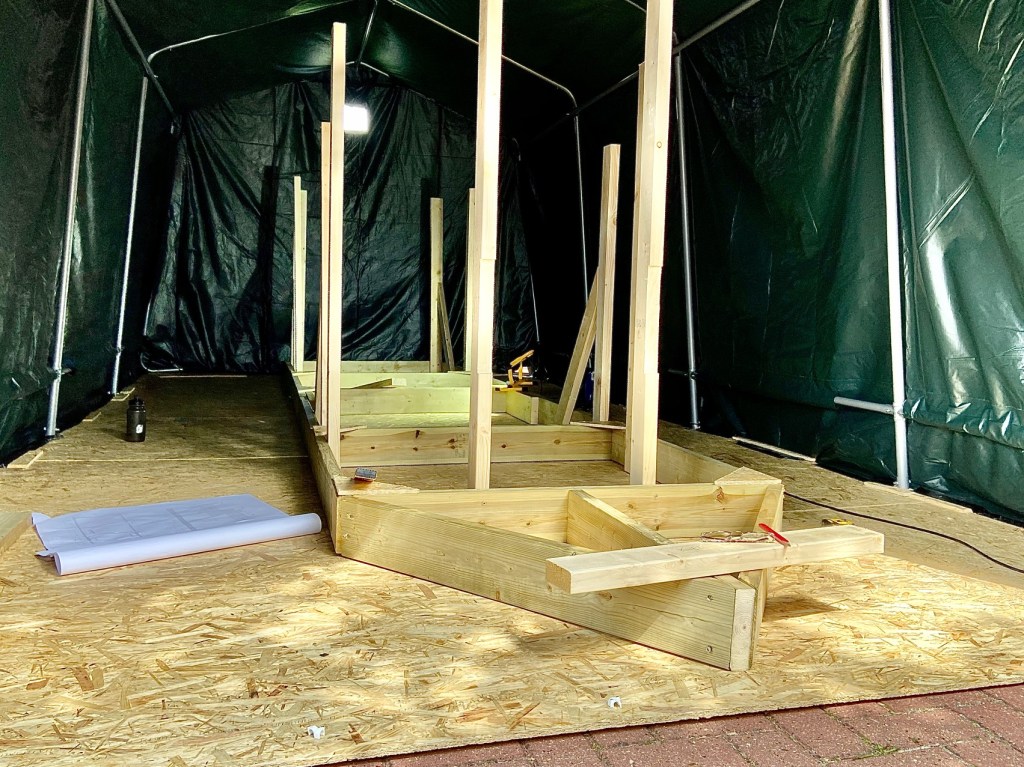
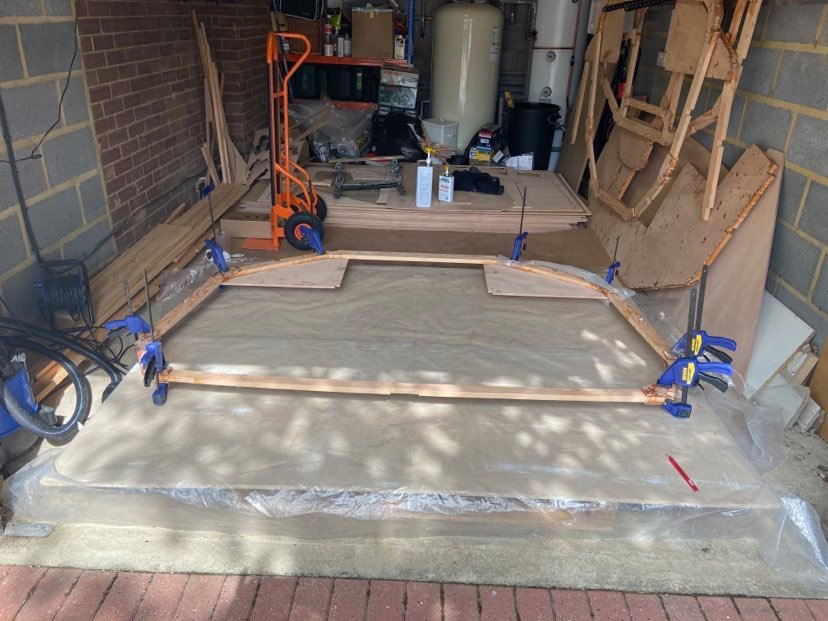
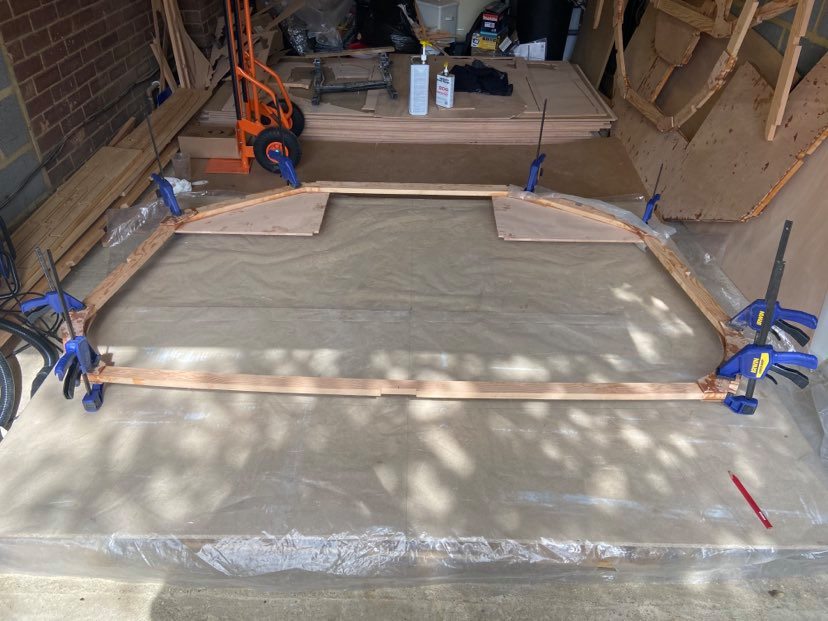
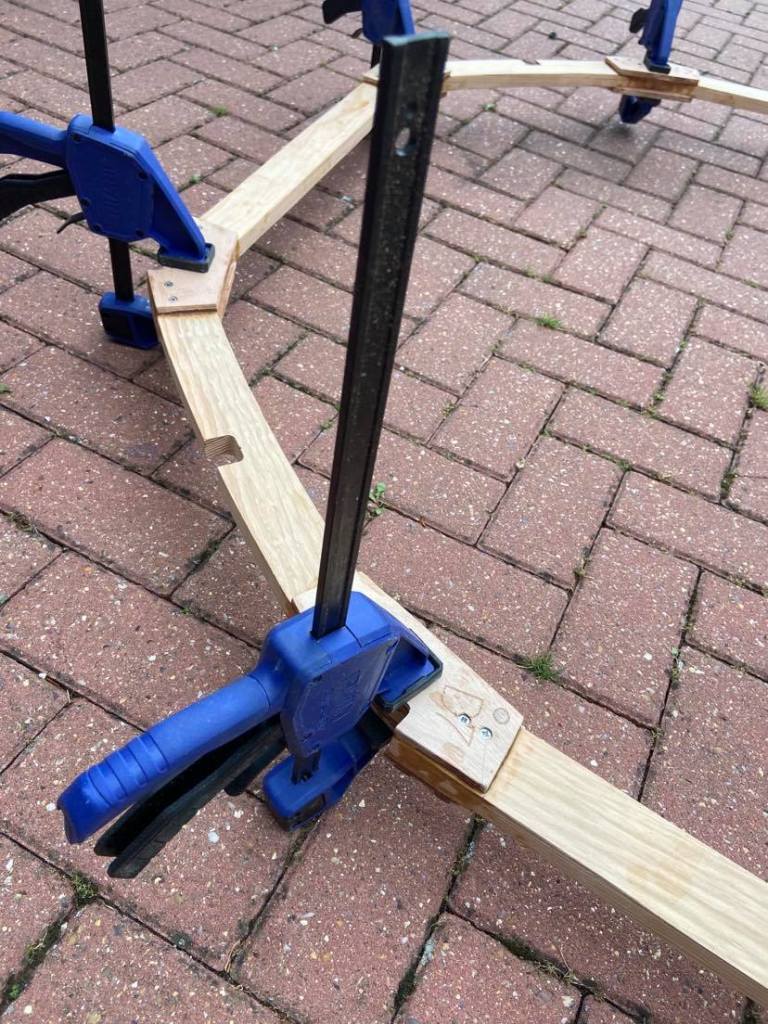
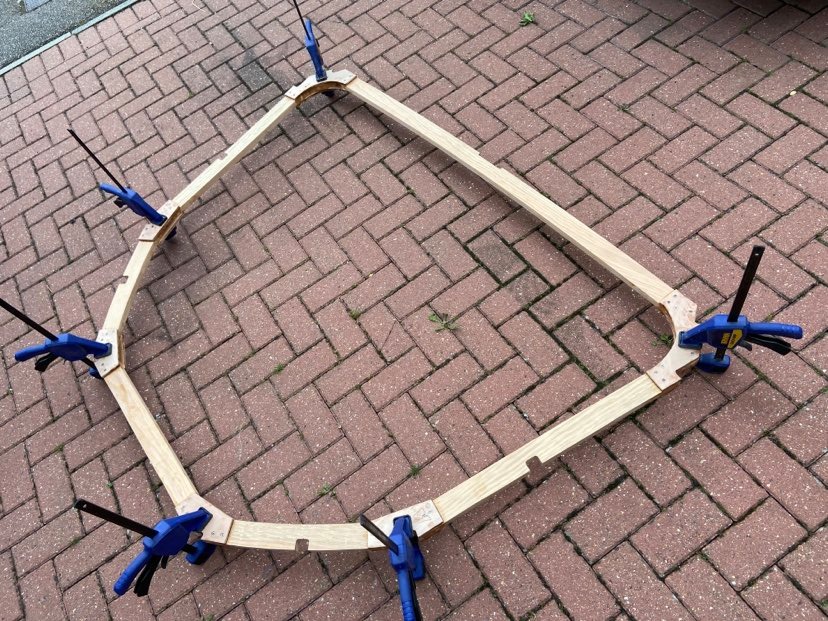
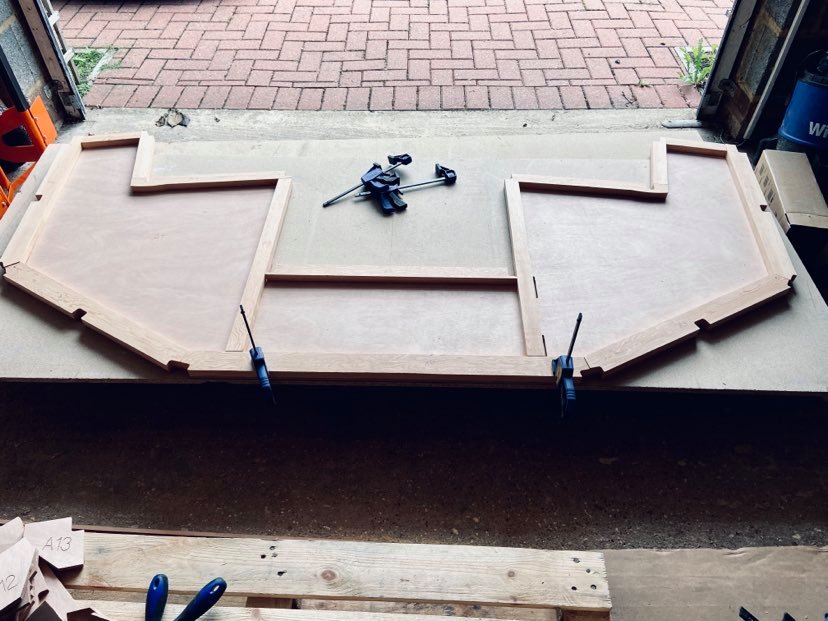
Materials finally arrived for the Jig. With a good day’s effort we had it pretty much completed with a little fiddling to finish the next morning. The good news was that it fits nicely in the driveway tent, although not sure how we will turn it. But that’s a problem for a few weeks!
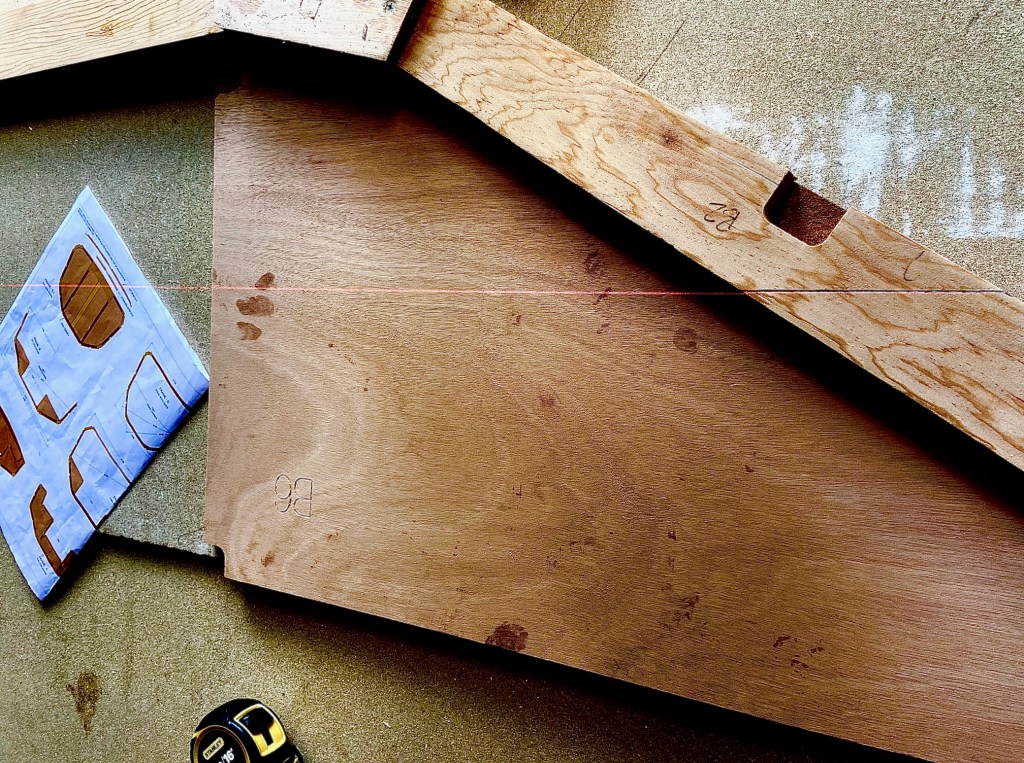
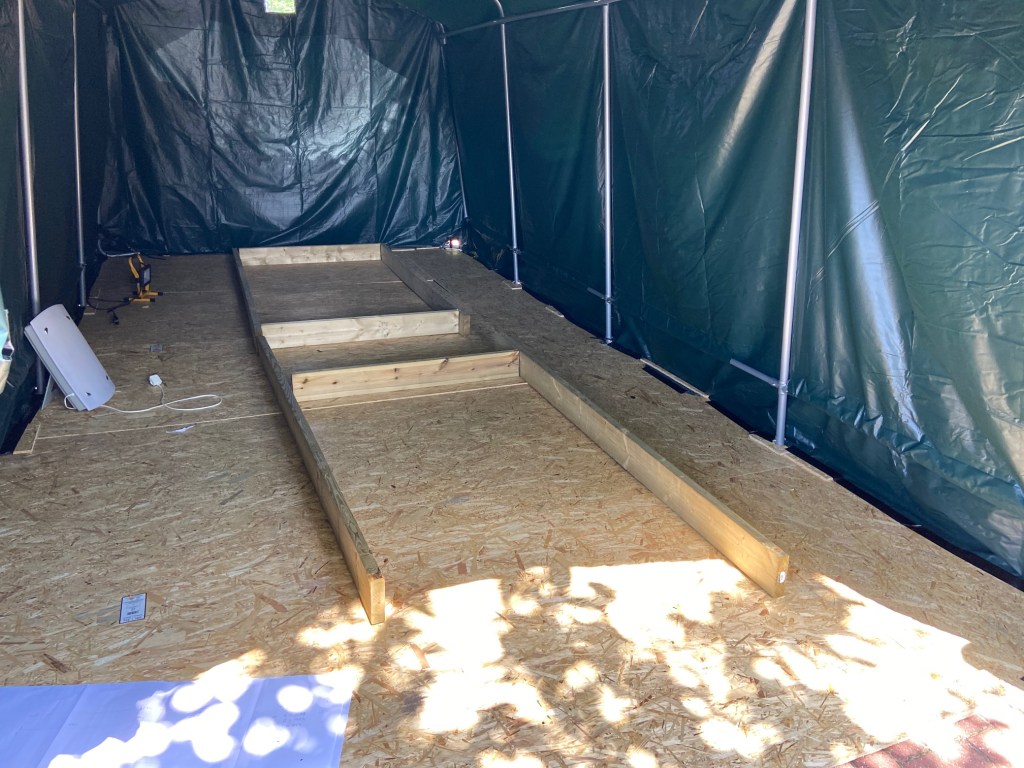
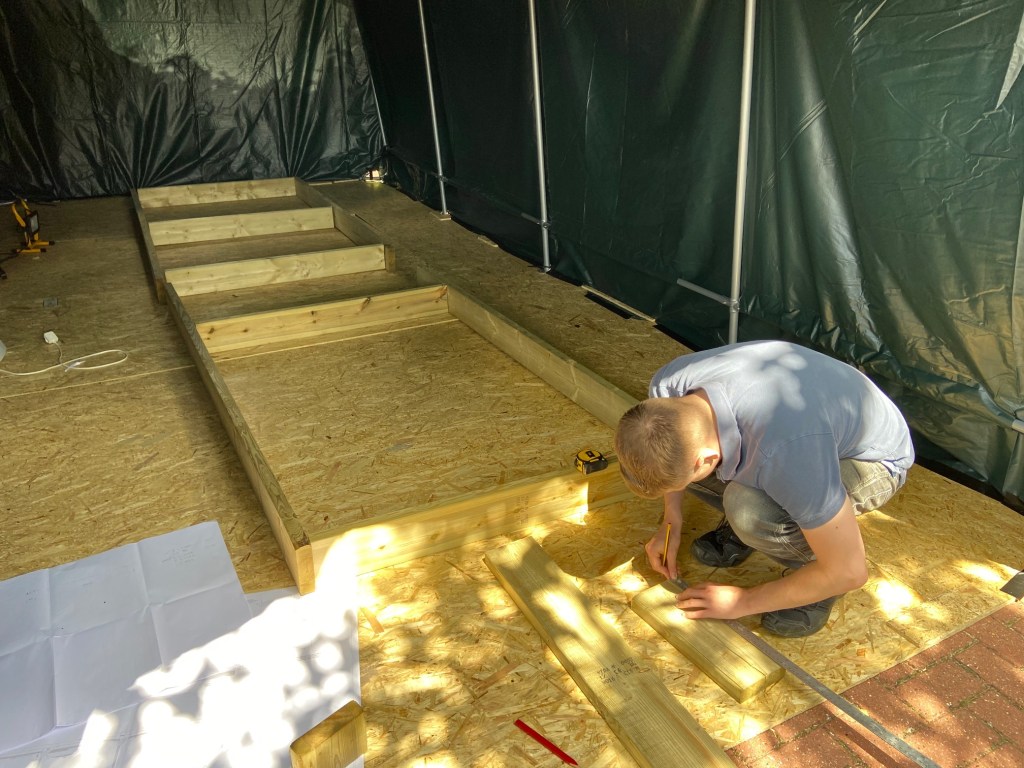
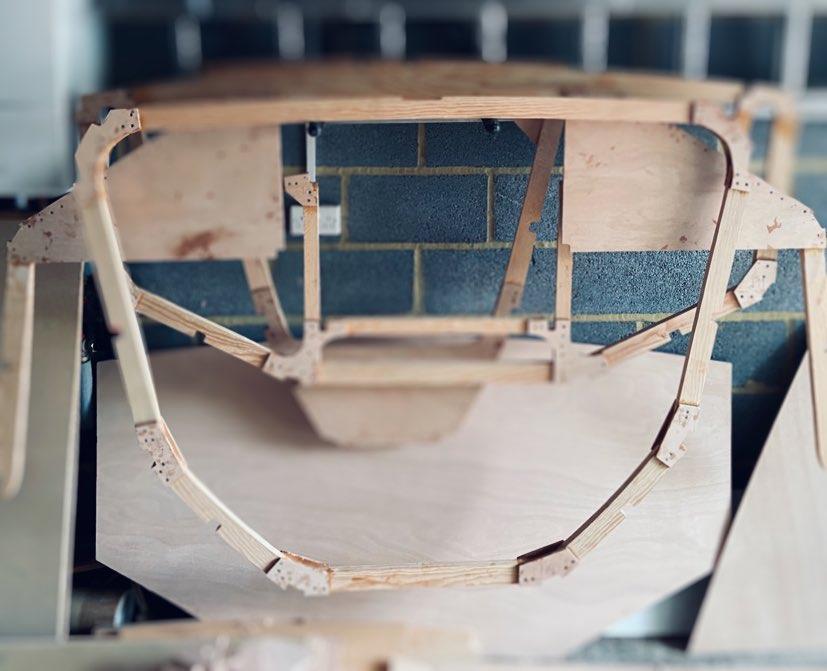
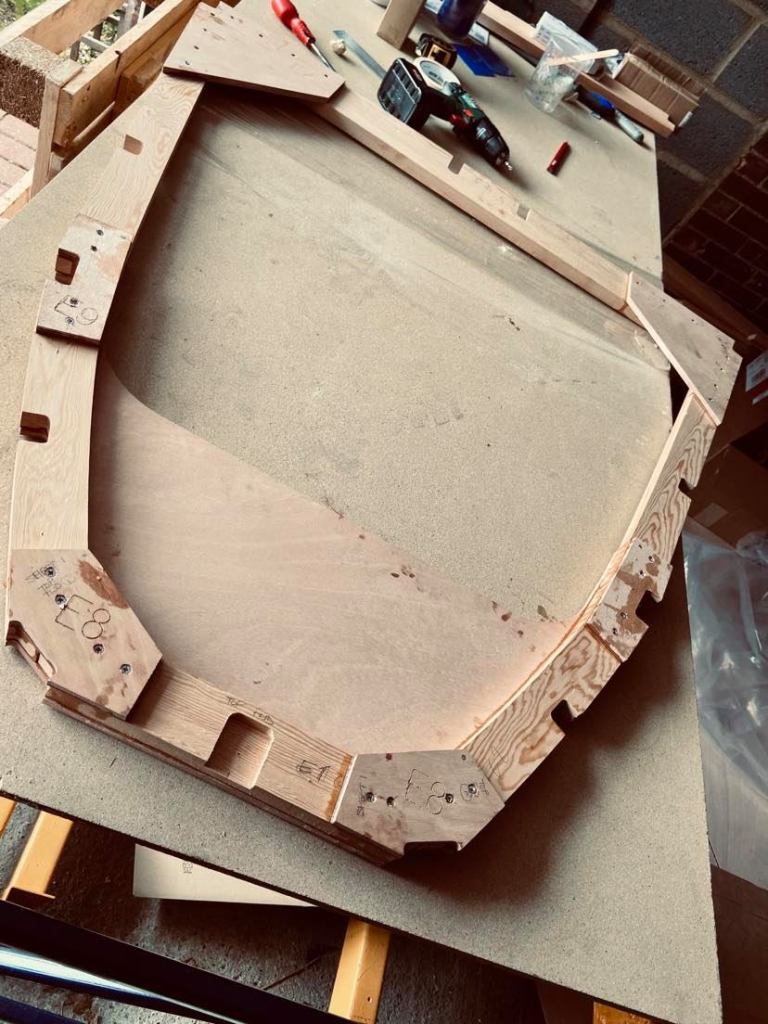
We’ve also prepared the frames for mounting on the jig. A little bit of tidying up and marking out. We have marked centre lines on the frames and jig, and Water Lines on each frame. Taking these and the top of the frame height measurements we should be able to get them all lined up.
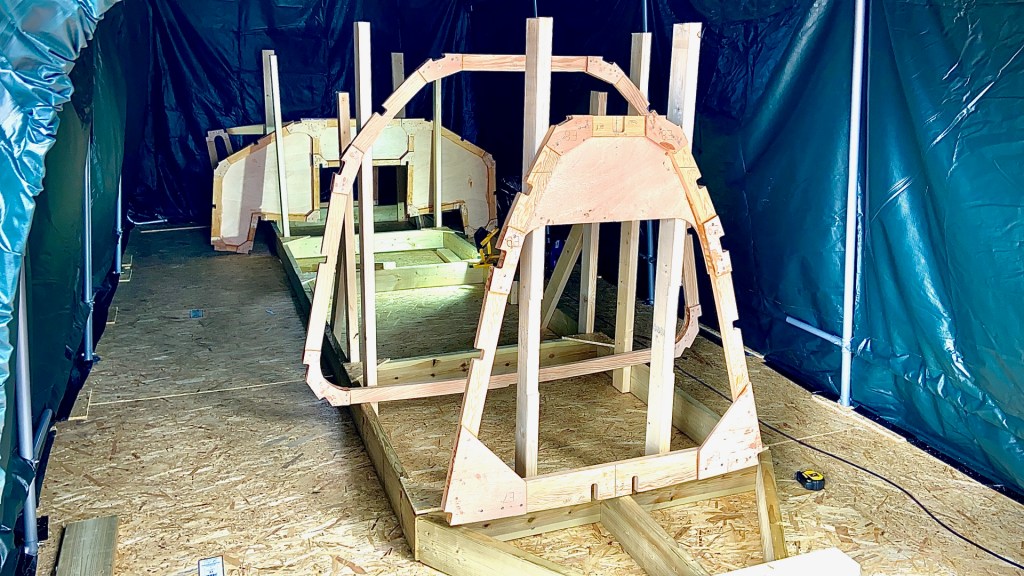
Hoping by the end of the weekend we have something that starts to look boat shaped. Materials for the stringers should arrive on Monday. I have also located a local supplier of Oak for the keel and mast timbers. These should be with us in just over a week. Plenty to be getting on with…..


Bit of a slow down this week but a few useful jobs ticked off.
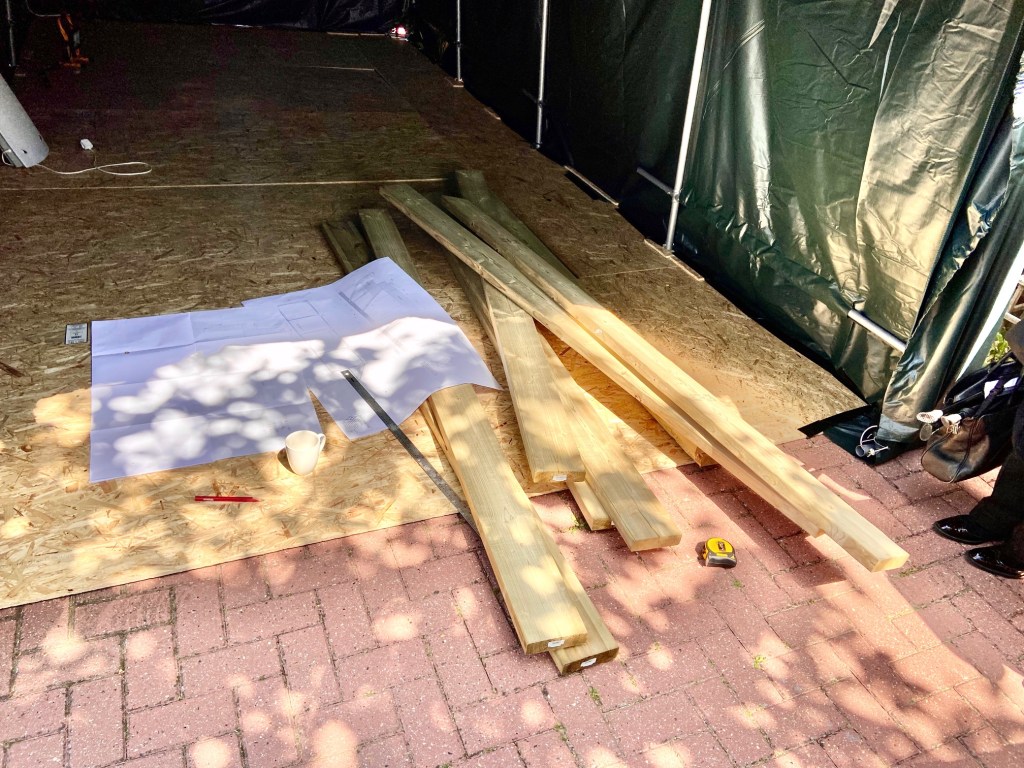
Had issues with getting supply of timber for the jig. Had it booked for delivery….but failed to arrive. Hopefully here in a day or two.
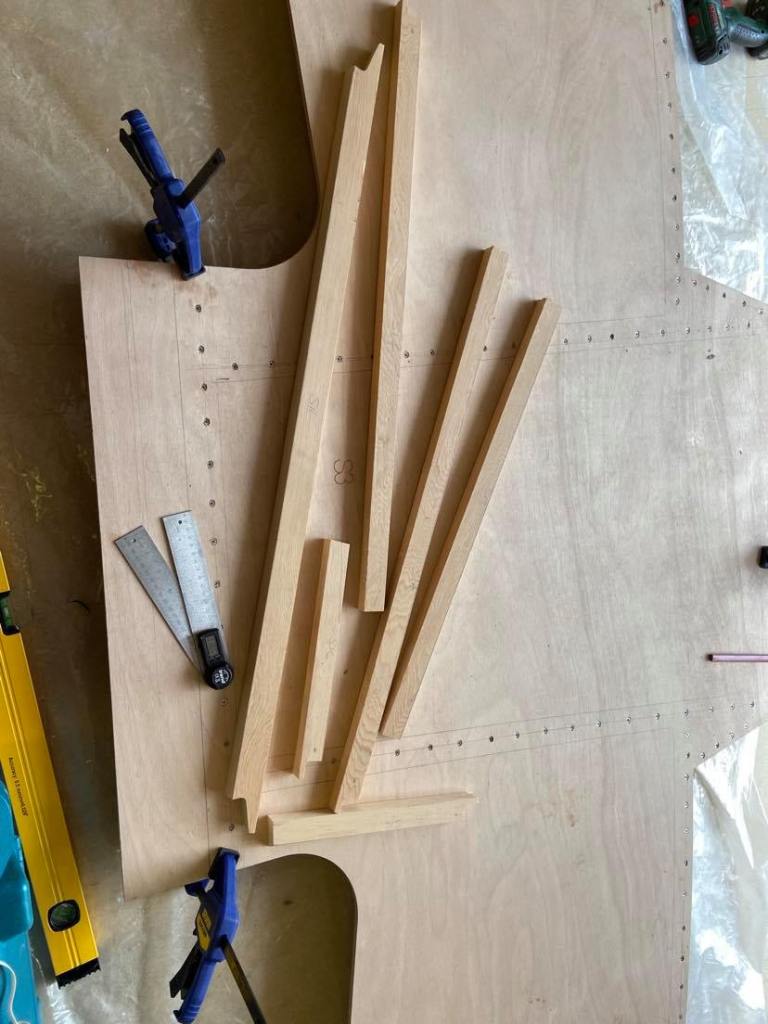
Also been trying to source materials for the stringers, the mast support features and the keel supports. Hoping the get that resolved this week too. Not too pressured on that as need to get the jig built and all the frames mounted first.
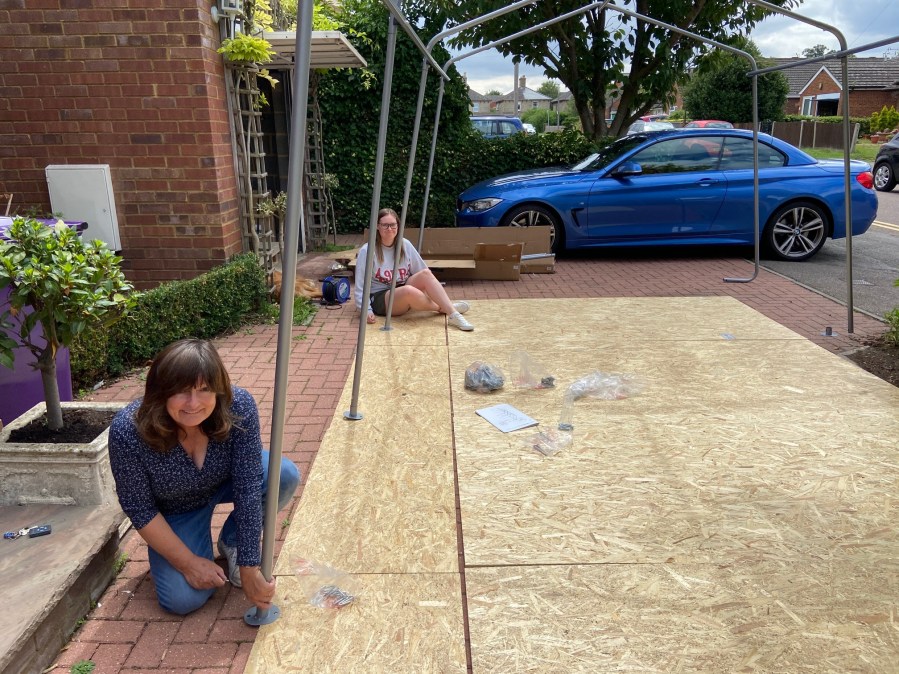
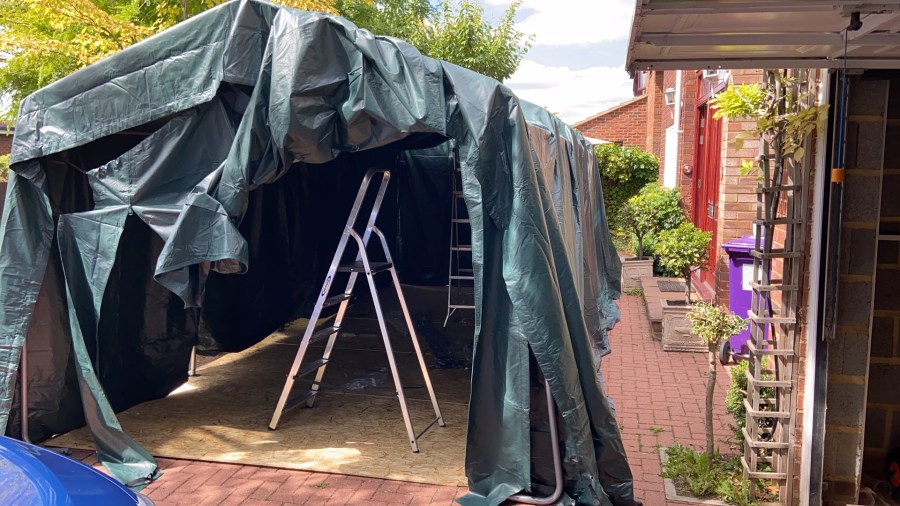
On a positive note. We have struggled to find a suitable “shed” in the locality to rent to build the boat in. Although have managed to build the frames in the garage we have run out of space. So very jealous of the builders that are posting lovely pics of their giant treble garages……good on them!
So we’ve gone out and bought a portable garage tent. Takes up pretty much the whole of the drive but should give us the space for the boat construction. Had fun over the weekend getting it up and hopefully making it wind proof. As someone mentioned in an email to me….”best put the 3 reefs in now”!

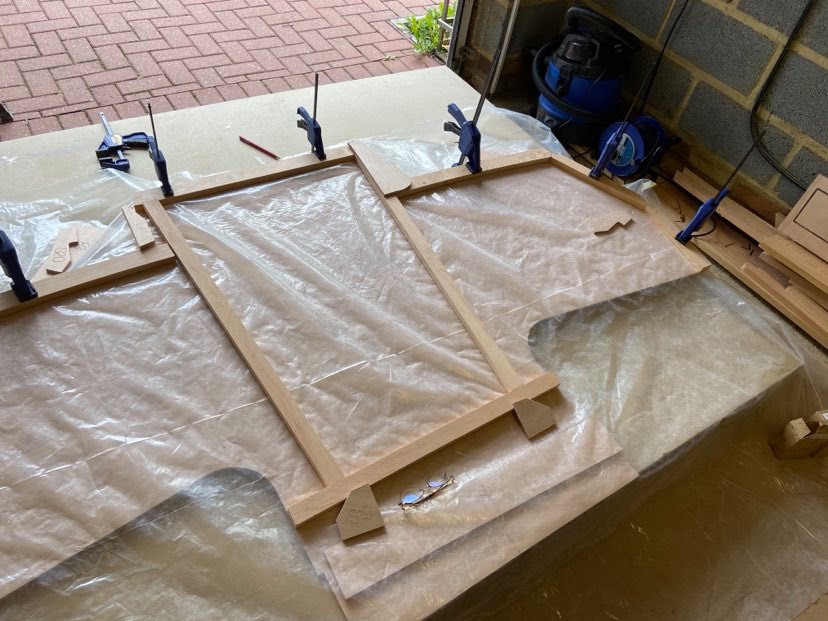
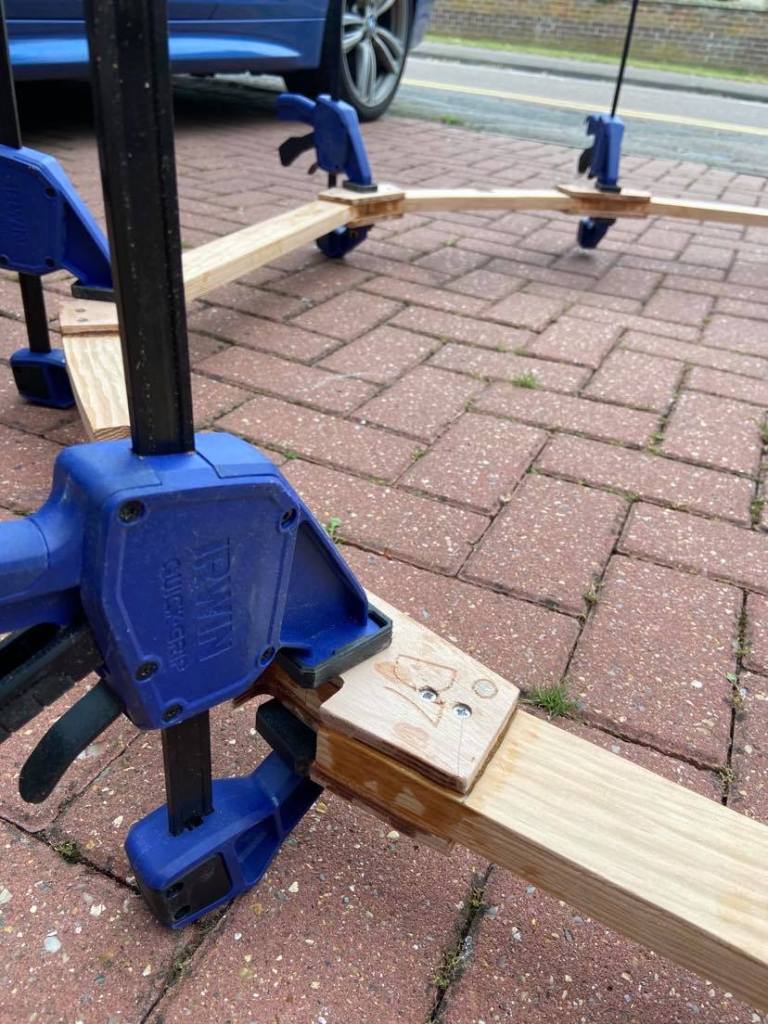
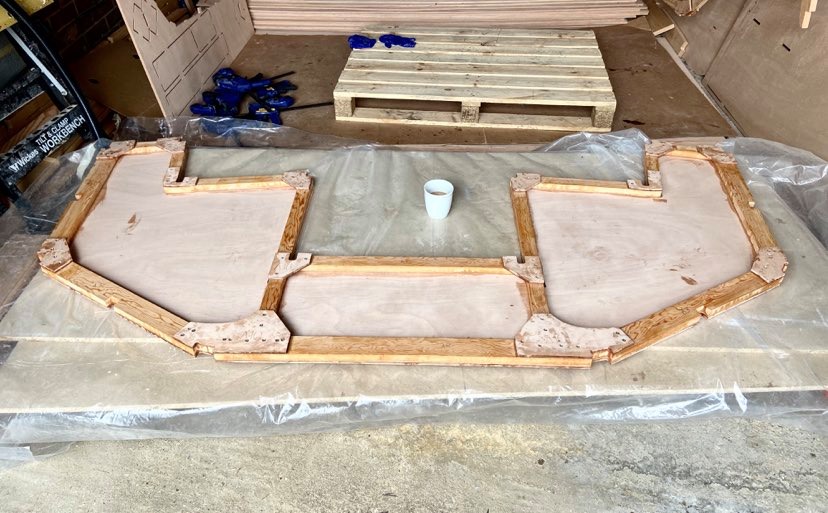
Managed to get Frame C completed quickly over the weekend. Straight forward, a little tricky setting out for gluing as there is no backing plywood frame, however careful use of the Irwin Clamps solves the problem. Essentially we lay the pieces out on a large board, clamp it down as it should be completed and then draw around the frame in pencil on the board. Lift all the pieces and lay a clear plastic sheet over the board. Then replace and clamp the frame parts. When ready to glue and screw in the “brackets” we release each clamp in turn, glue, screw down the bracket down and re-clamp. There’s usually a logical “king” piece or two to work away from, get that one piece done right and the rest fall into place. Kinda!
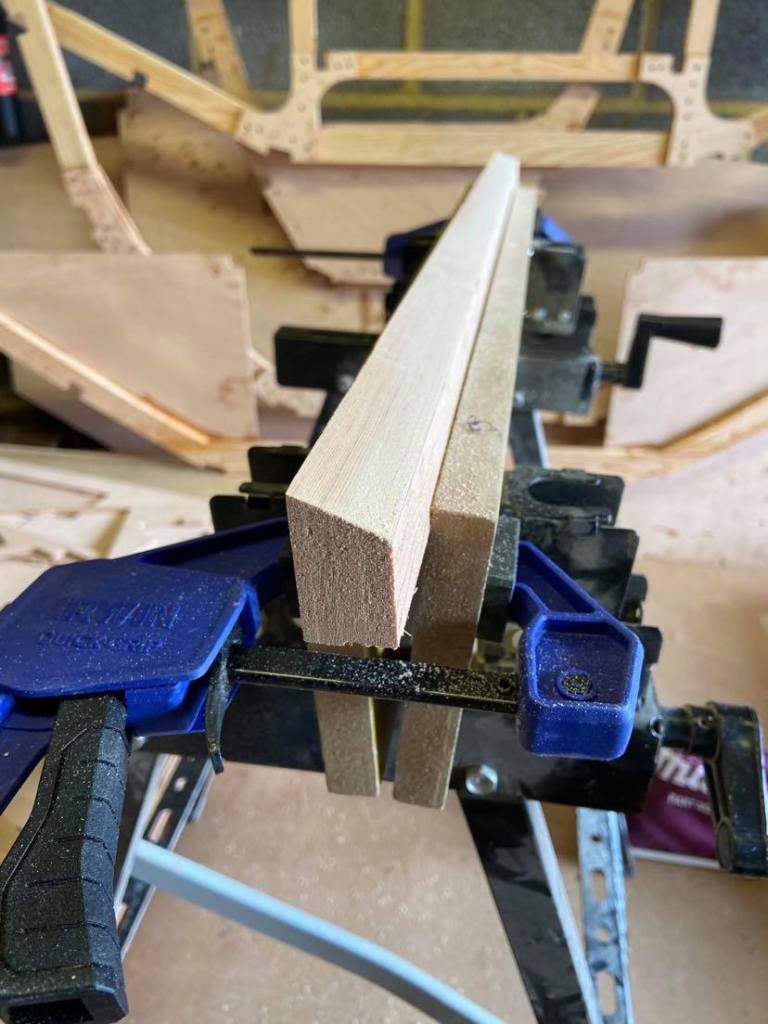
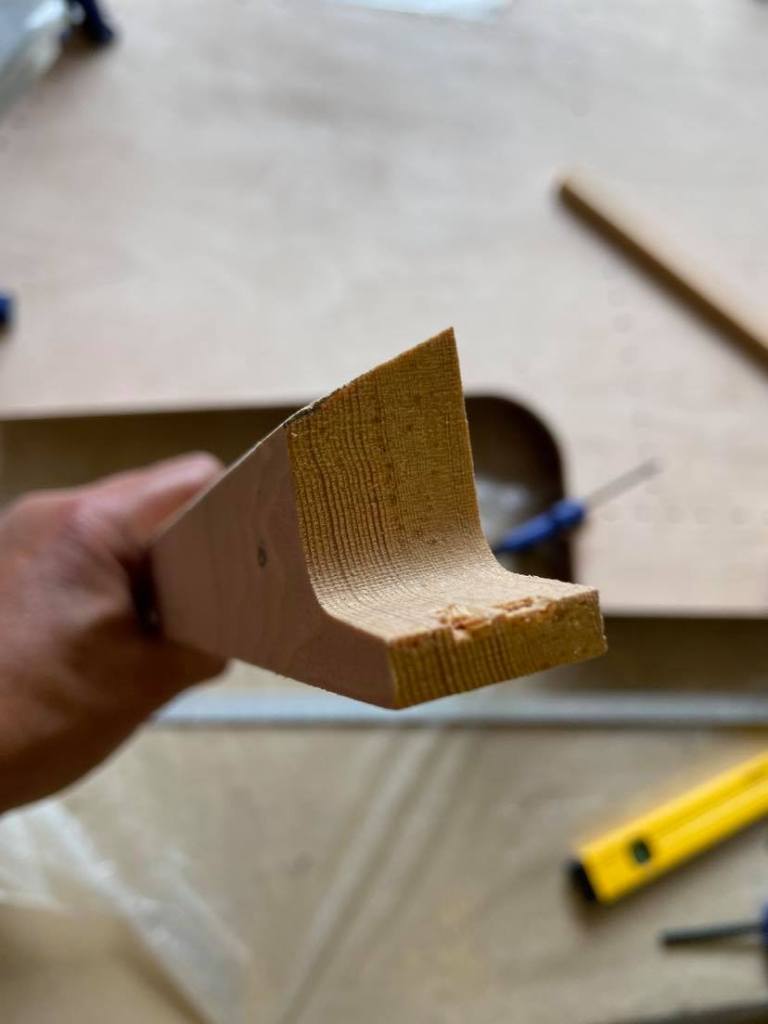
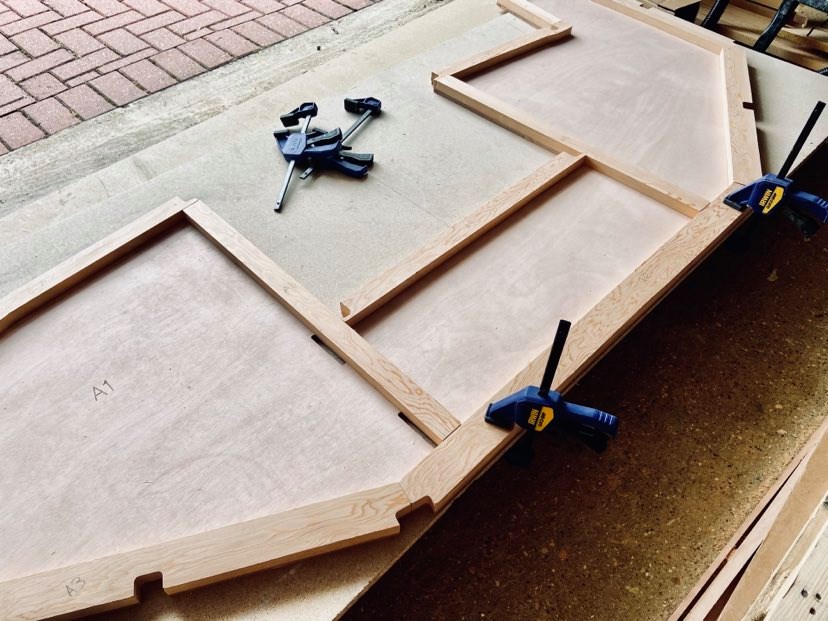
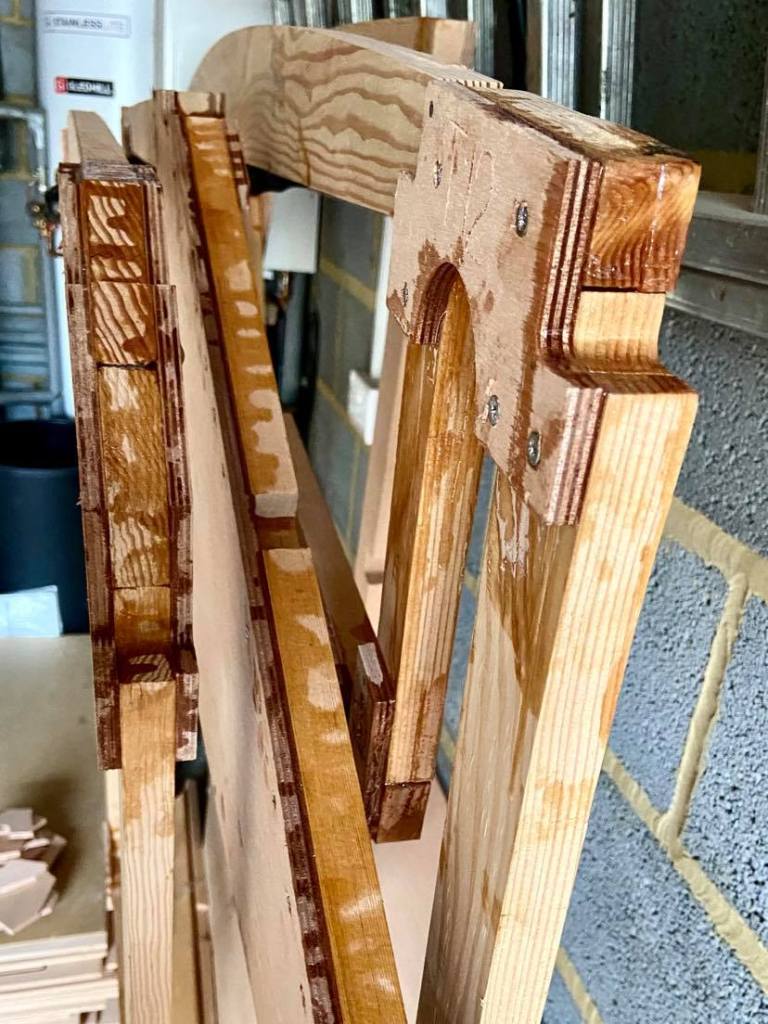
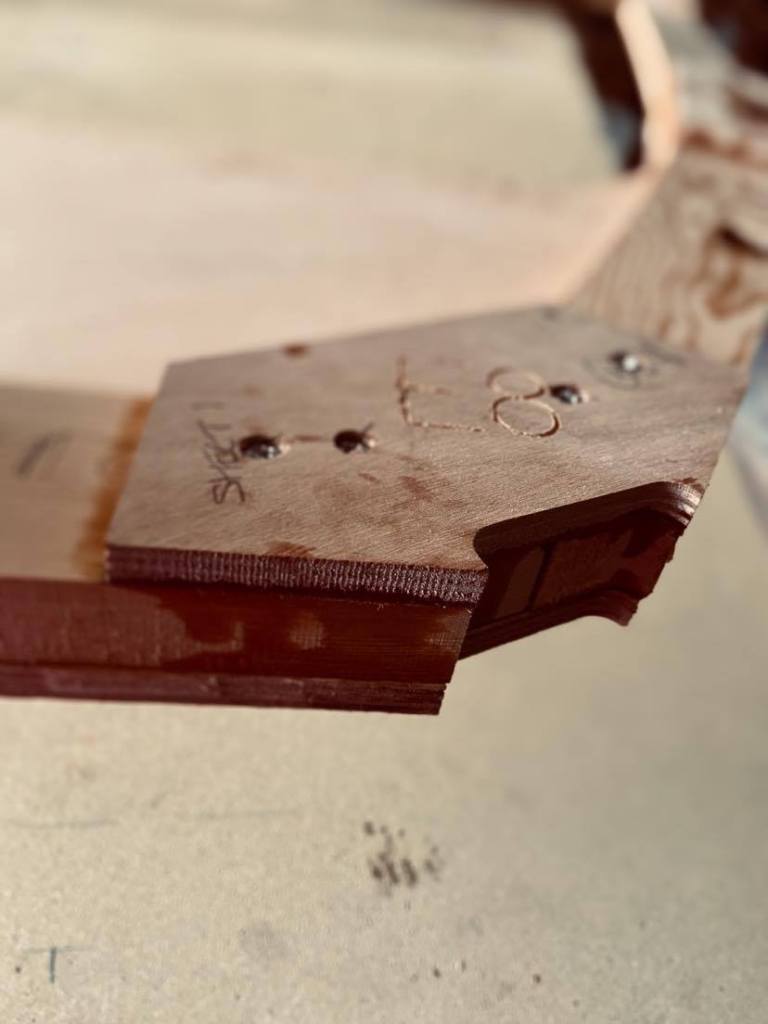
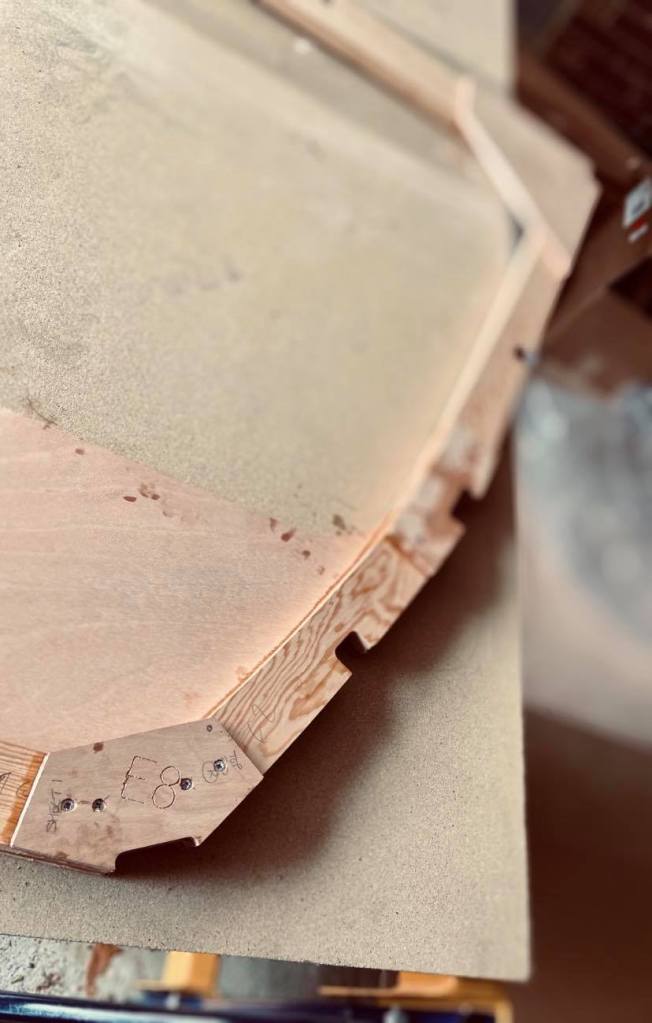
We’ve also made good progress on Frame S. Similar to all the other frames careful cutting and laying out. “S” is a little different as it has structural pieces on both sides of the plywood sheet. Additionally the top piece needs to be left proud by 8mm ready for bevelling when we from the roof of the cabin.
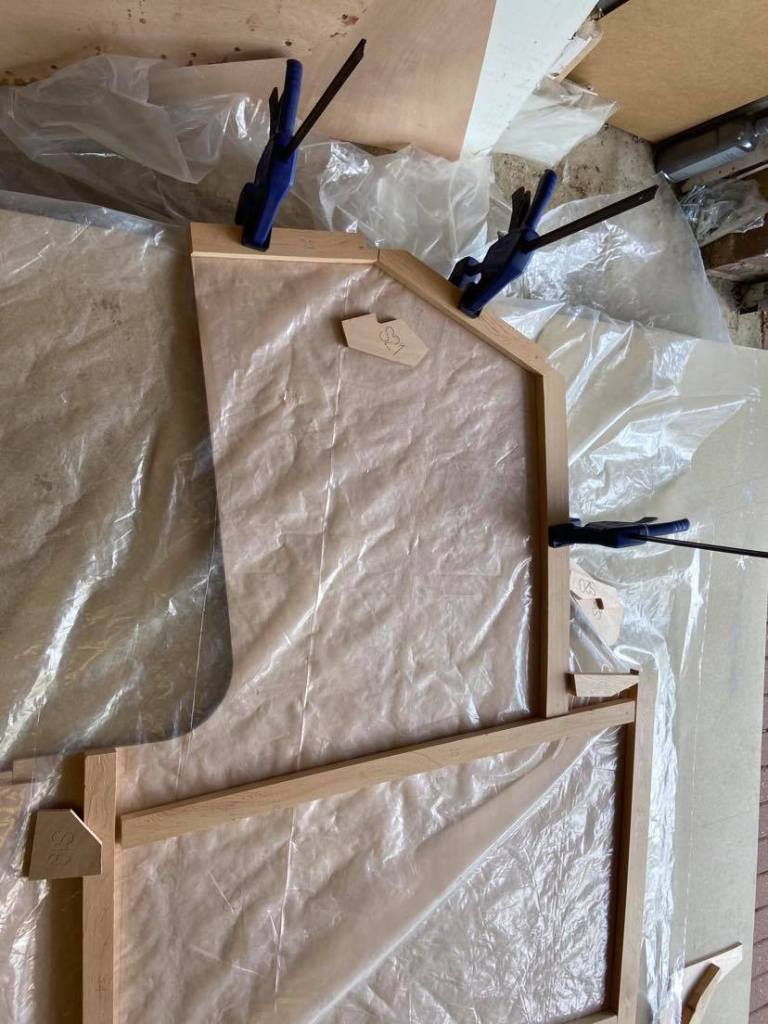


As it will be slanted a number of the structural pieces also need to be bevelled ready to receive part of the cockpit construction. This was fun(ish) as I had never done a bevel before. However we had bought an electric planer for just such an occasion. So after some practice on a piece of scrap, and checking the drawings about 20 times bevelling commenced, and to be fair they look pretty good.
Hopefully tomorrow we can complete Frame S.
We will slightly delayed completing Frame D as the bottom part of the frame, D12 needs to be in hardwood. So this is will need to be ordered along with the hardwood to for the keel floor, the mast frame top and posts and for the stringers.
However plenty to be getting on with as the materials for the jig will arrive by the end of the week. I have also got some epoxy filler compound so can go back through the other frames and do some filling of screw heads and general tidying up ready for mounting on the jog. Once it’s built.
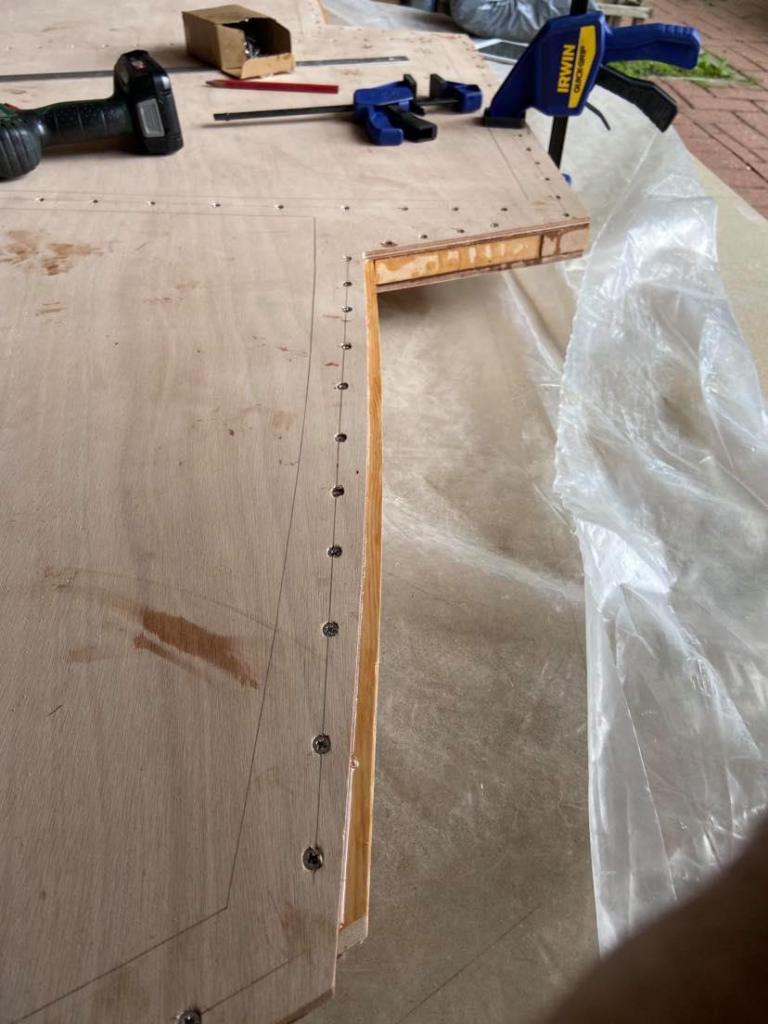
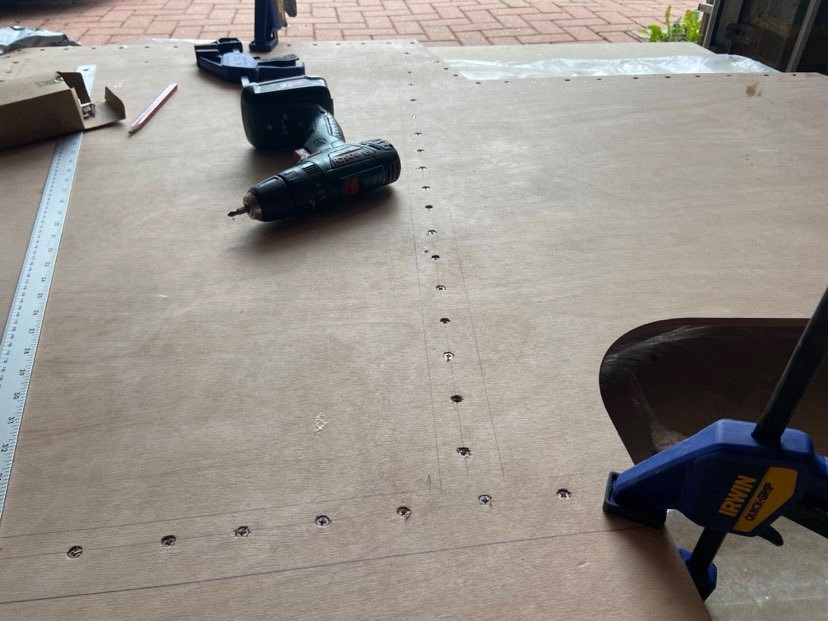
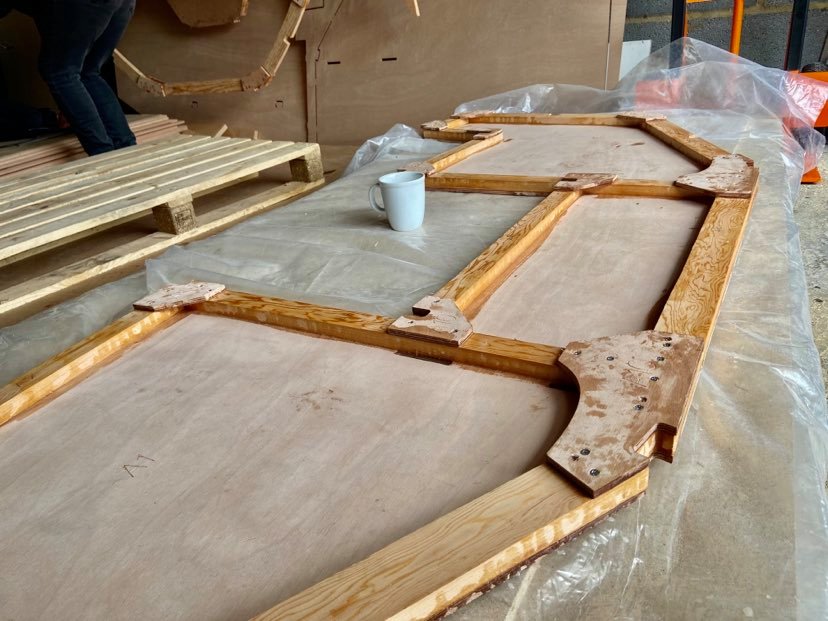
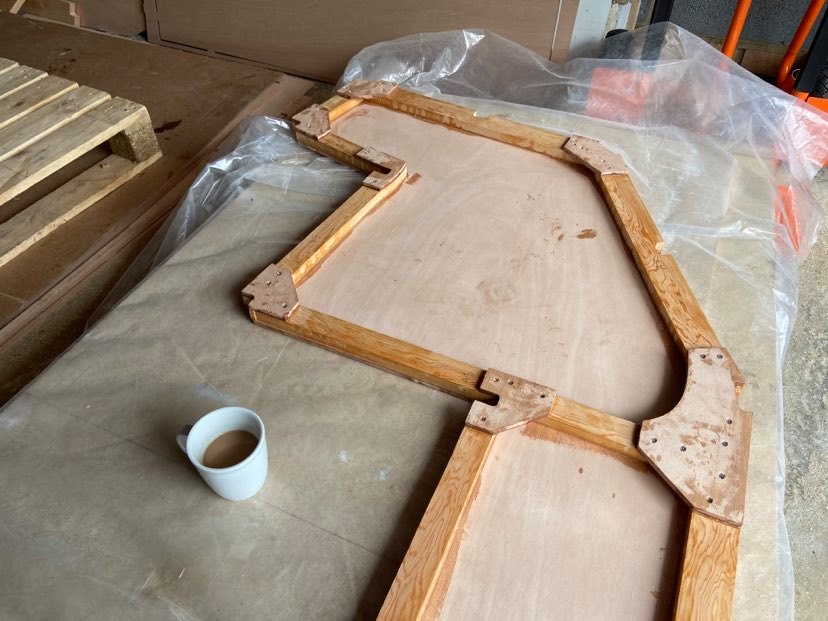
Running at a Frame a day at the moment. Cutting, cleaning, laying out and finally fixing together. Nothing to report. CNC kit working well for me at the moment, generally happy with the accuracy of my fitting together. Taking check measurements but pretty much being guided by the kit. Frame D was a little more challenging due to its size and that there is not significant plywood backing as a guide. But with some iteration on measurement and clamping down as I went along managed to get it into shape. Then carefully released clamps and glued piece by piece before reclamping.
Pretty pleased with the frames. Although they may not look pretty, and I know I need to do tidying up before progressing to put them on the jig, I have been testing them by putting a good deal of weight (me) onto them. No groaning or cracking from either the frames or myself.
Another day another frame. Gradually moving through in no particular order, although planning to leave the slanting frame, Frame S, until last as there maybe a couple of decisions to make there.
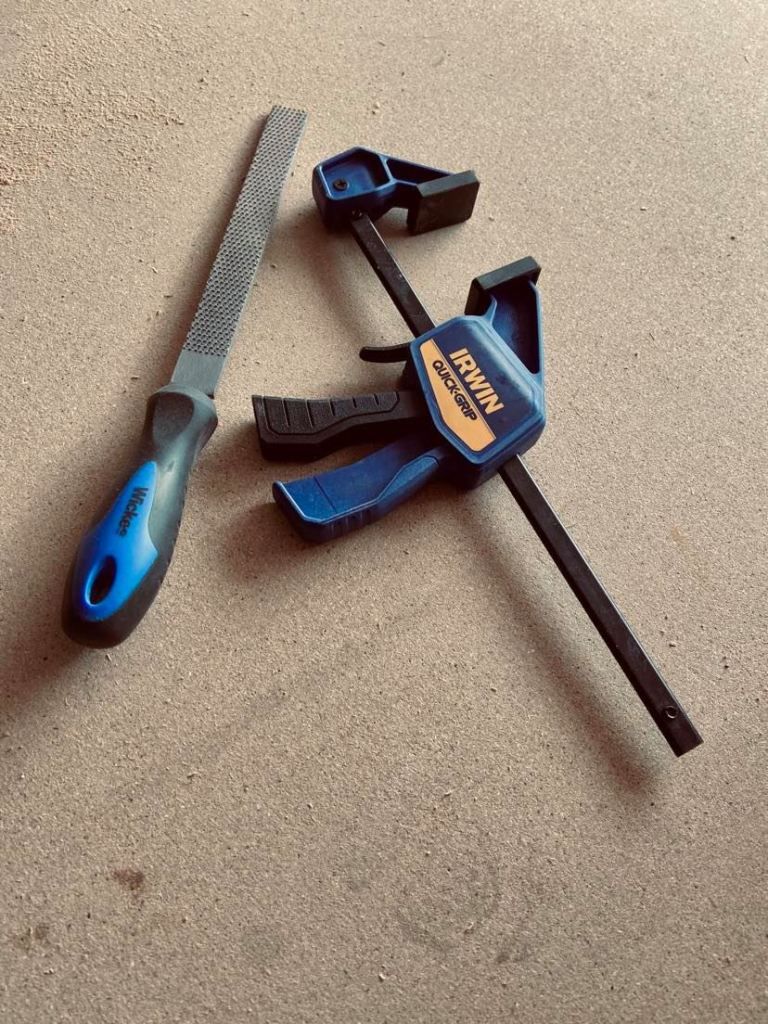
My new “friends” at the moment are the jigsaw for removing the frame pieces from the CNC sheets, a series of Irwin clamps and a couple of wood files. Strangely satisfying trimming down the residual material from the CNC sheet and seeing that it actually all fits together. A comment about my carpentry skills rather than Fyne’s ability to do CNC cutting.
We managed to salvage a large plastic sheet from the back of the garage that has been great to make sure the epoxy glue doesn’t stick our new frames to the bench overnight.
I can see when I have completed all the frames I will have to back track doing a little filling and cleaning up before I think about mounting them on the Jig. (that I haven’t built yet).
The boat is constructed of a series of frames that form the backbone around which the rest of the structure is built. We started on the smallest frame – Frame E. As this is new we wanted to get a feel for how easily it would come together. As the “parts” come in different plywood sheets and hardwood frames for efficient use of the materials overall we started with a simple list of what we needed and where each part could be found in the kit.
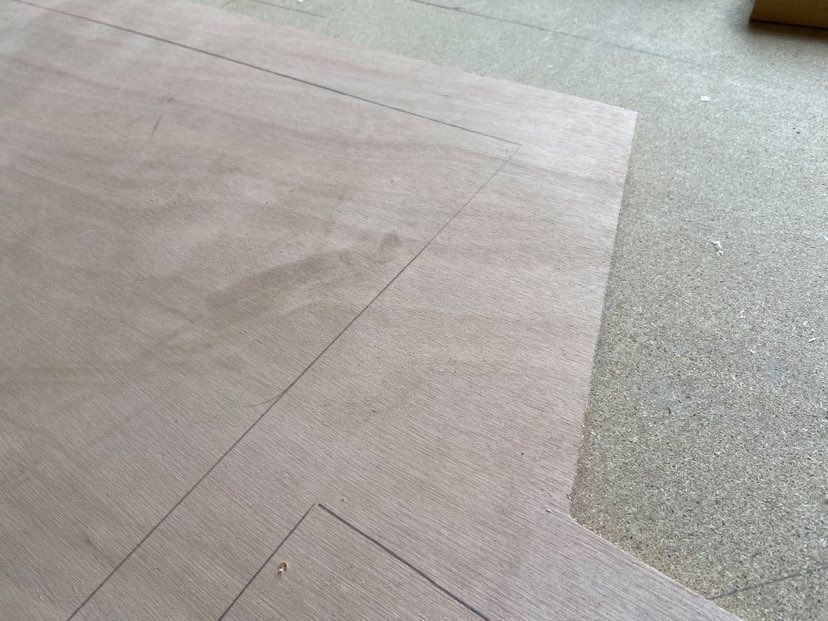
After that it was a straight forward task of cutting the parts out, a little cleaning up with a wood file and laying them out as per the drawing.
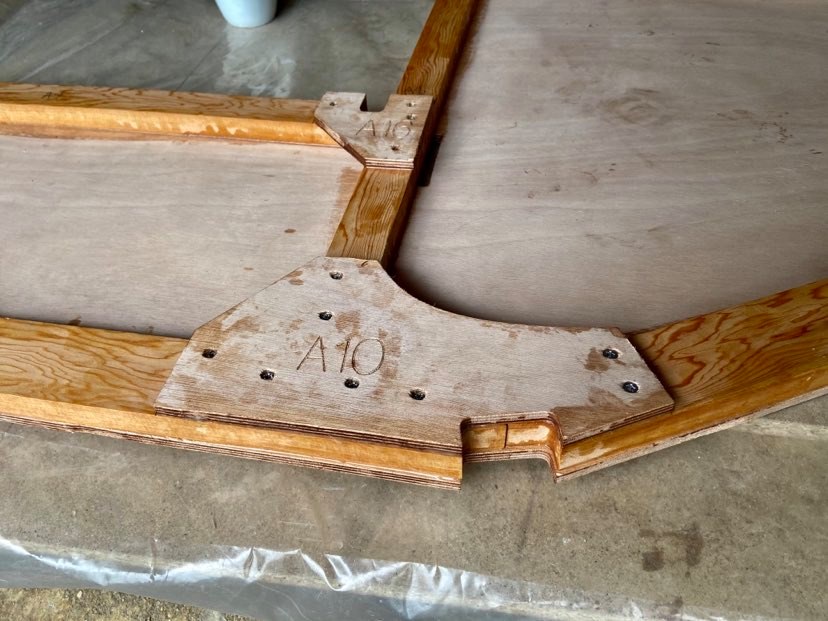
Although each part is labelled with its number, E4 for instance, in my kit its orientation on the frame is not drawn on the part itself. So its worth taking this off the drawing and writing it on the part before cutting it out of the sheet.
A few check measurements taken. Mix up some epoxy and time to get the first stainless steel screw done. The first of a few hundred to come.
Anyway I’ve check it this morning. Actually looks and feels pretty solid, and encouragingly like the drawing!! A bit of cleaning up, screw holes to be filled and no doubt a bit of fettling to be done when its put in position but one down…….


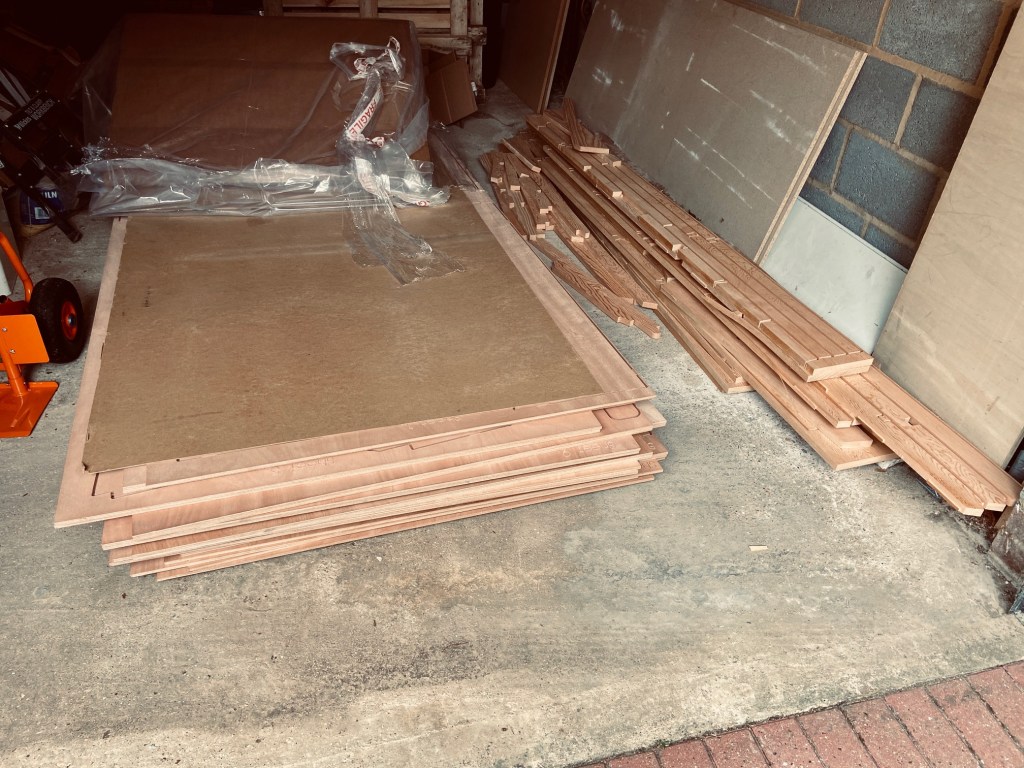
July 2nd became a special day – the CNC Kit was delivered from the great guys at Fyne Boat Kits. They have kept in touch with me whilst completing the finer details of the kit and managing my expectations of a delivery date.
Kit all looks great. Twenty six sheets of 9mm marine plywood and a range of hardwood framing components, all accurately pre-cut ready for me to use. Together once assembled they will form the structural frame, hull and decking of the boat.
Eventually the hull and deck will be fibre glassed over to create a tight, robust, watertight boat. Lots of work to do before then!


The plans have arrived from Janusz in Poland. They took a while due to the recent lockdown situation that is still resolving in the UK. I guess that will wipe out most of to today then!
I am a number! I am officially licensed to build Hull No. 43. The license to build is issued by Janusz Maderski the designer of the boat. I can use this to build one boat. I can also join the Facebook builders page to ask questions and connect with other builders. Hopefully some with more experience that won’t mind filling in for my lack of detailed knowledge.
CNC kit should be here by the beginning of July. time for some planning.
